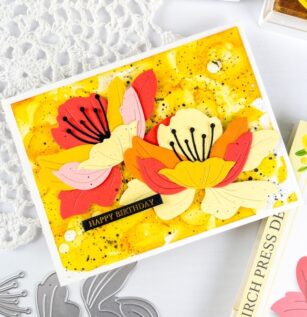
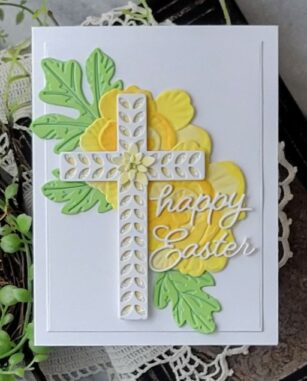
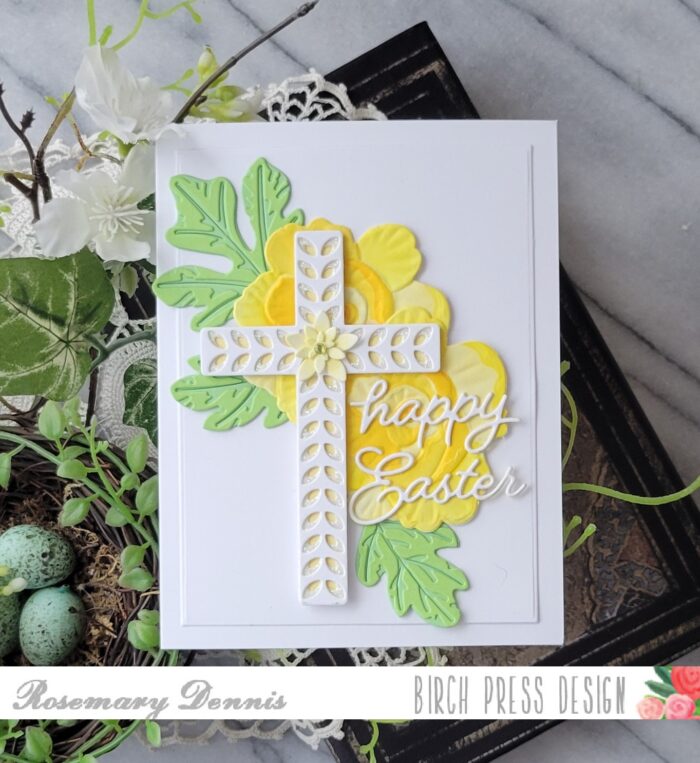
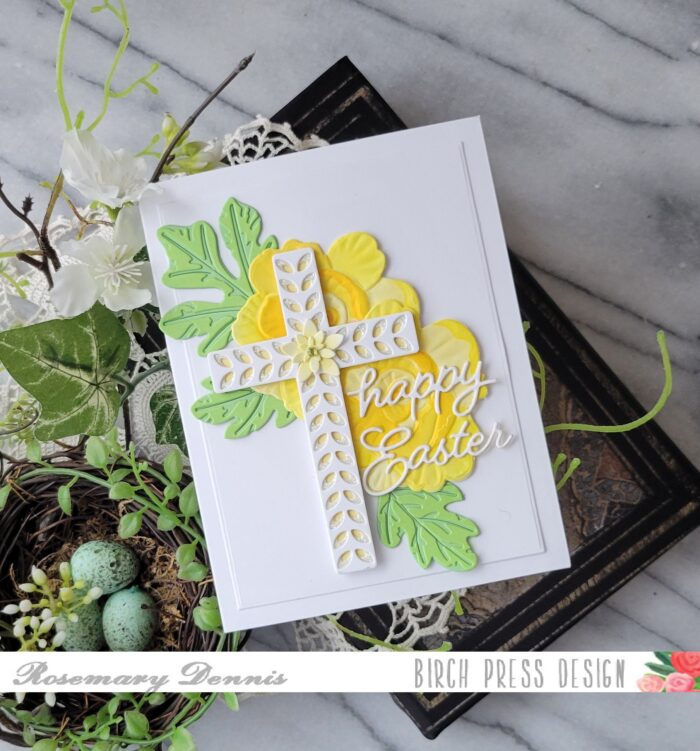
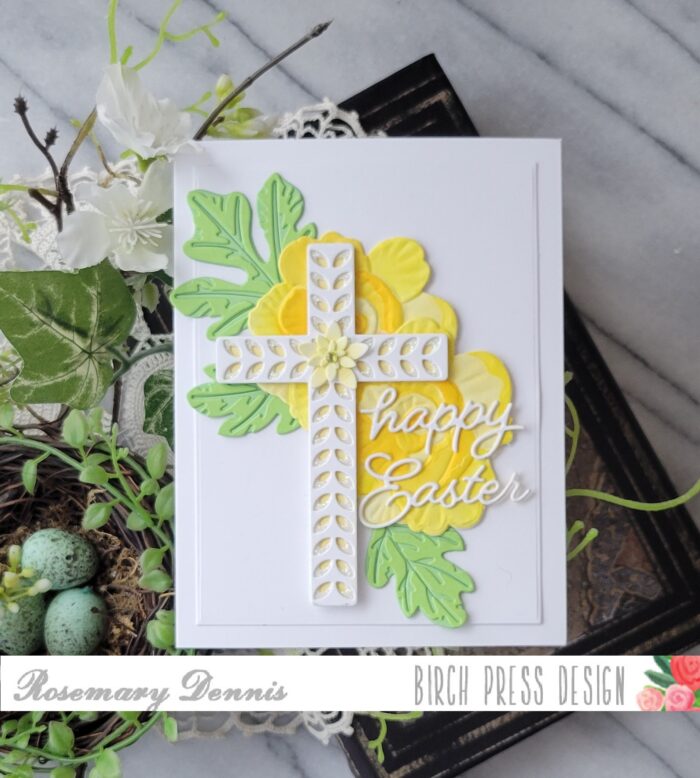
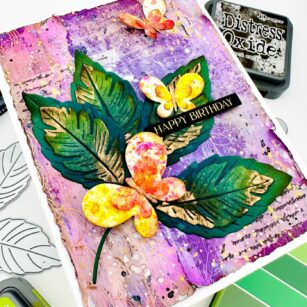
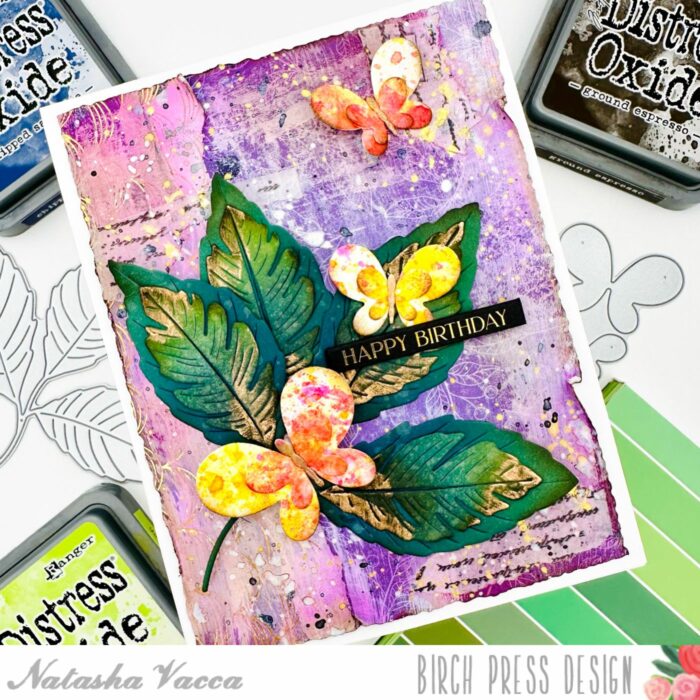
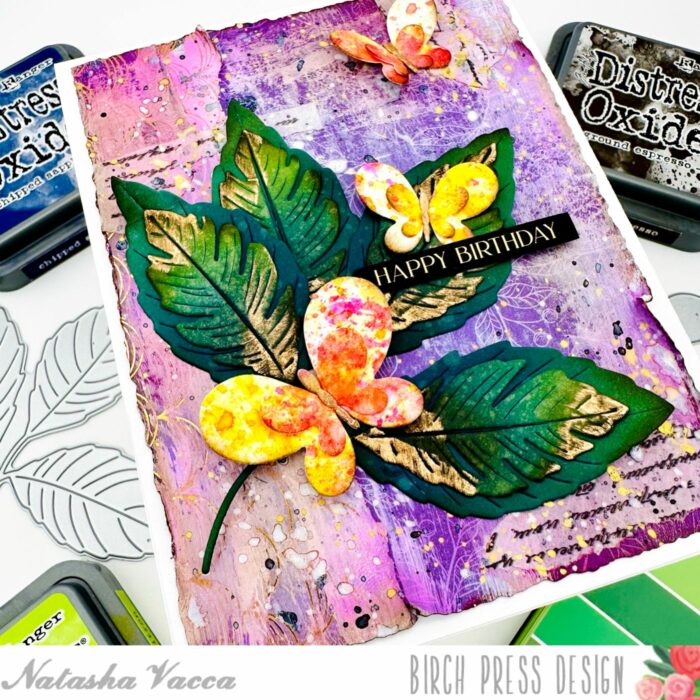
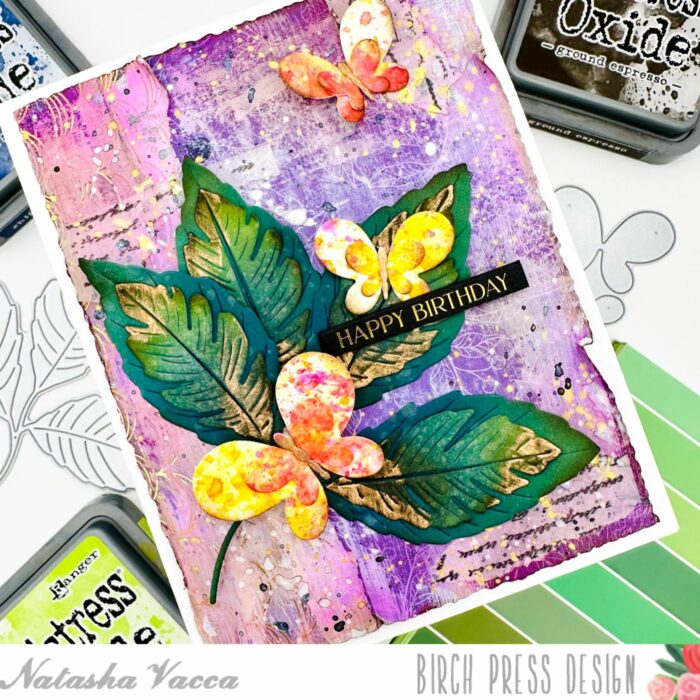
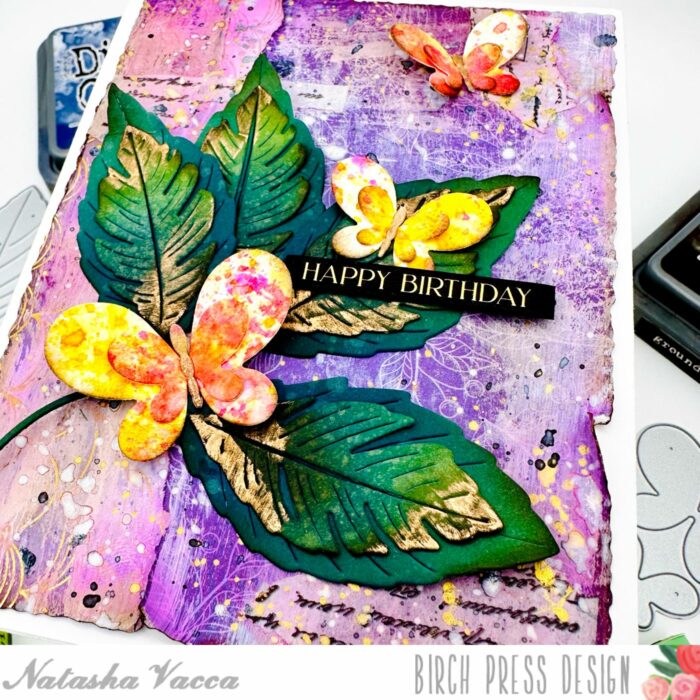
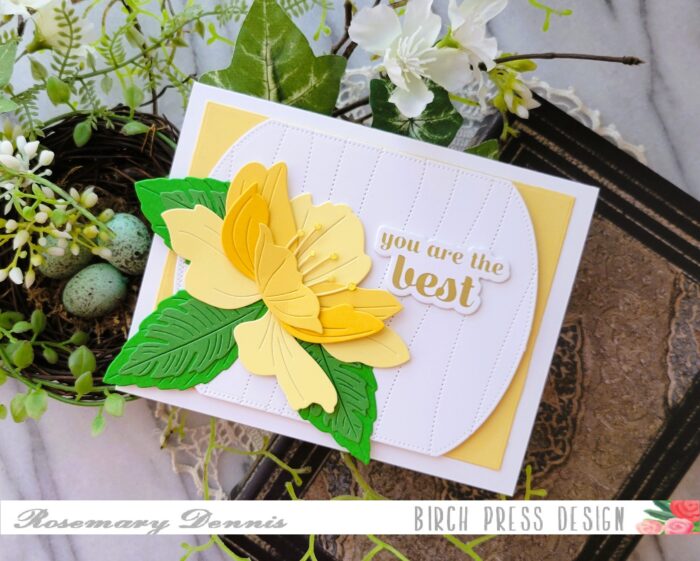
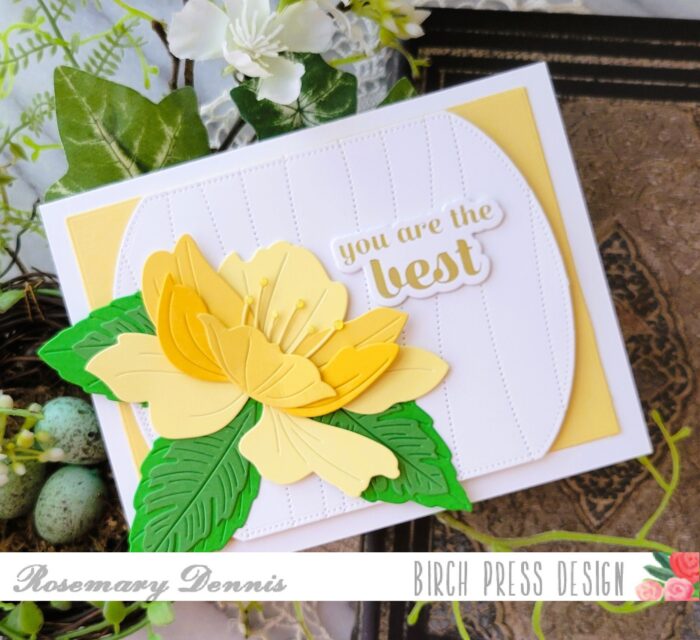
Hello friends! Today I have a very bold and vibrant card to share with you using the new Perky Bloom Contour dies. I love mixing the Birch Press Design products with alcohol inks and I have frequently done so in the past. For other unique alcohol ink ideas, please check out my posts here, here and here. And, today, I have another one to add to my ever growing list!
Card details:
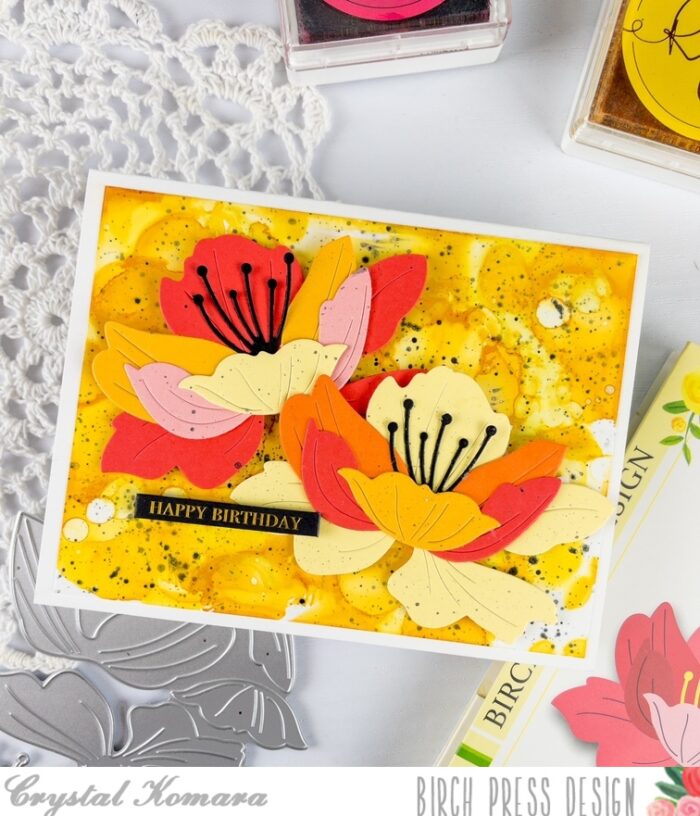
The base of this A2 sized card is made from 80 lb. Neenah Solar White Smooth cardstock. For the background of this card, I used a pre-created piece of alcohol ink art that I keep stored in a bin for easy pull-out and use to create “quick cards” with. This background was mostly a gold honey color, but I did splatter it with black ink for extra interest.
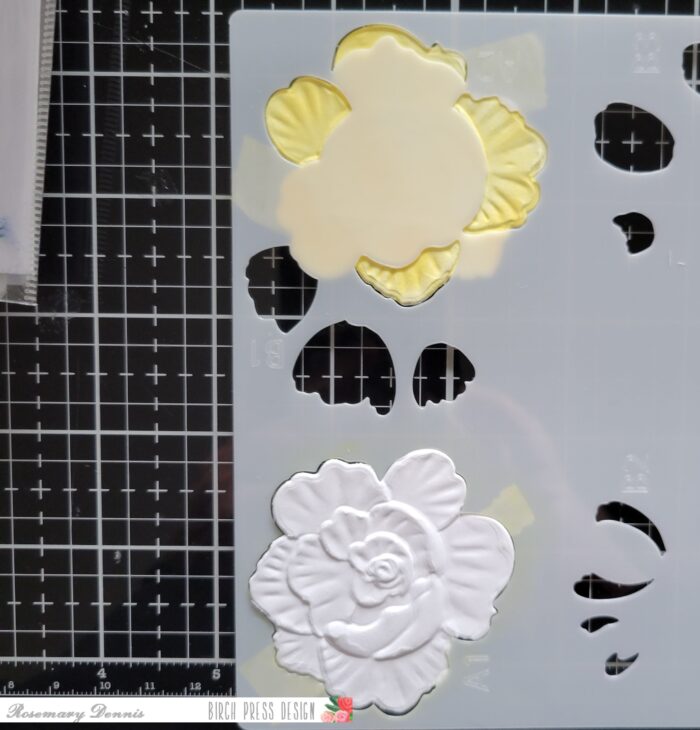
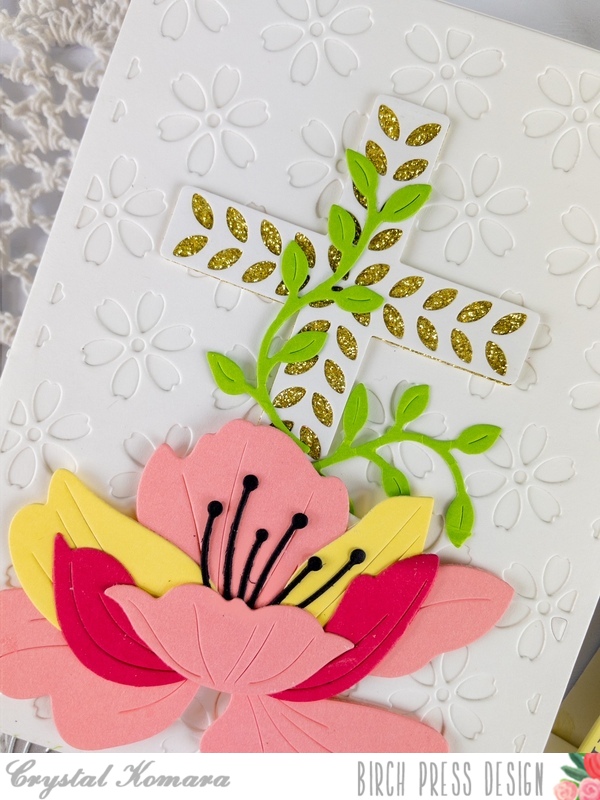
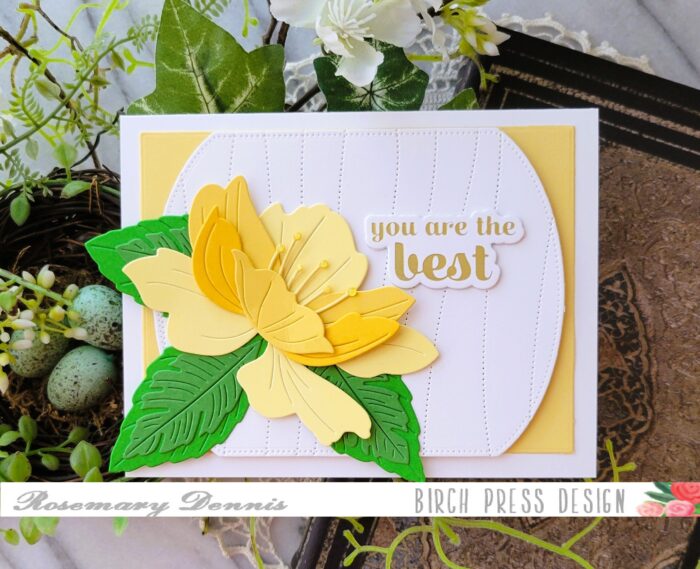
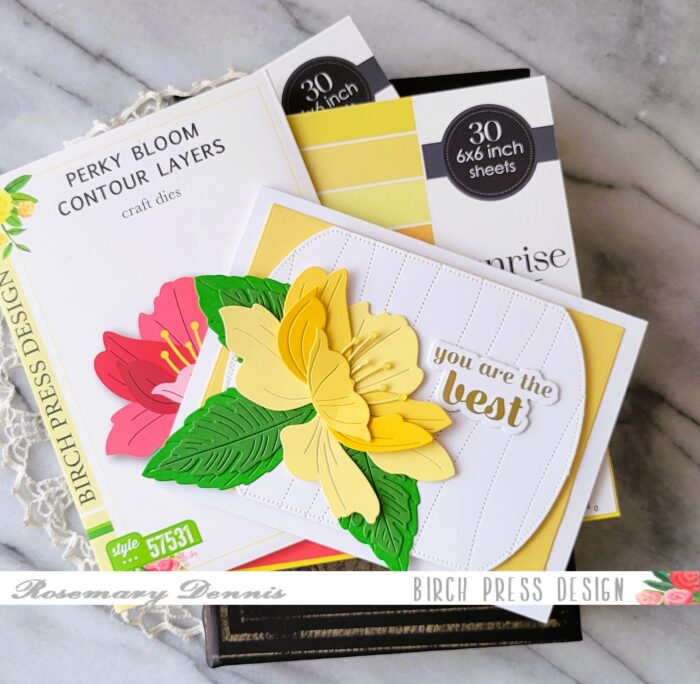
I used the new Perky Bloom Layering dies to create the two flowers. I cut each layer of the die from pink, peach and yellow cardstock and then continued to layer them together until I had a color combination that appealed to my eye and seemingly worked with the busy background and well! I adhered the flowers to the card using 3M foam adhesive for added dimension.
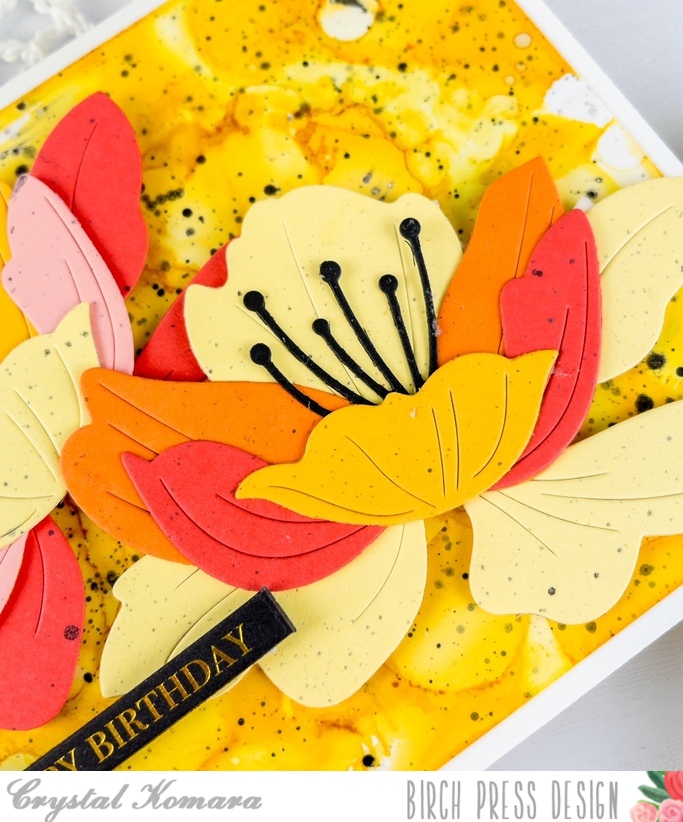
Lastly, I added one of the new foil greeting black tabs from Memory Box Company (a sister company to Birch Press Design). These new foiled tabs are beautifully made and are made of a nice thick chipboard. What a quick way to add an elegant sentiment!
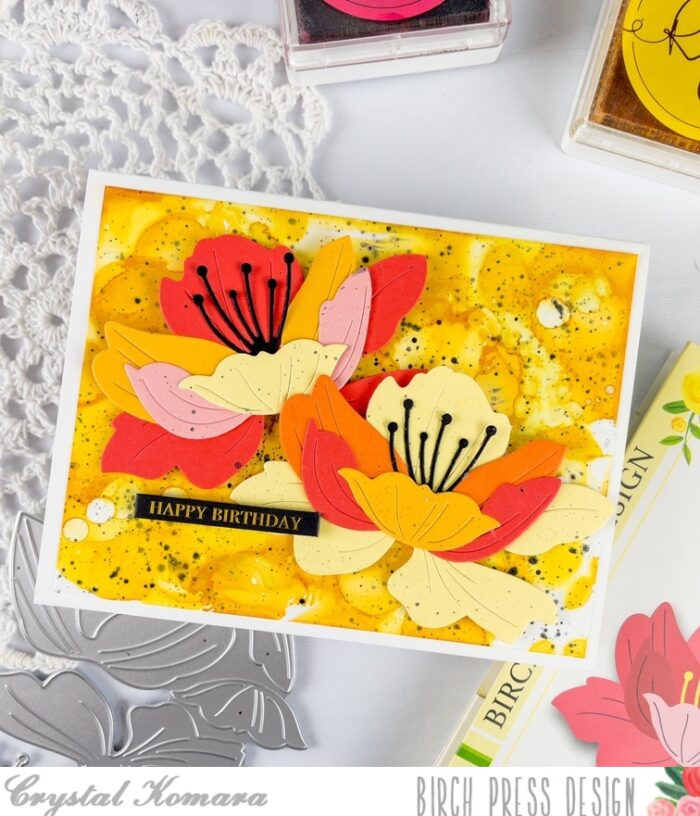
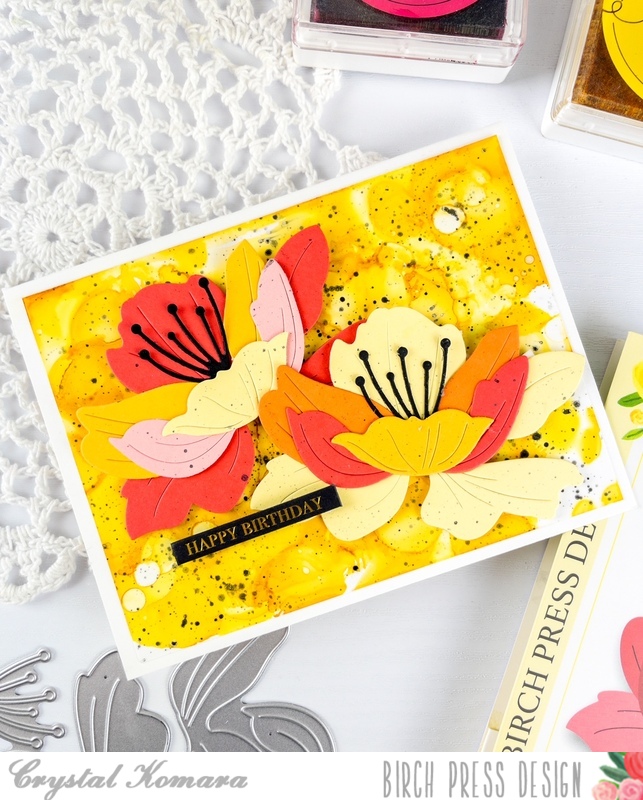
Sure, today’s card is very bold and vibrant, but doesn’t it also make you so happy and cheerful!? I hope you have enjoyed this card. Thanks for visiting and have a wonderfully creative day!

Supplies
