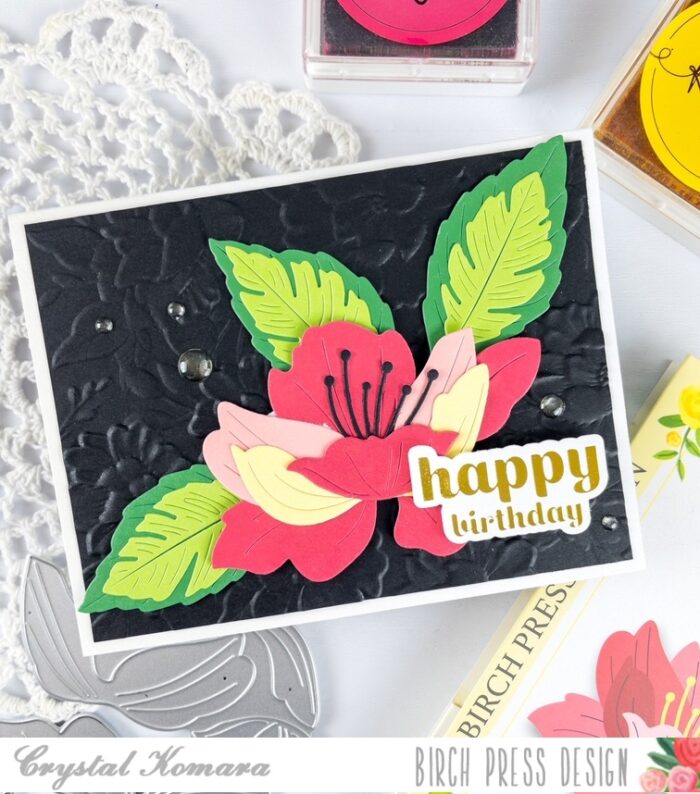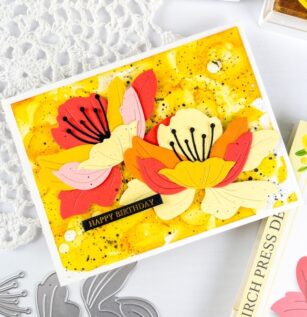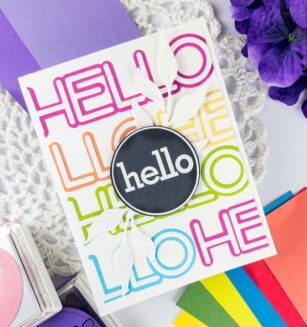
H-e-l-l-o readers and happy June! This card will welcome you to summer many times over in an array of rainbow colors! This is DT member Crystal Komara here with you today sharing this fun clean and simple (CAS) card using the Jumbo Lingo Hello die and two single white curved leaf branches.
Card details:
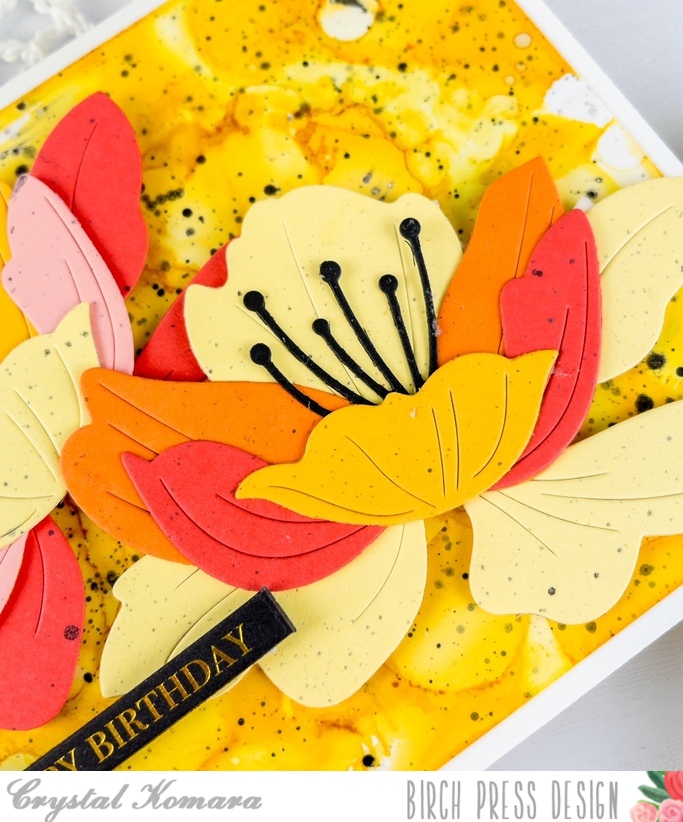
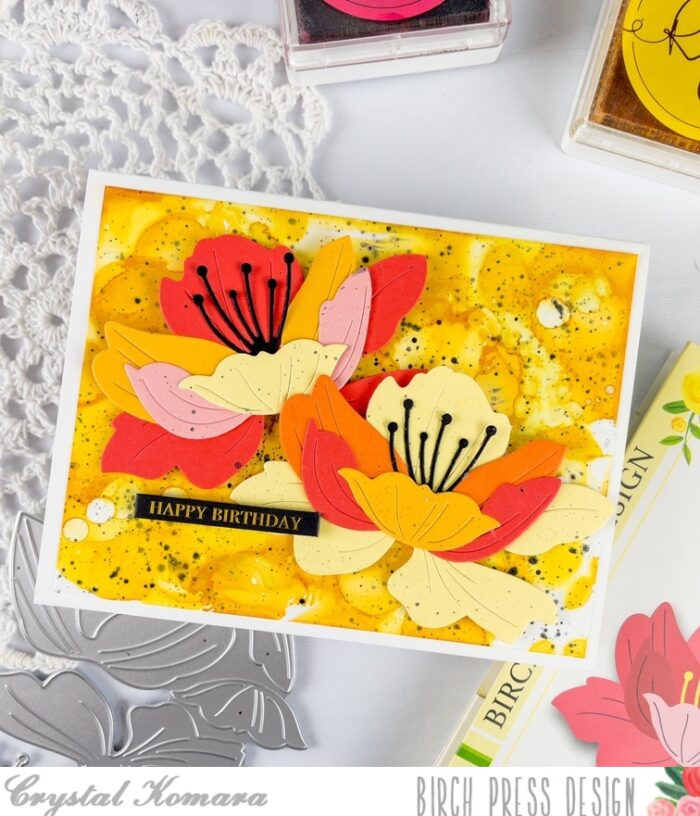
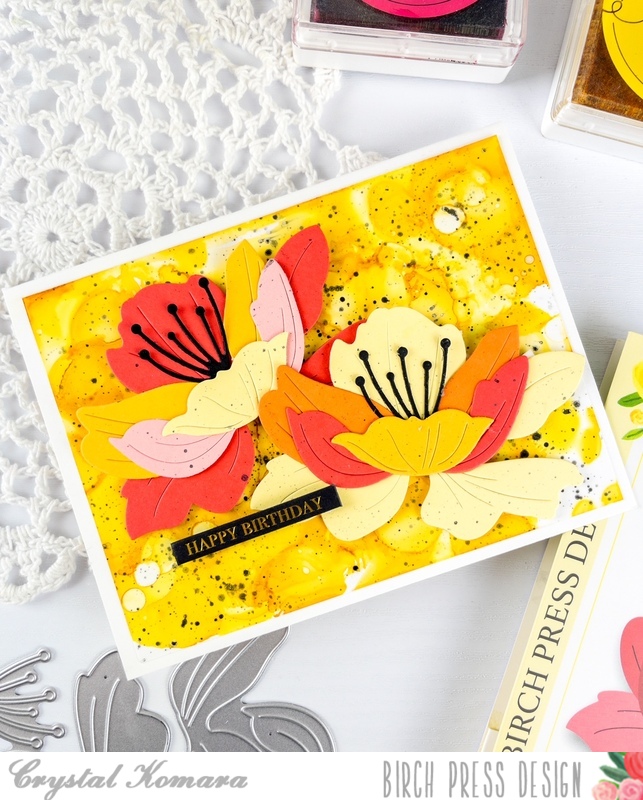
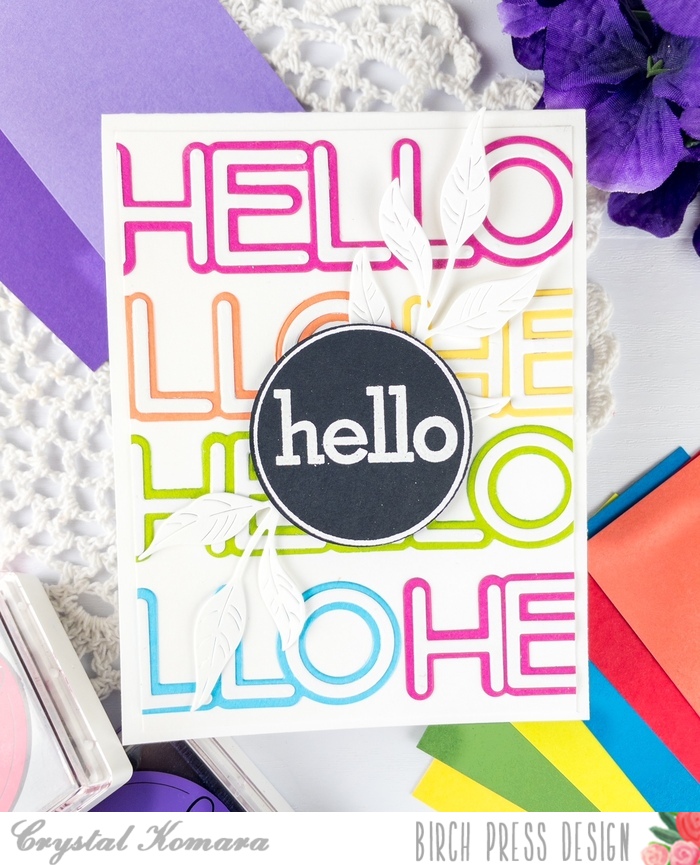
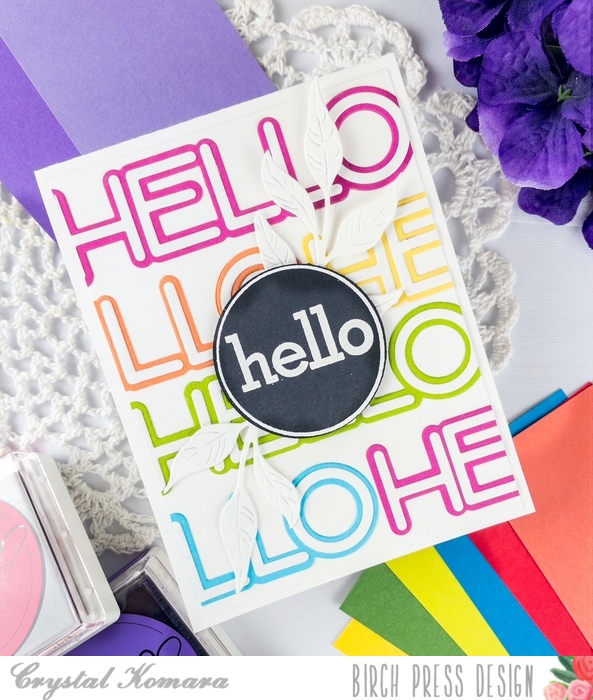
The base of this A2 sized card is made from 80 lb. Neenah Solar White Smooth cardstock. Using the Jumbo Lingo Hello die, I die cut the sentiment many times from a variety of cardstock colors. To keep it simple, I die cut all the shadow bases from color cardstock and the thinner top layer all from white cardstock. I then arranged the “hello’s” in a pattern that seemed pleasing to my eye, while also not accidentally spelling out a bad word!
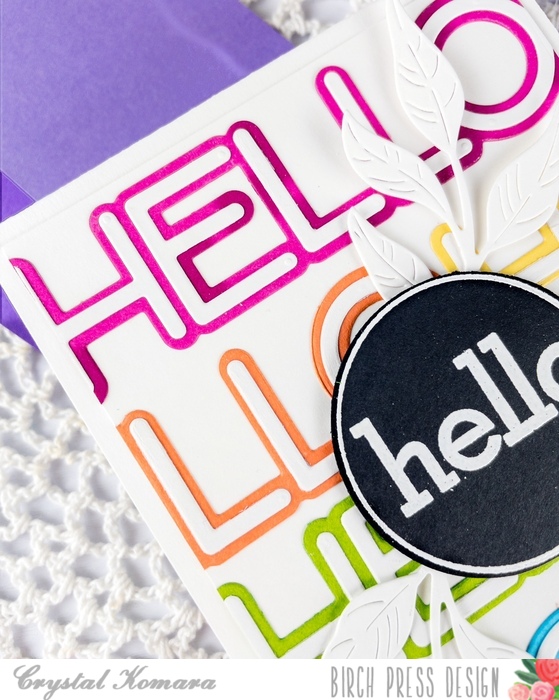
Using the Contempto Greetings Stamp set, I stamped the hello circle in Versamark ink on black cardstock and then heat embossed it using white embossing powder. I used the coordinating die to die cut the sentient out. I adhered the sentiment to the center of the card using 3M foam adhesive to pop it up. I then die cut two white leaves using the Curved Leaf Branch and tucked them underneath the sentiment. Easy and colorful!
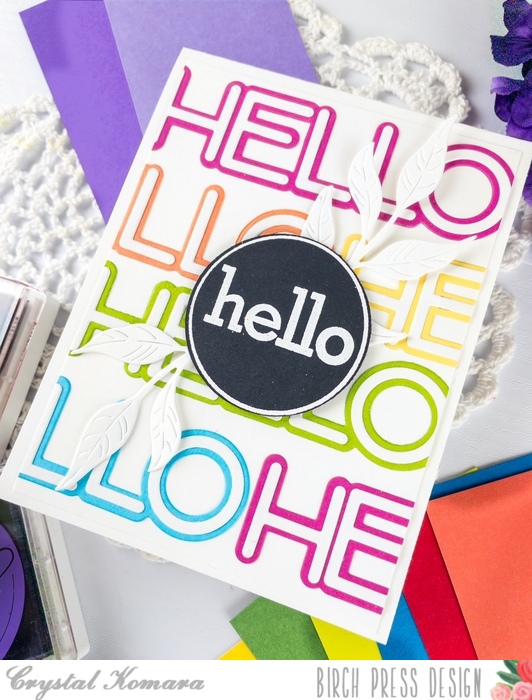
I like how this card turned out, it’s fun for summer with those rainbow colors and what a cheerful way to greet anyone. Thanks for visiting and have a wonderfully creative day!

Supplies