Hi friends! I hope you’re having a great day! Fall is in the air and I’m enjoying the crisp cool nights and seeing the leaves turn color!
Birch Press Design is known for it’s innovative layered die sets, and honestly I think they keep getting better and better.
The sets are really versatile and more detailed. I used only two of the three dies in the set and covered the panels with distress ink before stacking them. I love the contrast of blue and orange. The yellow panel you see is the card base.
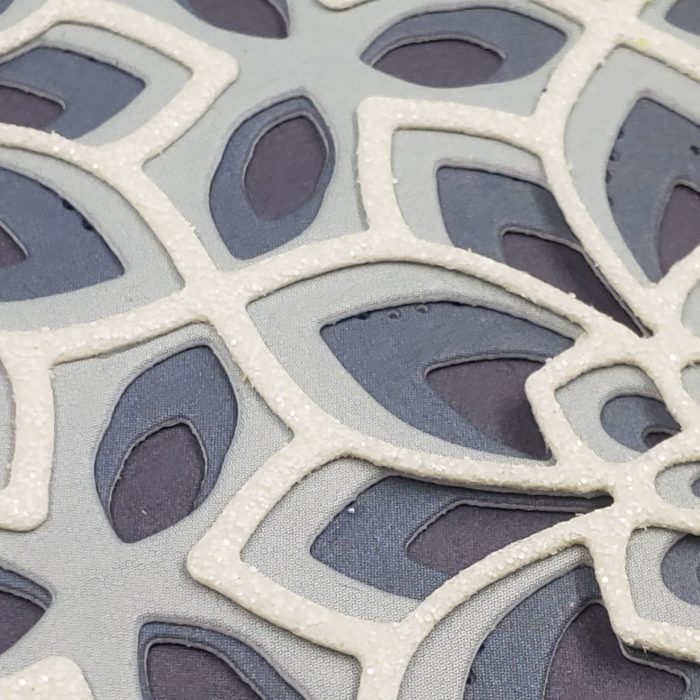
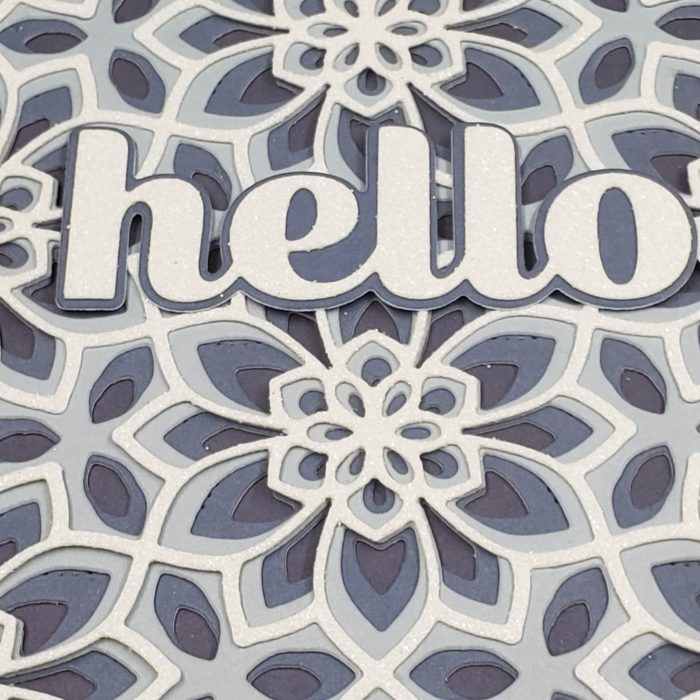
I really wanted you to get a close look at the detail on these panels. All three of the panels in the set have a beautiful pierced design. You can see the swirls on the blue cover panel that inspire the name of the set “Autumn Breeze”.
I inked the Thanks Honey Script die with Blueprint Sketch Distress ink to match the ink on the cover panel. The stamped sentiment is from the Lingo Thanks stamp set.
Autumn always gets me thinking of Thanksgiving – and I start counting my blessings. I just want you to know that I am ever so grateful for your friendship now and always. Hugs to you for always making me smile!
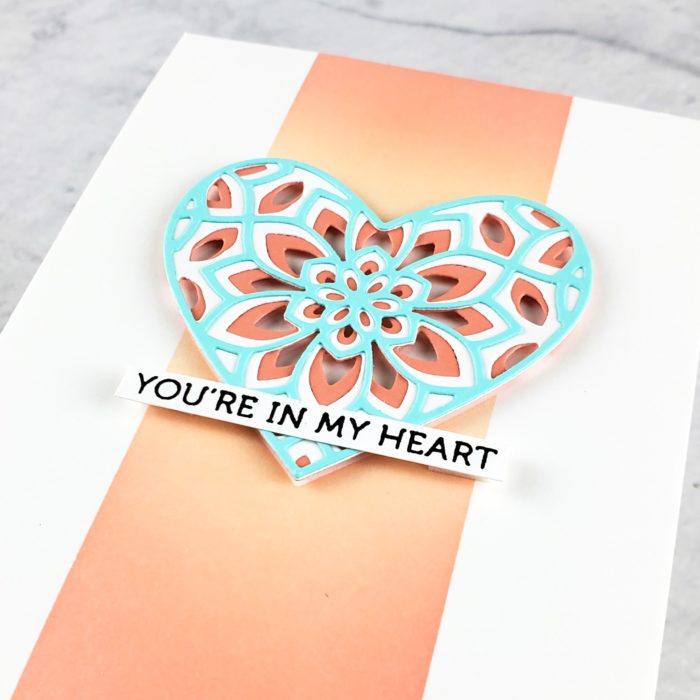
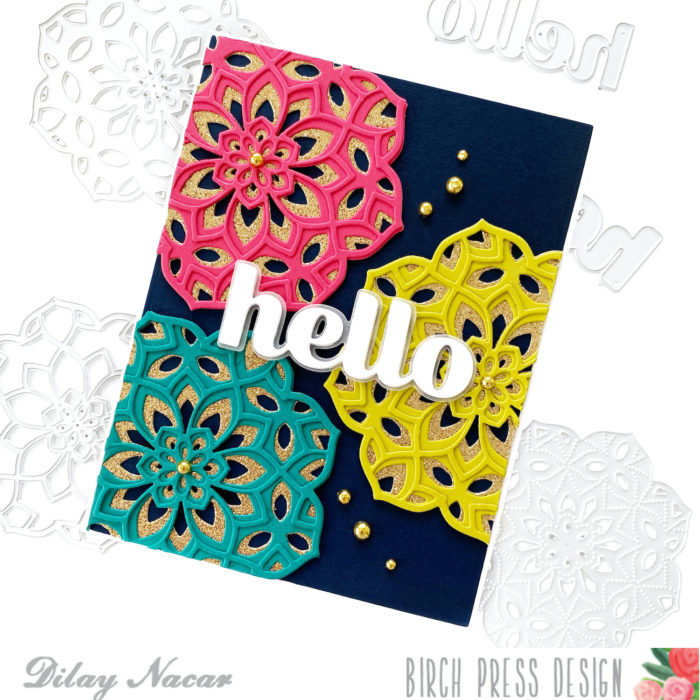
Hello, friends! I am so excited to be sharing these cards made with Birch Press Designs’s Dahlia Heart Layering Die set. Keep reading to see how easy it was to create these die cut cards with felt!
Over the past months where we’ve been spending more time at home than normal, my daughter has re-discovered her crafty side and the joy of making and giving handmade gifts. She is into all things boho, and I was inspired by her favorite color palette in making this trio of cards made with wool felt so she could give these cards to her friends.
I started my cards by selecting three shades of wool felt in pink, peach and yellow (I recommend using a good quality wool felt for this). I adhered a sheet of double-sided adhesive to the back of each piece, and ran them through my die cut machine with Birch Press Designs’s Dahlia Heart Layer A die. I ran each piece through twice to make sure I got a nice clean cut through my felt (a precision base plate is also helpful when die cutting wool felt). I then die cut the same shape out of heavy 110# white cardstock three times and adhered each one to a base. After that, I took individual pieces of felt and inlaid them into the cardstock bases. This went quicker than you’d think (about the length of one bad TV show LOL), and how great is it that you get three different hearts out of this one process? Not to mention that the soft texture of the die cuts lends such a unique and special touch to the cards.
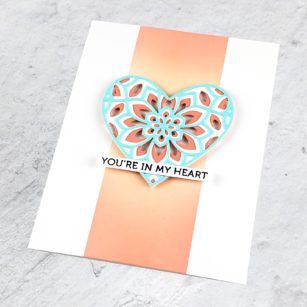
After finishing my die cut inlay, I wanted to create three distinctive card designs to showcase these soft and pretty hearts. For the first, I adhered a strip of coordinating patterned paper to white woodgrain-embossed cardstock and attached the heart to the left of the panel. I cut my sentiment from Birch Press’s Smile Sugar Script die from woodgrain patterned paper and added a few gold gems to finish the card.
For my second card, I cut a white panel from Birch Press’s Amour Layer A die and adhered it to a base I cut from woodgrain paper. I adhered my card on top, wrapping it with twine for some more texture. I stamped my sentiment from Poppystamps’s Greeting Basics stamp set onto vellum, embossing it in gold and cutting it out in a tag shape (and cutting out an identical tag shape from dark woodgrain cardstock as a base). I hung the tags from the twine to finish the card.
For my third card, I die cut all three layers from Birch Press’s Grace Layering Die set and adhered them to a deep yellow card base. I then simply adhered the heart, die cut my sentiment from the Hugs Sugar Script die, and added some gems for a little added sparkle.
I can’t tell you how much fun I had making these cards! They have already been confiscated by my daughter to give to her friends, and I can’t wait to try this technique with more dies. I hope this inspired you to try some felt in your die cut designs. Thanks so much for stopping by today, and I’ll see you again soon with more Birch Press Designs projects!
Hi there crafty friends, its Tracey here today with a tutorial on how I created this pretty rainbow snowflake using the newly released Pinpoint Snowflake die.
I divided up the snowflake into 6 equal parts. Using Post-it Tape for masking along the straight pierced lines I ink blended each section with a different colour of Distress Oxide ink.
After I ink blended the first section using Pink Raspberry and then I removed the tape to reveal a crisp line.
I moved the tape to cover the section I just blended and masked off the second section. I ink blended the next section with Spiced Marmelade using the same Post-it tape. Removed the tape and set up for the next section using the same Post-it tape once again.
I continued around the snowflake for the remaining three sections–Twisted Citron, Peacock Feathers and Wilted Violet. I used new Post-it tape for the last three sections so there was minimal contamination of colours.
Ooops took this next photo from the wrong angle!
To make this snowflake into a card I die cut the Pinpoint Radial Plate from white cardstock. I trimmed it down to 5 1/4″ x 4″. Taking an 1/8″ of of each side so the centre of the radial is still in the centre. I finished by adhering the snowflake to the radial panel over the card base with foam tape.
For the sentiment I used the Big Joy Sugar Script dies. The word was cut with silver sparkle cardstock and the shadow cut from white. They were glued together and then adhered to the centre of the snowflake with foam tape once again.
To finish it off I tucked a few sparkling crystals around the sentiment.
Thanks so much for stopping in today I hope you give this technique a try. You can mask off and ink blend any shape or cover die that you have. It’s addictive, I promise. See you next time!
Hello! Seeka here and today I have a monochrome card featuring the Christmas Ornament and Labels stamp set. Lately I’ve been leaning towards aquas and blues for the holidays, but you could easily use any color of the rainbow!
I started by using white embossing powder to heat emboss the background onto a piece of periwinkle cardstock. Next, I smooshed a bit of Blueprint Sketch Distress Oxide ink onto my work surface and used a water brush pen to paint in some of the leave shapes. I used concentrated dark color closest to the ornament, and then diluted the pigment with water to paint increasingly lighter blue as I moved out to the edges of the card.
Next, I used the coordinating ornament die to cut another piece of the same color cardstock. Using a blending brush, I blended blue dye ink onto the edges of the ornament to create a bit of depth and color variation.
I spritzed the ornament with Hero Arts White Iridescent Shimmer spray, and then used a paint brush to flick a bit of white gouache over the ornmanent.
Next, I used the Big Shine Sugar Script dies to cut the word shine three times from white cardstock. I stacked and adhered the three layers together, and then adhered that piece to the shadow layer, which I cut out of vellum.
To assemble the card, I adhered the ornament to the background with foam tape, and then used more foam tape to adhere the sentiment. Then I adhered the card front to an A2-sized card base. As a finishing touch, I used added a few drops of Nuvo Chalk Stick Vintage Drops to some of the open circles in the pattern.
Good morning! At first glance, these two cards don’t look like they have a lot in common, but both were made with the same Petal Burst stencil and an easy turning technique!
I blended 4 colours of ink through the stencil – one colour for each petal, before turning it 45 degrees and blending 4 more colours through it. I did this 3 times and then cut the Kinsley Layering dies from the centre of each ‘flower’. I stacked them up, but turned them to create a bold patchwork of colour. I backed it with one of the Vivid Blooms Stitched layers die cut from black cardstock for drama. I finished the card with the Jumbo Lingo Hello die.
This time I turned the stencil 30 degrees each time, and I used one colour of ink for each turn, to get a more peaceful, monochrome look. I finished this card with the new (coming soon!) Frosty Flake die set along with the shadow layer of the Simple Joy die set.
Here’s a video showing how these cards came together:
Hello crafty friends! Things are starting to look a lot like Christmas in my craftroom now that October is here. Today I am sharing a little peek with you of some new products coming to Birch Press Design soon!
Can you tell what’s new here? I hope I sparked a little excitement. Stay tuned a full tutorial will follow soon!
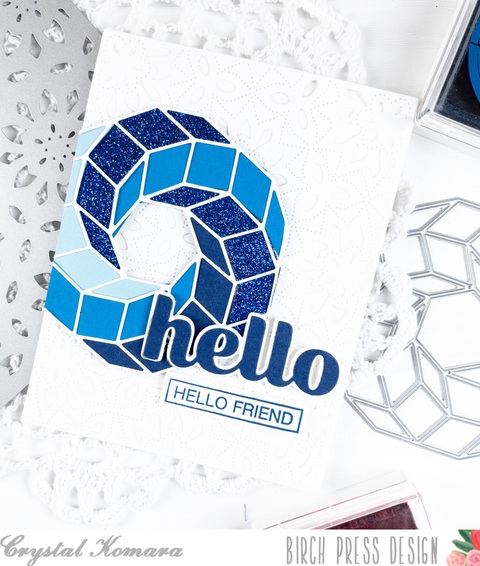
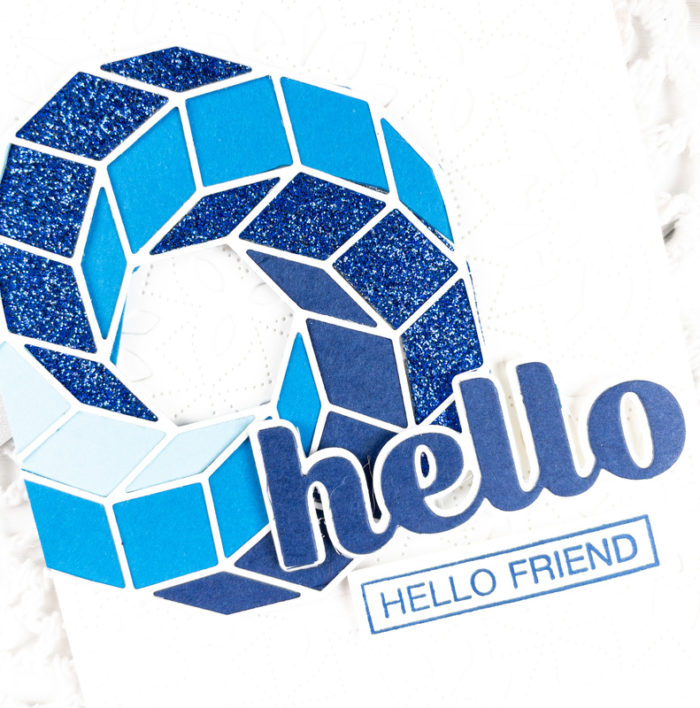
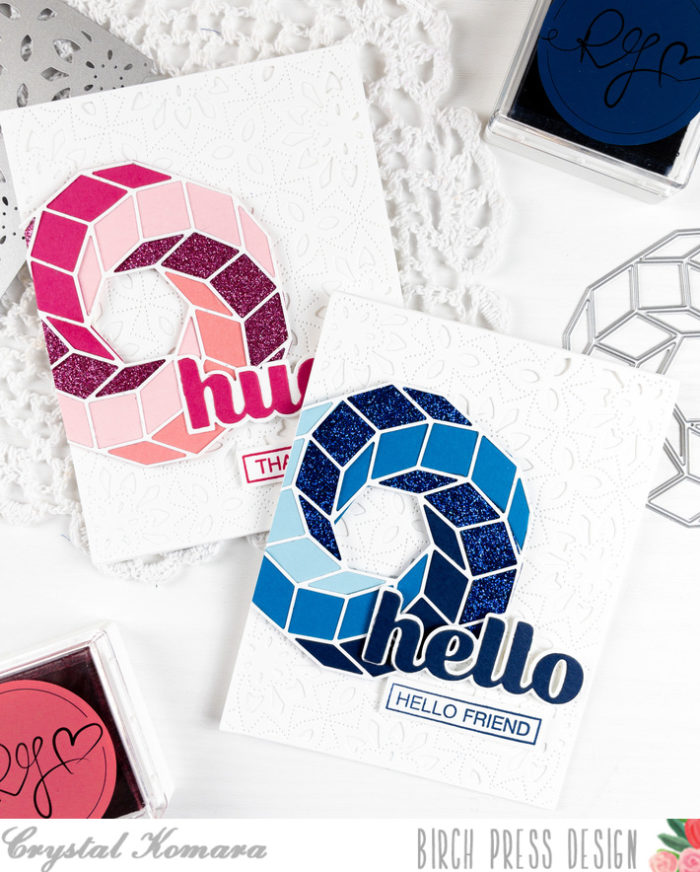
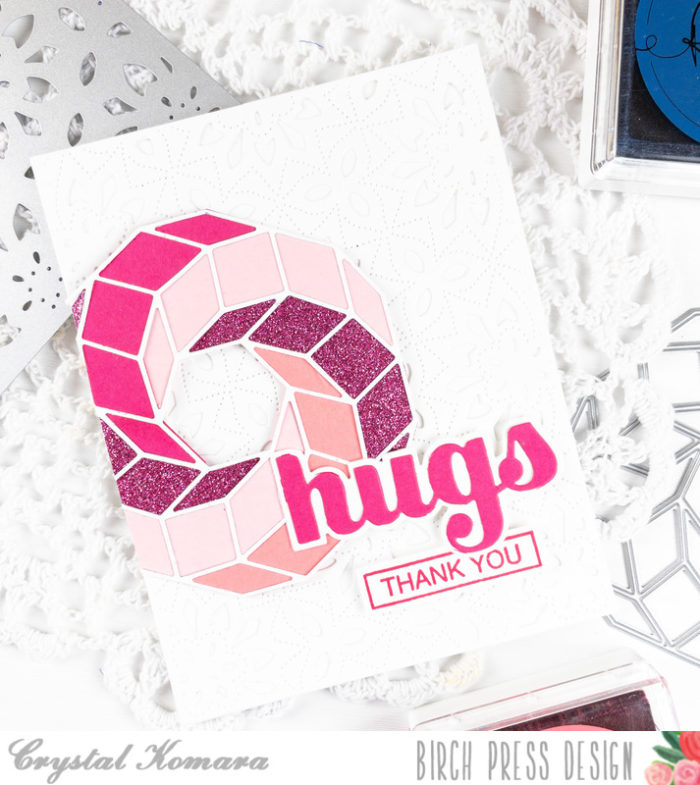
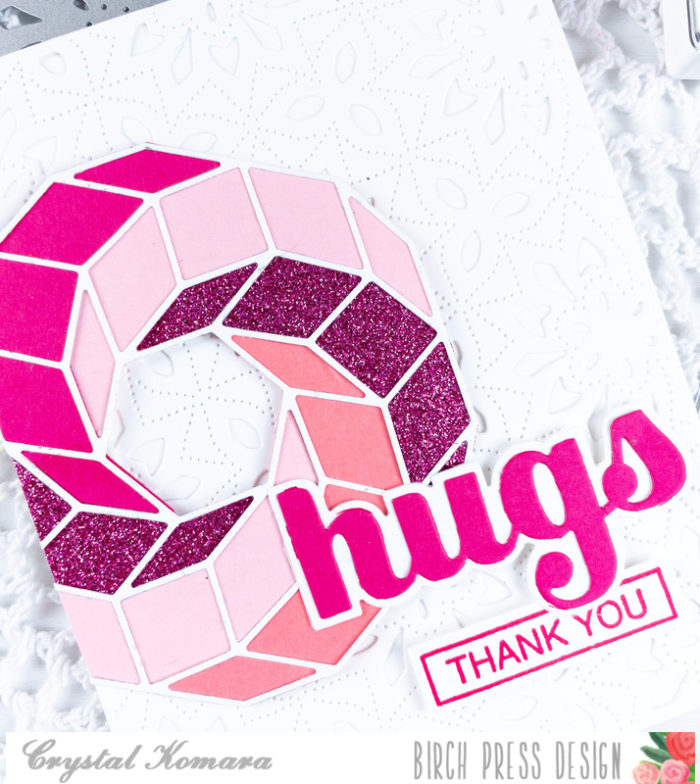
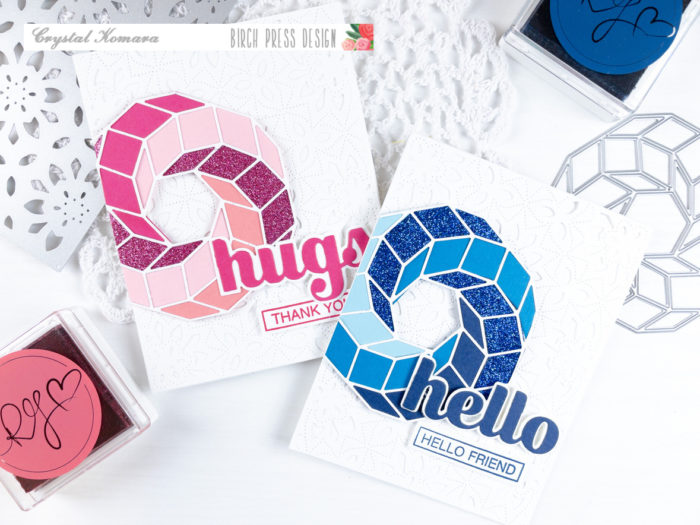
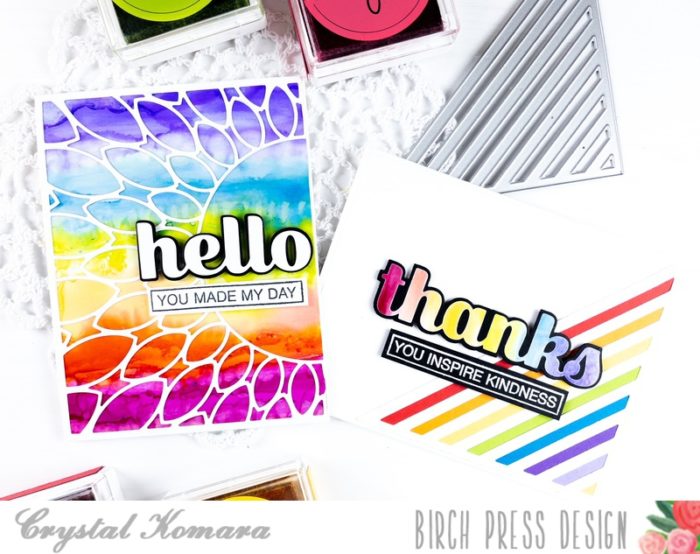
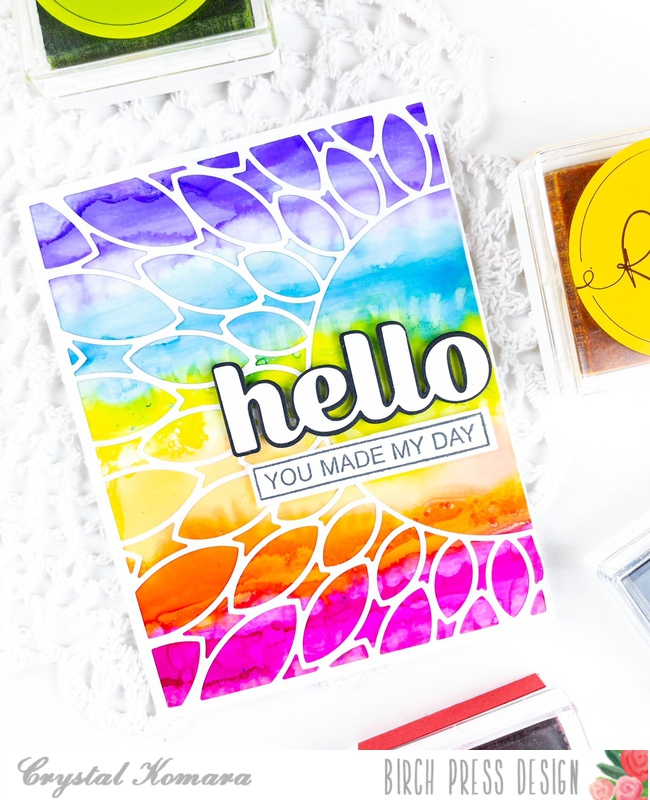
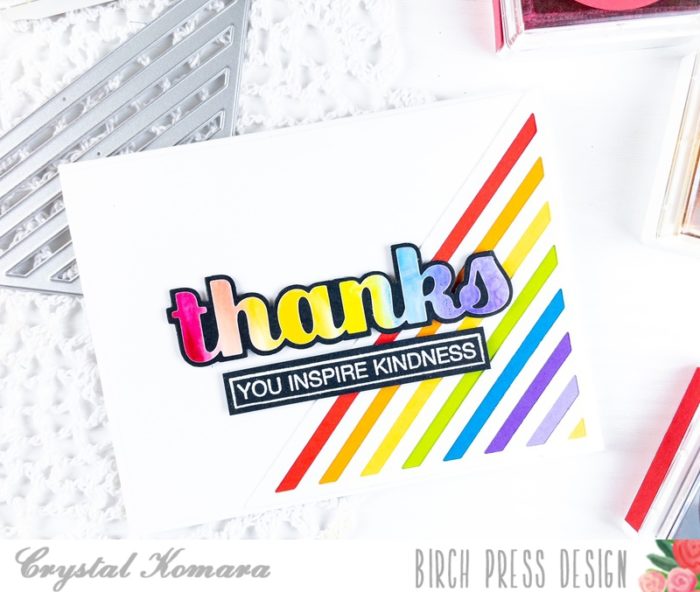
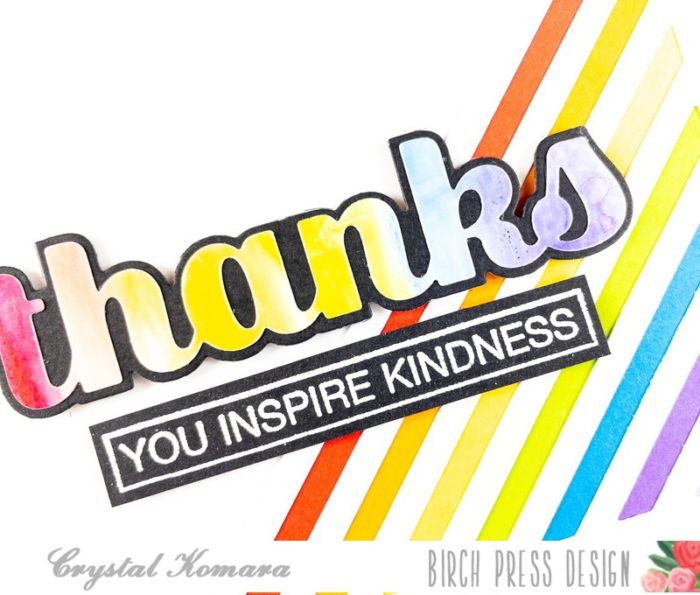
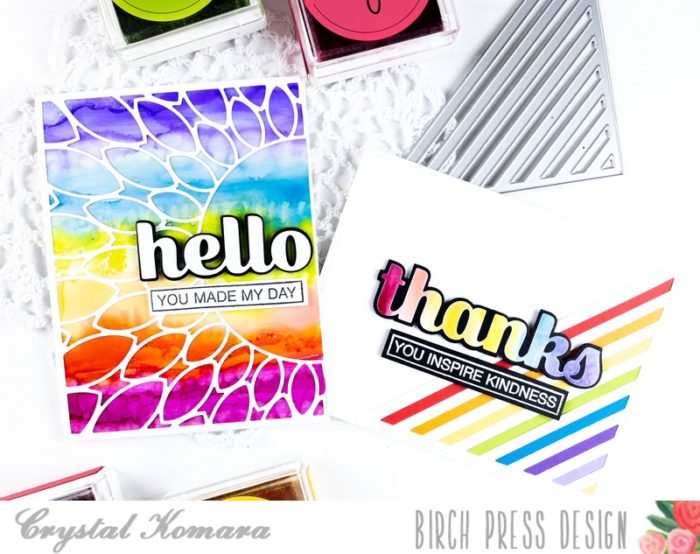
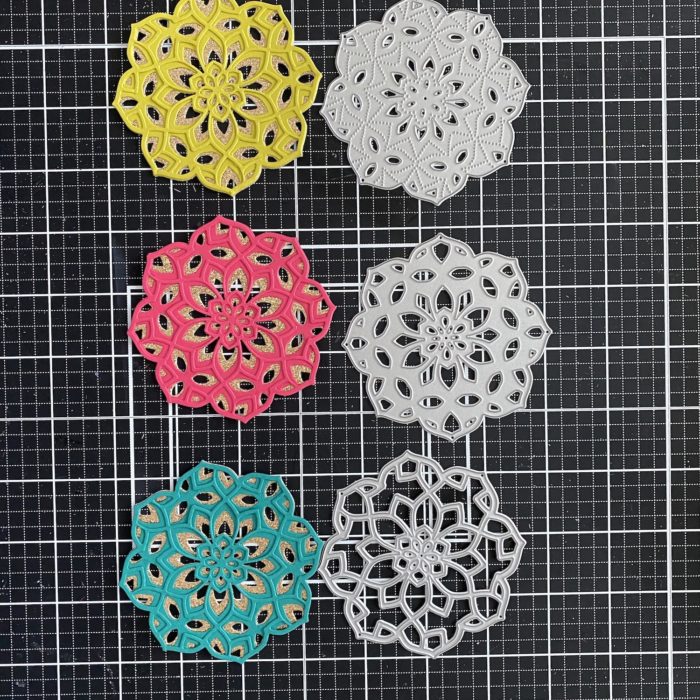
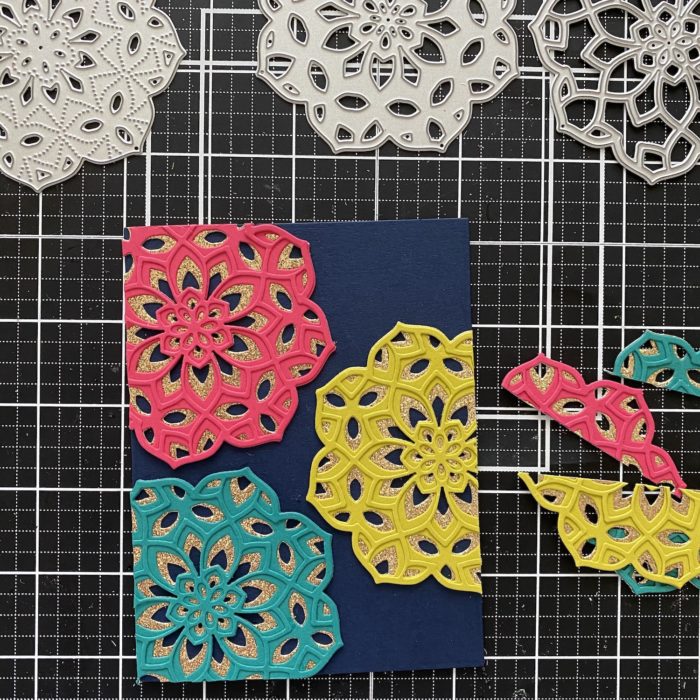
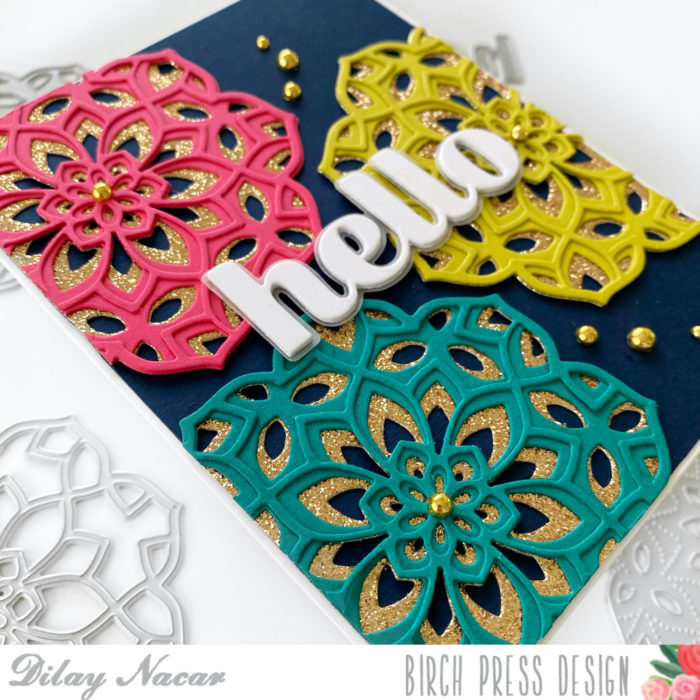
Hello readers! This is Crystal here with you today sharing some colorful thank you cards made just using one layer of a multi-layering die.
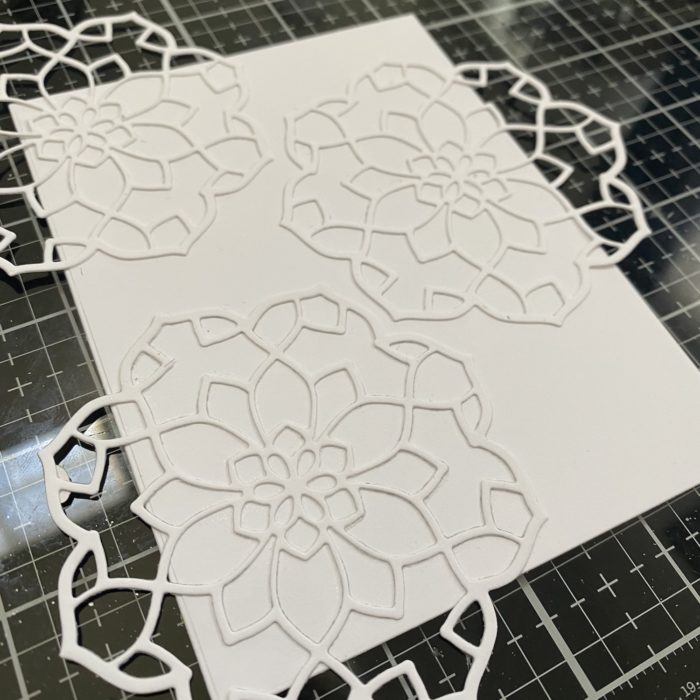
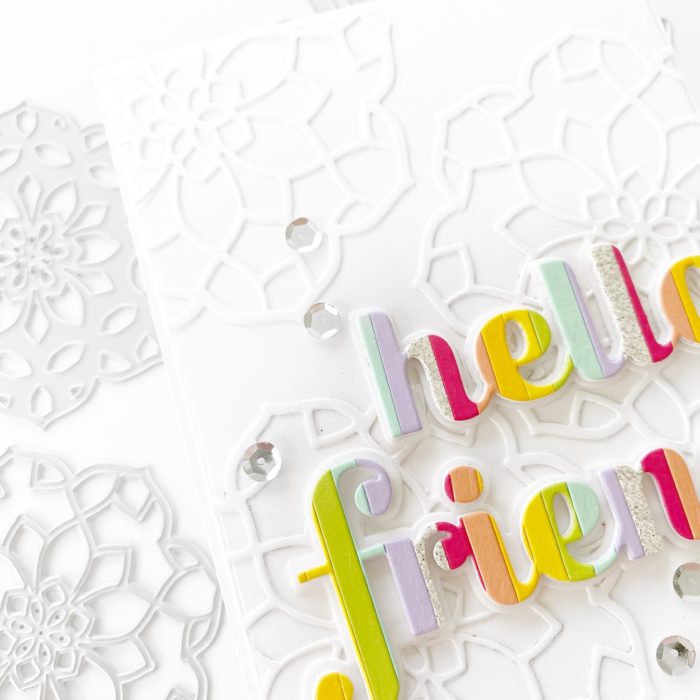
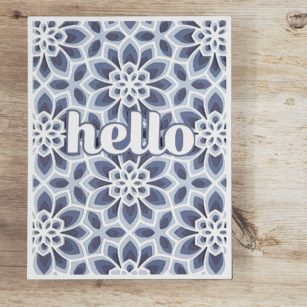
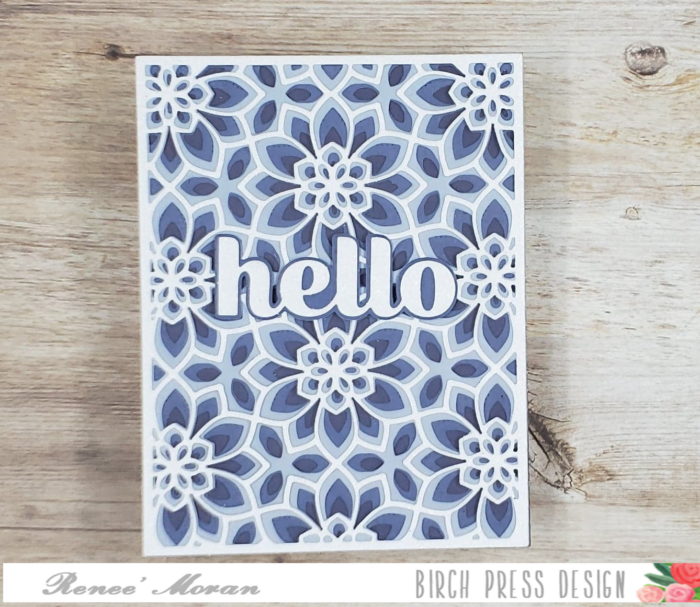
Fall is my favorite time of year and I simply can’t get enough of the beautiful Autumn Breeze Layering plates. They are simply gorgeous, whether layered using all three plates, or by just using Layer Plate A as a standalone die. The real bells and whistles on today’s cards come from the bold, colorful glitter paper BEHIND the die cut image itself!
I have created a step-by-step YouTube video showing how I created these cards. I hope you will find it helpful:
I hope you were inspired by today’s cards. Thank you for visiting and happy cardmaking!
Hello, friends! I am so happy to be here today sharing this stitched card I made using Birch Press Designs’s Autumn Leaves Layering Die Set. This card was such fun and was so easy to make thanks to these beautiful layering dies!
I started my card by die cutting layers A and B, adhering them together, then adhering them atop an A2-sized aqua base. I then die cut my leaves using pretty shades of pink, orange, and yellow cardstock using layer c. To add some extra texture and dimension, I stitched the leaves using 4 strands of 6-strand embroidery floss. To achieve this, I poked holes in every about other stitch hole with a paper piercer to enlarge the holes. I then stitched through those holes using a simple backstitch.
I then used Poppystamps’s Greetings Basics stamp set to emboss my sentiment in gold onto white cardstock. I fussy cut a tag shape and popped it up on foam tape. I then adhered a pretty gold ribbon underneath the tag and adhered the leaves around the tag using liquid adhesive. A few gems here and there finished this card.
I hope you enjoyed this project! Links to the products I used are below. Thanks so much for stopping by today, and I’ll see you again soon with another Birch Press designs card project!
Hello! Seeka here, and today I have a card featuring the beautiful Trina Snowflake Layer dies.
I started off by die cutting the three layers of the snowflake. My bottom two layers are cut from colored cardstock in two shades of teal and my top layer is cut from a shimmery cardstock from the Memory Box Delicate Pastel Glitter Pad. Each layer cuts out two pieces that can be used together, or separately.
Next I stacked and adhered the layers of the snowflake together
I set these pieces aside to work on the background. Using a blending brush, I blended a teal colored ink onto a light blue A2-sized piece of light blue cardstock. I concentrated the color around the edges and corners of the panel.
Then, I used a small paintbrush to flick a bit of watered down white gouache over the panel.
While the panel was drying, I created the sentiment using the Big Shine Sugar Script die. I cut the detail sentiment three times from white cardstock and then stacked and adhered those layers together. I cut the shadow layer from vellum and then adhered the detail sentiment to it.
To assemble the card, I adhered both the inner and outer snowflake die cuts to the background and then used foam tape to adhere the sentiment. Finally, I adhered the card front to an A2-sized card base.
Hi there and Happy Fall! It’s Tracey here today and as I was blending my leaves for today’s post the leaves outside my window are almost blending just as fast. Just like a light switch summer turned off and autumn has arrived.
For today’s card I used only one die, Layer B, from the Autumn Breeze Layer dies. A brilliantly designed set of three dies that all work together but can each work independently of one another giving you options to showcase two different scenes. Layer B can be used all on it’s own and cuts all these beautiful stitched leaves.
I cut a panel from Bristol Smooth cardstock and I ink blended each individual leaf using Distress Oxide inks. I used Squeezed Lemonade, Wild Honey, Spiced Marmalade, Candied Apple, Fired Brick, Ripe Persimmon, Peeled Paint and Walnut Stain to create a variety of different coloured leaves.
I cut another A2 sized panel of Bristol Smooth cardstock and then ink blended a background using more Distress Oxide inks. I started with Crushed Olive and then brought in some Peeled Paint from the edges and finished off with some Walnut Stain just on the edges.
I covered the card front with a piece of gold paper from the Polished Foil pad and then I adhered the green ink blended panel over top. Each one of the blended leaves was inlaid into the die cut. The gold splatters were created from red gold metallic watercolours.
Once dry I added a sentiment from the Pumpkin Lacework stamp set. I used the ‘Fall is in the air’ quote which I gold embossed on brown cardstock and die cut it with the co-ordinating Pumpkin Lacework die set. The sentiment was added with foam tape to complete the card.
Thank you so much for stopping by today and I really hope I tweeked your interest to look at your layered die sets a bit differently. What you can do with only one layer?