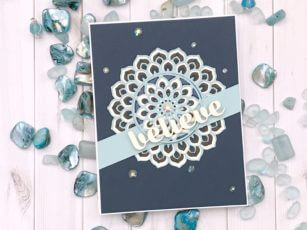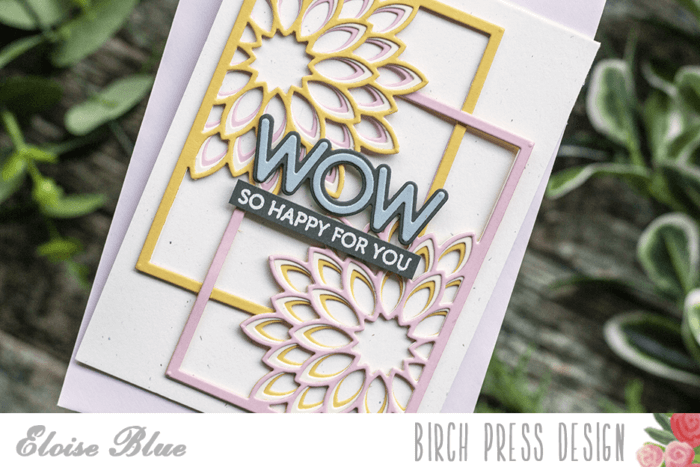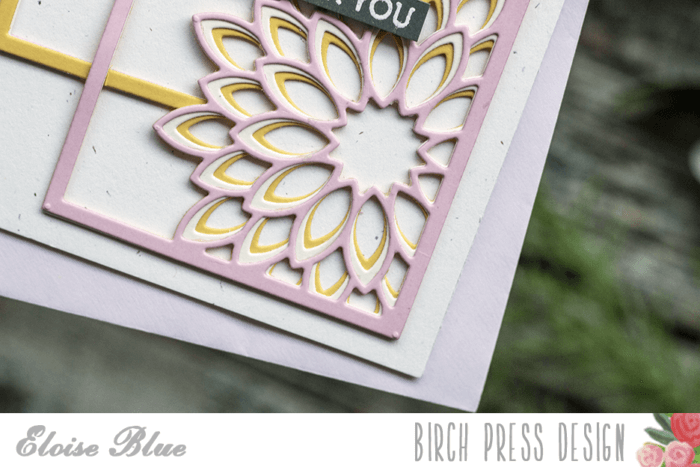

Hi there it’s Tracey here today with some more inspiration for using beautiful Birch Press Design products. I have a card and a video for you to show you how I made this pretty background. My card features the Shining Mandala stamp set that will be heat embossed with white embossing powder. Then I will show you how to add colour to this design using alcohol inks. Here are the supplies that I will be using…

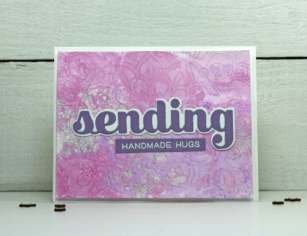
To start off with we will stamp the Shining Mandala stamp set in Versamark ink and then heat emboss it with white embossing powder onto a 5″ x 7″ piece of Yupo paper. Yupo paper is a synthetic paper that is waterproof and commonly used with alcohol inks.

Below is a video of my process so that you can see how I worked with the ink.
You need to be careful as you will see the Yupo paper warps very easily. I was not too worried because I would be trimming my paper down to 5 1/4″ x 4″. Once the mandala was heat set and trimmed down I added colour to it with Alcohol Inks using the dip method. I started off by filling a plastic container with about 1″ of water. I randomly added a few drops of Wild Plum and Purple Twilight alcohol ink. Then I added a drop of the Silver Mixative to the water. With a plastic straw I moved the mixative around a bit so it wasn’t all sitting in one corner. I took the trimmed down mandala panel and I swept in through the water once and the alcohol ink grabbed on to the paper. The result was a panel that was swirled with pink, purple and silver that was set down onto paper towel to dry completely.

Don’t be afraid of alcohol inks! They are fun, addictive and very forgiving. The dip method of applying the alcohol ink is very easy and a great way to get started with using these inks. If you are not happy with your results you can use regular rubbing alcohol along with a paper towel to remove the colour and then you can start again. No two results are ever the same, just work with colours you like and you never know, you might end up finding colour combinations that look amazing together.
I used the Big Sending Sugar Script die set, cutting the word in a darker purple and the shadow in white. The second line of the sentiment ‘handmade hugs’ was stamped and embossed in white. The sentiment if from the Sending Love stamp set. Both of the sentiments were adhered to the mandala centre.
The results are just beautiful.


Thank you so much for stopping in today to create this card with my and I hope that you give this method of adding colour a chance. You can add to embossed panels or you can create you own panels and cut out your own designs using any of the gorgeous Birch Press Design craft dies! Be sure to stop back in on Friday for more creative inspiration here on the blog. Have a wonderful day!

Supplies