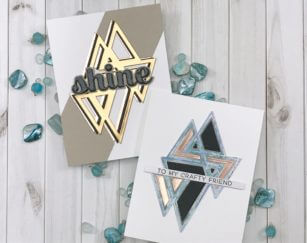

Who couldn’t use a rainbow to help brighten their day? Today I have a card and video for you using one of my favourite dies along with some rainbow ink blending!

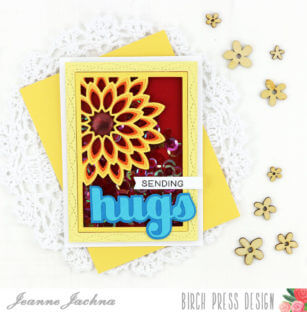
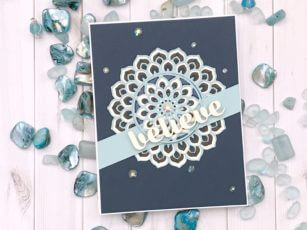
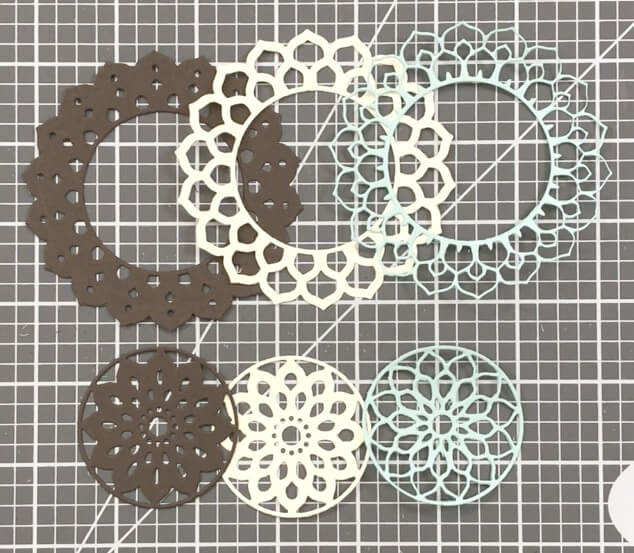
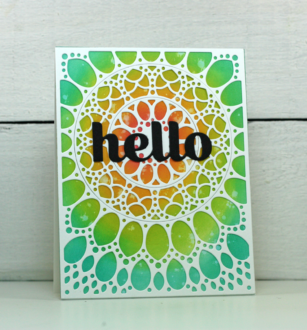
The Grace Layer dies were one of the very first mandala dies that Birch Press Design introduced. For me it was love at first sight and I still catch my breath when ever I see it. Today I used just the top layer, Layer A, along with a rainbow of Distress Oxide inks to create this pretty card to say hello!

In the following video I will show you how you can use inks blending to create a pretty background and then top that background with a single layer to make the design pop.
The hello sentiment was cut with the Big Hello Sugar Script die in black and then it was adhered to the centre of the mandala with liquid glue.

The bright colours look so pretty behind the white Grace mandala die cut.

This card is going out in the mail right away and hopefully it will bring a smile to a friend who is as happy to see spring as I am!

Thank you for stopping in today and be sure to come back again on Friday for more Birch Press Design inspiration from our team! Have a wonderful day!

Supplies