


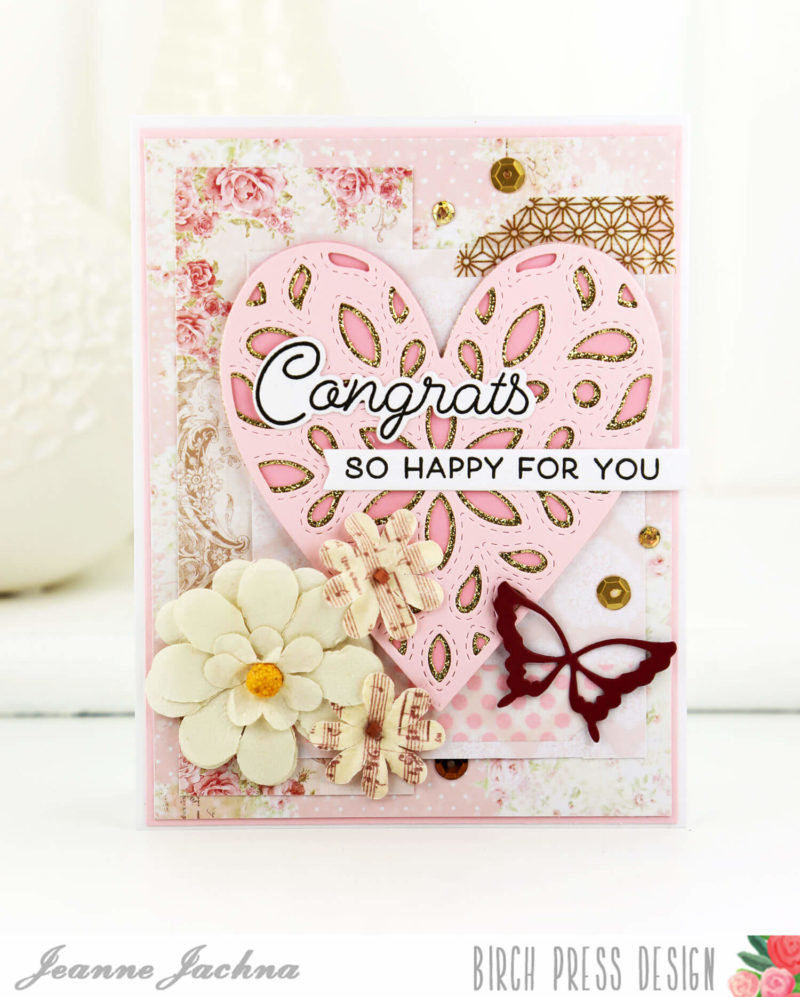
 I hope you’re having a great day! Today I’m sharing a pretty in pink wedding congratulations card made with lots of goodies from the Birch Press Design Store. Here’s a peek at the finished card…
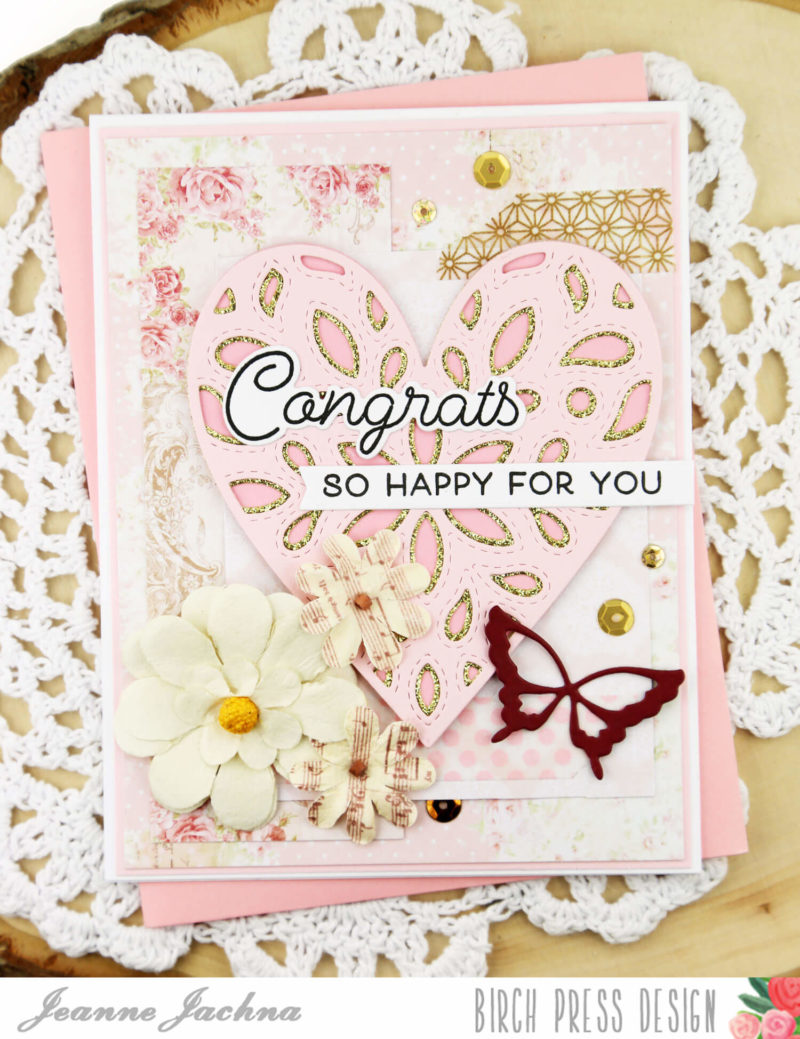
I started with the FIORI HEART Layers B & C die cuts from pink and gold. I didn’t use layer A because I didn’t want to cover up the pretty stitched design. When working with layered dies gold is always a beautiful accent layer. It adds sparkle and elegance to any project.
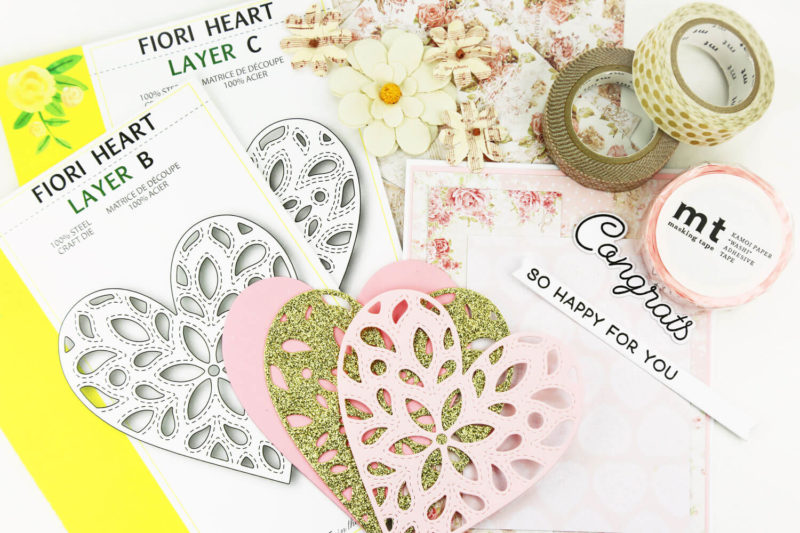
I layered LOVE STORY paper from the store on a card base before adhering the FIORI HEART die cuts.
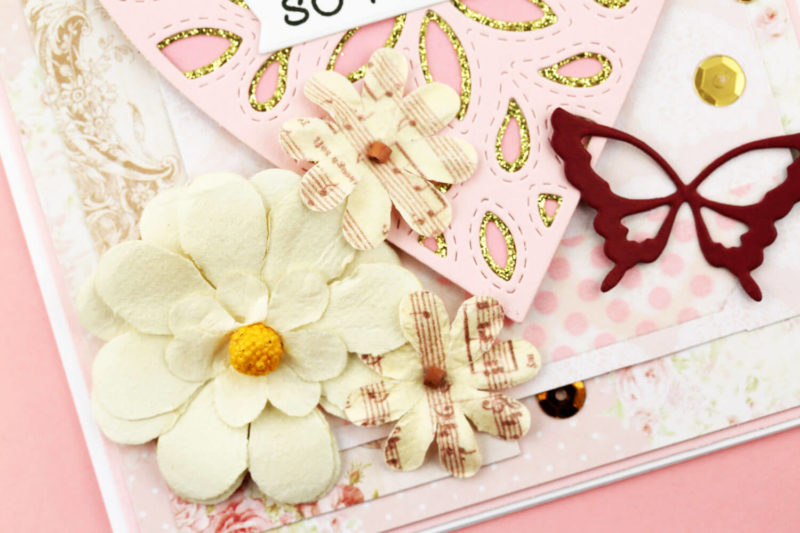
There are lots of beautiful embellishments in the store, like these paper flowers. Can you spot the sprinkle of NOT SO HEAVY METAL Sequins? The “Congrats” sentiment comes from the HOORAY FOR EVERYTHING stamp set, and of course coordinating dies are available.
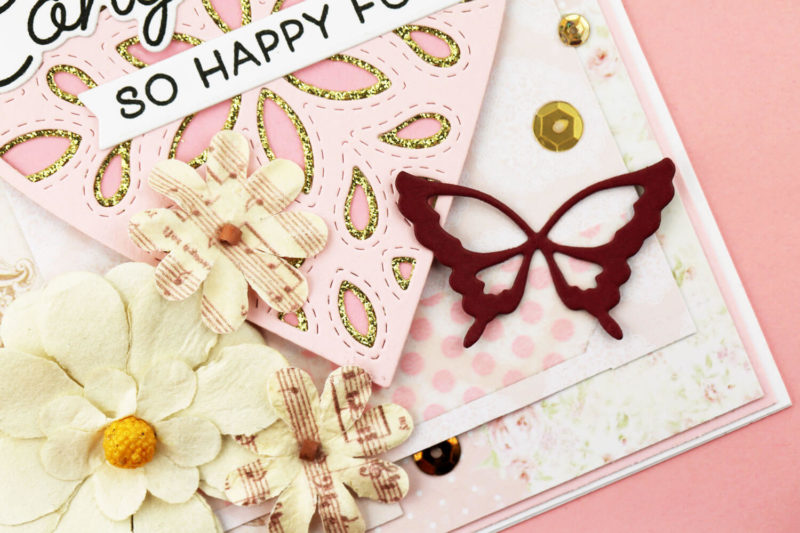 A GENEVIEVE BUTTERFLY makes a pretty accent. This butterfly is available in 3 layers – but each one looks amazing “as is” no stacking required. It’s really not necessary to have “all the layers” of each design to make something beautiful.
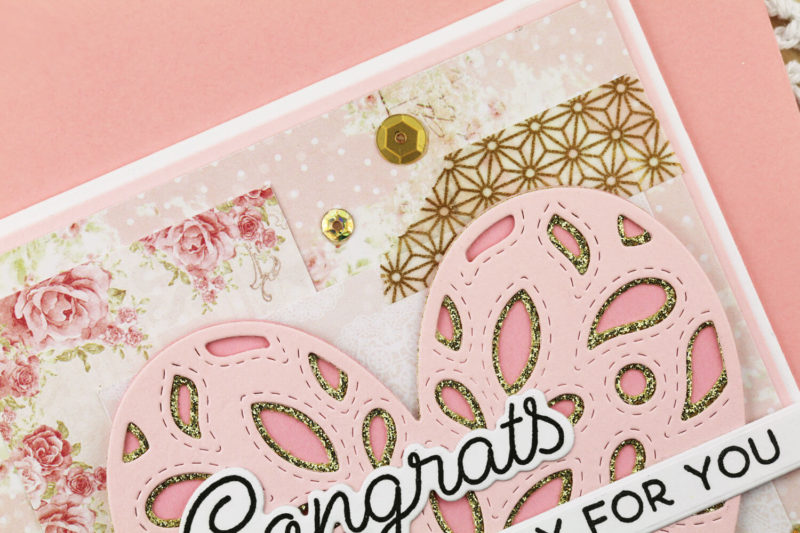
I’m loving the new Washi in the store too. The MORNING FIELD BRASS washi adds a pretty metallic accent that picks up on the gold in the FIORI HEART. Can you spot the STRAWBERRY MILK Washi? When working with pattern paper I like to add washi where there are seams from adding layers.
I know you’ll love working with all the craft supplies in the shop. They’re the very best quality that are always a pleasure to work with!

Finished Size 4.25 x 5.5″
 Fiori Heart Layer CBPD |
 Fiori Heart Layer BBPD |
 Hooray For Everything BPD |
 Hooray For Everything Dies BPD |
 Genevieve Butterfly Layer BBPD |
 Love Story 6″ PaperBPD |
 Mine FlowersBPD |
 My Favorite Story FlowersBPD |
 Not So Heavy Metal SequinsBPD |
 Dot Strawberry Milk TapeBPD |
 Morning Field Brass TapeBPD |
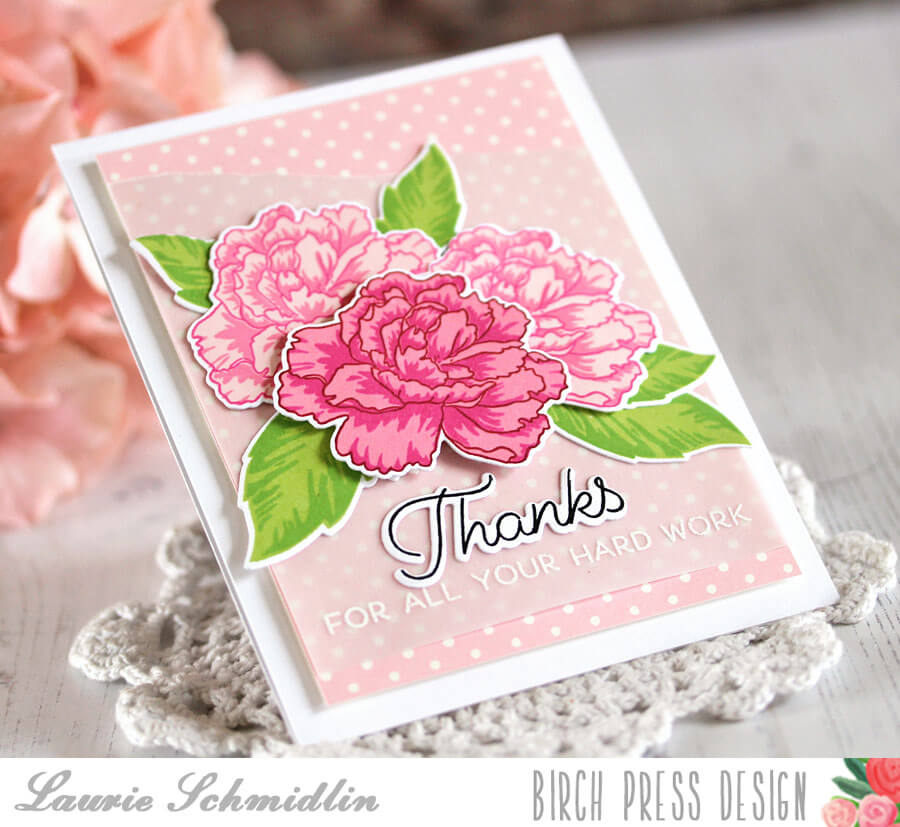
Hello there! Laurie here and I’m back today sharing a fresh, Spring colored card with you!
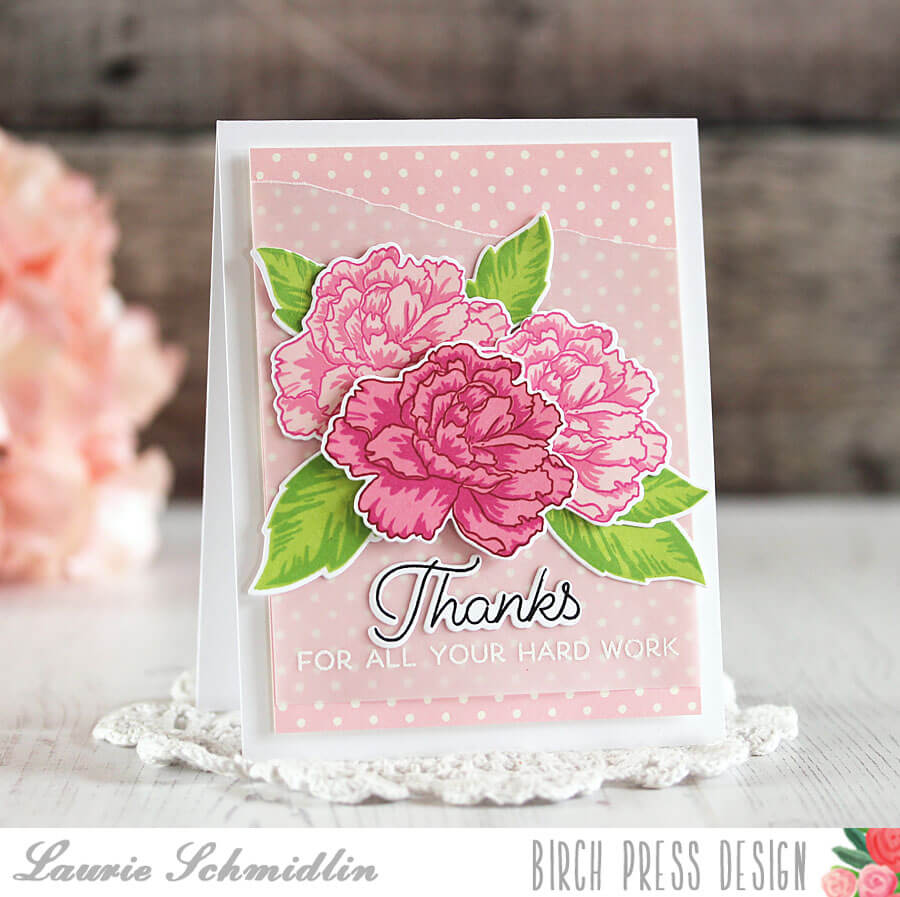
One of my favorite ways to add vibrant colors to a card quickly, is to use a multi step stamp set. On my card today, I chose the Delicate Peony set.
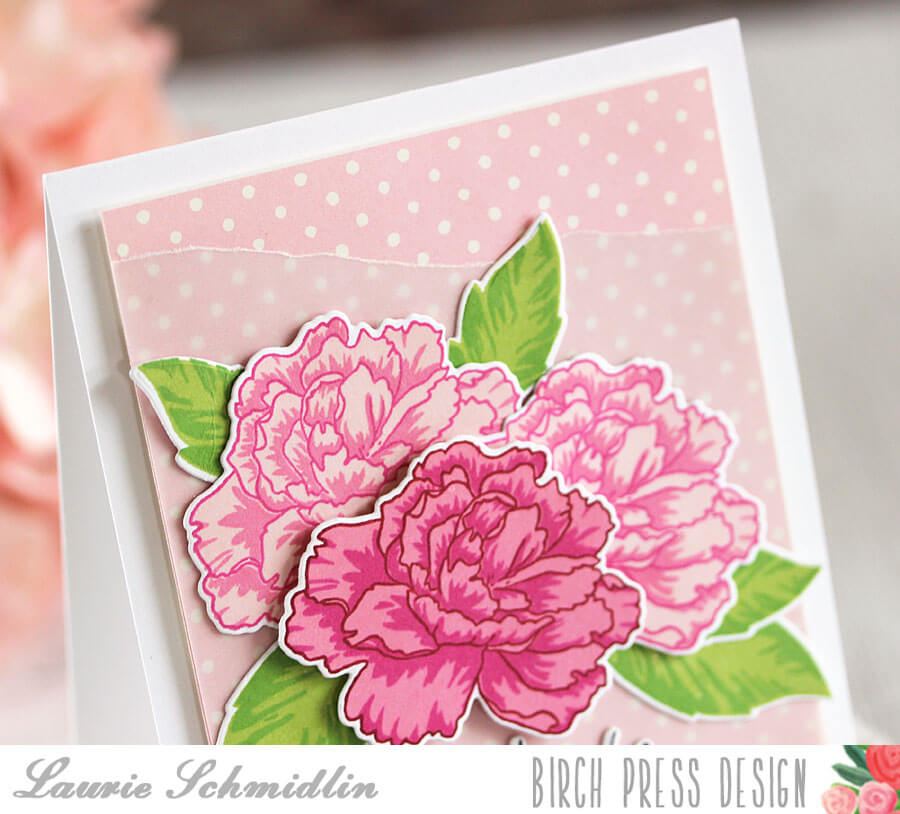
For the background, I cut a piece of the Bubblegum Dots Patterned Paper. I wanted to soften the paper just a bit so that the flowers would stand out more. To achieve this, I layered a piece of heavyweight vellum over the patterned paper. You are still able to see the paper but the colors and pattern are muted just a bit, making your focal image easier to see.
After stamping all of the flowers, I die cut them out using the coordinating Delicate Peony die set.
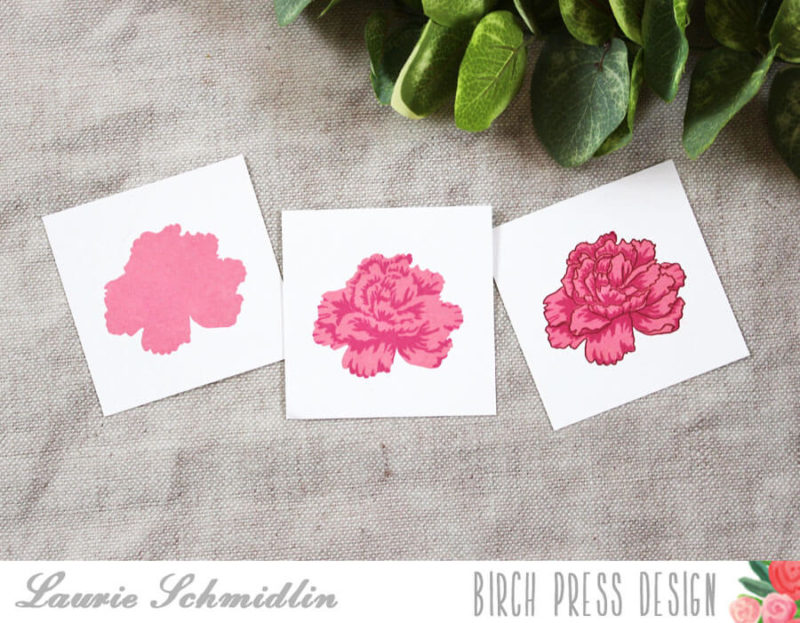
Stamping with multi step images is easy! I start with the solid image first and ink it up using the lightest of my ink pads. Next, I stamped the bold shading image in a slightly darker pink. I find using a stamp positioner helps a great deal when lining these images up, but it is not necessary. For the last step, I stamped the outline image in the darkest pink/red ink.
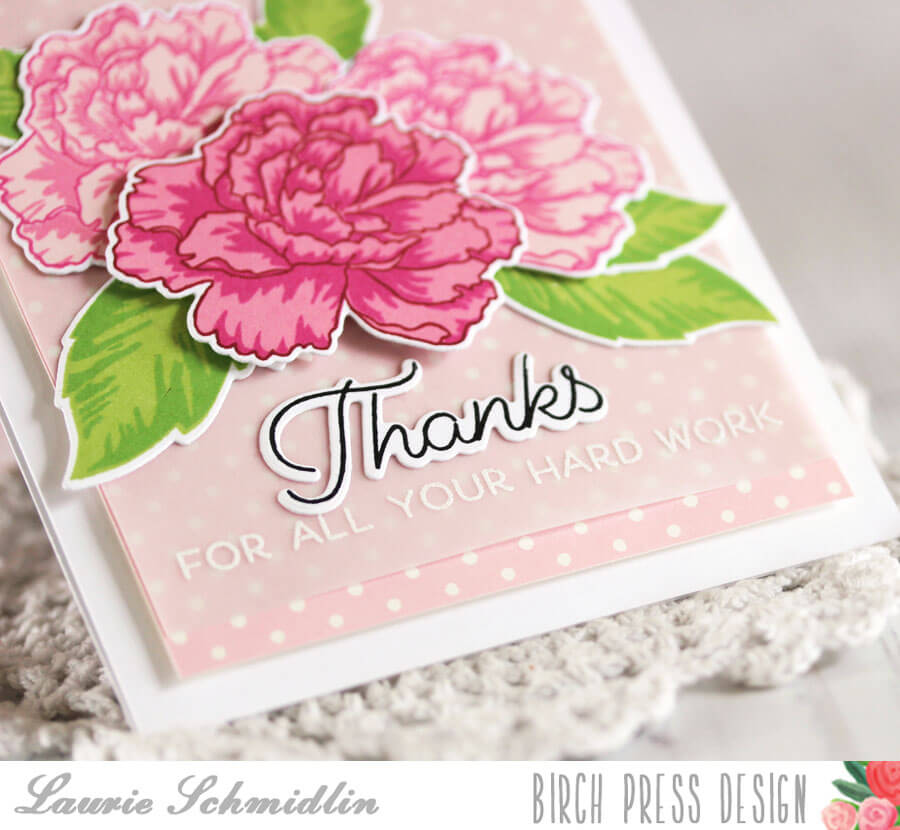
For the sentiment, I stamped and die cut the Thanks stamp from the Just Because stamp and die set bundle. I also embossed one of the companion sentiments from the same set directly onto the vellum.
Thanks so much for joining me here today!

Supplies
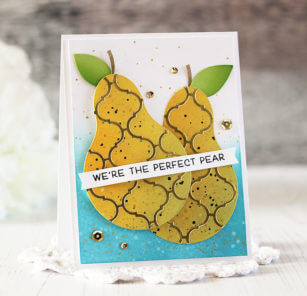
Happy, happy Friday! Today I’m sharing a technique that will allow you to stretch your dies even further!
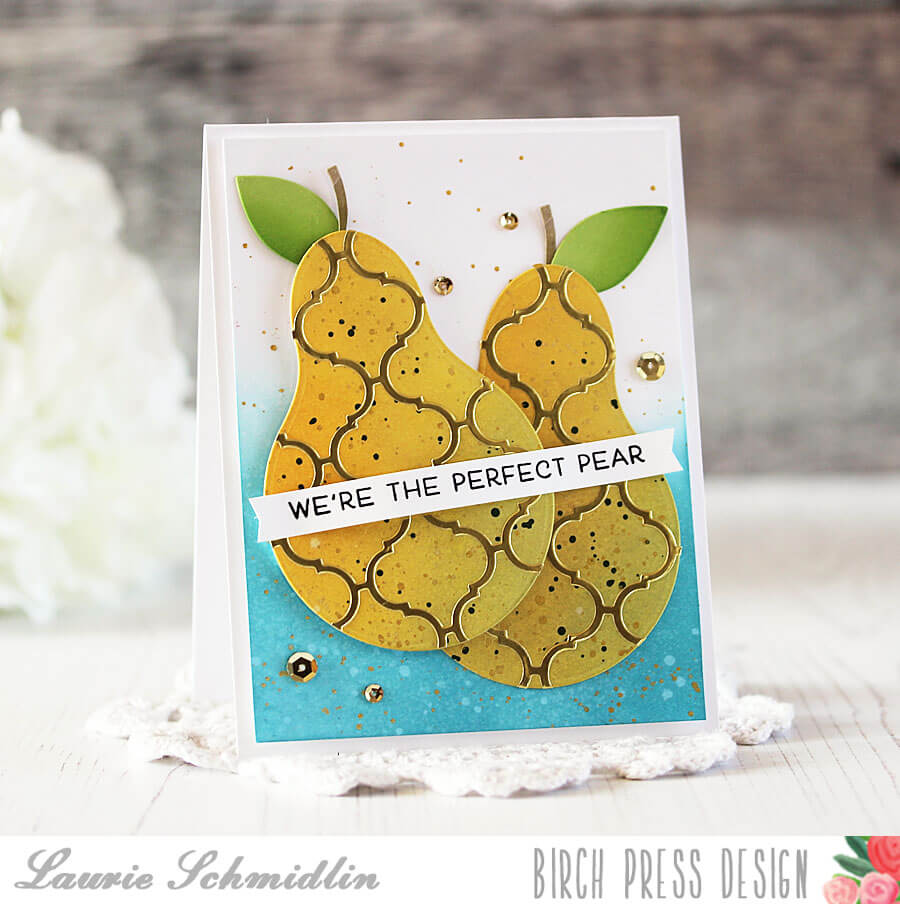
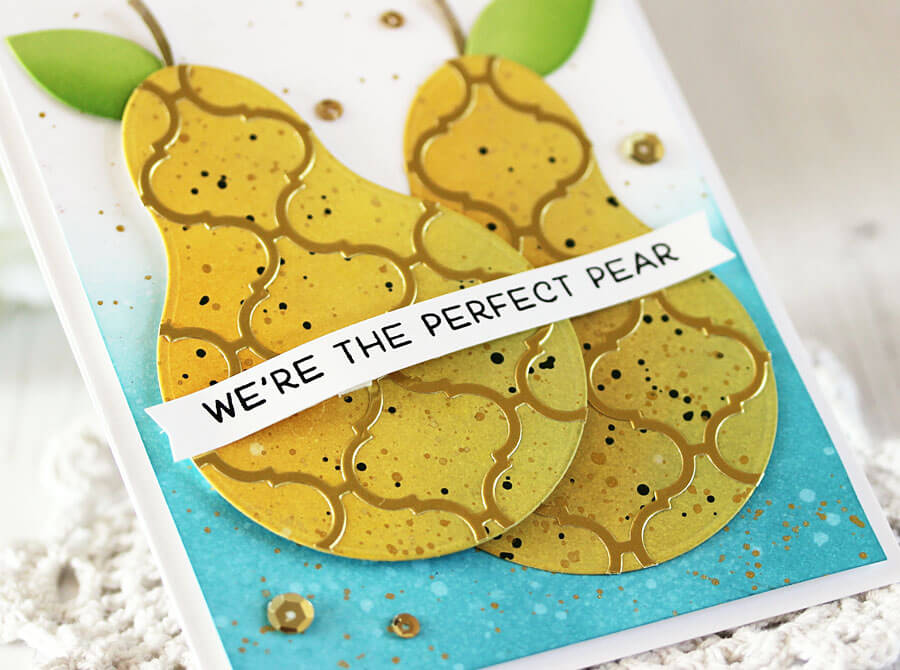
This card came about as one of those crafting “happy accidents”. I was flipping through my dies in search of the Perfect Pears Die Set and a saved die cut (I never throw away full cover plate die cuts but store them for future use) fell out onto my desk. The die cut was one that I had cut out of silver cardstock with the Delfina A die. As I was getting the pears out to die cut the through occurred to me that the two would look great together!
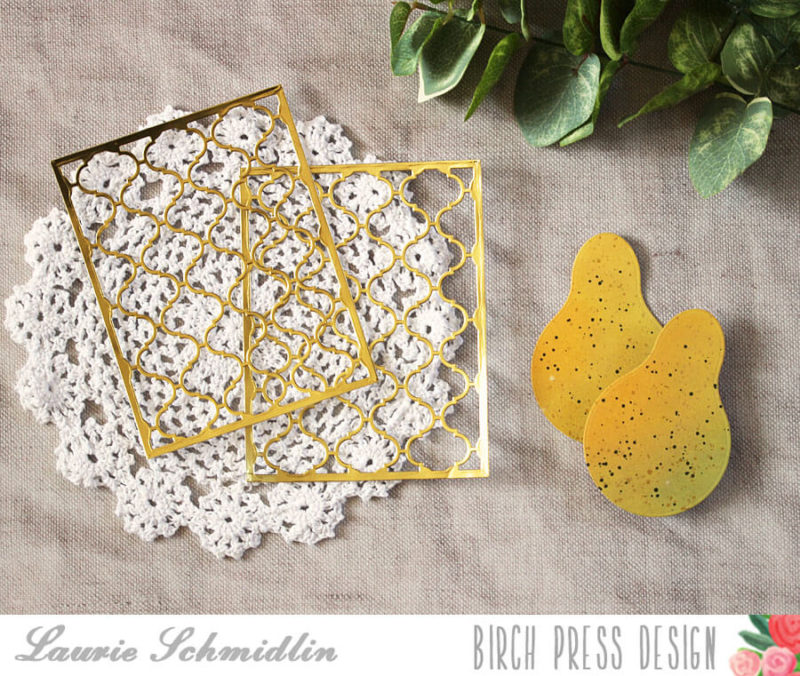
I knew that I didn’t want to use the silver but thought gold would be a better choice for my pears. So I die cut two of the Delfina A layers from gold cardstock. I also die cut two of the largest dies from the Perfect Pears die set. I sponged ink on them using Distress Oxide inks. To add some extra texture, I splattered the pears with both dark green and gold paint.
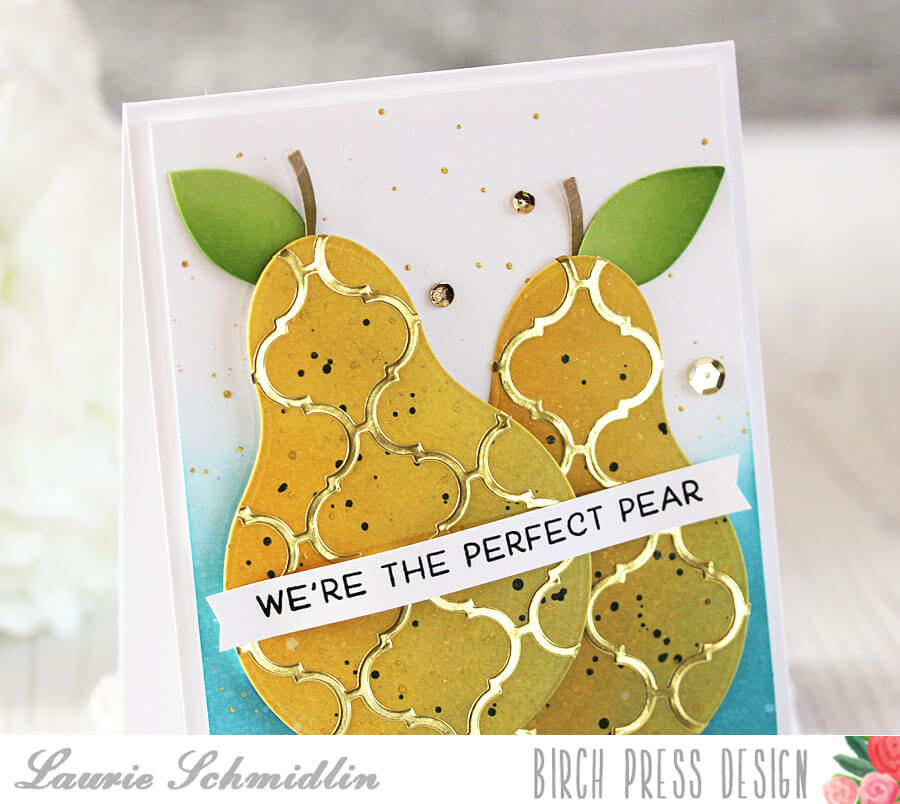
I adhered the gold die cuts on top of the pears and trimmed around the pear edges. The Perfect Pears die set included the leaf and stem dies, so I die cut those out of green and Kraft cardstock.
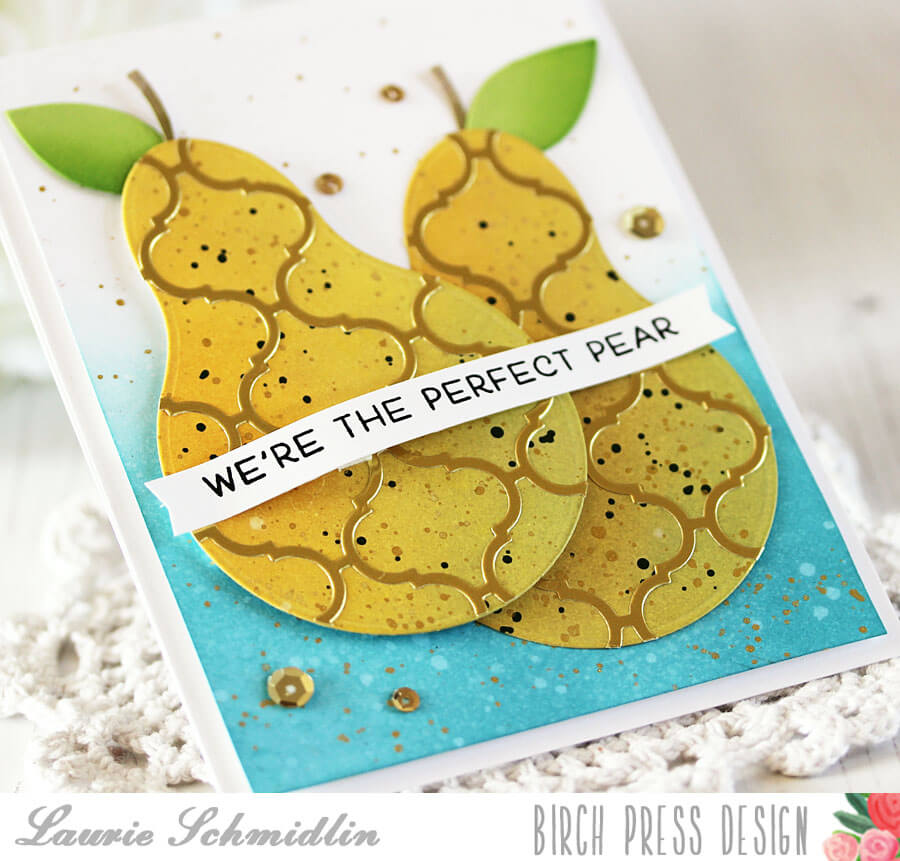
For the background of my card, I sponged some turquoise Distress Oxide ink. Again, for added texture, I splattered on both water and gold paint.
I chose the “We’re the Perfect Pear” sentiment from the Love and Miss You stamp set. I created a little banner by trimming each end and then adhered to the card using dimensional foam. For embelllishment, I sprinkled on some gold sequins from the Not So Heavy Metals sequin mix.
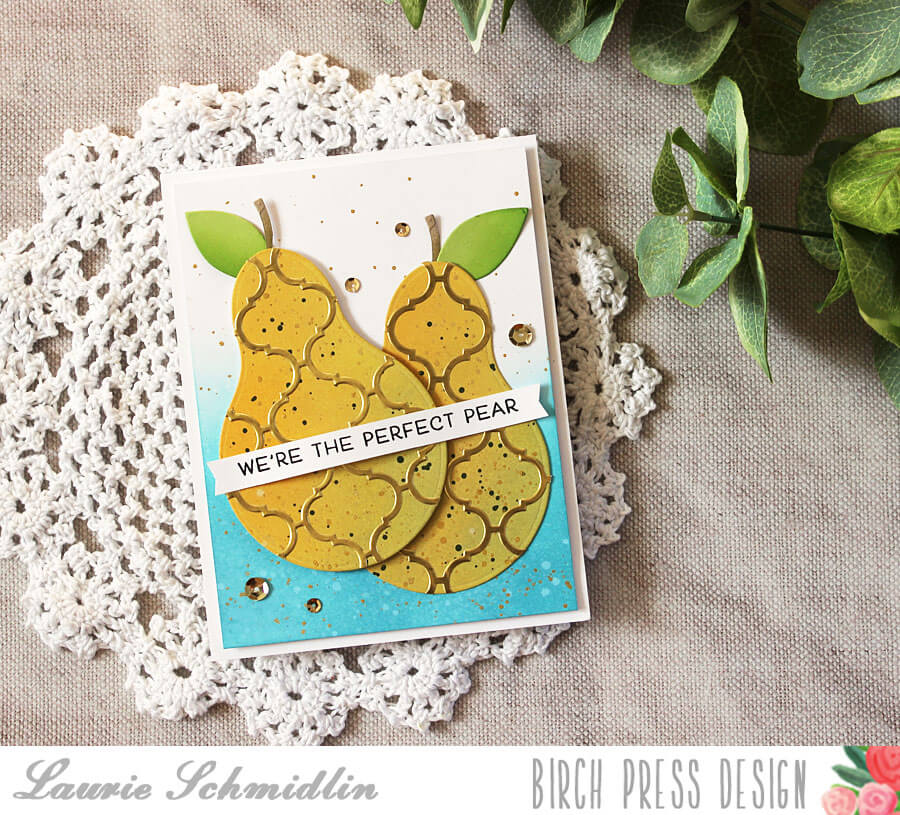
I have to say that I really love how this turned out! The gold die cuts add a touch of elegance, giving the pears a whole new look!
I hope this has inspired you to look through your dies to see what you might be able to combine to create something new and unexpected!

Supplies
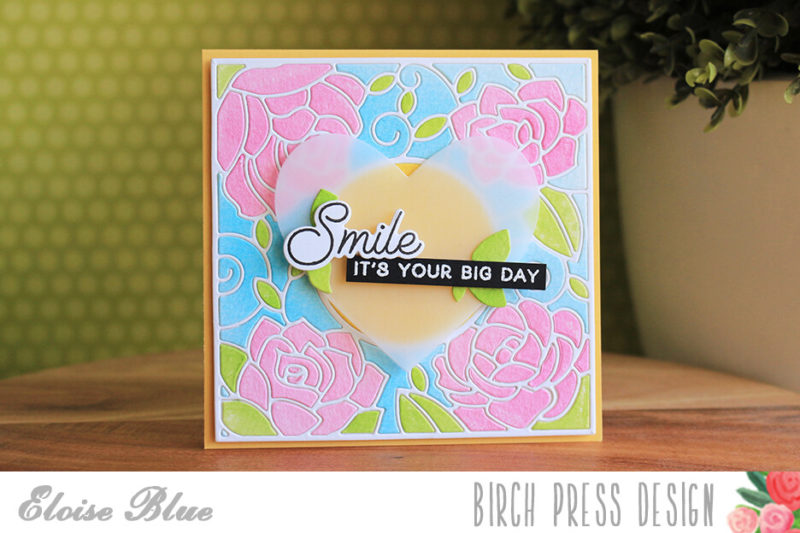
Hi friends, Eloise here and for today’s project I have a wedding themed card for you all. This could even be used for a birthday card, or if you change up the sentiment – it can be used for so many occasions. I’ll be using the Time To Celebrate and Wishing You The Best stamp sets, along with the Perfect Hearts Dies and Squash Notecards for my base. For my inlay technique, I’ll be pulling in the Poppy Stamps Rose Frame Dies also, since I felt like it complimented my design well.
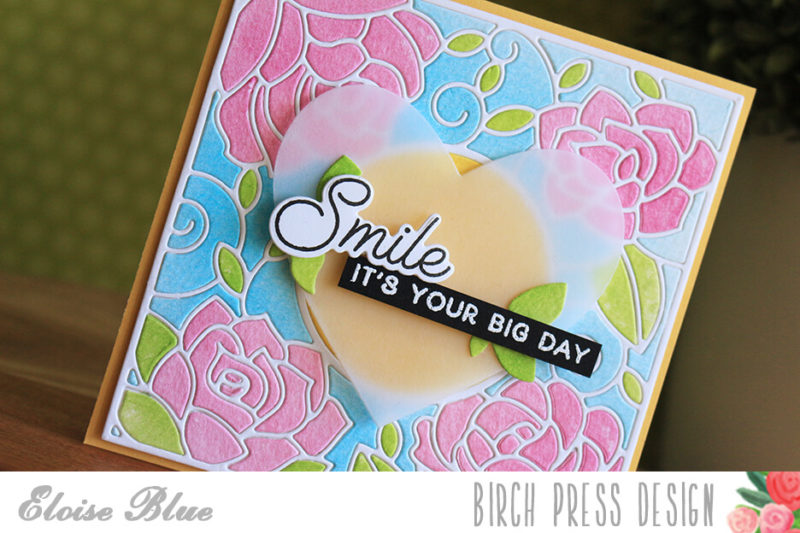
To begin my card today, I first took three pieces of watercolour cardstock, cut them down and ink blended some Distress Inks on to each of the pieces. I used Spun Sugar and Picked Raspberry for the pink, Twisted Citron and Mowed Lawn for the Green and then Tumbled Glass and Salty Ocean for the blue. Once they were all ink blended, I cut the Rose Frame die from each of them by running it through my Big Shot Machine. Once they were all die cut out, I also ran through a plain white piece for the border or frame of the die.
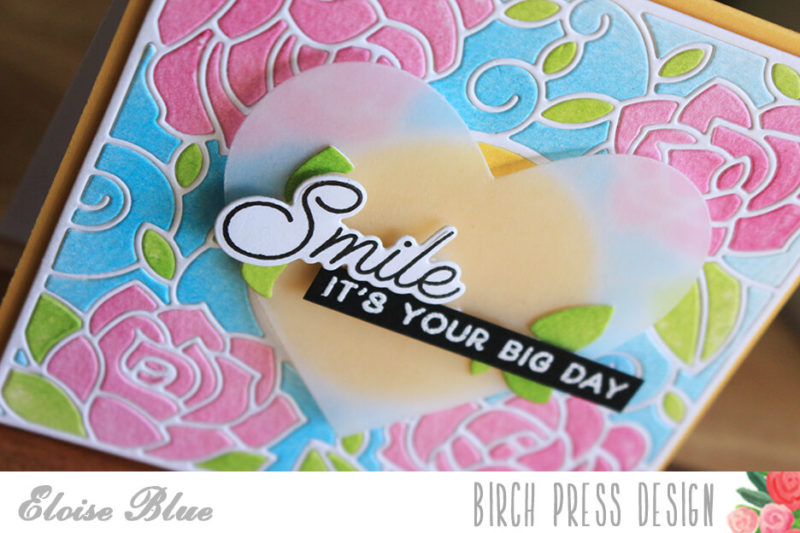
Next up, I took a piece of plain white cardstock, covered it in adhesive, removed the backers and adhered my white frame over the top. This way, I have adhesive showing through all the holes and it makes for adhering a lot easier. I then inlayed all my different pieces into the white frame, to create a multi-coloured panel for my card. I absolutely love in-lay die cutting, it creates for the most beautiful backgrounds.
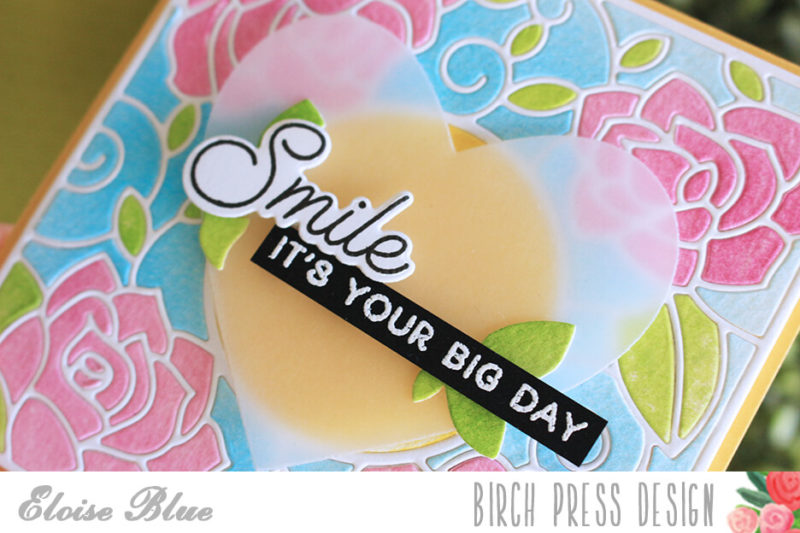
Once my background was done, I added foam tape onto the back and adhered it to a Squash Notecard that I cut down to be square. Then, I took the Perfect Hearts Dies and cut the largest out of vellum. For my sentiment, I used the Wishing You The Best set, stamped and die cut the word smile and popped it up on foam squares and adhered it to my heart. For my additional sentiment, I used the Time To Celebrate set and white heat embossed the ‘It’s Your Big Day’ sentiment onto a thin black strip. I repeated the same steps to adhere, and then added foam squares on the back of my heart also, just behind the sentiment so it doesn’t show through and adhered the entire heart onto the centre of my card.
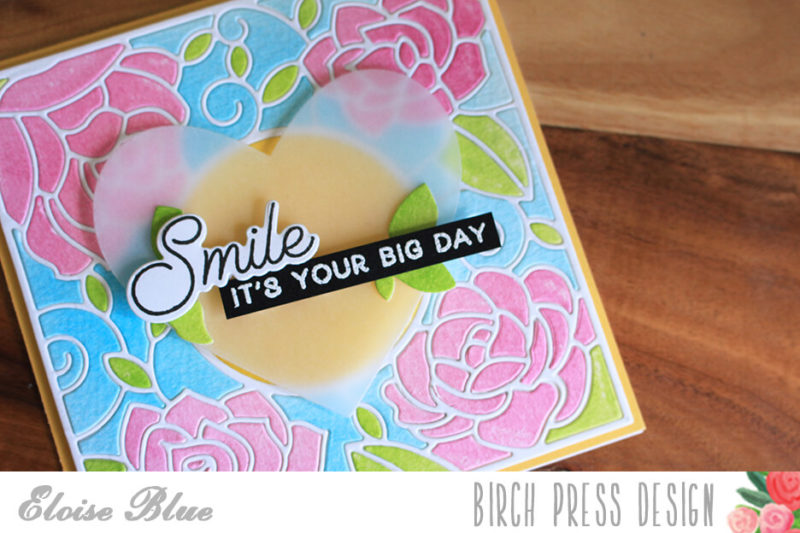
To finish up my project today I adhered a few of the extra ‘leaf’ looking green bits from my die cut background earlier, and adhered them around the sentiment to add a little more green onto my final card.
Thanks so much for stopping by today, I hope you enjoyed and got inspired. The video is linked down below for you all to watch, also.
Hope you enjoyed it and I’ll catch you next time!

Supplies
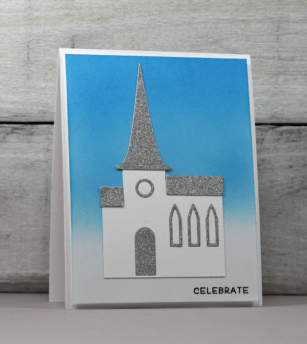
Happy Monday and welcome to another inspiration post at Birch Press Design. I have a clean and simple card for you today along with a video tutorial to show you how I made it.
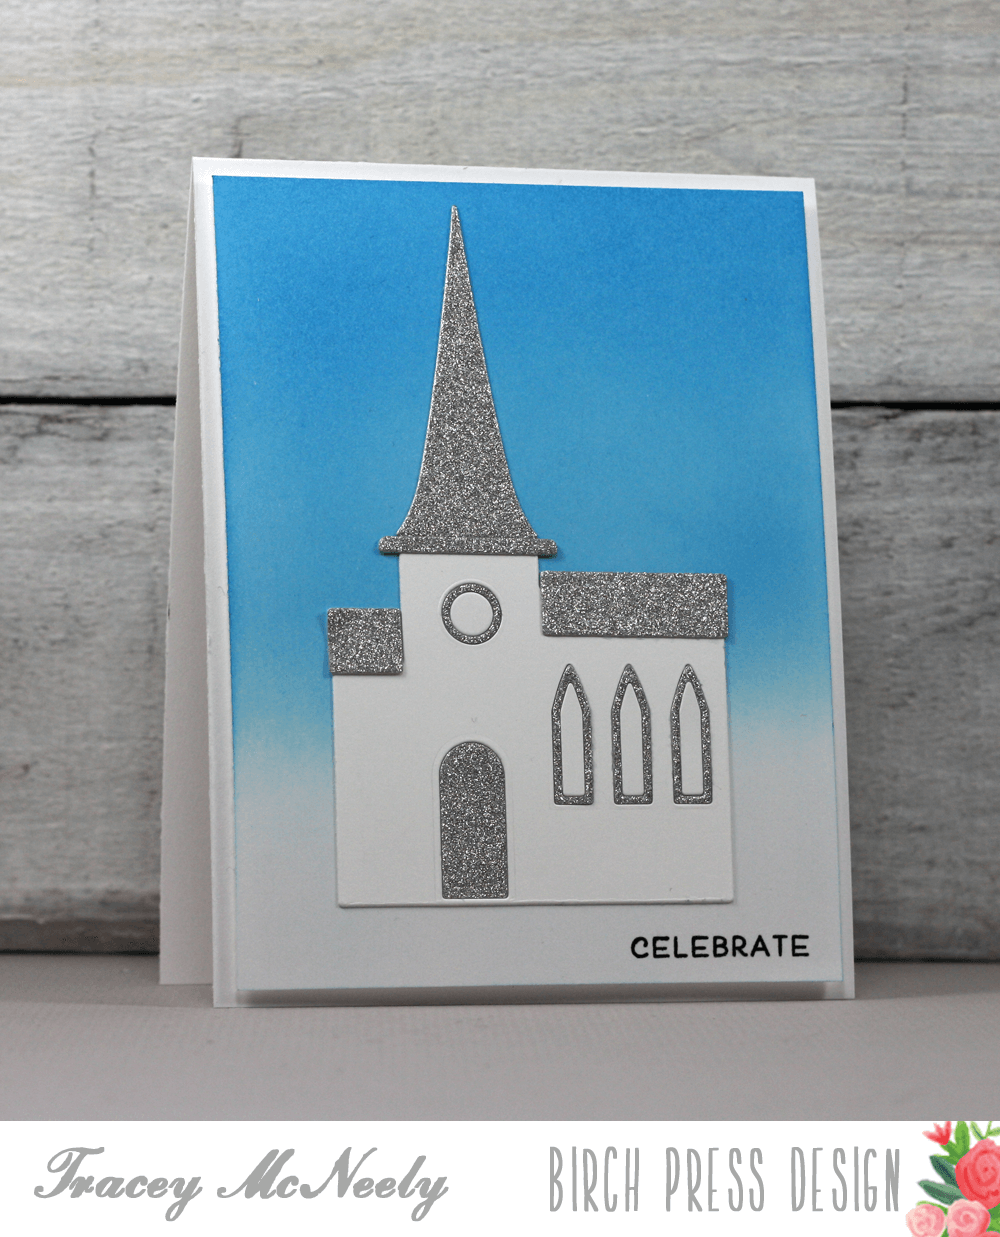
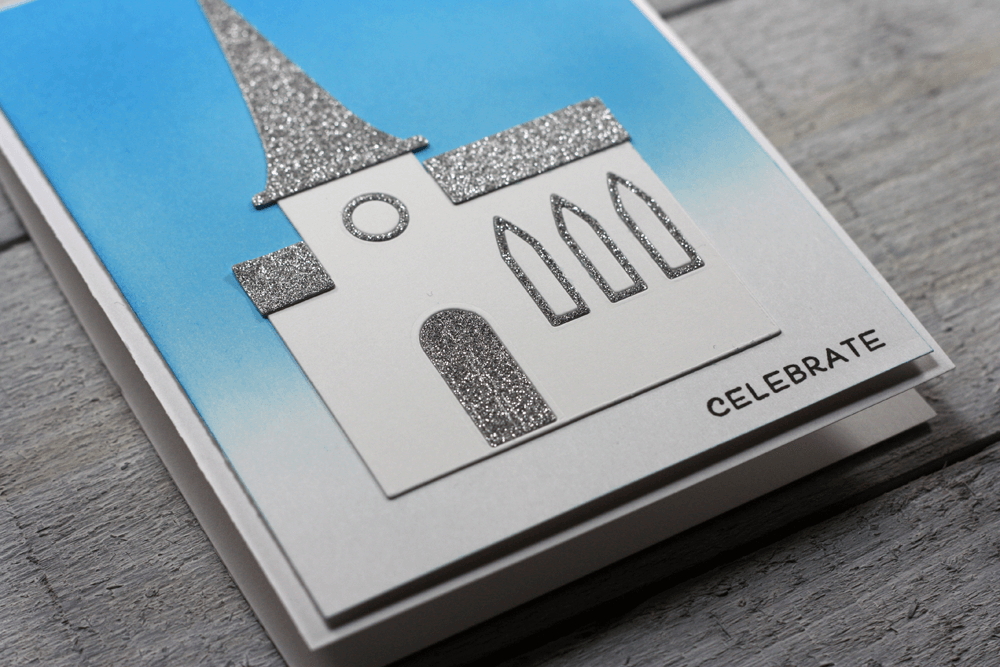
I used the Birch Press Design Simple Church craft die to create my card which could be to celebrate Easter or any other occasion that you would attend church for. The die can be used in one colour where you can clearly see all its detail or you can use a variety of colours to highlight the details like I did today. I started off by sponging a panel of Bristol Smooth cardstock using Distress Oxide ink to create a beautiful blue sky.
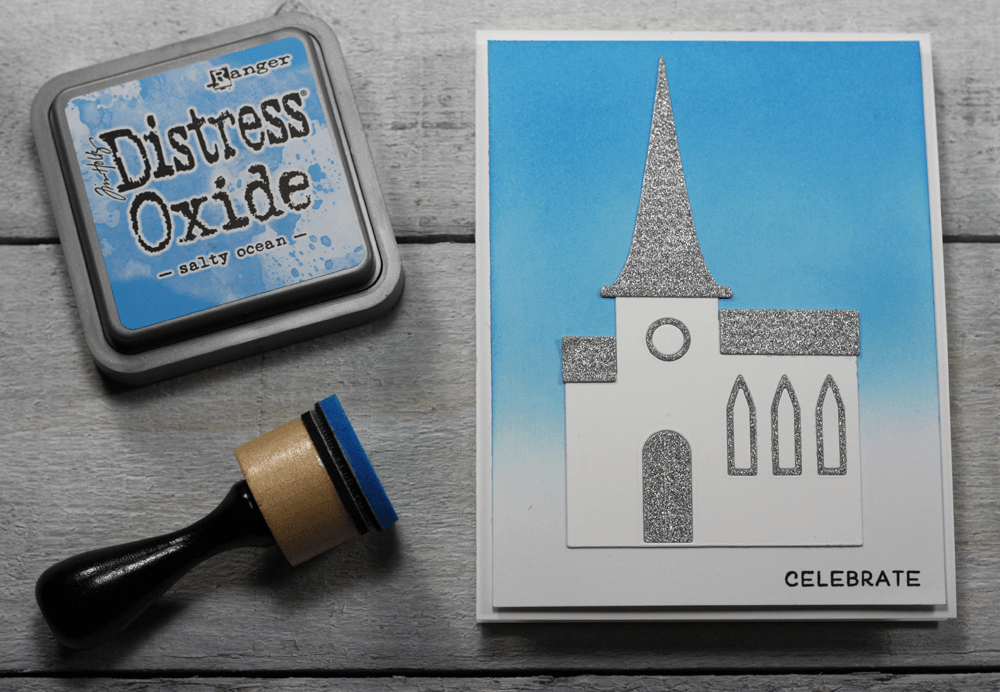 Here is the video of my process:
As I was creating the card and filming the video I decided to change the border of the clock, the border of the windows and the main door of the church from white to silver sparkle cardstock to really make the church shine.
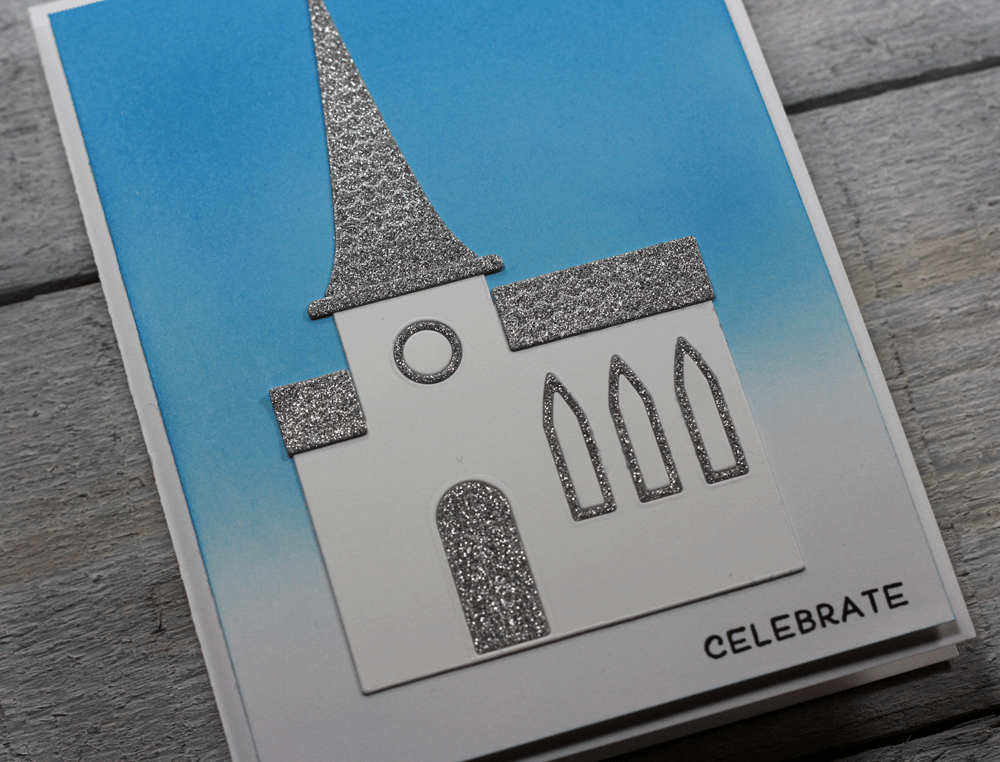
If you look closely you will see that the die was able to etch the texture of the shingles right into the silver sparkle paper, just gorgeous!
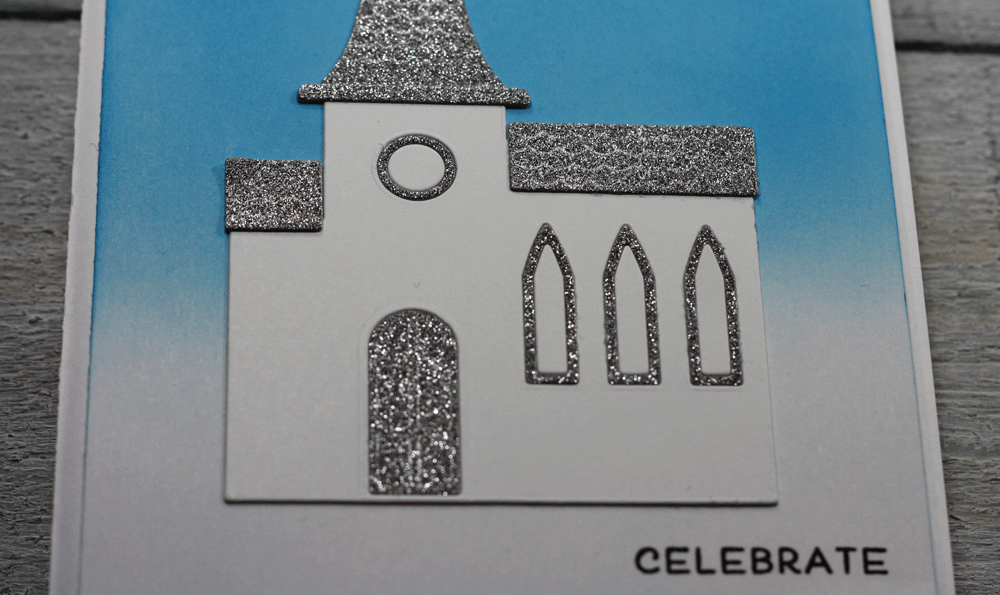
Thank you so much for joining me today and I hope that I have inspired you to look at the Simple Church craft die in a new way. Be sure to come back and visit us on Wednesday for more Birch Press Design inspiration.

Supplies
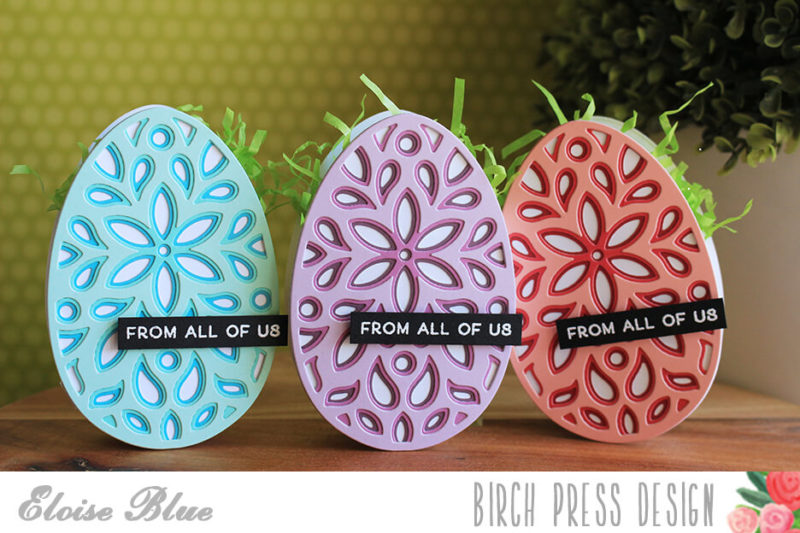
Hi everyone, Eloise here and today I have some Easter Egg Goodie Bags to share with you all using the Stitched Egg Die Set along with the Fiori Egg Die Set and Time To Celebrate Stamp Set.
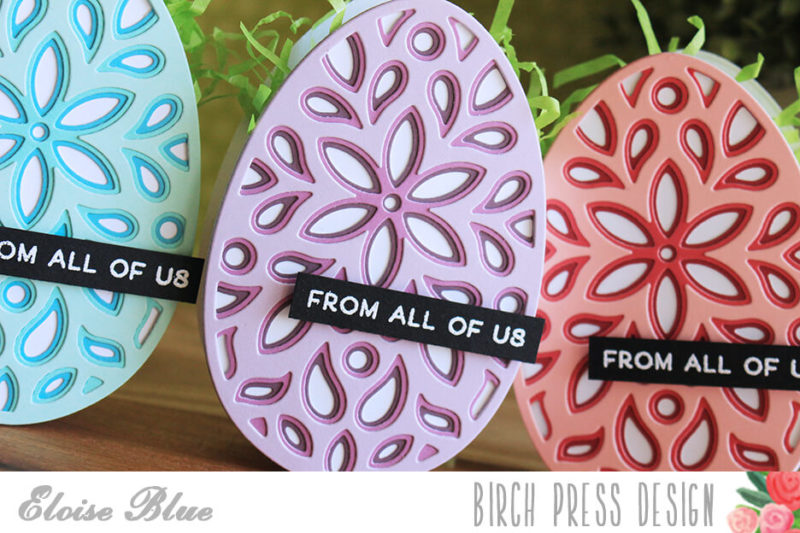
To begin my bags today, I first used the largest Stitched Egg Die from the set and cut it six times from some white cardstock. Once they were cut, I pulled three shades of three colours of cardstock and cut each layer of Fiori Egg from each of them. So the A die cut from the lightest shade, B die cut from the middle shade and C die cut from the darkest shade. One I had three layers of blue, purple and pink I adhered all three layers together using some liquid glue and then those three layers onto a white base.
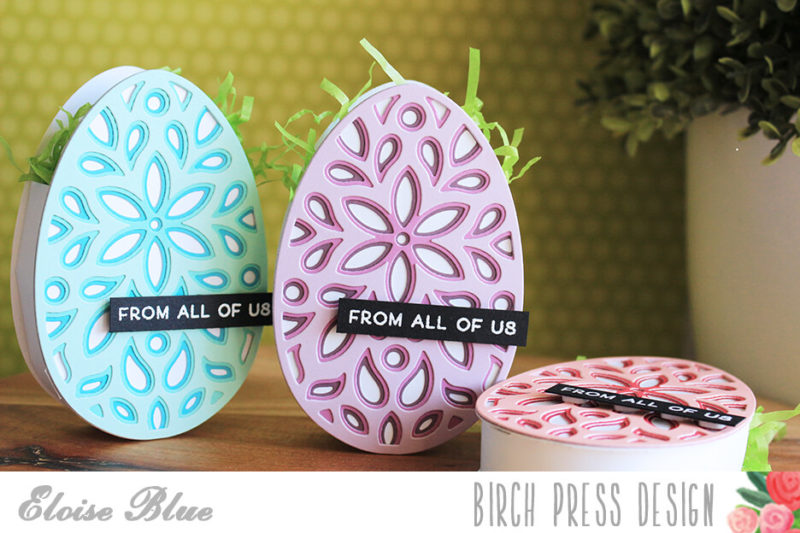
Next, it was time to create the base of my bags. I took some white cardstock, cut them down to 1 1/4″ wide by 6 1/2″ long and then scored each long side at 1/4″. Then, using my bone folder I creased along the scored lines and added thin adhesive to each flap. I then cut some slits up to the score lines on both sides of the strips in the middle of each piece. Then, cutting out every other one to make the strip bend easier. Lastly, I cut small triangles from each of the four sides that were left untouched, so again they would bend easier. I removed the adhesive off each side and adhered it onto my egg layers. One side when on the plain white egg and then I adhered the pretty Fiori Egg on top of each of them.
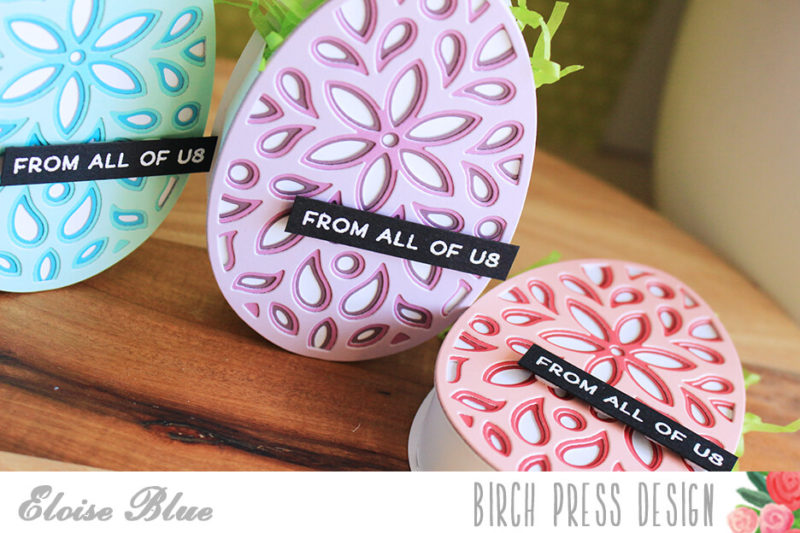
Now that my bags were assembled, I took some fake grass and filled each of the goodie bags. Makes it look a little nicer when you add the eggs. For my sentiment, I took the Time To Celebrate stamp set and white heat embossed the ‘From All Of Us’ sentiment onto thin black strips. I then added foam tape onto the backs and adhered them onto my bags.
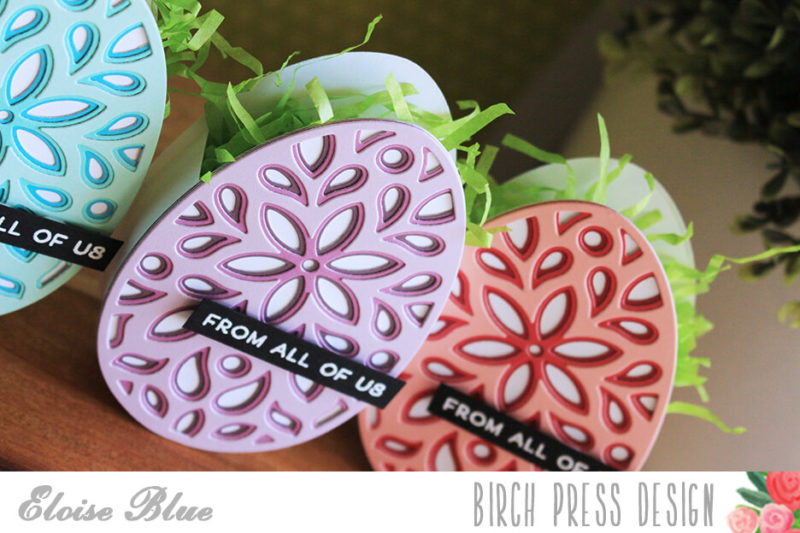
So that finishes up my goodie bags today, I hope you enjoyed. I love using dies in unexpected ways! Also, just wanted to add here that they don’t stand up well, obviously because they are round it’s hard for them to stand up and also, they are quite open at the top, so to resolve the eggs falling out, you could punch a hole at the top and add some twine through, that would probably help and also, these bags are only 3/4″ deep, if you wanted to make them deeper, you could to fit a larger egg or more eggs/gift in, but I just wanted them smaller, but really the possibilities are endless.
So thank you so much for stopping by and watching today, the video is linked above and I’ll catch you all next time!

Supplies
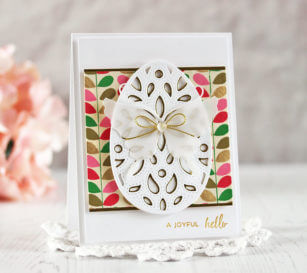
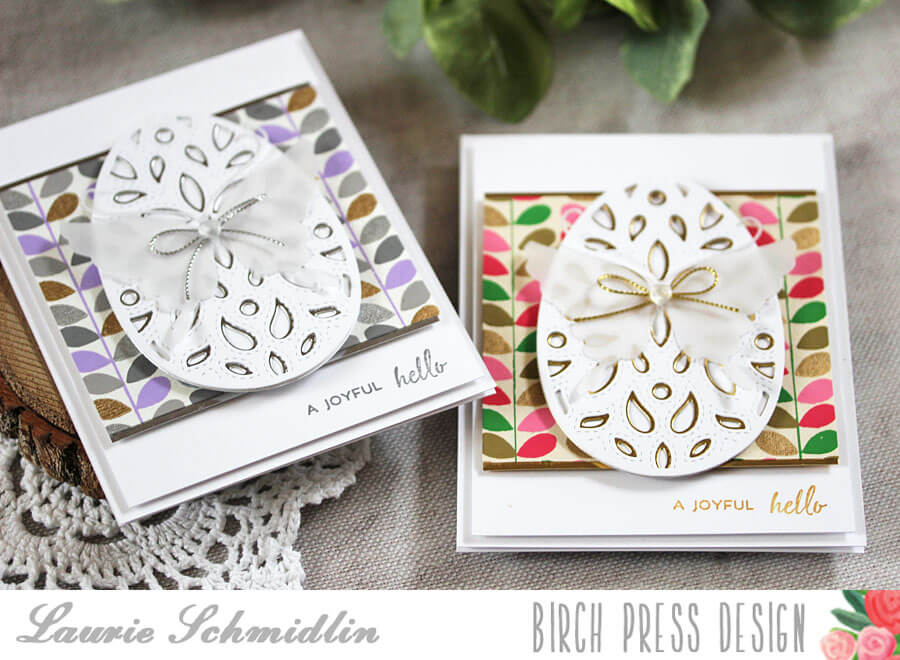
The new Fiori Egg Layer Set is perfect for creating elegant Easter cards in no time at all! The beautiful stitching detail makes it look like you spent hours and not the mere minutes it actually takes to die cut and assemble these eggs!
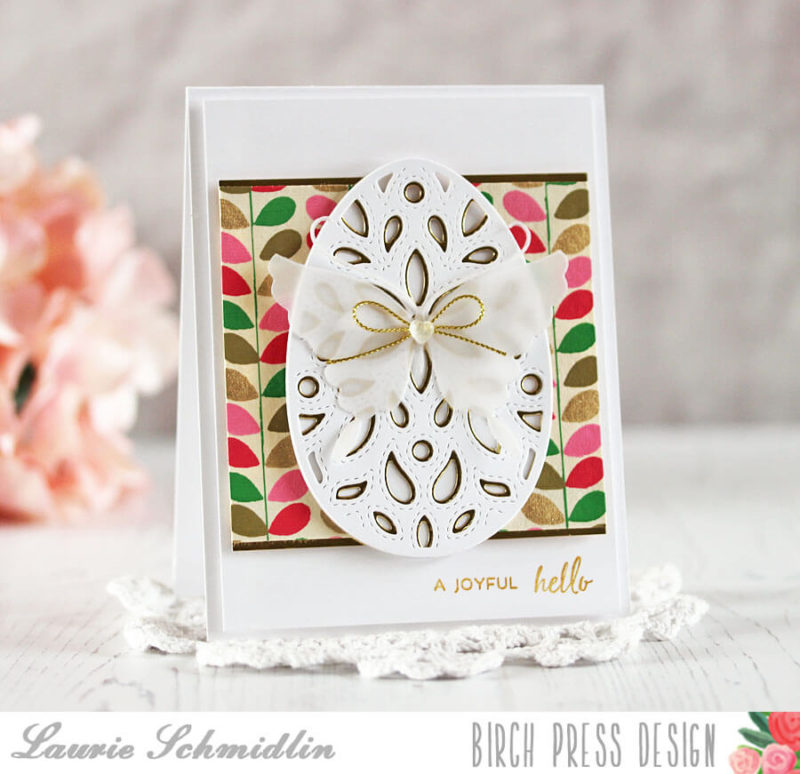
I started by adding a layer of Pink Folia Handmade Paper to a white cardstock background layer.
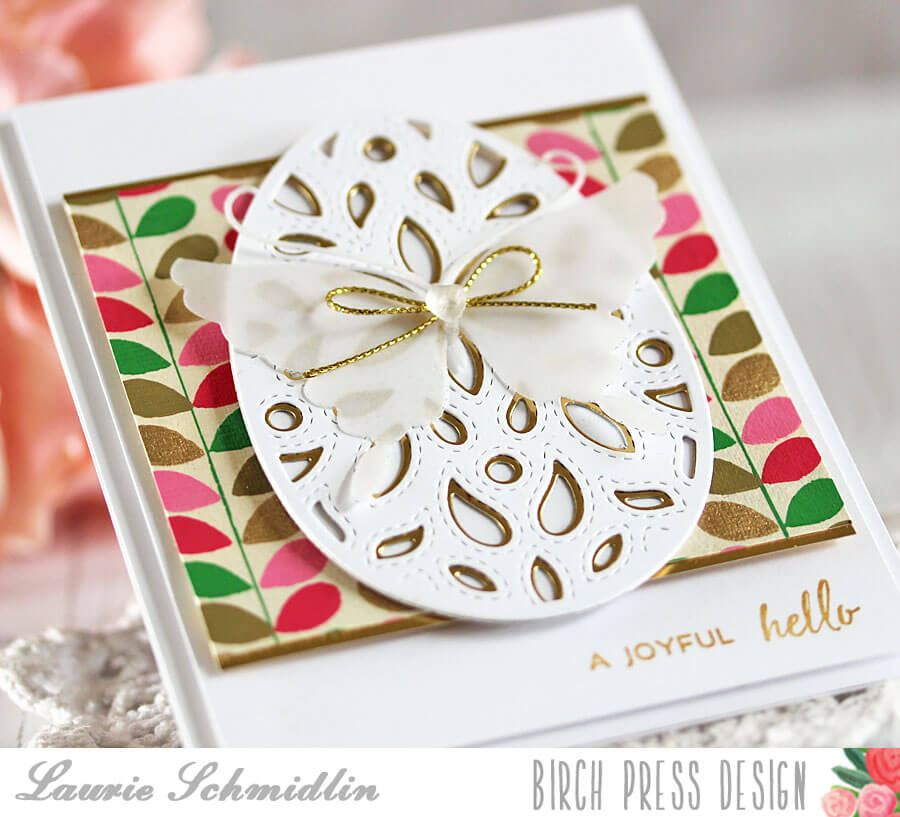
I wanted to accent the gold in the paper a bit more so I added a slightly larger shiny gold layer underneath the handmade paper.
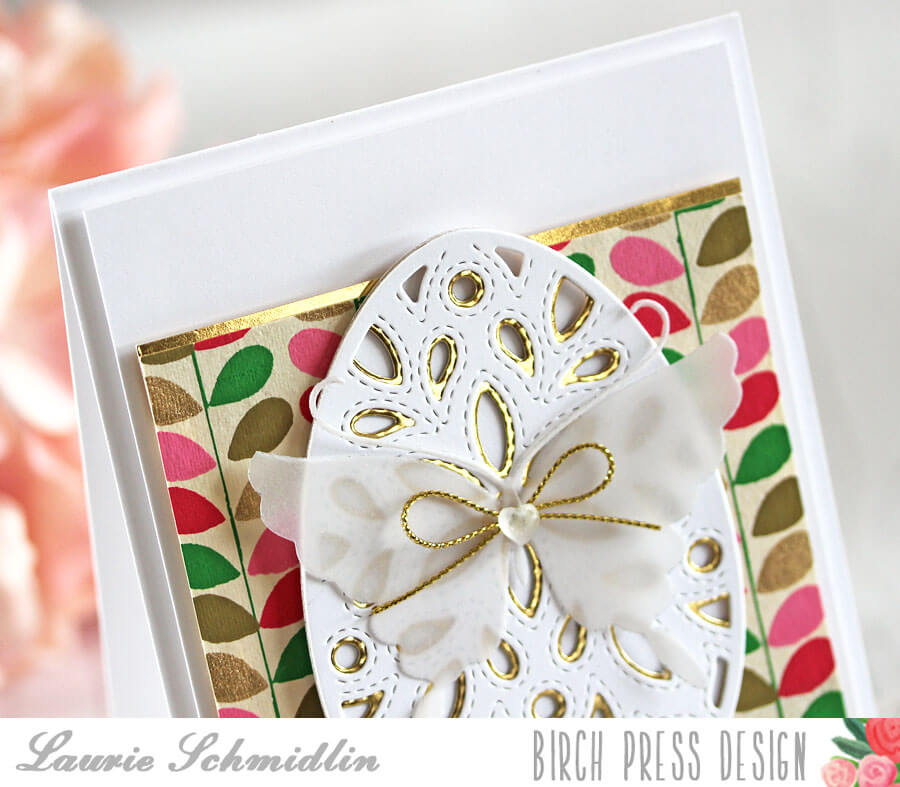
To create the egg, I started by die cutting the Firori Egg Layer B out of shiny gold cardstock. I topped that with a white die cut Fiori Egg Layer C. I adhered both layers onto the a white solid egg layer, die cut with the largest die from the Stitched Egg Set.
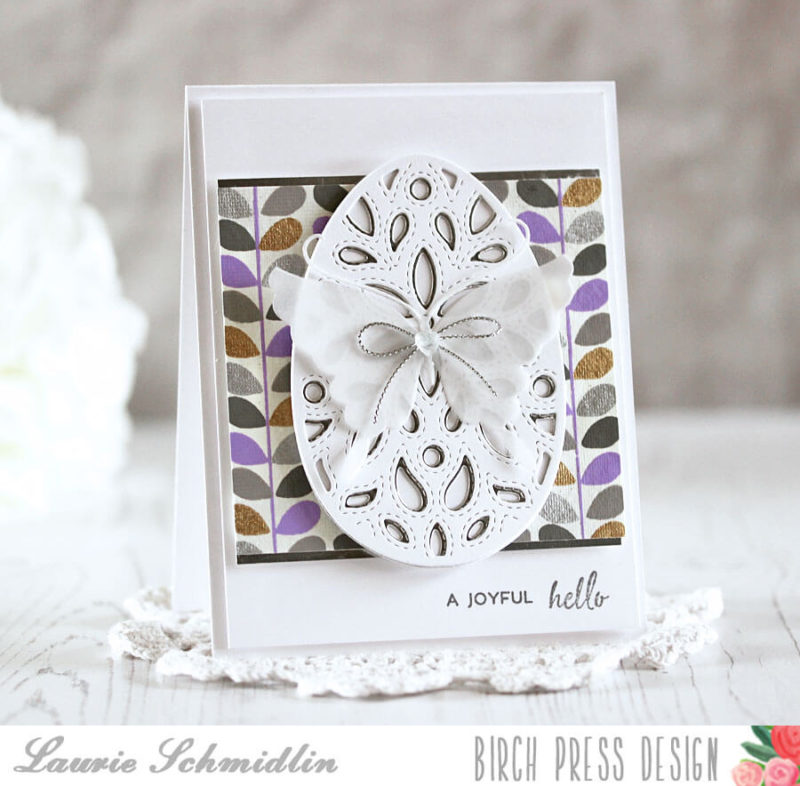
For my second card, I kept the design exactly the same just swapping out the patterned paper and accent color. For this card I used a piece of the Lavender Folia Handmade Paper and shiny silver paper as the accent.
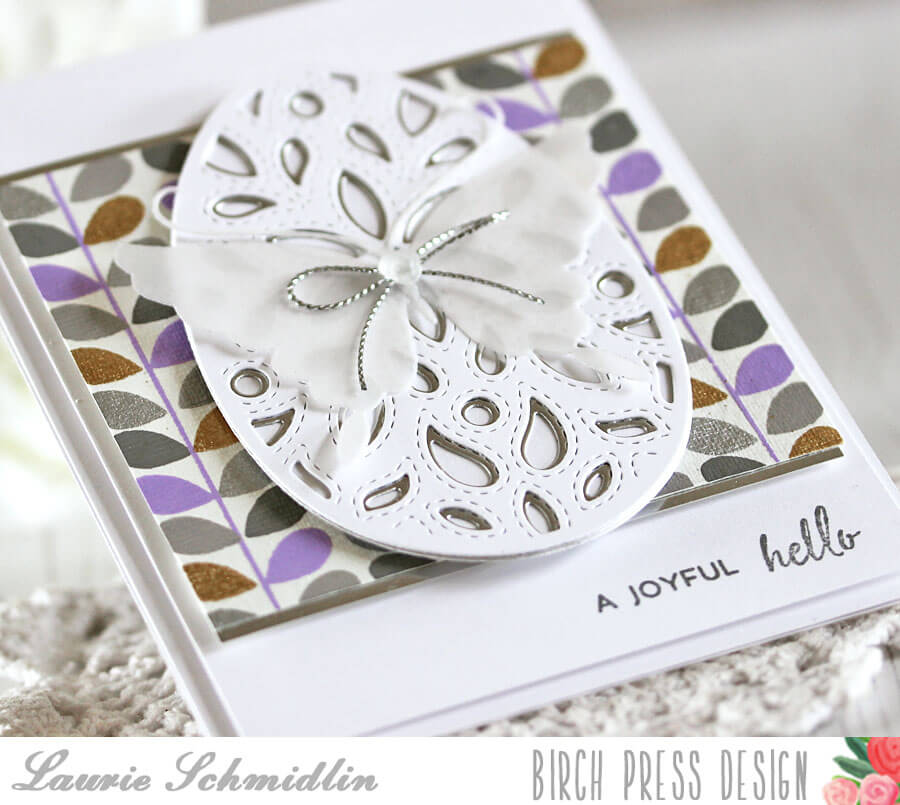
The sentiment at the bottom of each card is from the A Little Birdie stamp set.
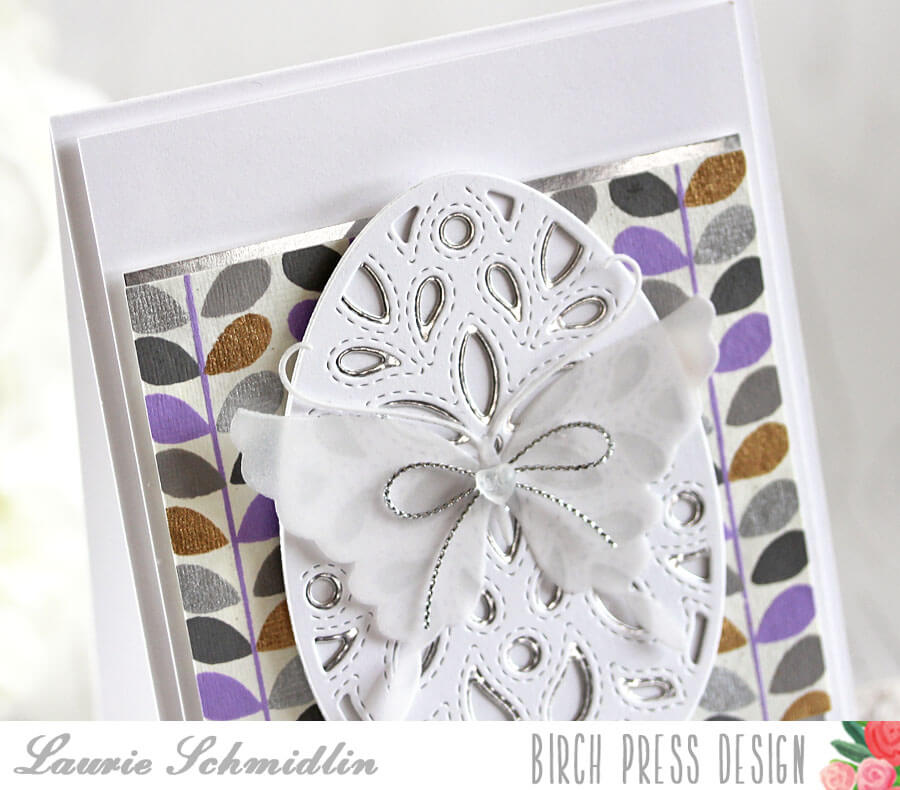
For embellishment, I added a die cut butterfly from the Paradisio Butterfly Layer C die, some metallic string, and a clear heart.

Before I go, I wanted to remind you that you still have time to take advantage of the Spring Sale! Just enter the sale code listed above and receive 10% off your entire order! But hurry, the sale ends tonight (Monday) at midnight PDT!

Supplies
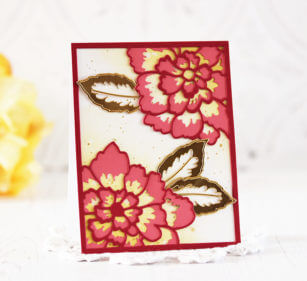

Hello there crafty friends! Laurie here with you today sharing a bright and cheerful peony card.

Some of my favorite Birch Press Design dies to date are the Peony Bloom Cover Plates! With these dies, it is so easy to create beautifully detailed cards in no time at all!

To create my card, I started by die cutting the Peony Bloom Layer A die out of red cardstock and Peony Bloom Layer B die out of a coral cardstock. For the background, I sponged some Fossilized Amber Distress Oxide ink onto two of the corners of a white cardstock layer. I then spritzed it with water, lifting off some of the ink to leave white splatters. For the final touch, I splattered on some gold paint.

I adhered the two Peony layers together and then attached to the sponged background layer.

I really love that the Peony Layer dies come with separate leaf dies, making it easy to customize the flowers. I chose to die cut the leaves out of a shiny gold cardstock.

I didn’t want to add a sentiment to the front of the card as I didn’t want to cover up any of those lovely flowers. I chose to carry the design over to the inside of the card and add my sentiment there. I die cut another Peony Bloom Layer A out of red cardstock. I trimmed off one of the flowers and adhered it to the upper right corner. I stamped the Miss You sentiment from the Love and Miss You stamp set in black ink. I also wanted to carry over a little bit of the gold from the front design so I added a gold die cut butterfly (from the Butterfly Cluster die set).
Thanks so much for joining me here today!

Supplies