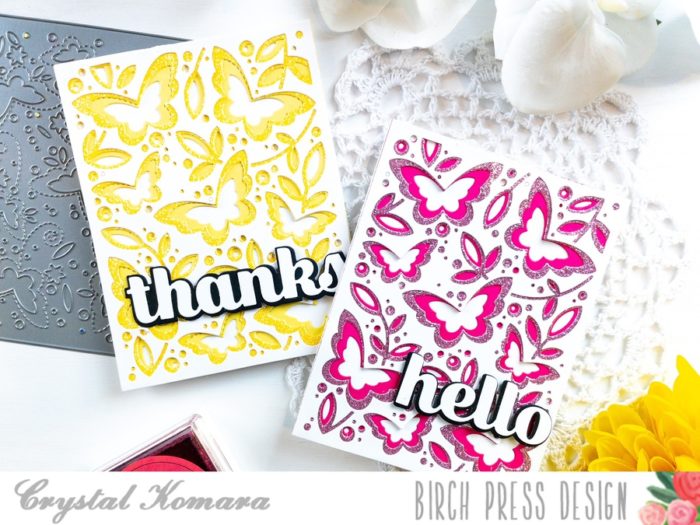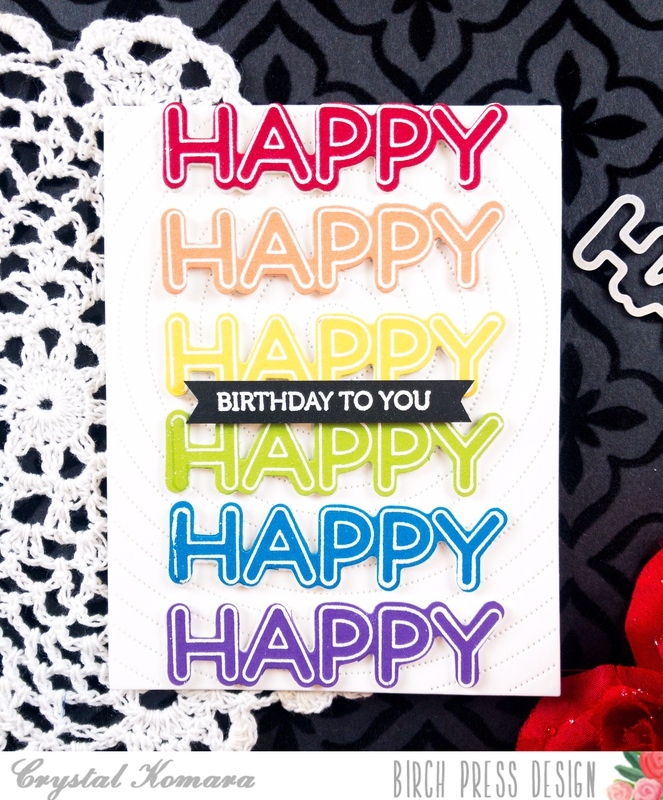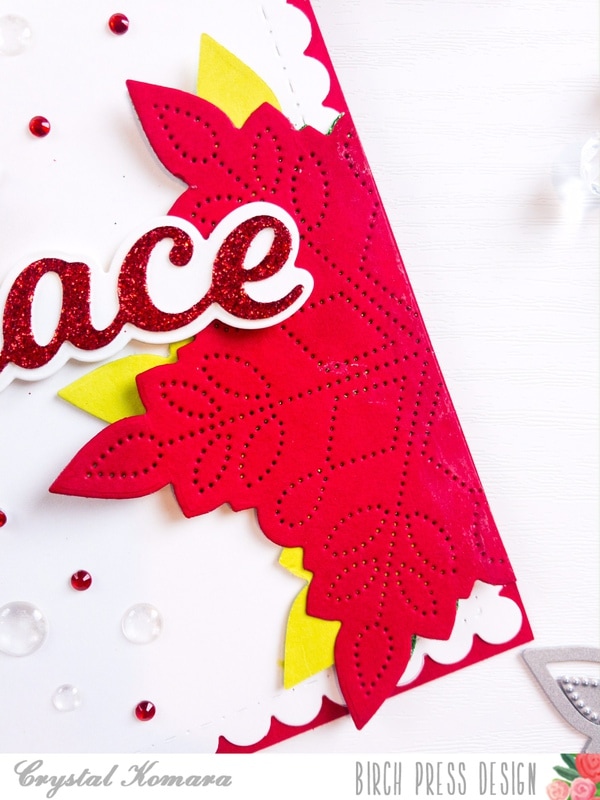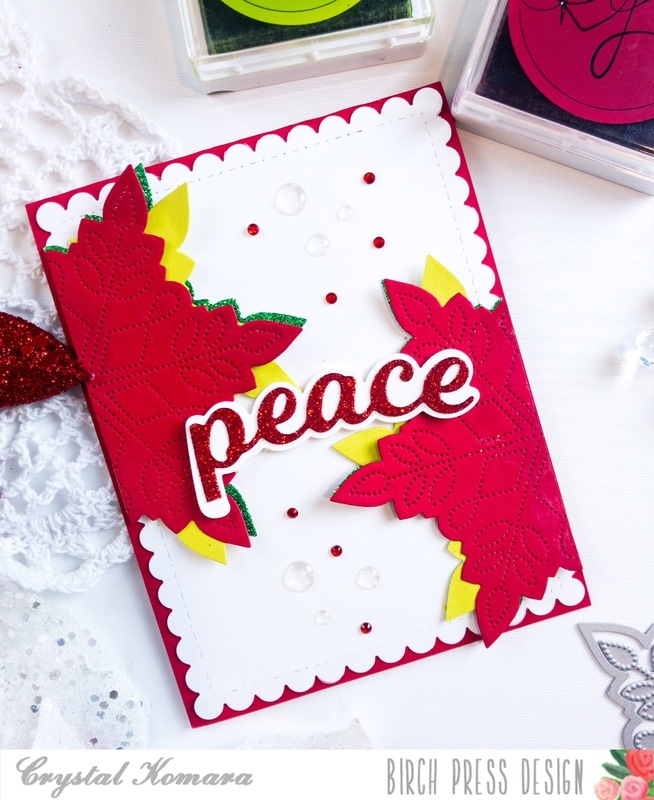
Hello friends and happy Monday! I hope you all enjoyed a pleasant weekend and hopefully found a little time to do something crafty. This is Crystal Komara here with you today sharing two rainbow themed cards using a variety of products from Birch Press Design. I just love creating with rainbow colors because the end result is always happiness.
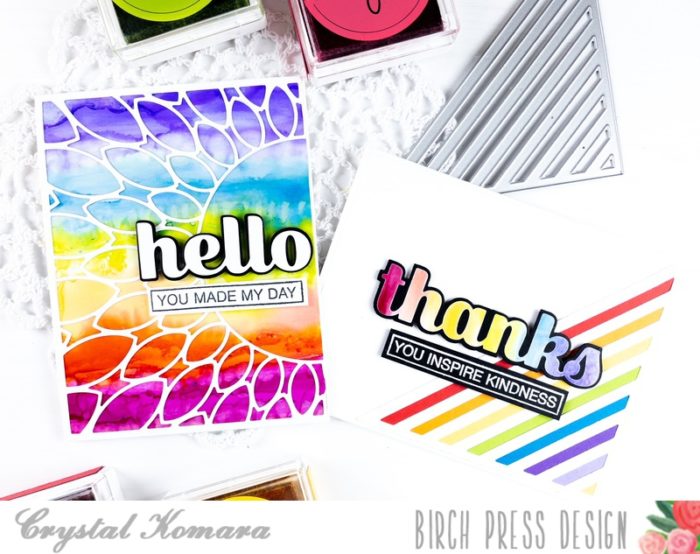
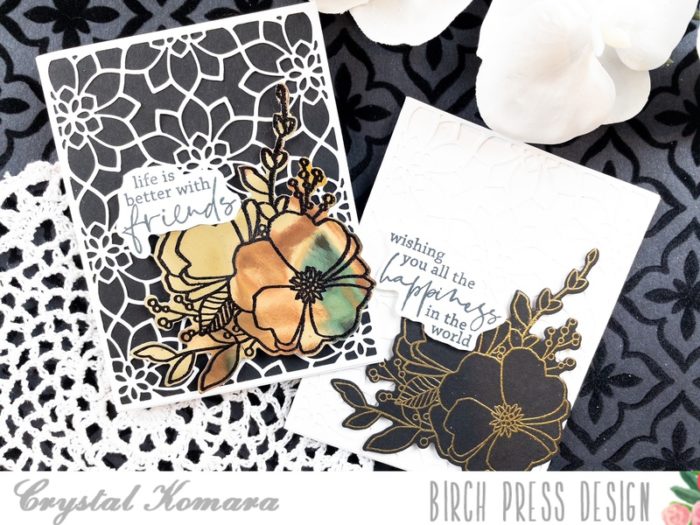
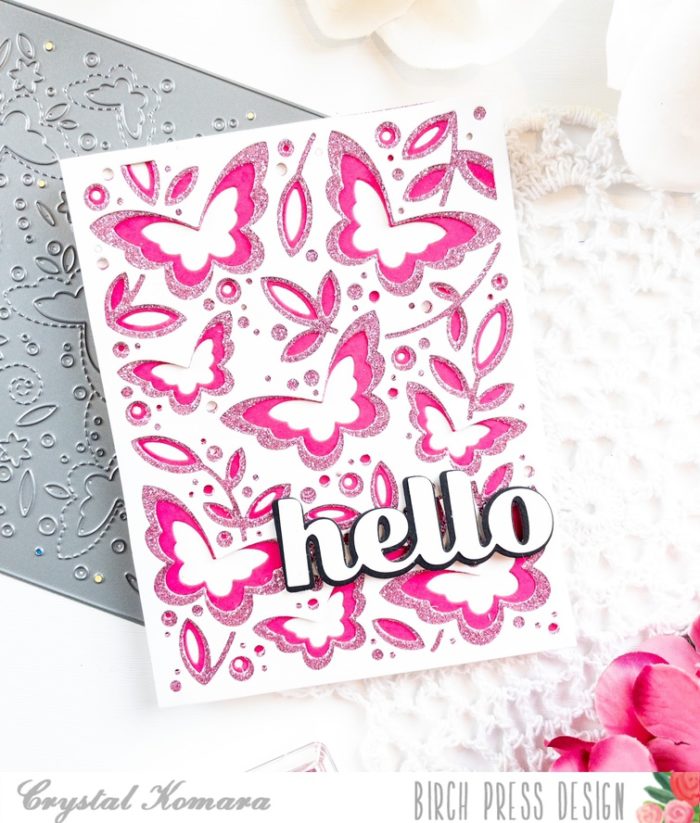
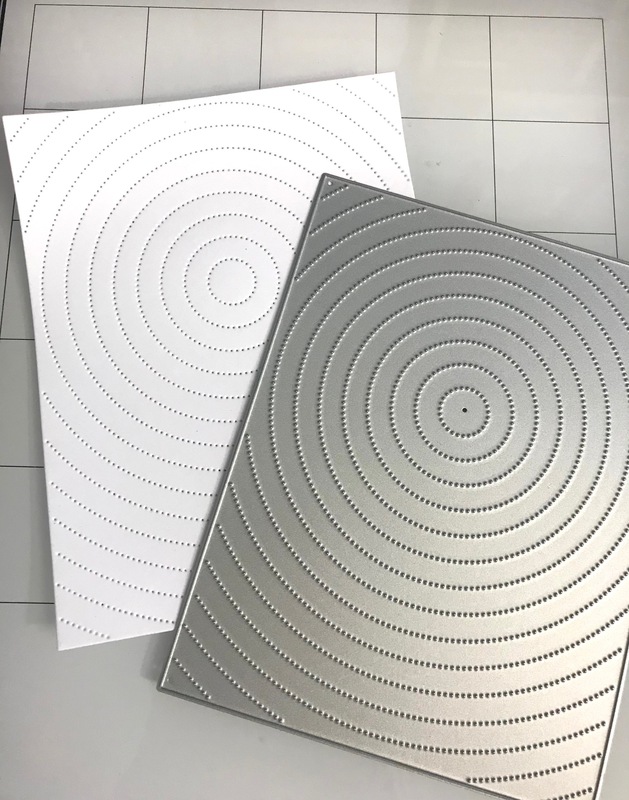
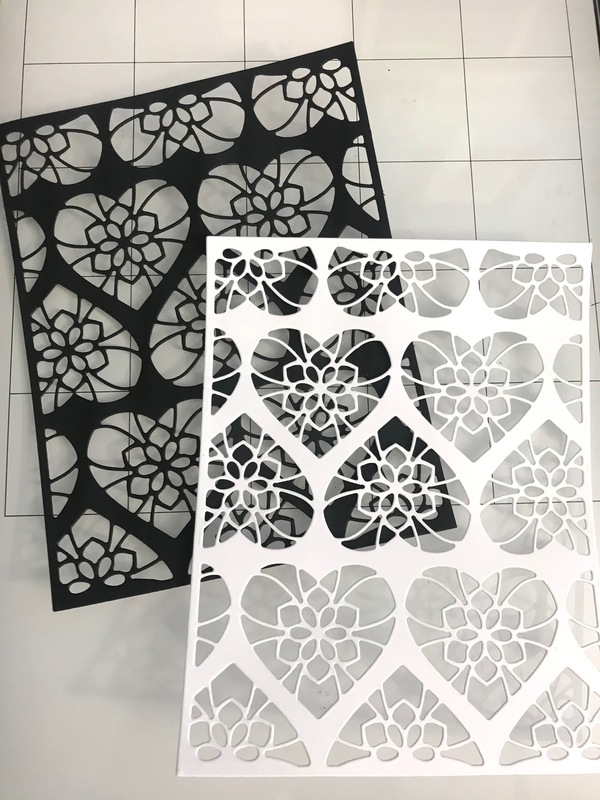
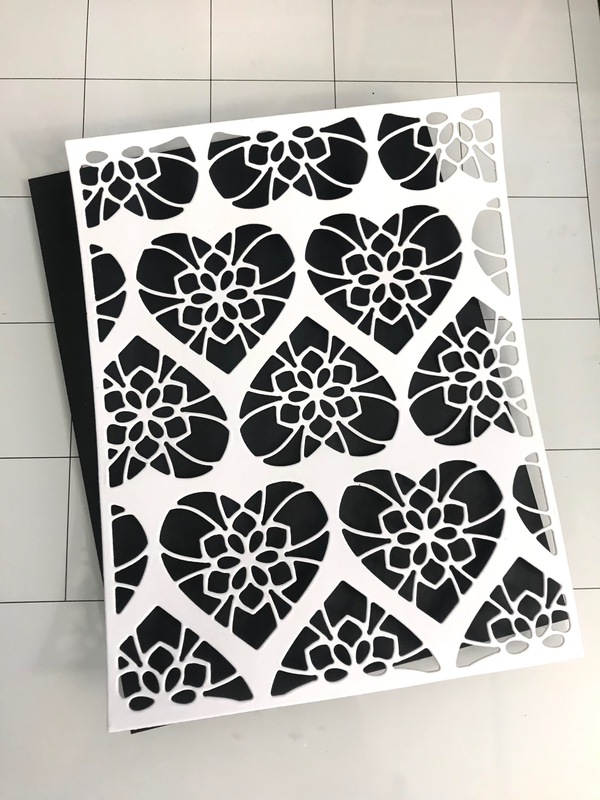
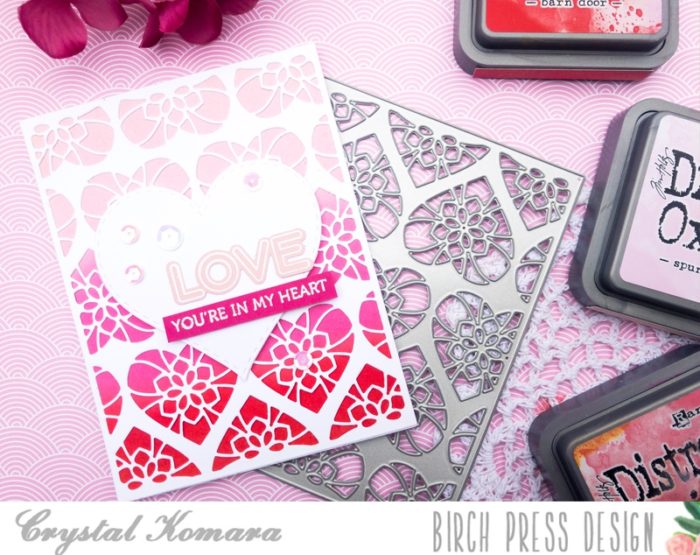
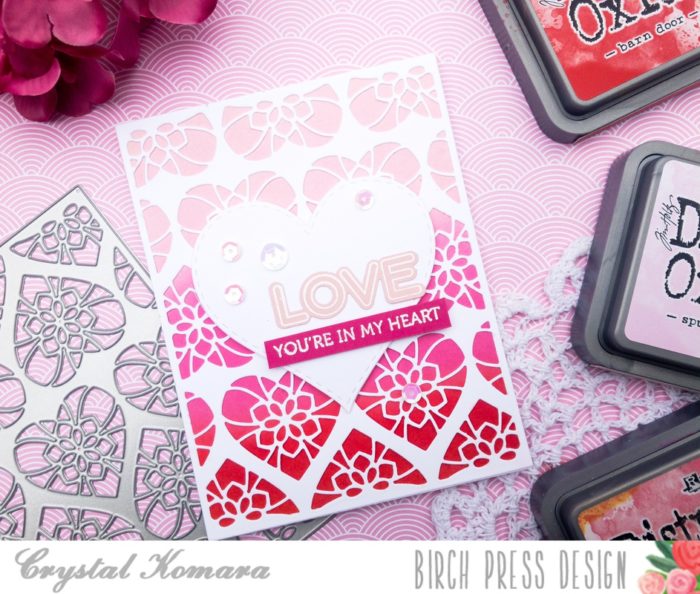
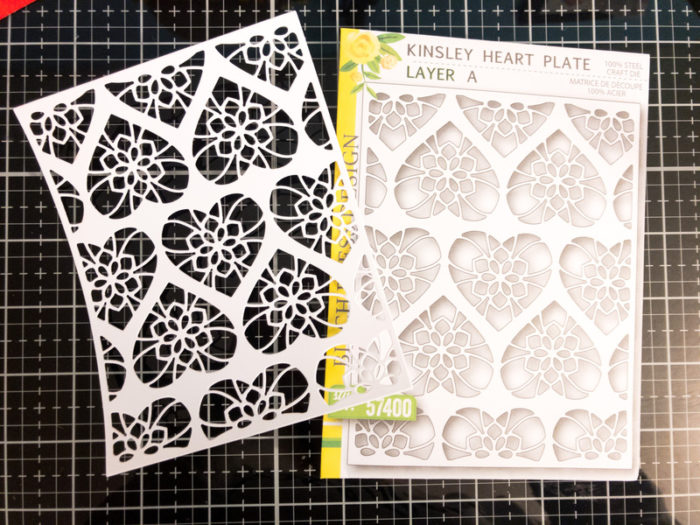
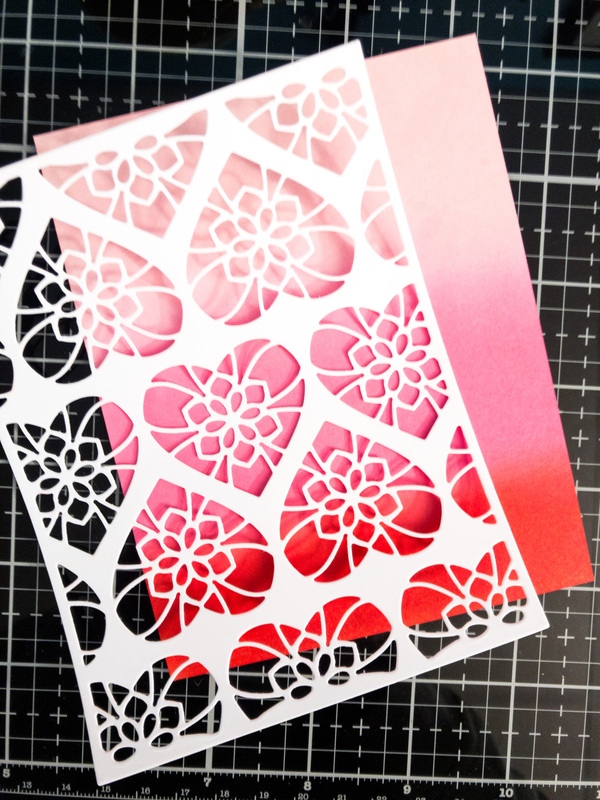
For this first card, I used Layer A of the Lumina Layering Plates. I already had a pre-made rainbow colored alcohol ink background in my stash, so this card came together quite quickly. Gotta love that! I simply adhered the rainbow alcohol ink background to my card base – I use 80 lb. Neenah Solar White Smooth cardstock. Then I die cut Layer A of the Lumina Layering Plates from white cardstock. I adhered the intricate die over the alcohol ink background.
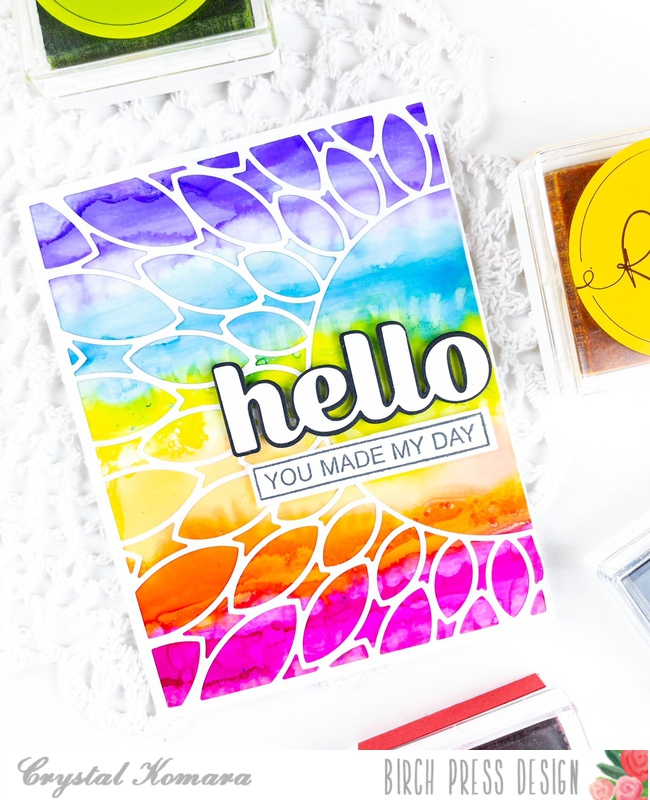
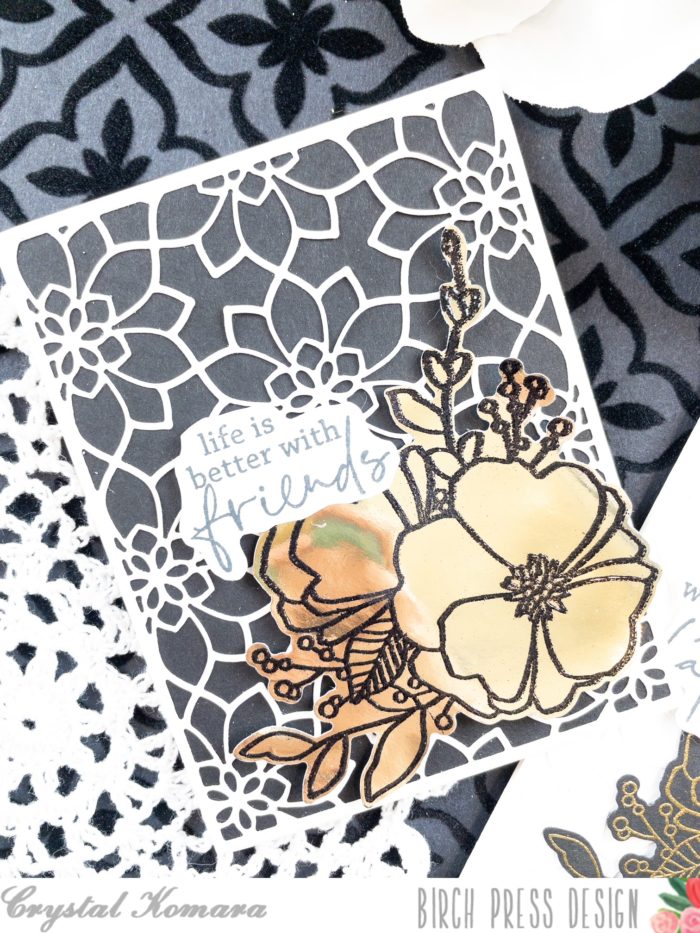
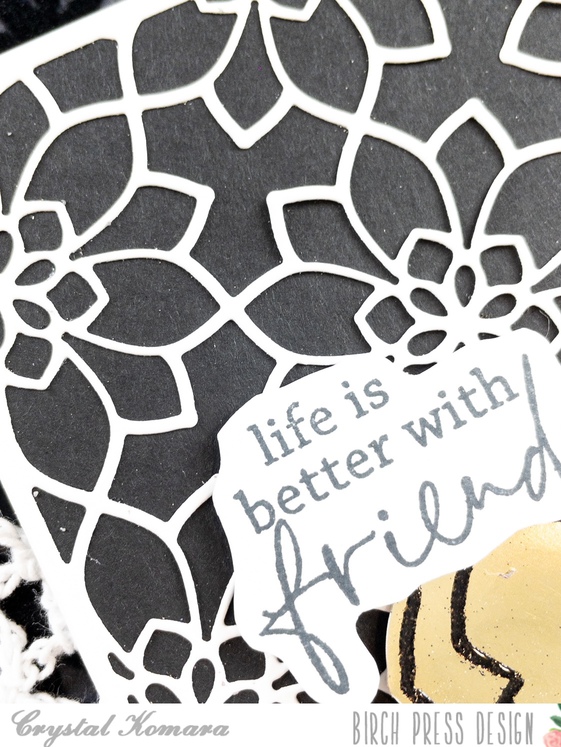
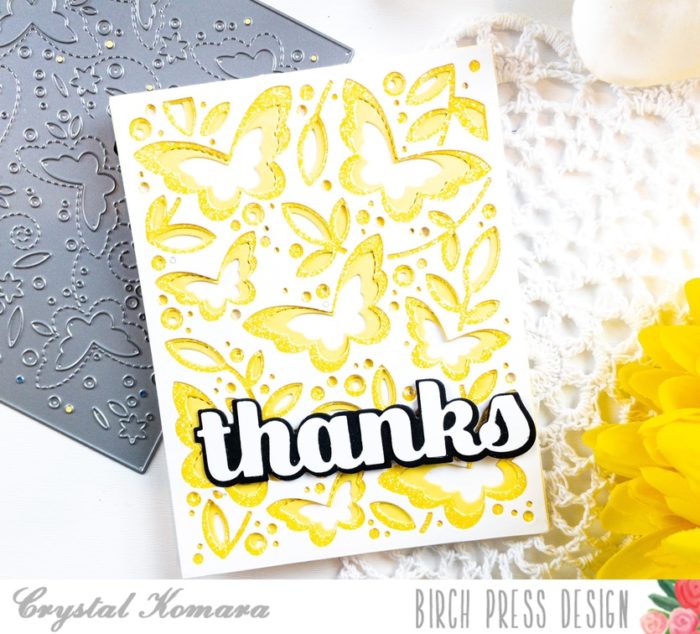
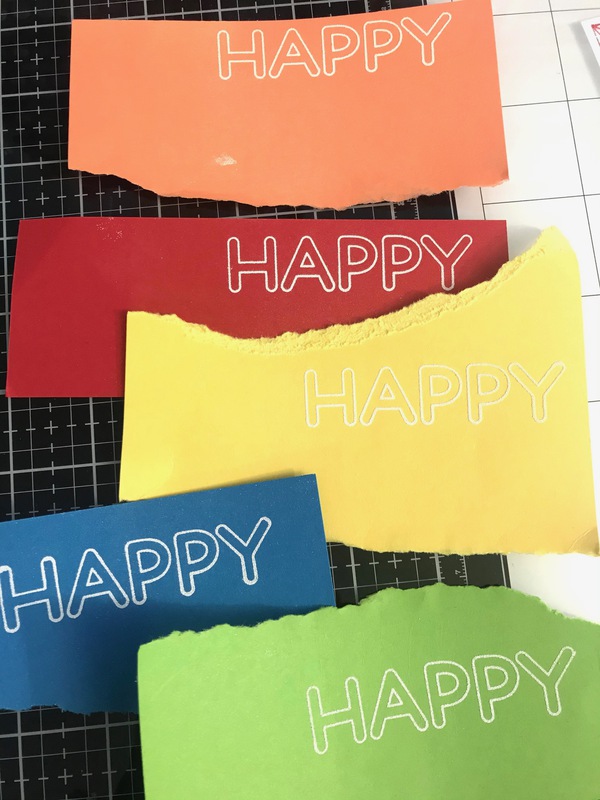
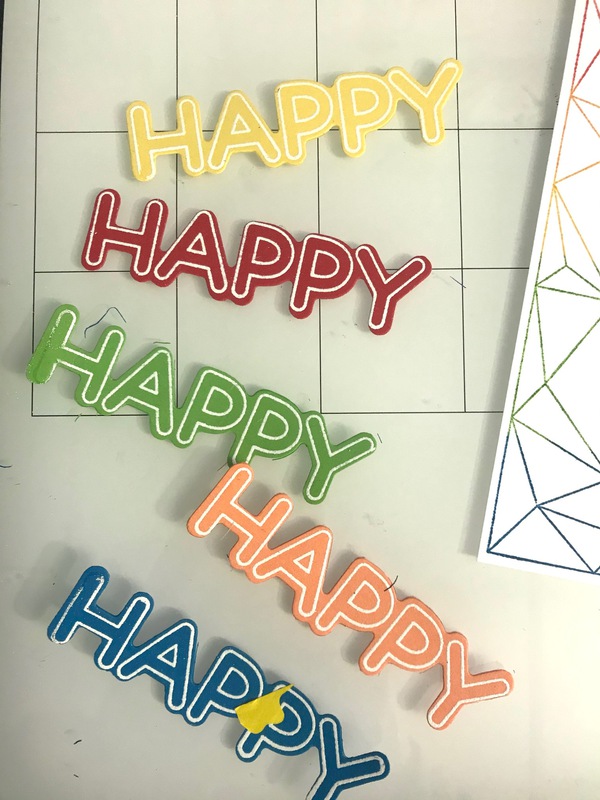
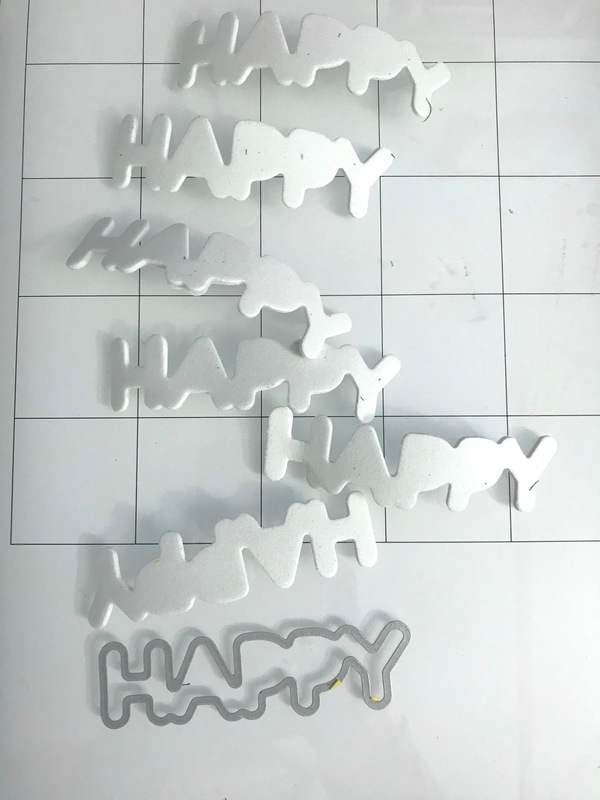
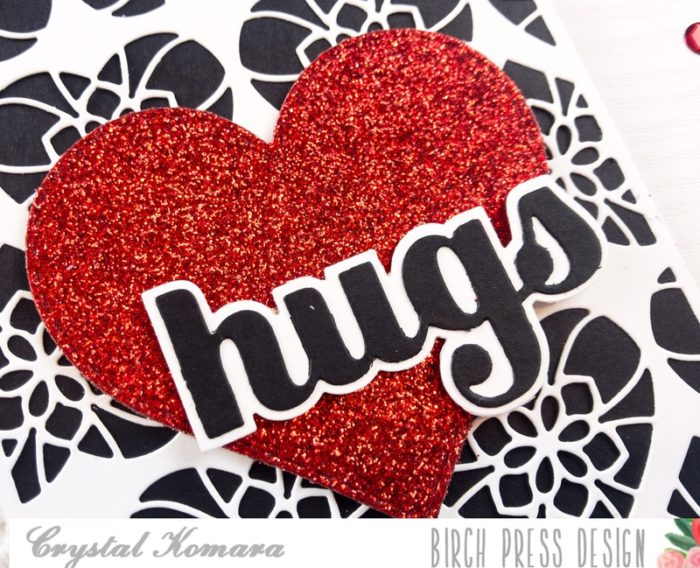
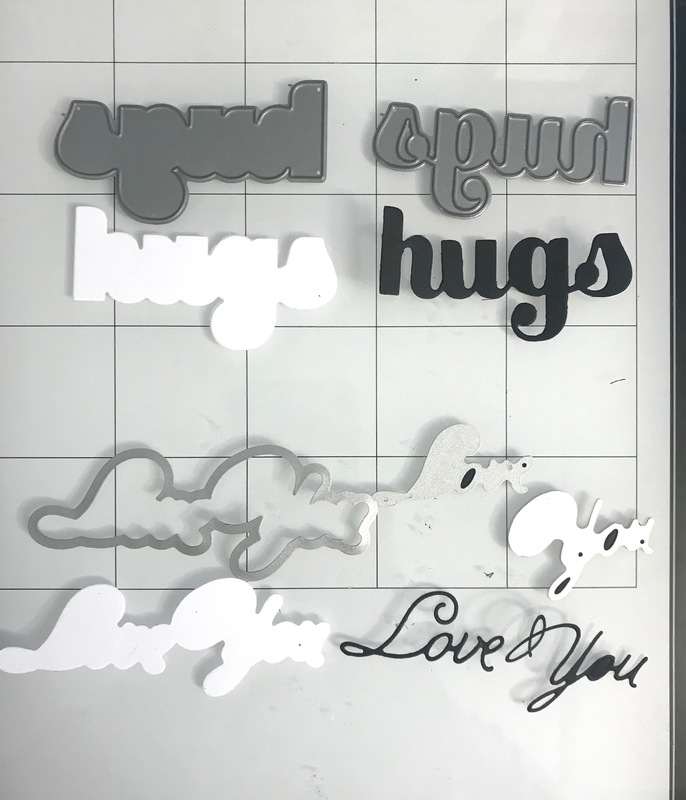
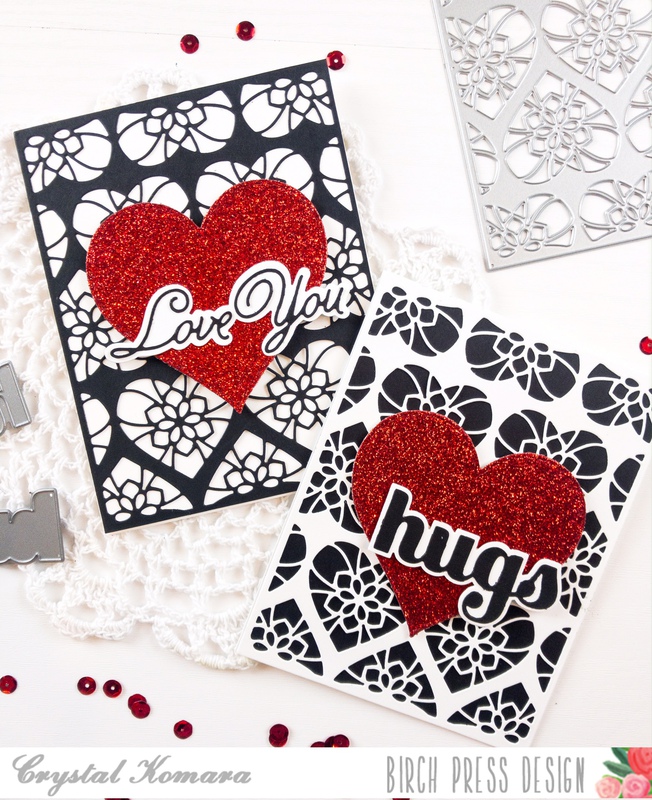
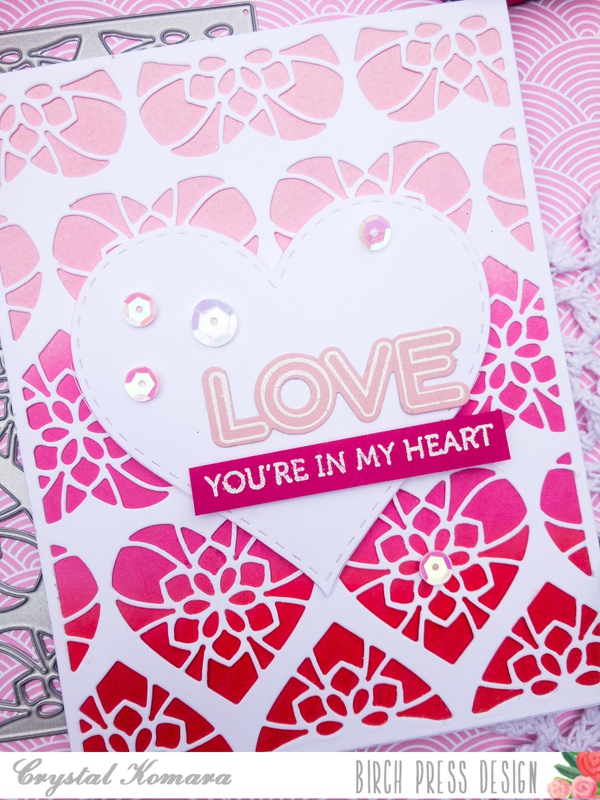
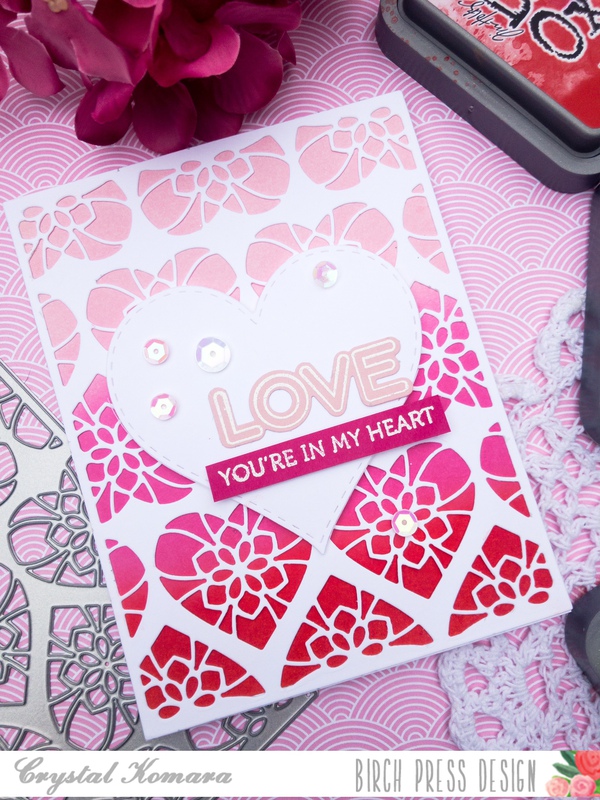
I die cut the word Hello using the Big Hello dies. I die cut the shadow background from black cardstock and the top thinner layer from white cardstock. I adhered both layers together with a Tombow Dot Runner and then I adhered both layers to the card using 3M foam adhesive for added dimension. Using the Ticker Tape stamp set, I stamped the sentiment in Memento Tuxedo Black ink and fussy cut the sentiment strip out. I adhered the sentiment below the “hello” dies using 3M foam adhesive.
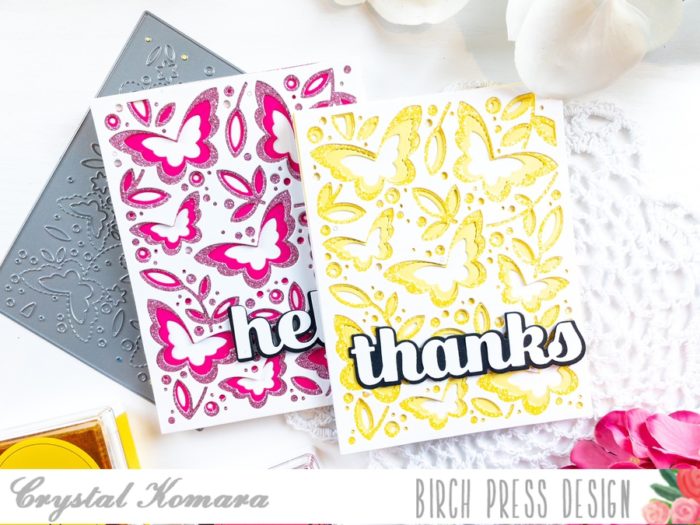
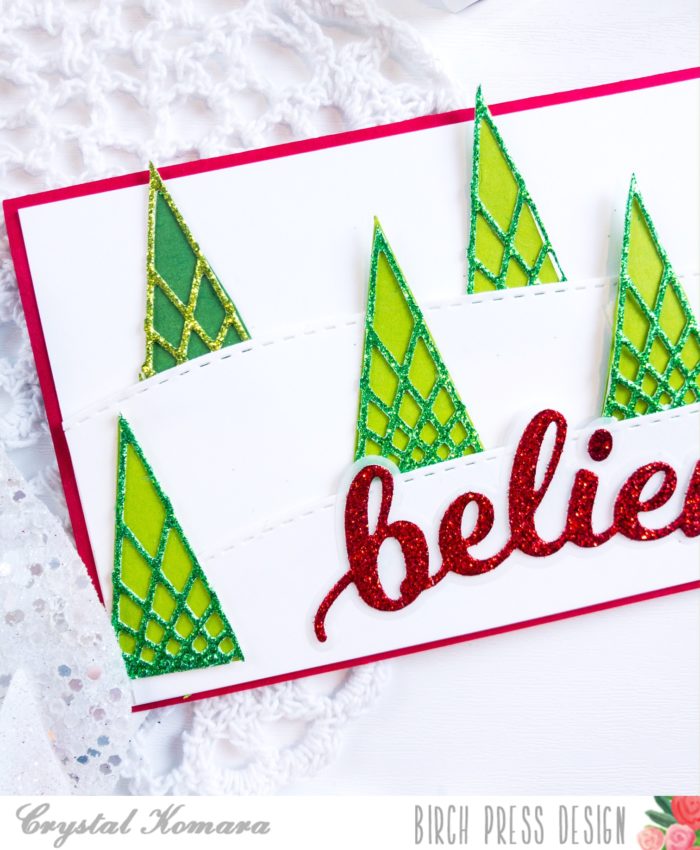
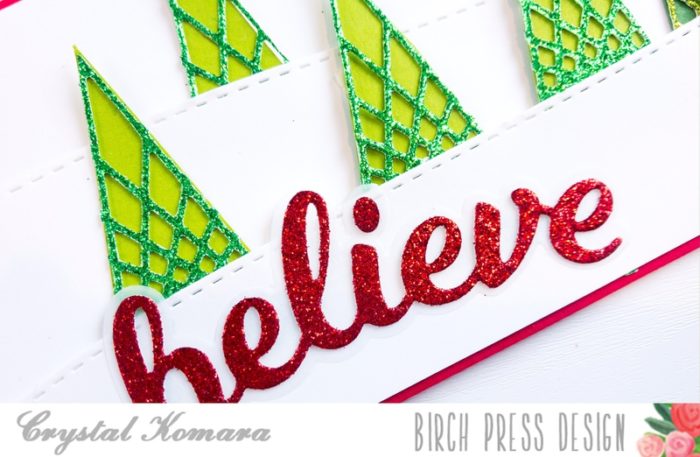
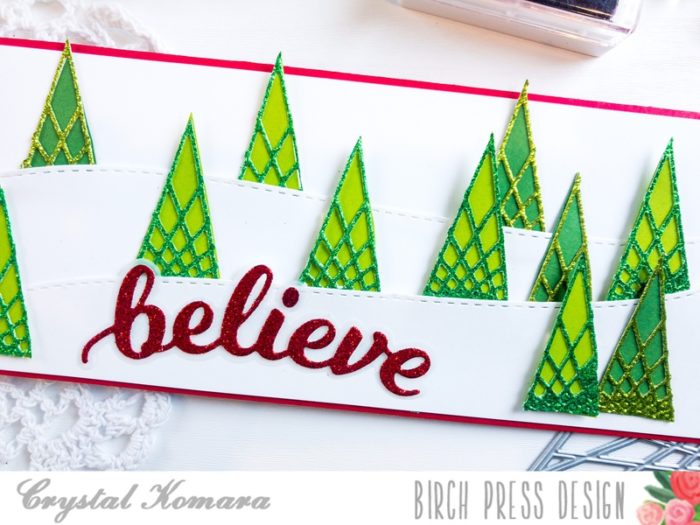
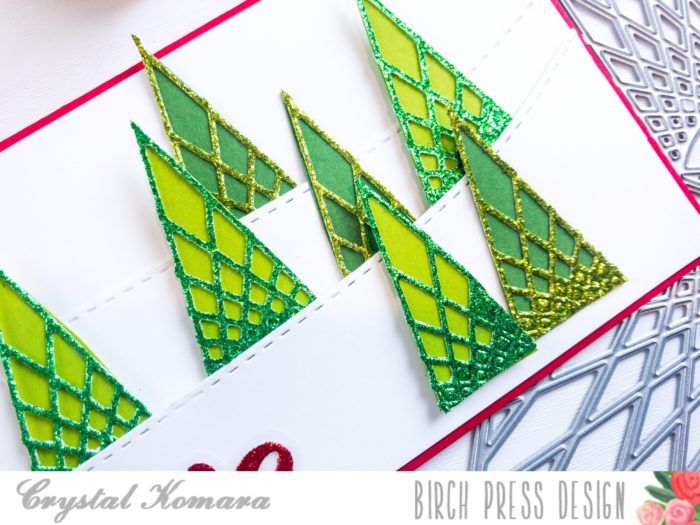
For this next card, I used the Linear Triangle die and lots of colored cardstock strips in various bright colors to keep in line with my rainbow theme.
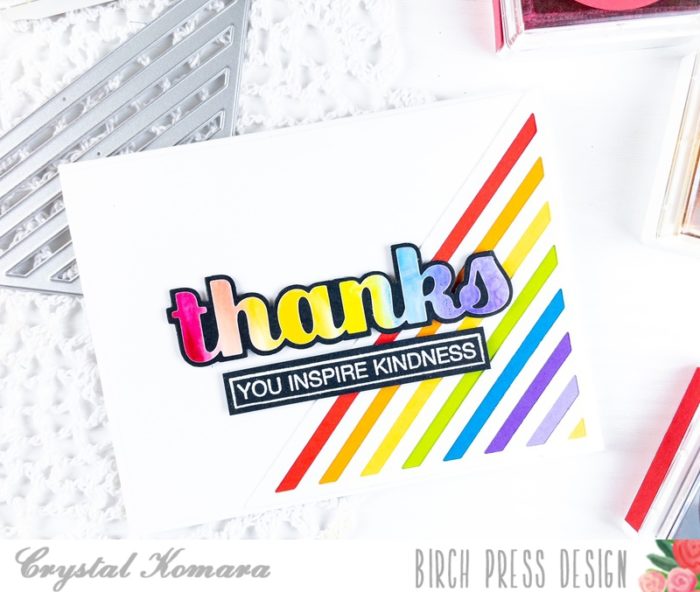
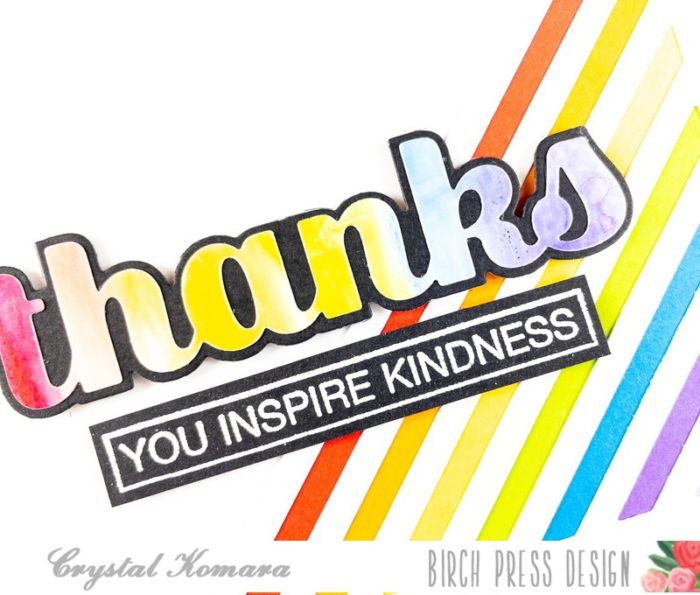
My card base is 80 lb. Neenah Solar White Smooth cardstock. I also die cut the first 5 1/4″ x 4″ mat from white cardstock. I die cut the Linear Triangle from white cardstock and adhered thin strips of colored paper behind the lines. I placed the completed triangle in the lower righthand corner of my card. I die cut the large “thanks” die from black cardstock and from a piece of pre-made alcohol ink cardstock. I layered the two together with a Tombow Dot Runner and placed the large sentiment in the center of my card using 3M foam adhesive for added dimension. Using the Ticker Tape stamp set, I stamped the sentiment “you inspired kindness” in Versamark ink on black cardstock and heat embossed it with white embossing powder. I fussy cut this sentiment and adhered it below the large “thanks” using 3M foam adhesive.

I hope you have enjoyed today’s cards and they will bring some cheerfulness to the start of the week. Thanks for visiting and have a wonderfully creative day!