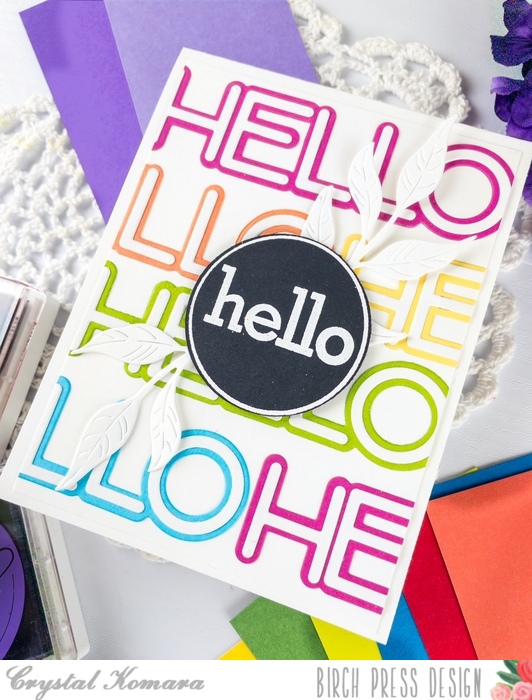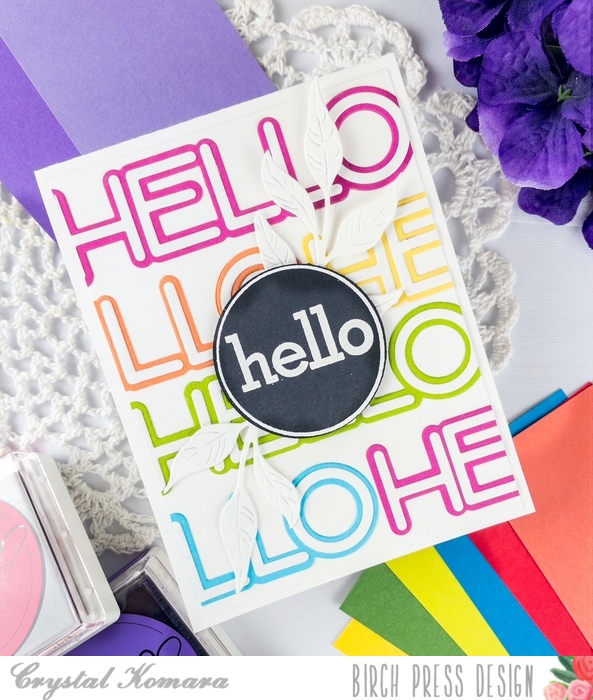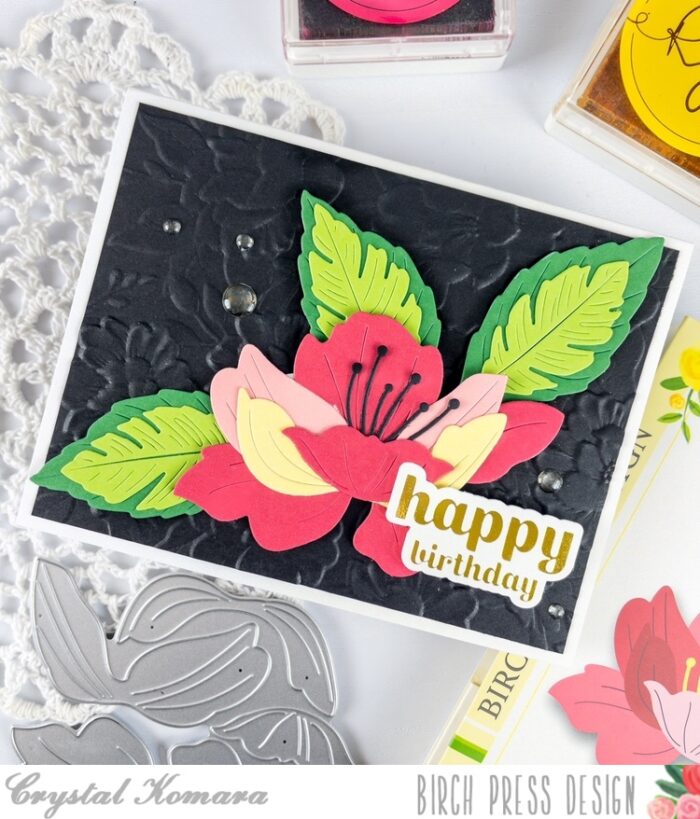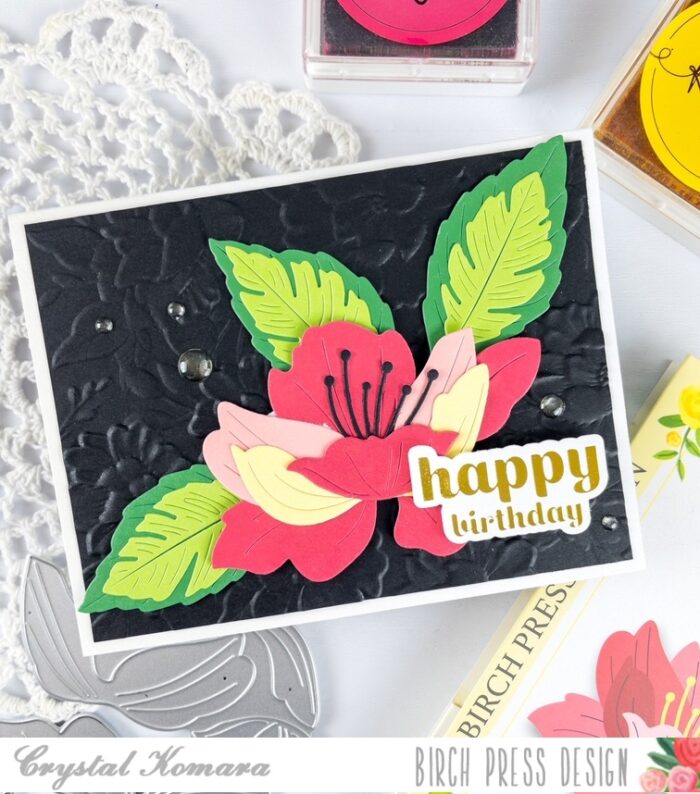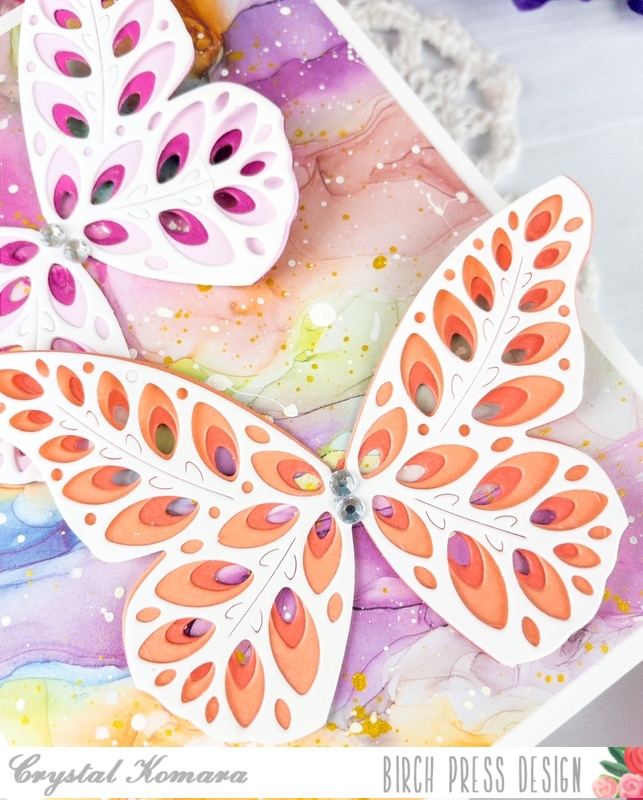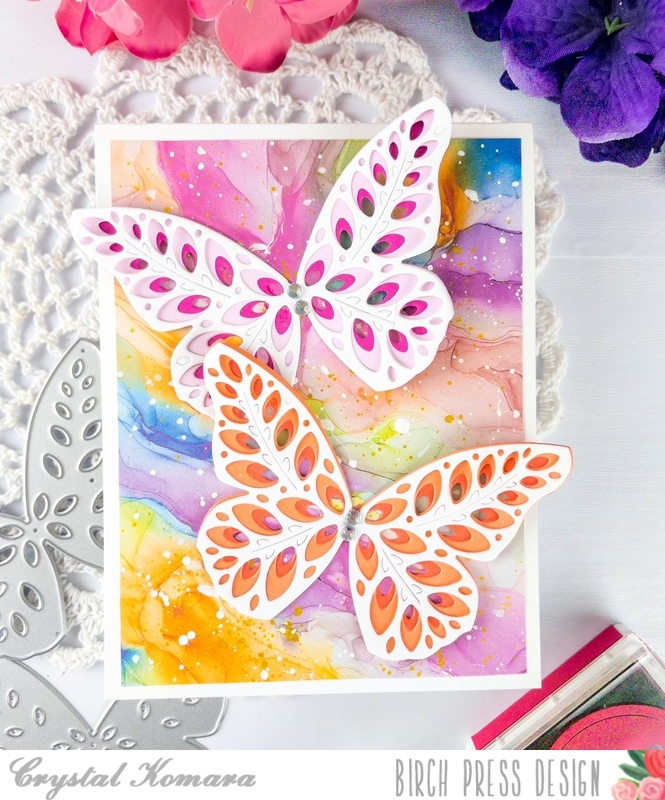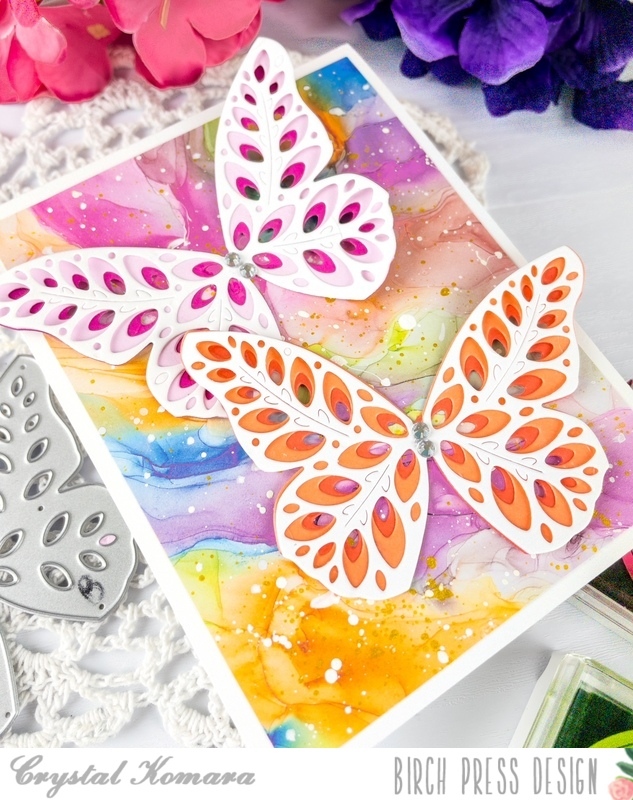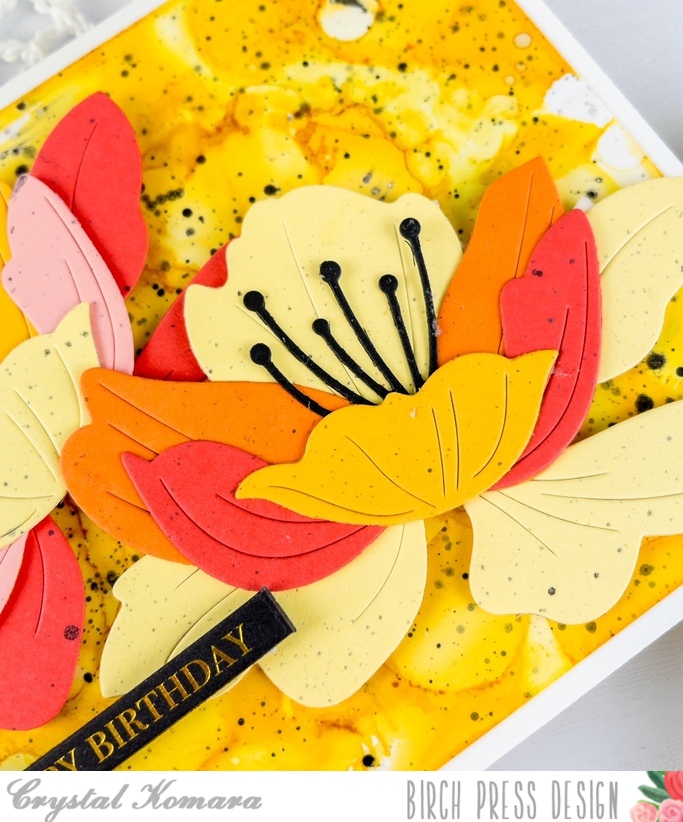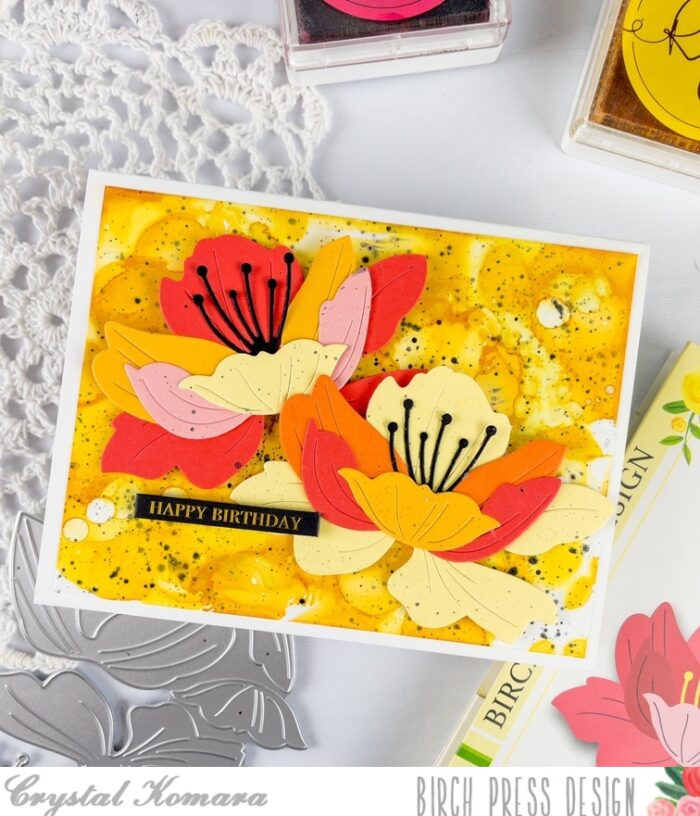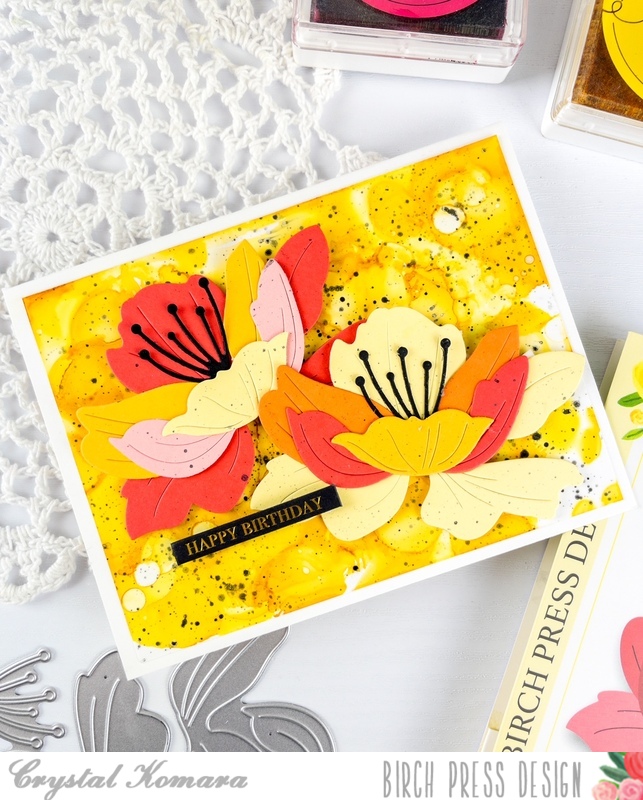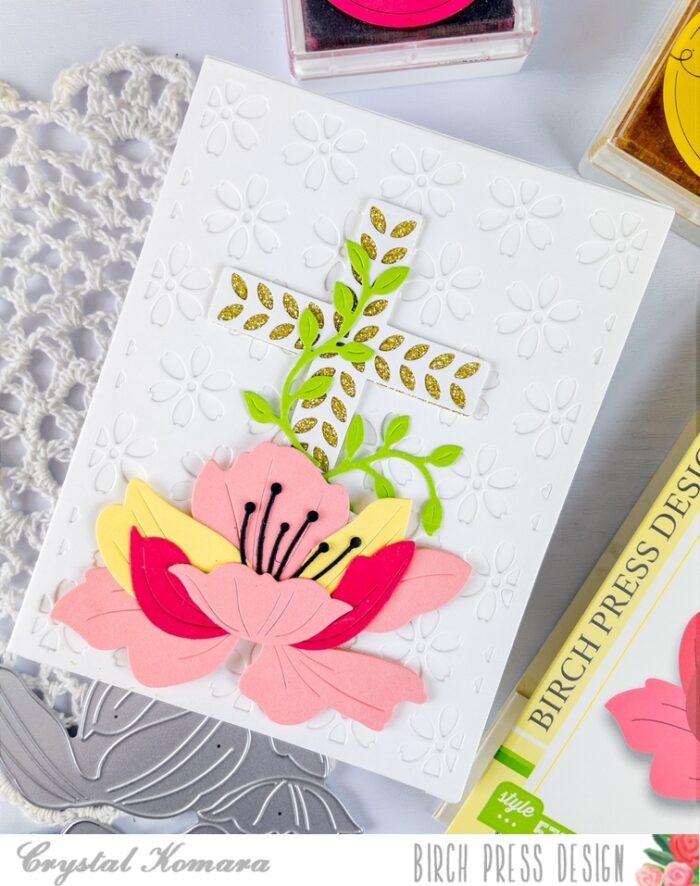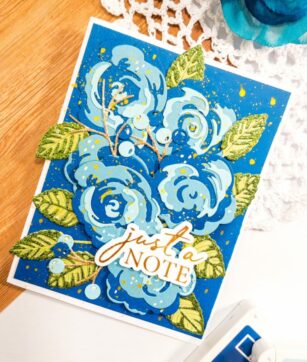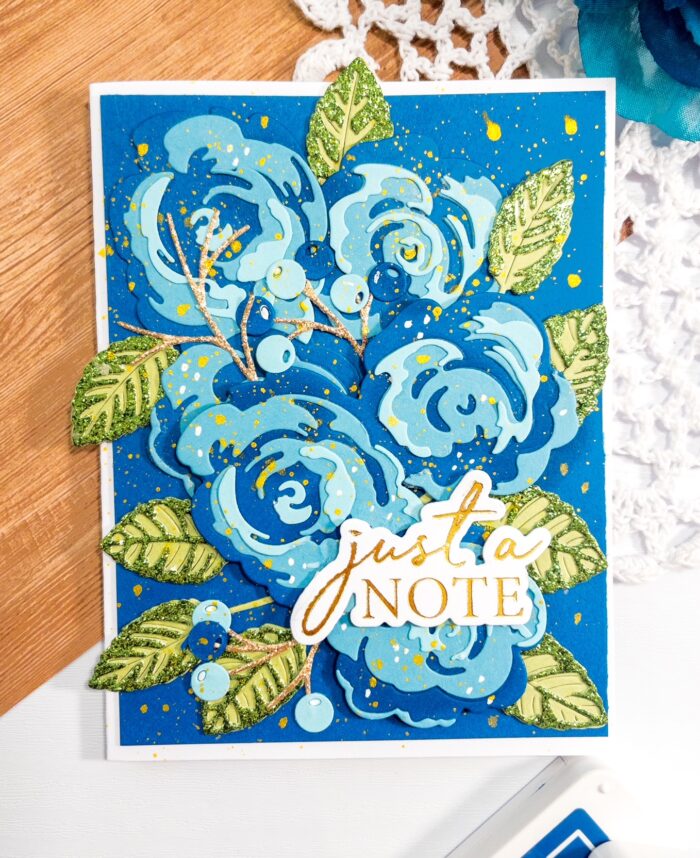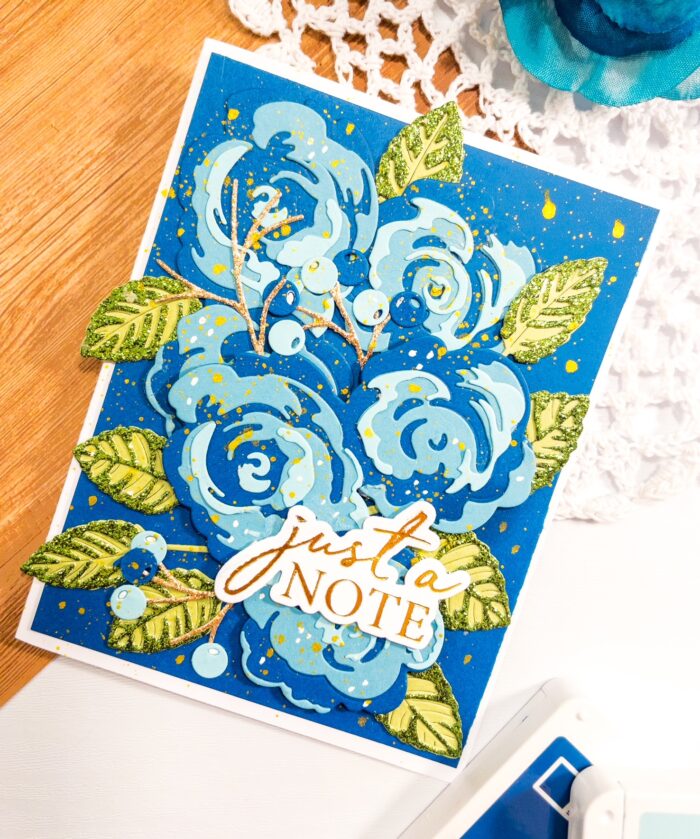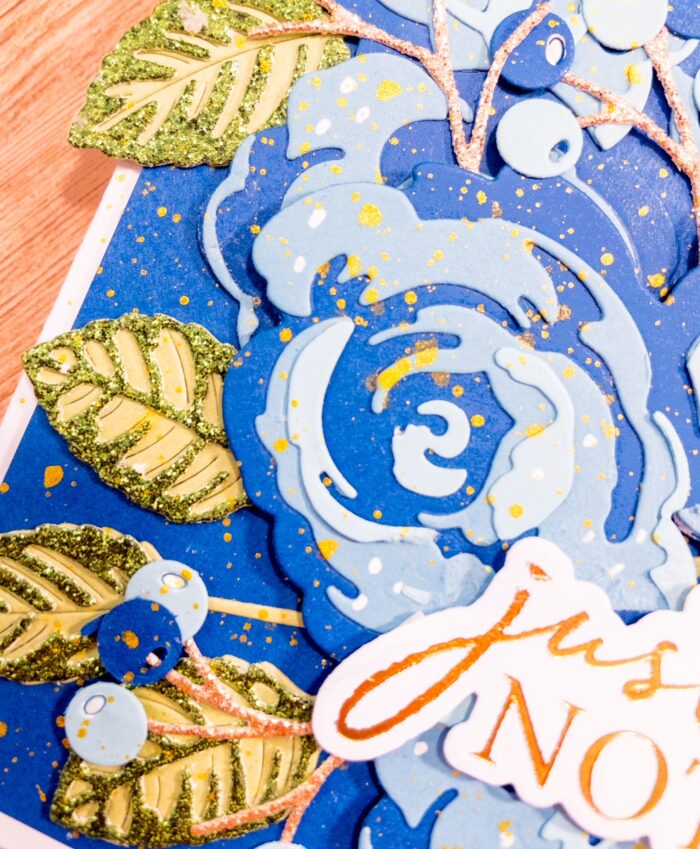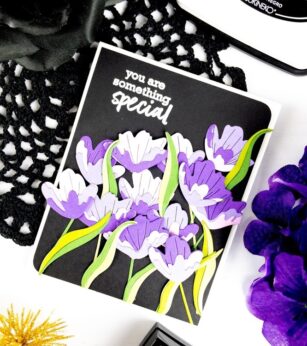
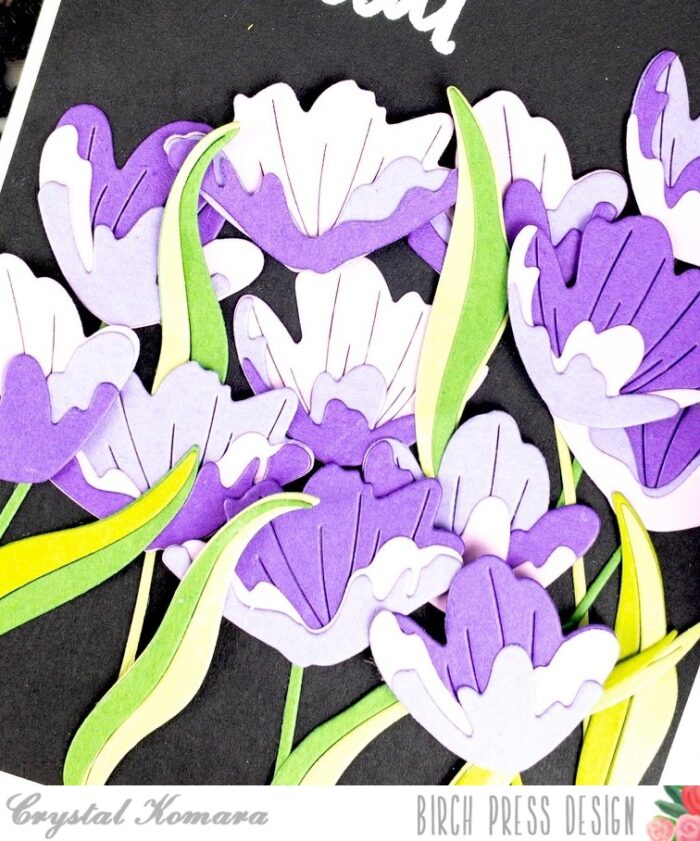
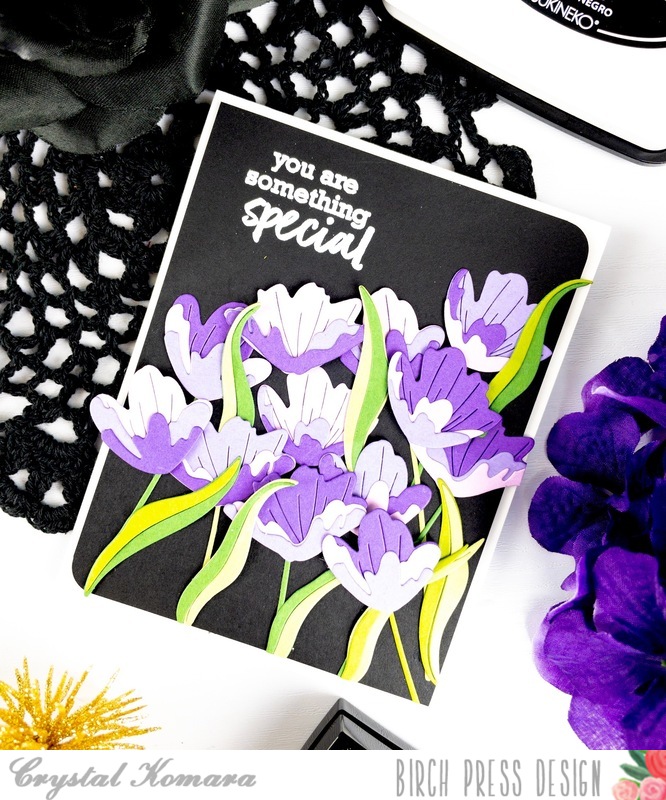
Hello readers and happy 1st of July! Welcome to summer here in New England (or wherever you might live). This is Design Team member Crystal Komara here today sharing a floral card featuring the Early Blossom Contour Layer Dies in varying shades of purple.

I love placing colorful flowers against a black background. It really just makes the colors POP! And this card is a great example of how you can use any color palette you want to make a statement. Maybe purple isn’t your favorite color, these flowers would also look beautiful in pink, red, yellow or orange – the options are endless.
Card details:
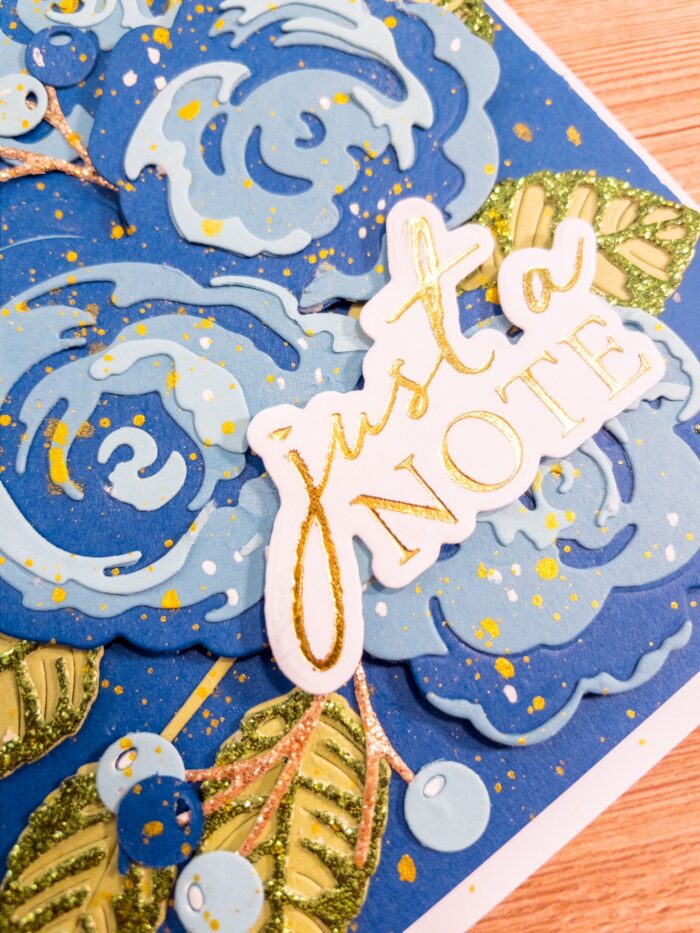
The base of this A2 sized card is made from 80 lb. Neenah Solar White Smooth cardstock. I cut a 5 1/4″ x 4″ piece of black cardstock and adhered it directly to the card base. I stamped the sentiment in the upper left corner using the Brush Sentiments Clear Stamp Set. I stamped the sentiment in Versamark ink and heat embossed it using white embossing powder.
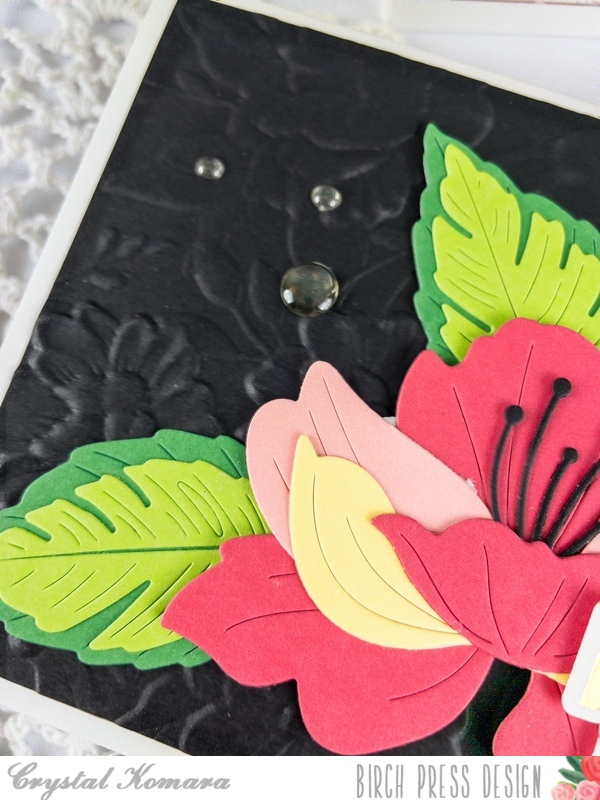
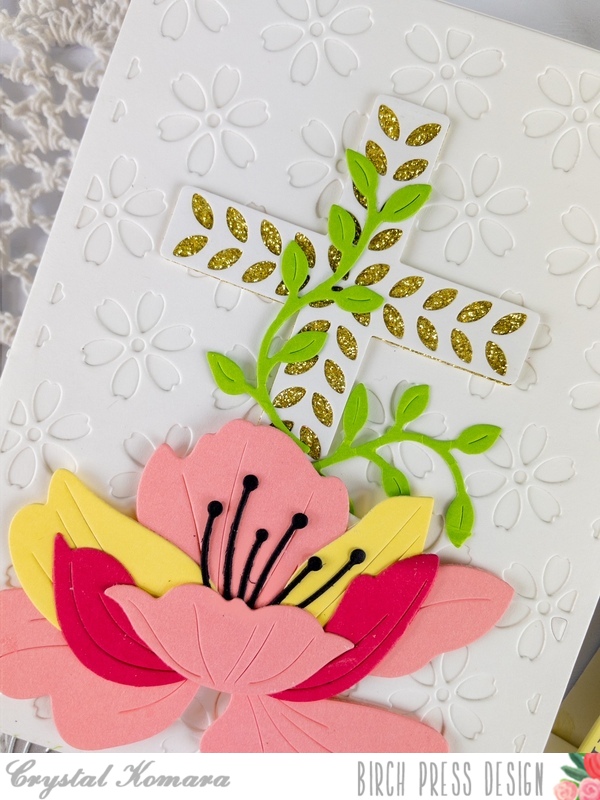
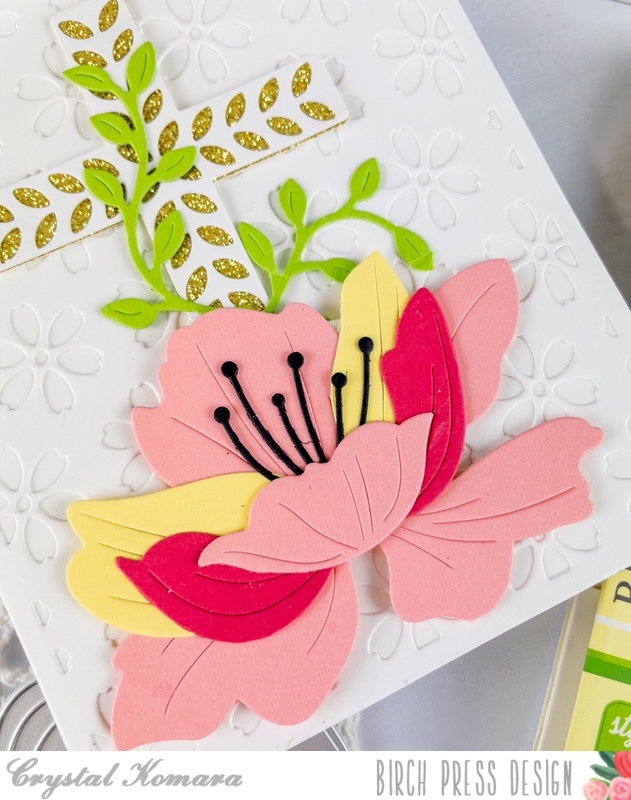
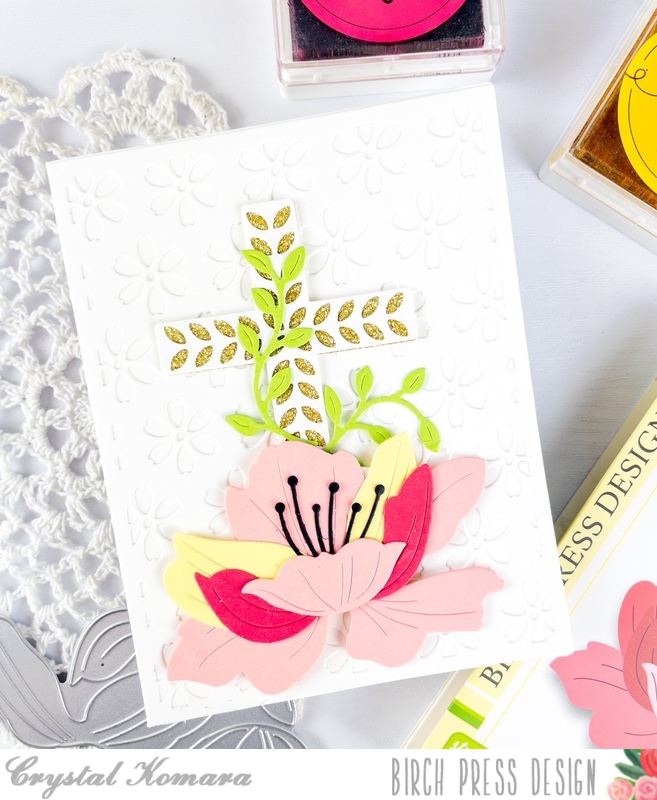
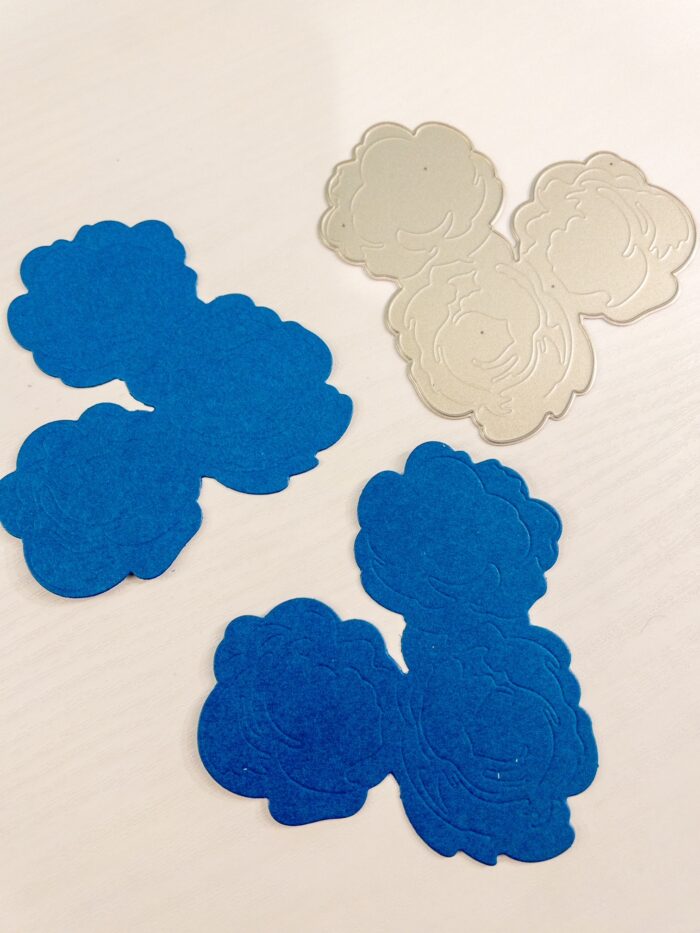
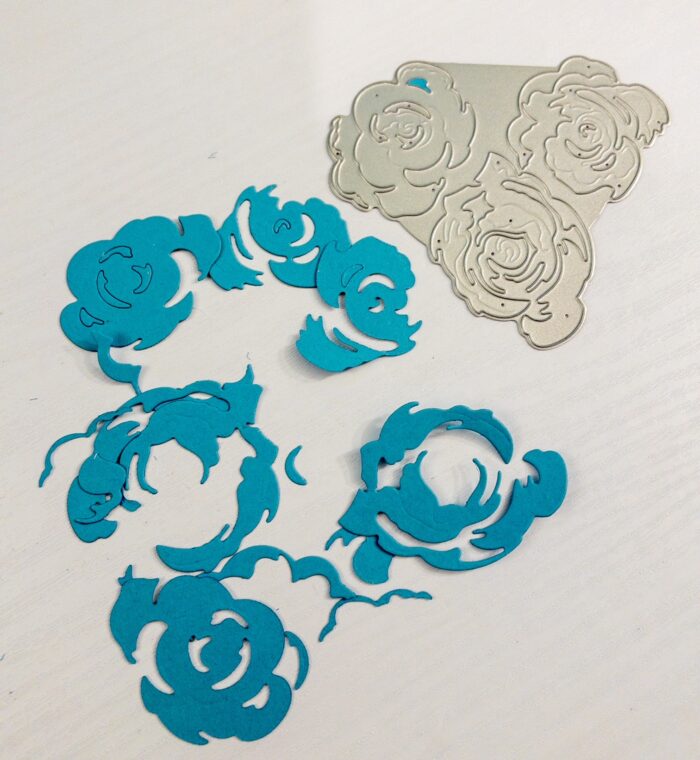
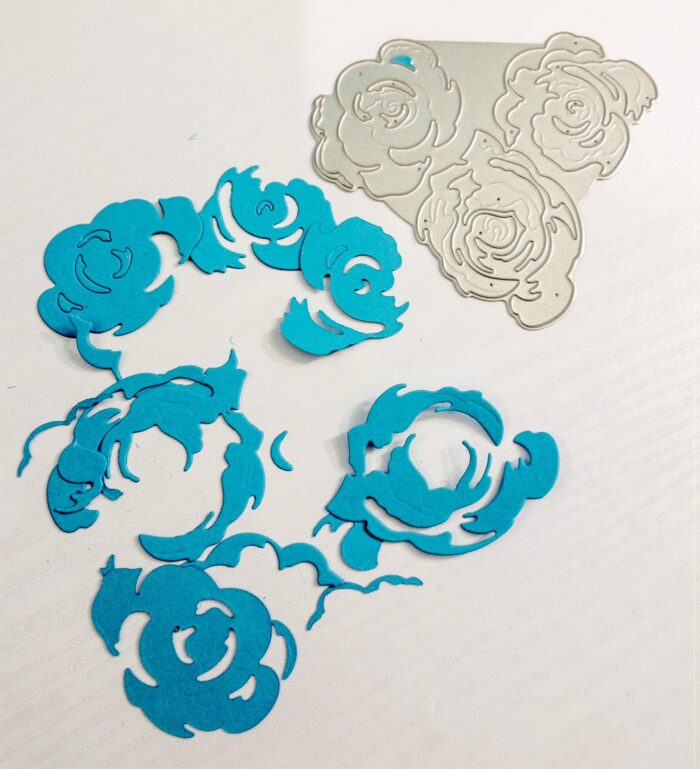
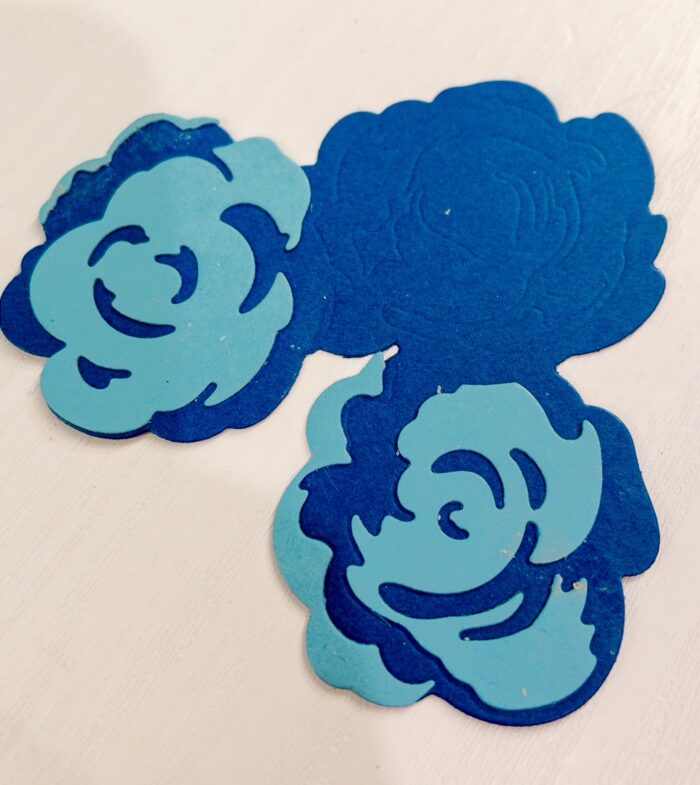
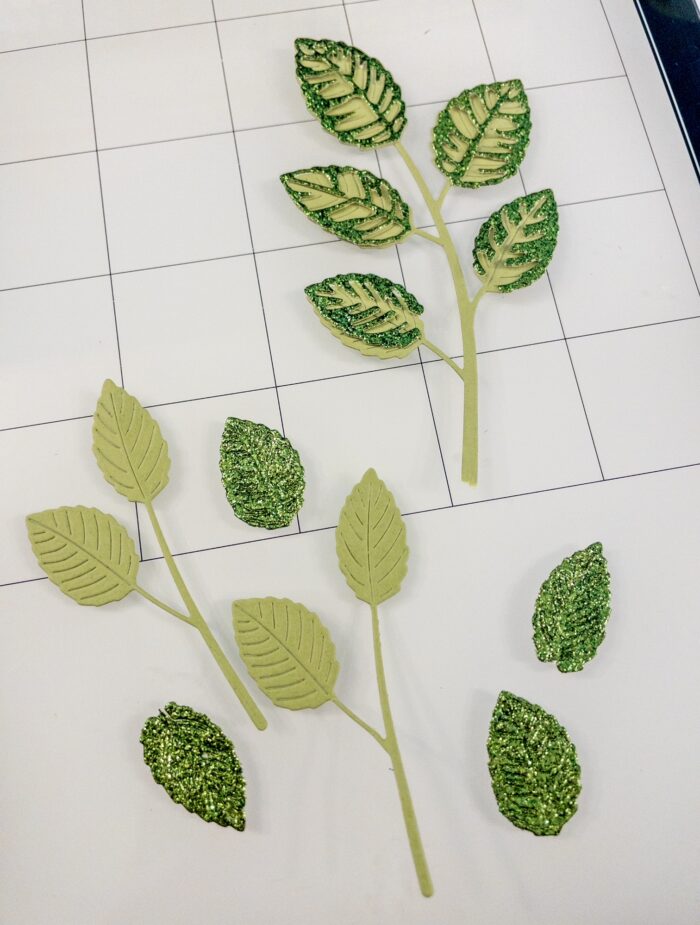
Then I set out to die cut ALL those flowers using the Early Blossom Contour Layer set. There is no rhyme or reason to my die cutting madness, I simply just keep cutting flowers from three different colors of purple cardstock and leaves from two different colors of green cardstock! Yes, sometimes it seems like I just die cut flowers for minutes at a time! I don’t count, I don’t assemble as I go. Yes, typically this leaves me with lots of “extra” pieces leftover. I often use those extra pieces to decorate the inside of my card, or I save them in a scrap pile!
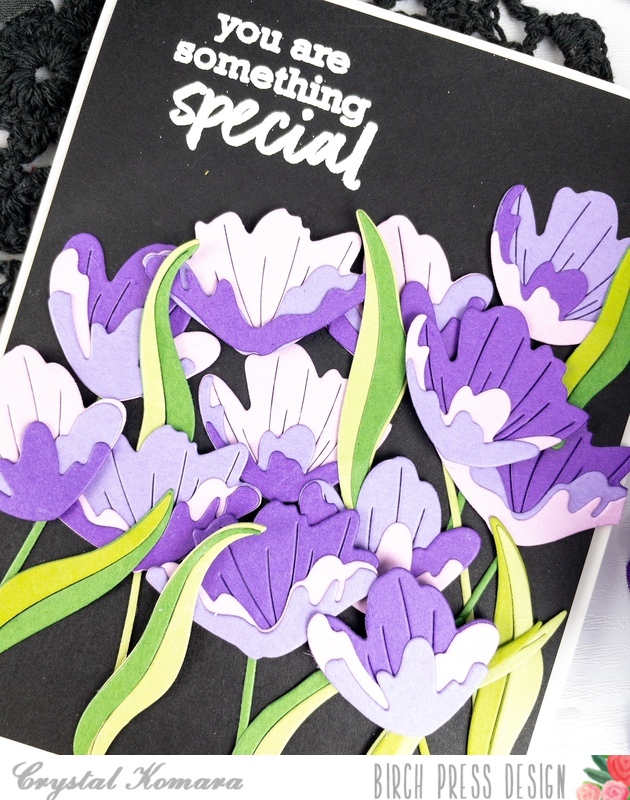
Once all the die cut flowers are glued together (in this case, the Early Blossom Contour Layer has three layers), I then arranged all the flowers and leaves on the card in a pattern that looked pleasing to the eye before finally gluing them all down to the card.
I hope you have enjoyed today’s vibrant floral card! Thanks for visiting and have a wonderfully creative day!

Supplies