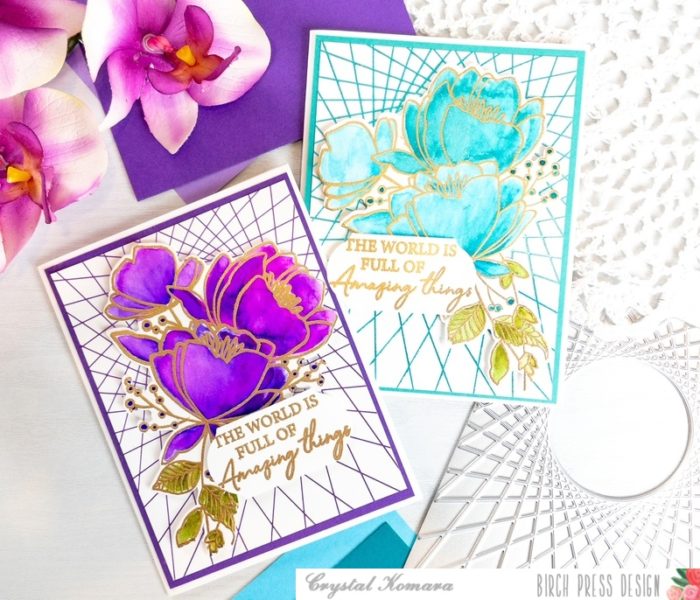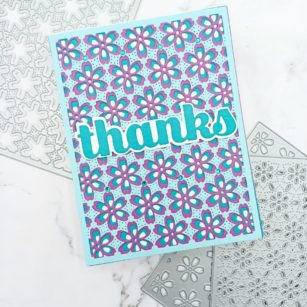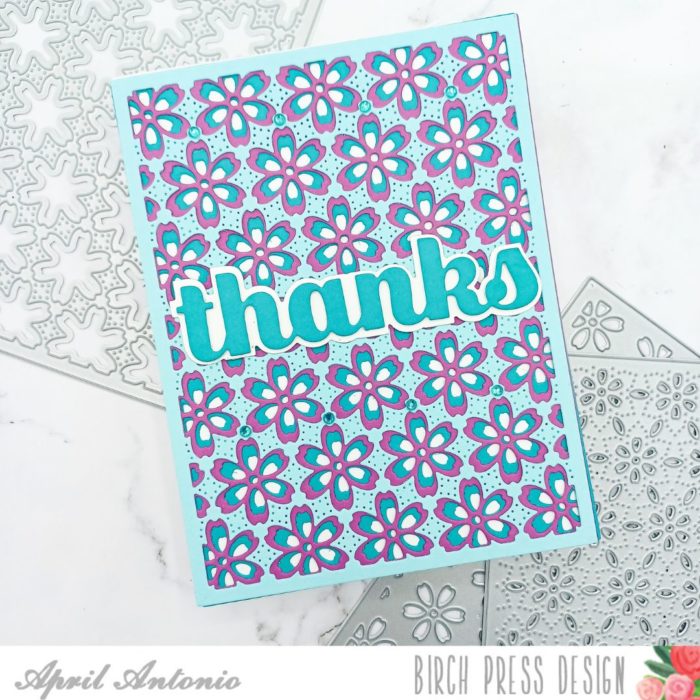
Hello friends, this is Design Team member Crystal Komara back again for another monochomatic card! Apparently sticking to one color when creating seems to be “m.o.” : ) If you missed any of my monochromatic posts, please check out this trio of thank you cards, the Christmas mandala trees or these monochromatic torus rings (a personal favorite of mine)!
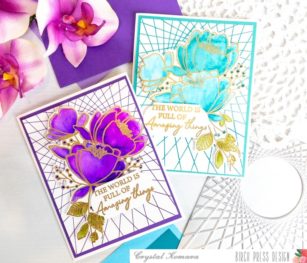
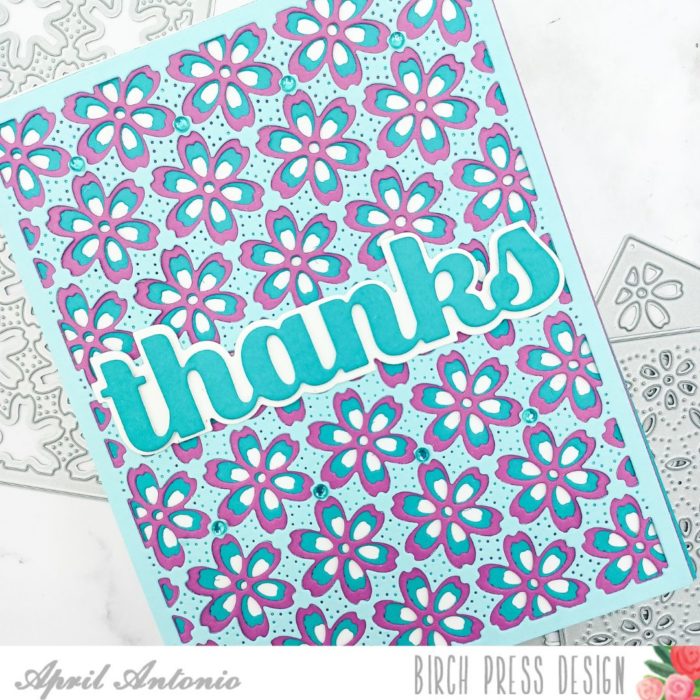
What’s great about working with monochrome colors is that if blue isn’t your color, try recreating it in red, or purple or green. The options are endless!

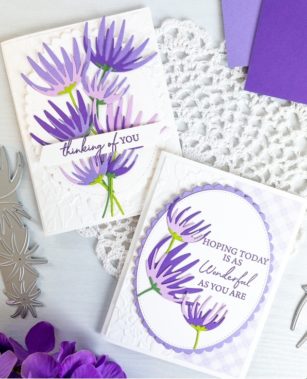
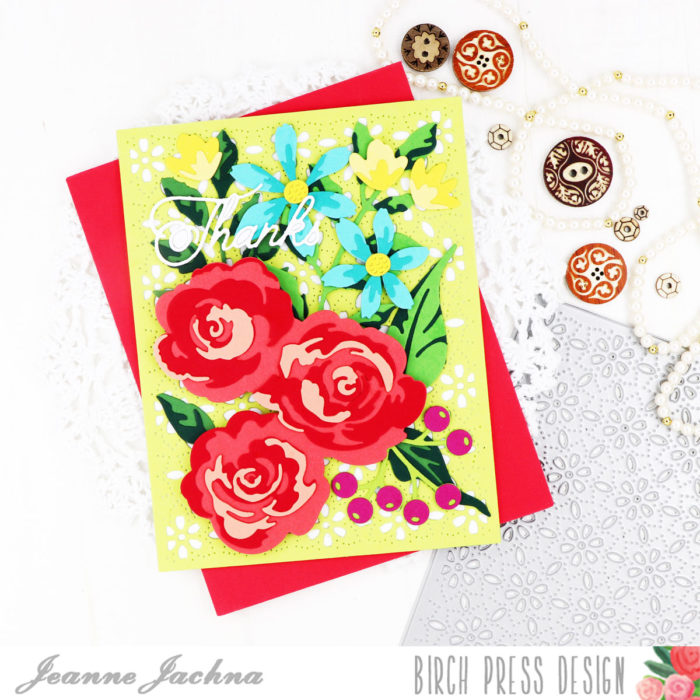
Card details:
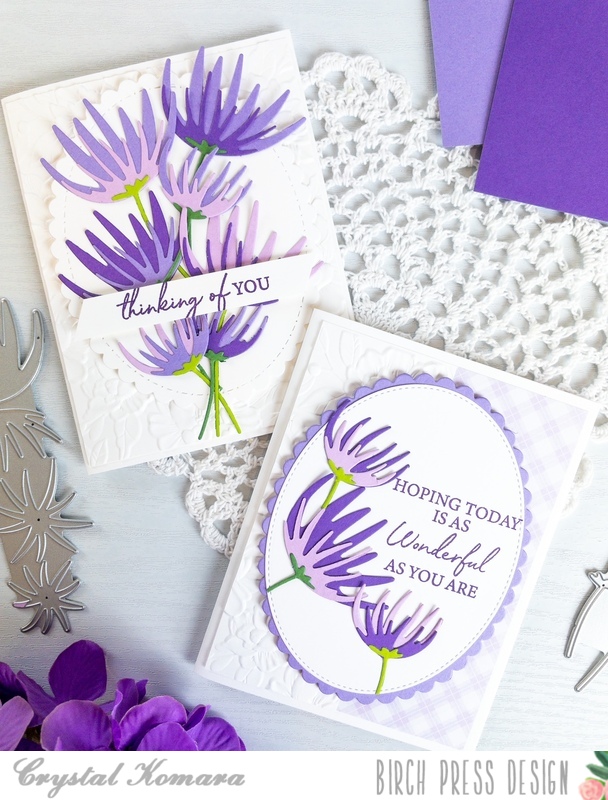
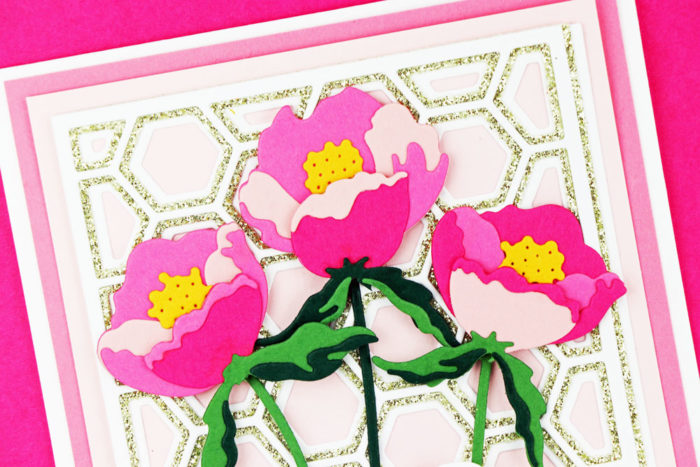
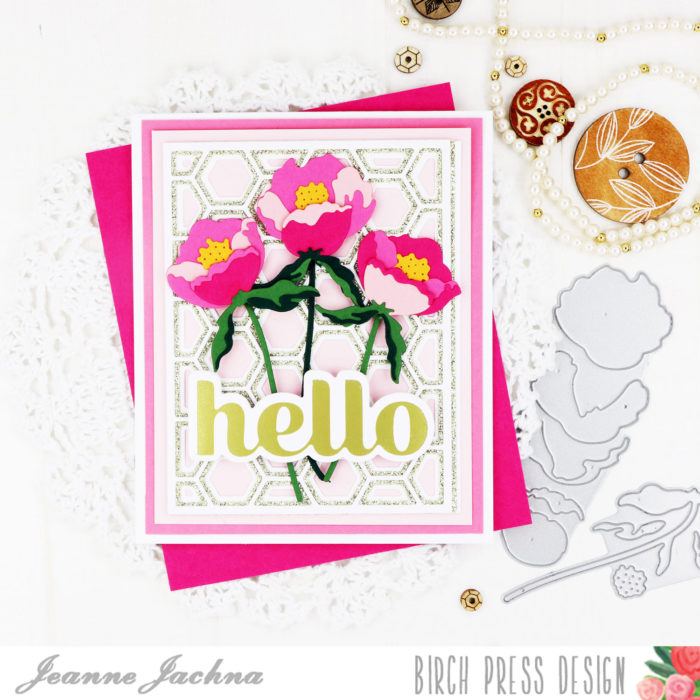
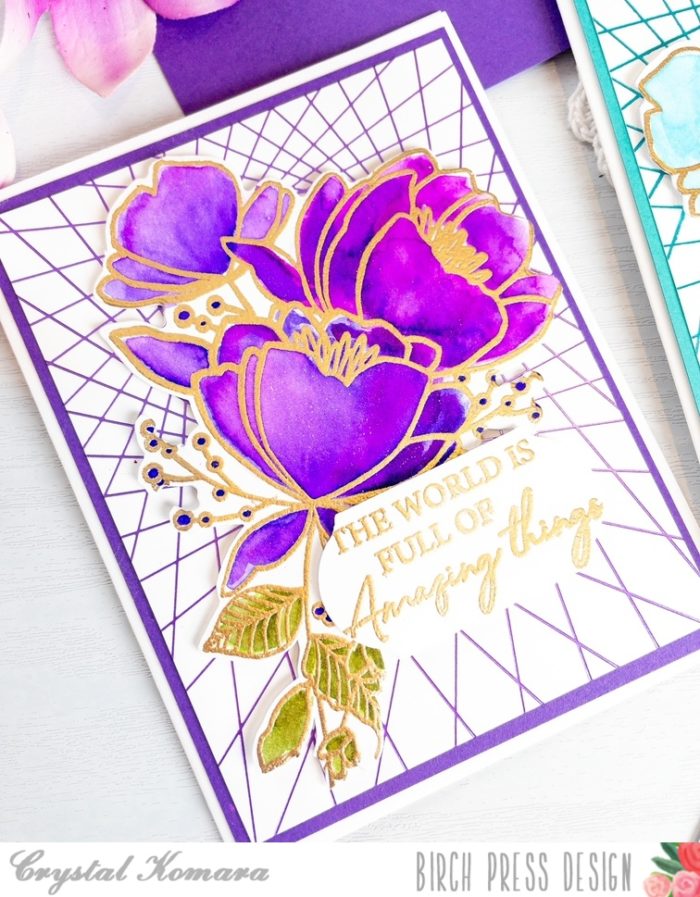
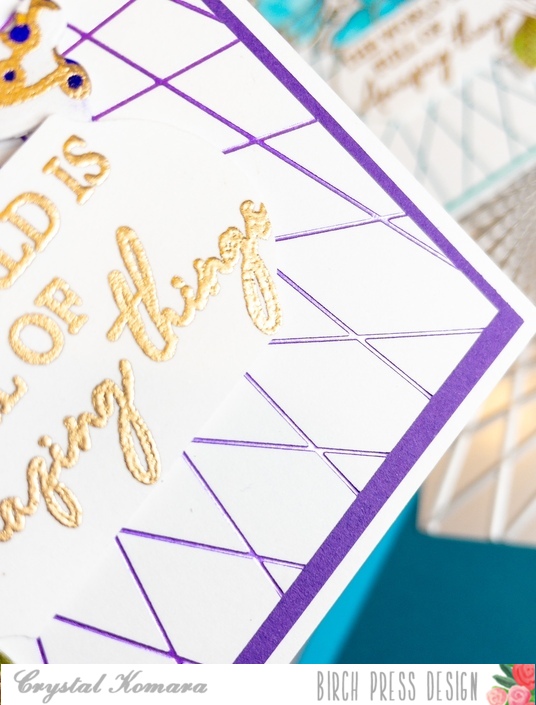
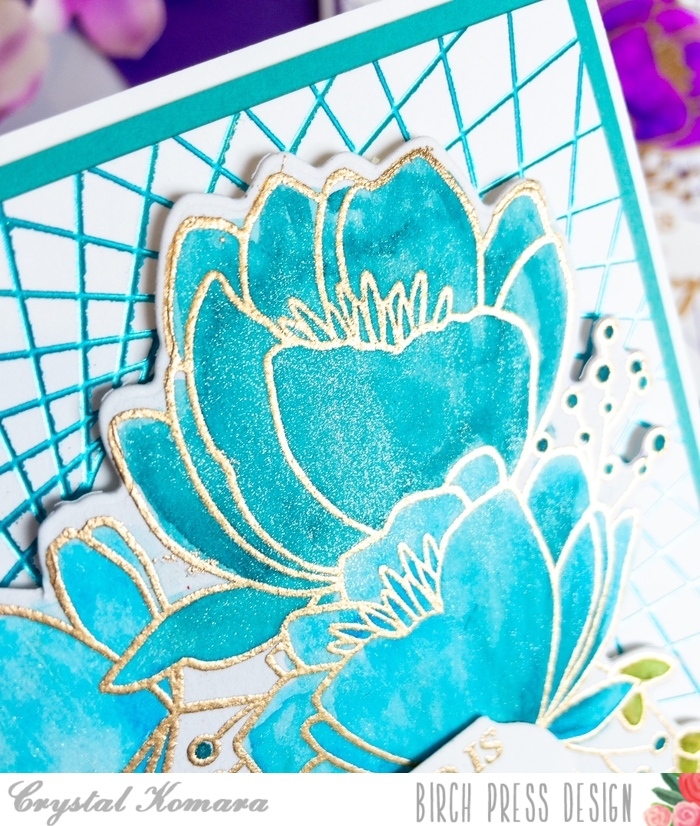
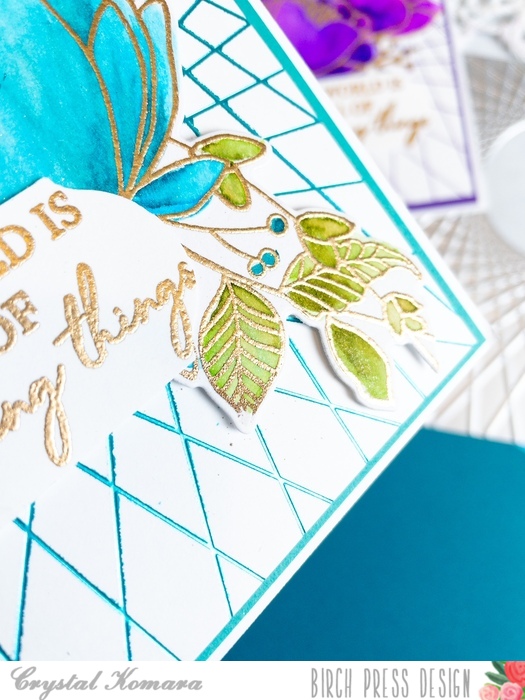
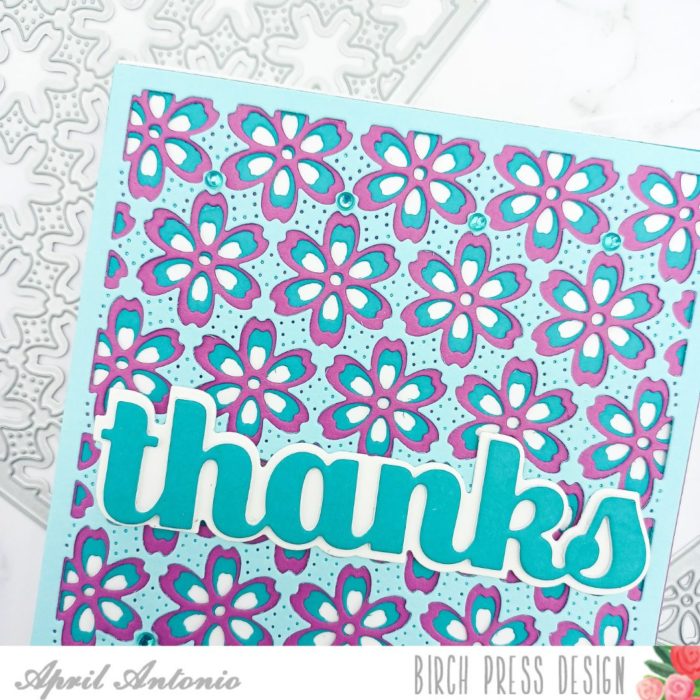
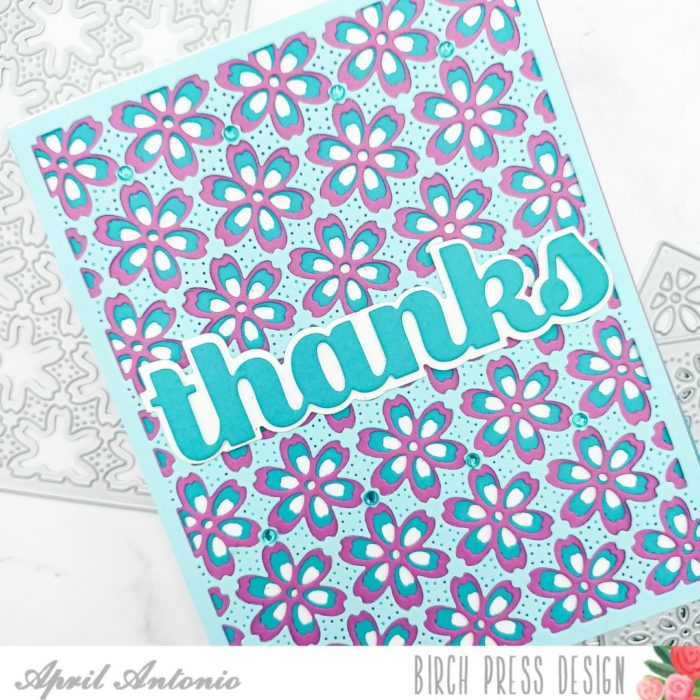
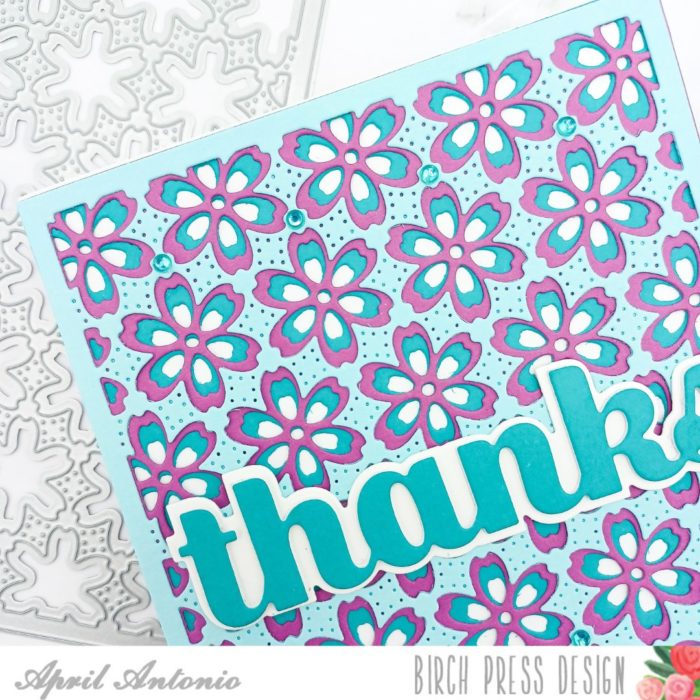
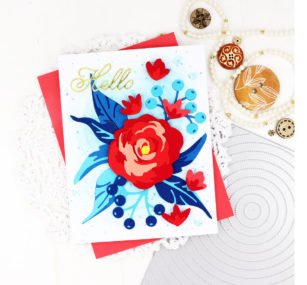
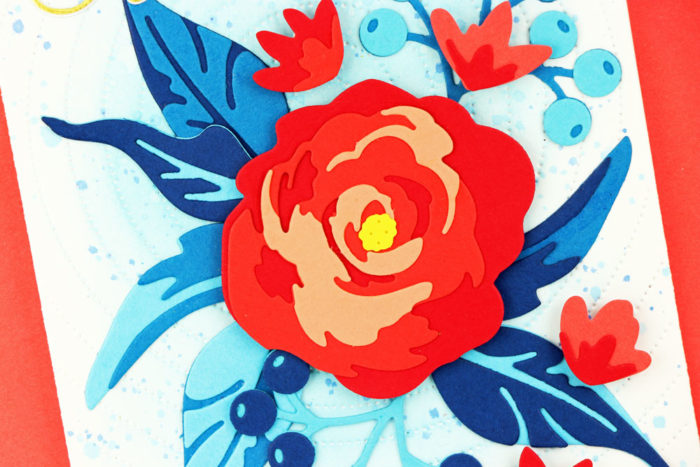
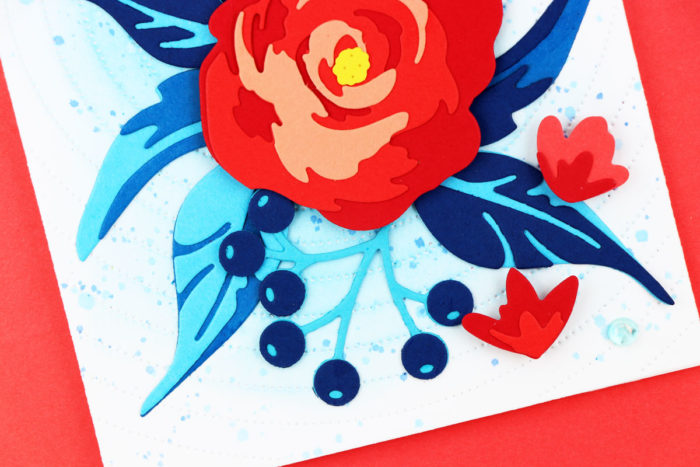
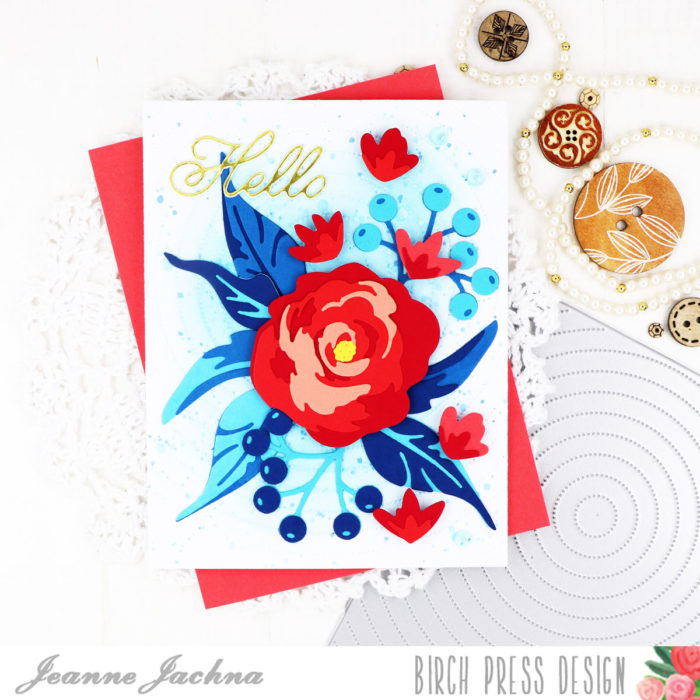
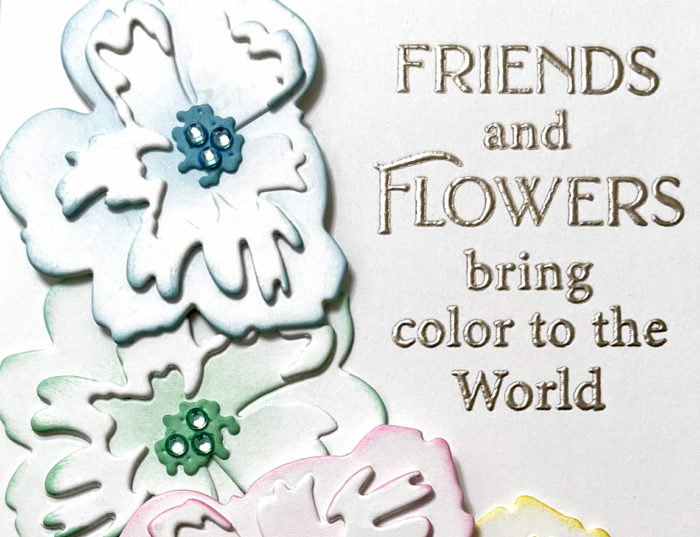
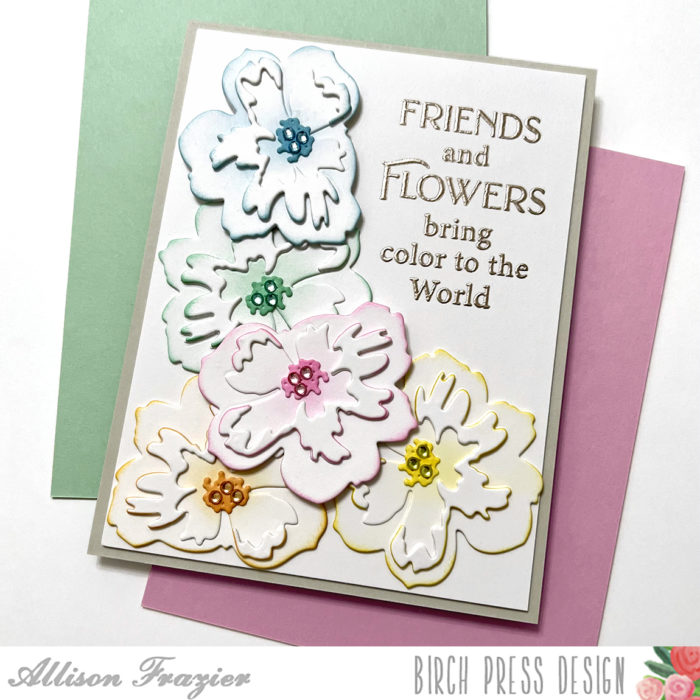
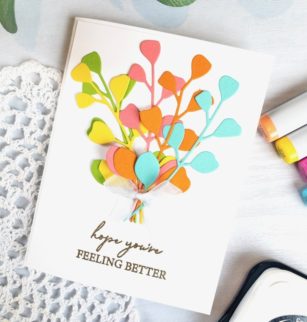
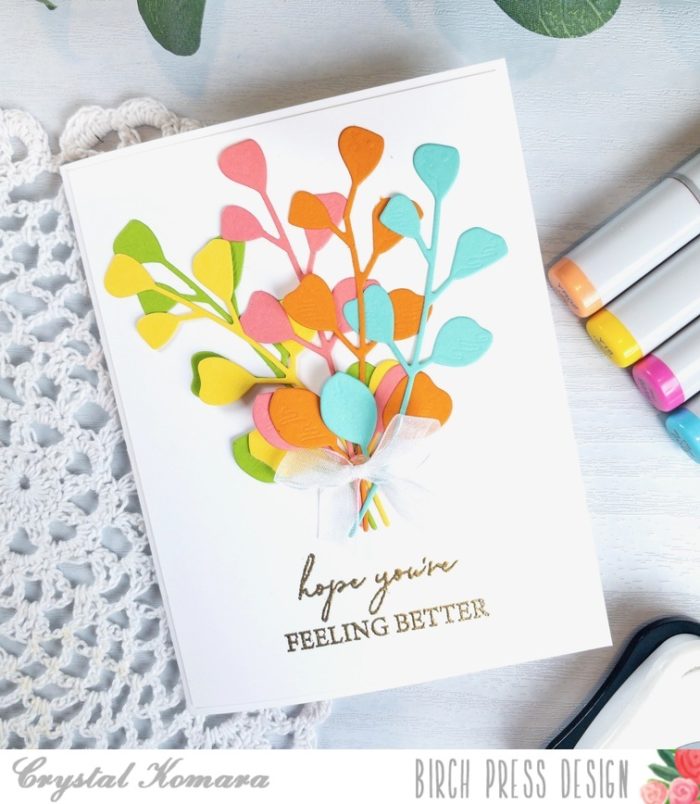
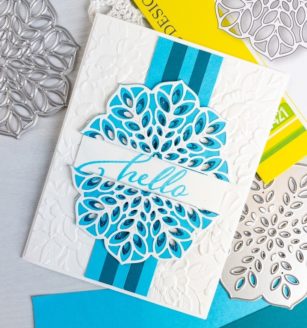
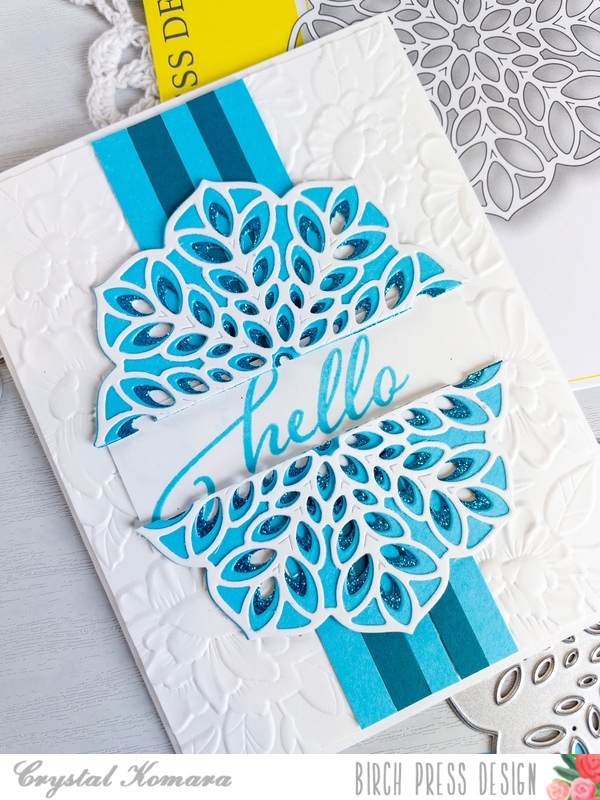
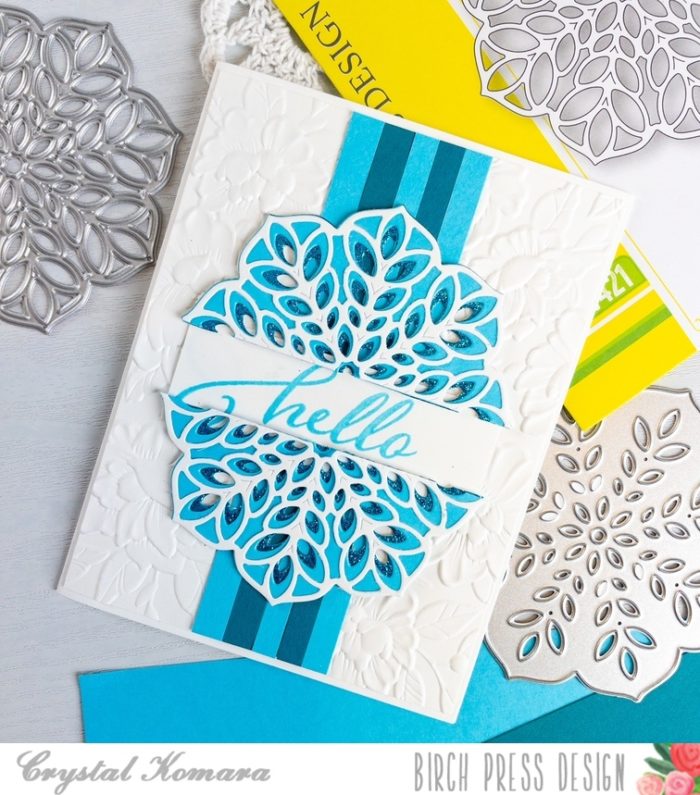
The base of this A2 sized card is made from 80 lb. Neenah Solar White smooth cardstock. I cut a 5 1/4″ x 4″ piece of the same white cardstock and ran it through my Big Shot using the Blooming 3D embossing folder from Memory Box. This embossed cardstock is the first layer of the card. I then used alternating pieces of cardstock from the 6″ x 6″ Ocean Blue paper pack. These strips measure 5 1/2″ x 1/4″. I used the same color cardstock to create the three layer Floral Star. I also added in a piece of glitter cardstock from the Twinkling Jewel Paper pack. I die cut Layer B from this glitter cardstock. I adhered all three layers of the Floral Star layering dies together with liquid glue.
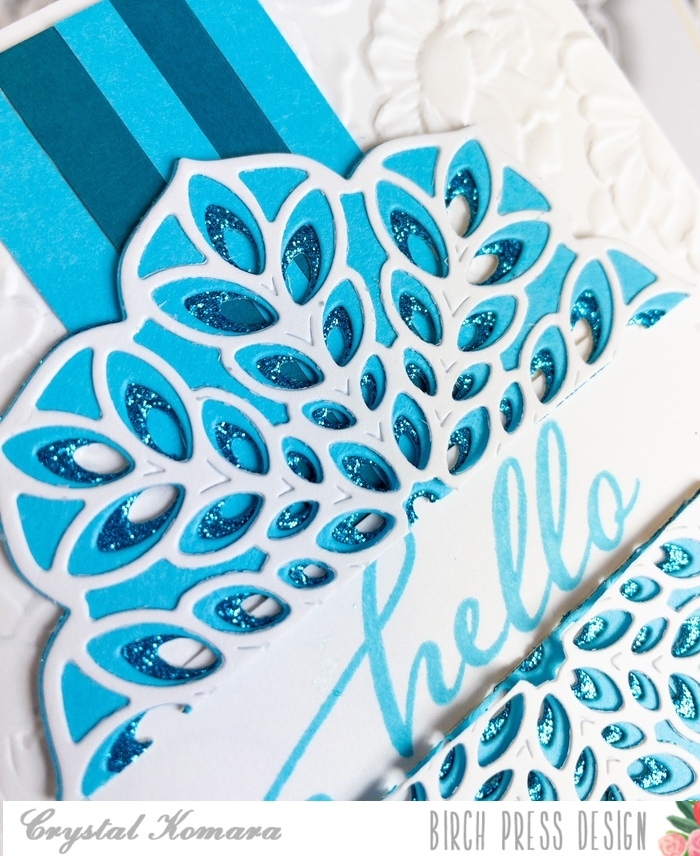
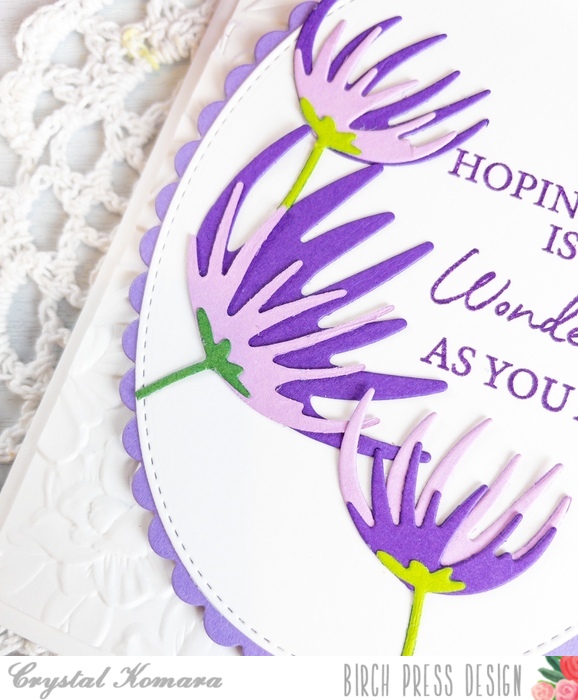
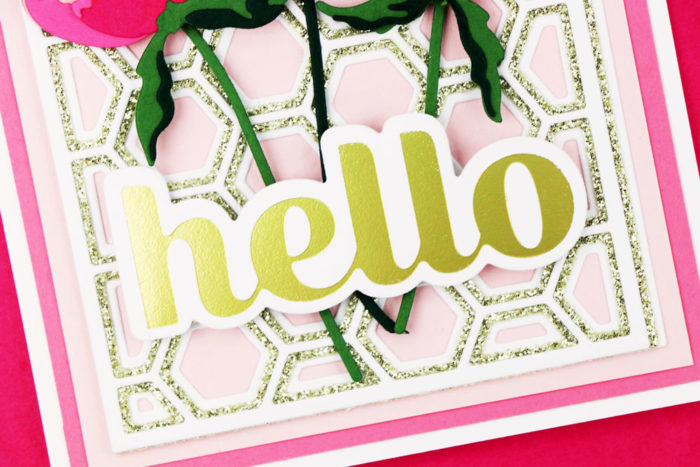
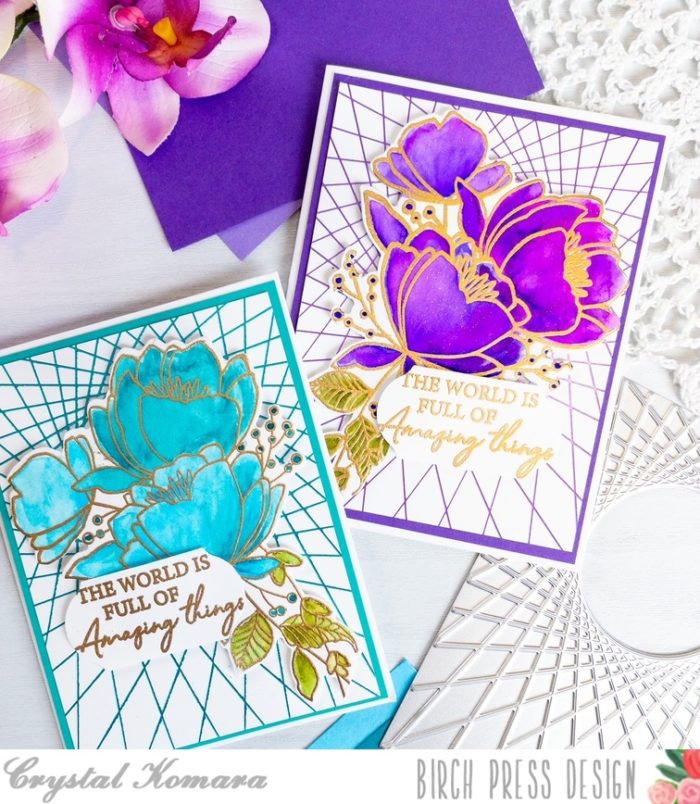
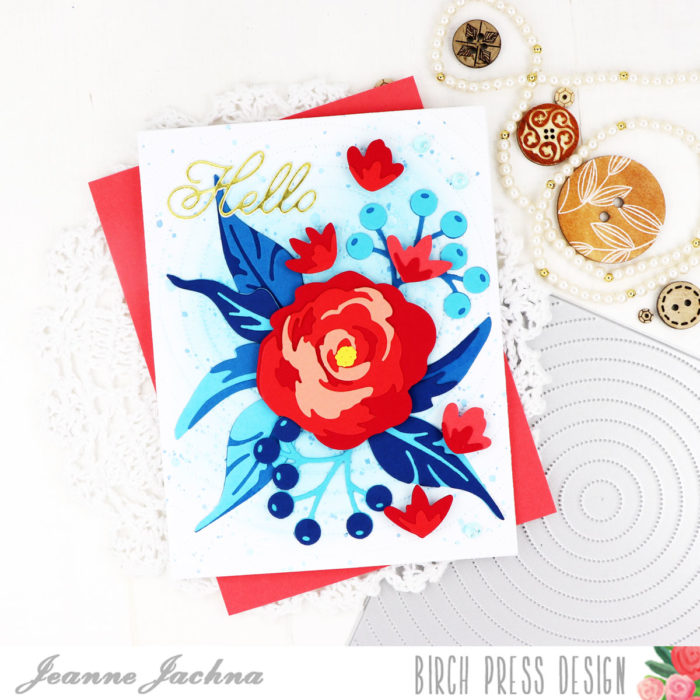
I took a chance and cut the finished Floral Star in half hoping to make it the focal point of the card. I stamped “hello” in turquoise ink on a thin white strip of cardstock and placed it between the two halves of the Floral Star. I think it pulled the two halves together more cohesively.
I really like how this card came out, in fact, I think I’ll try it in a few other colors too!
Thanks for visiting and have a wonderfully creative day!

Supplies