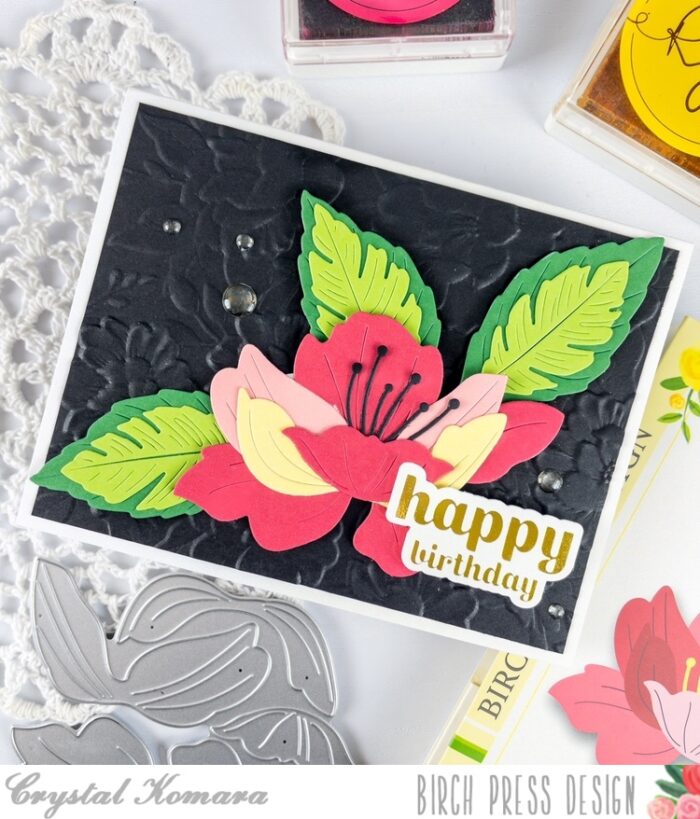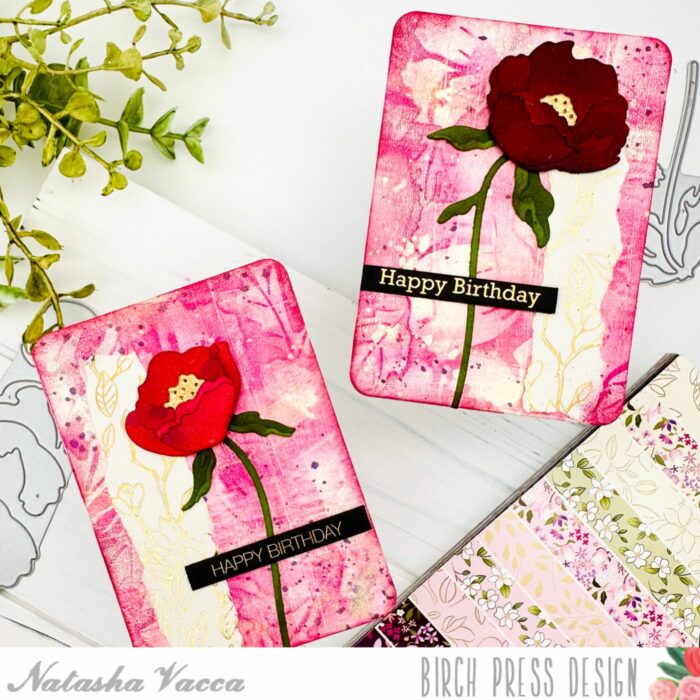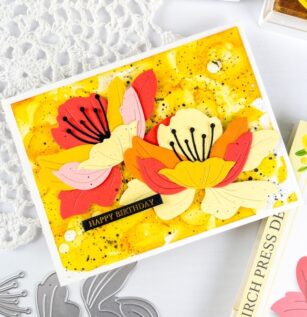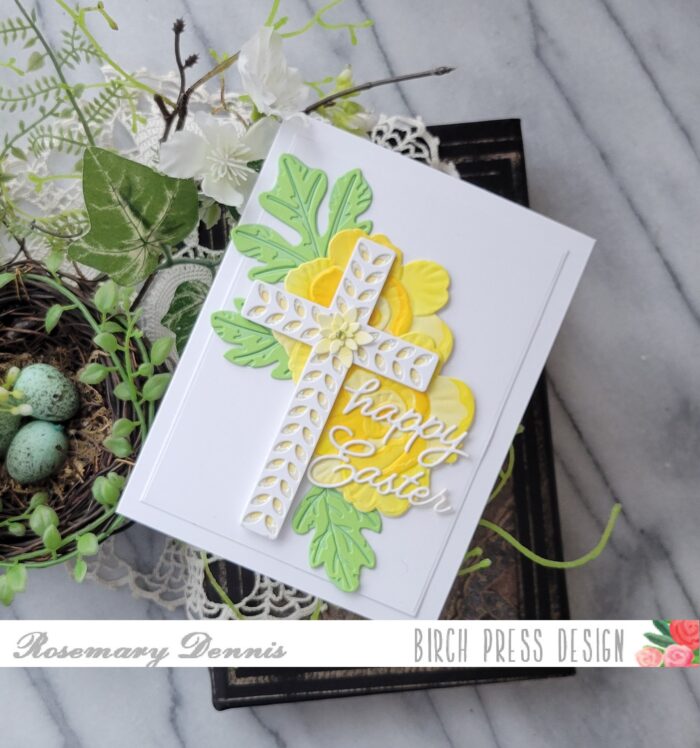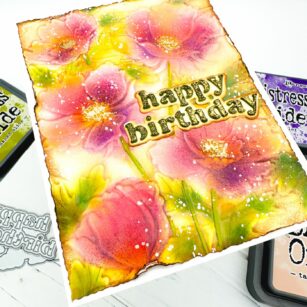
Hello Crafty friends, it is Design Team Member Natasha Vacca here today. Today I am sharing the beautiful new Happy Birthday Vintage Sentiment die set. I paired this with the beautiful Anemone Bunches 3D embossing folder from Memory Box. So let’s get started!
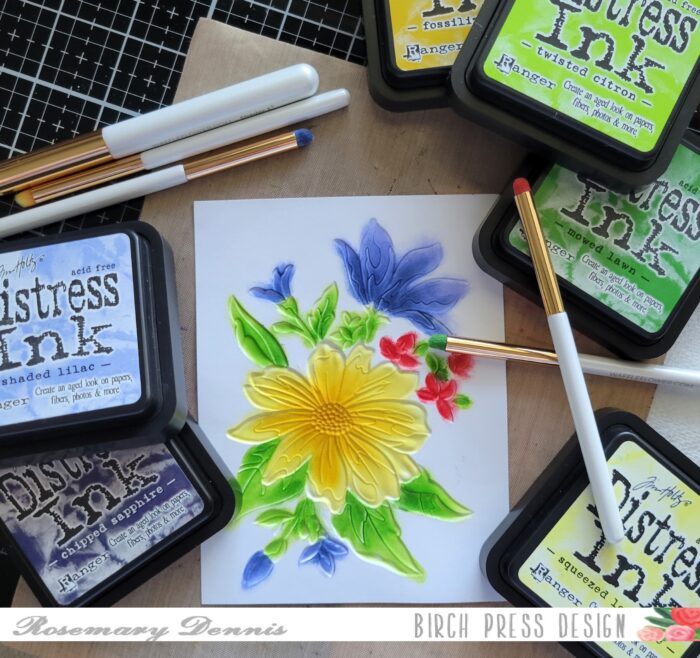
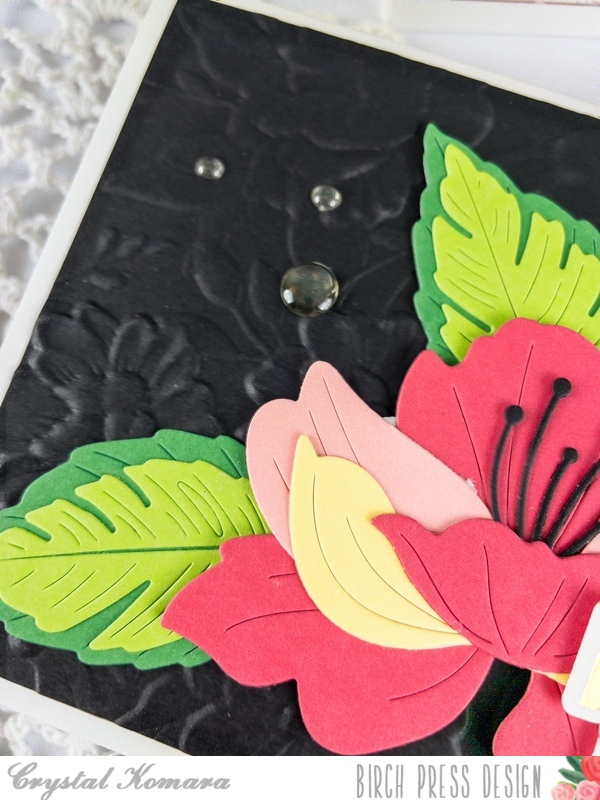
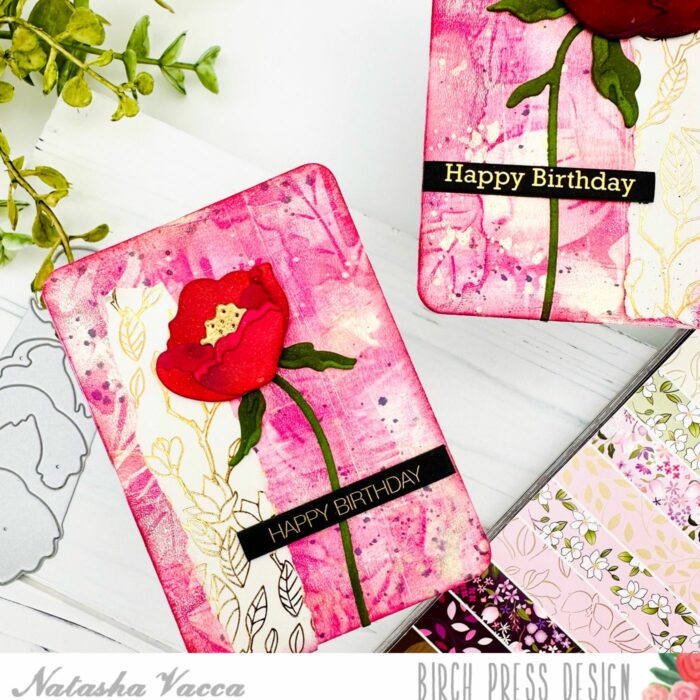
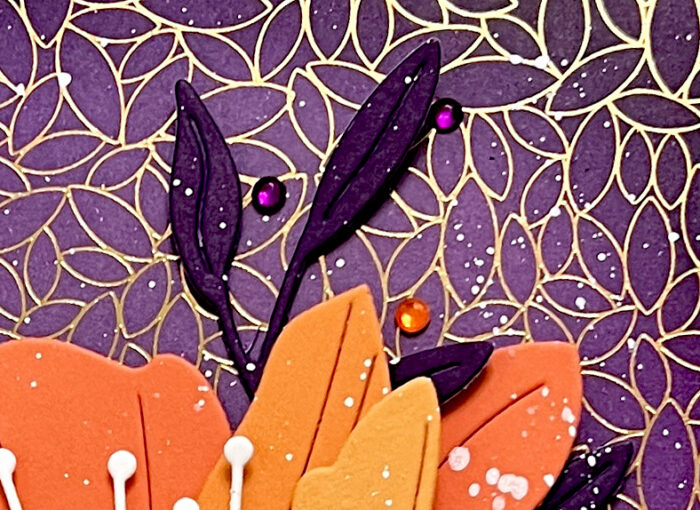
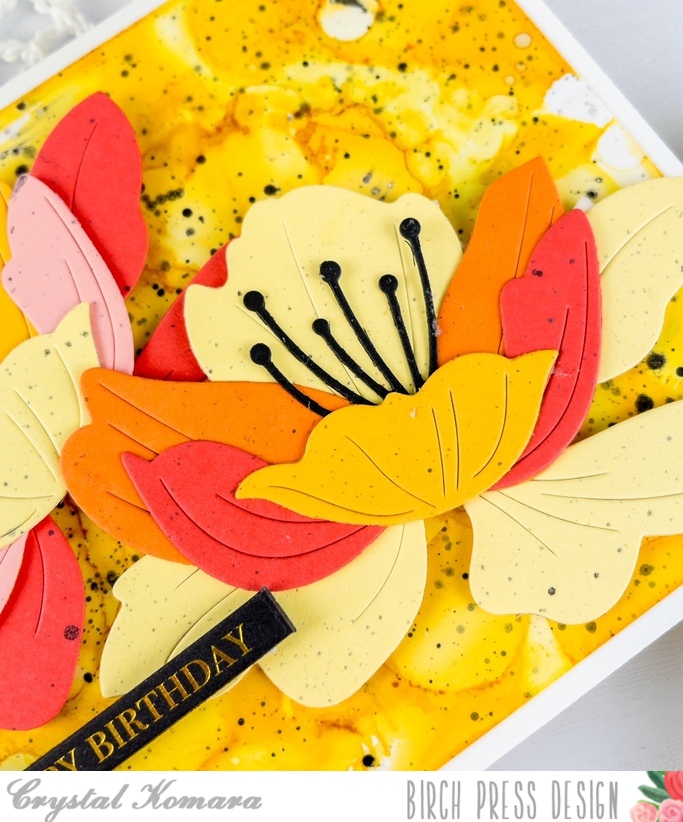
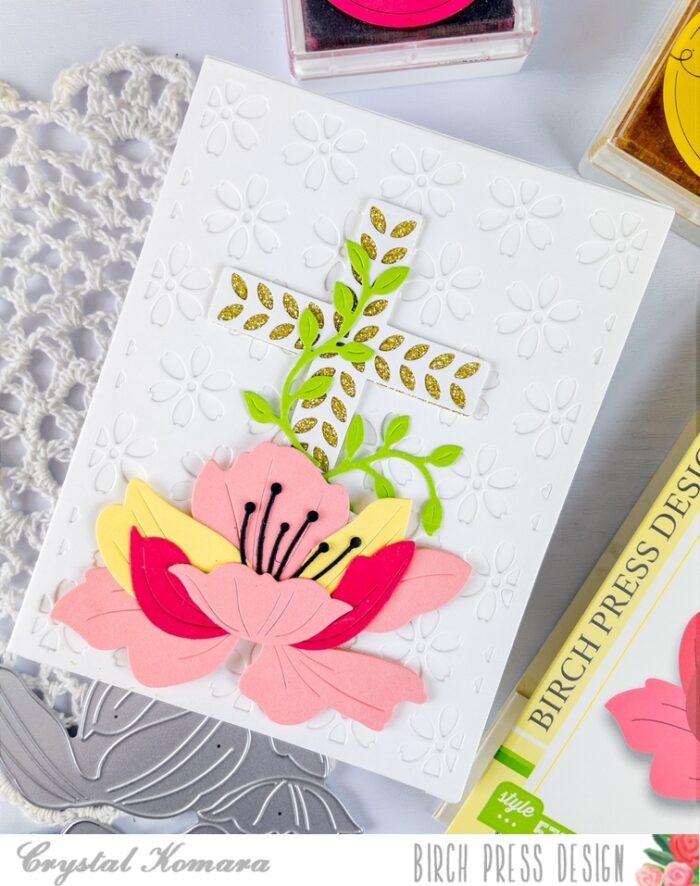
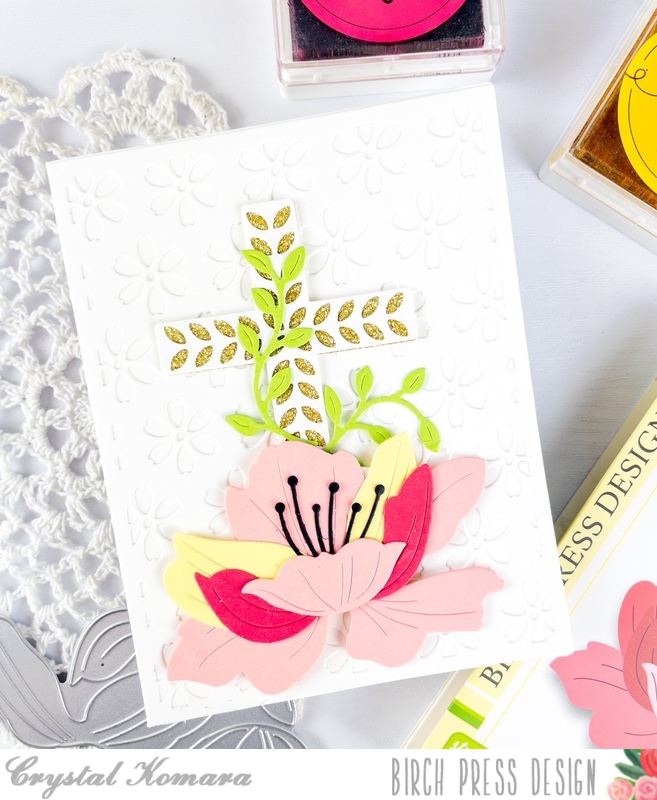
I started by creating the floral card panel using the beautiful Anemone Bunches 3D embossing folder. I ran the folder with a piece of Hammermill cardstock through my die cutting machine. Once the paper was dry embossed I started to ink the floral background card panel. I used a combination of Distress Oxide Inks, as well as some Dye Inks to color the florals, leaves, as well as the background.
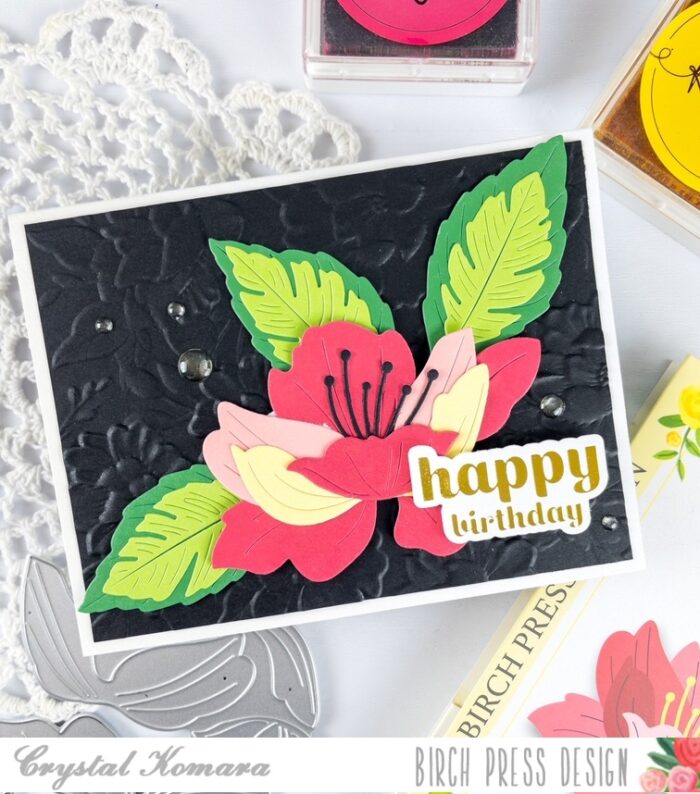
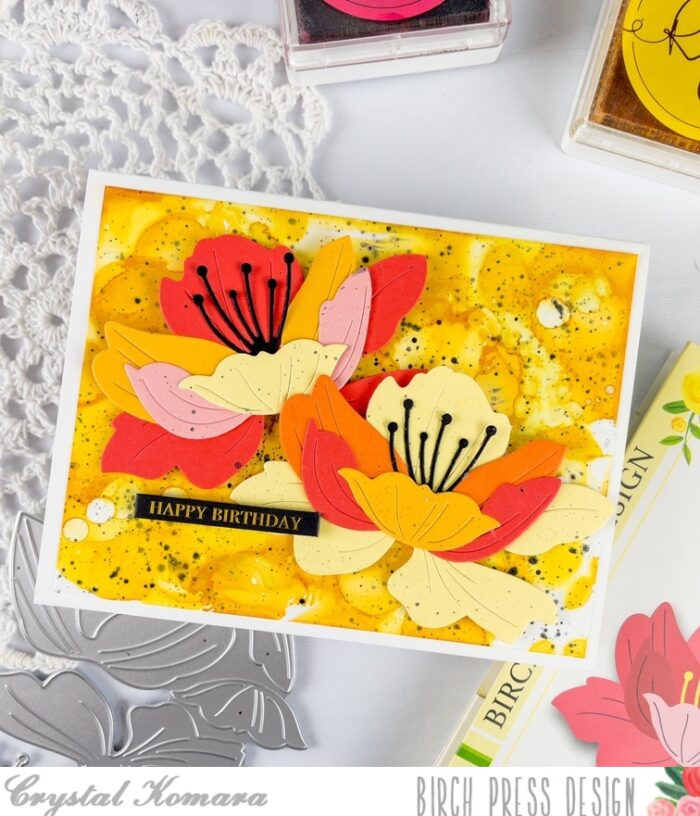
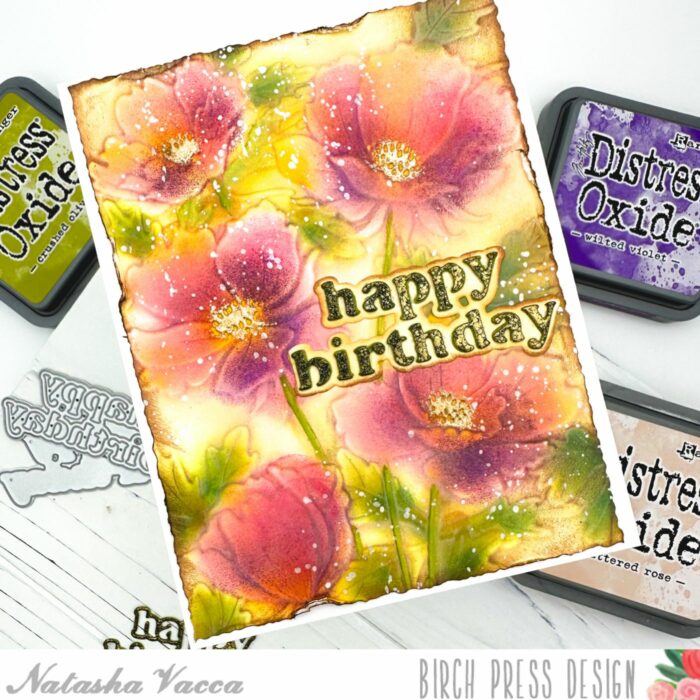
I continued to color the dry embossed background, until I had the colors and texture I was looking for. Once the background was complete, I trimmed the panel using my deckle trimmer. I then added more distressing using my distress tool and then inked the edges with Vintage Photo Distress Ink.

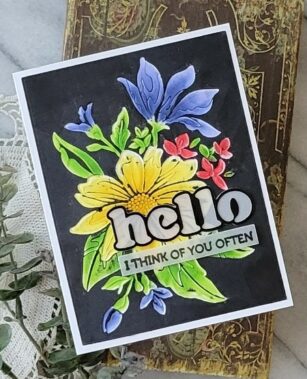
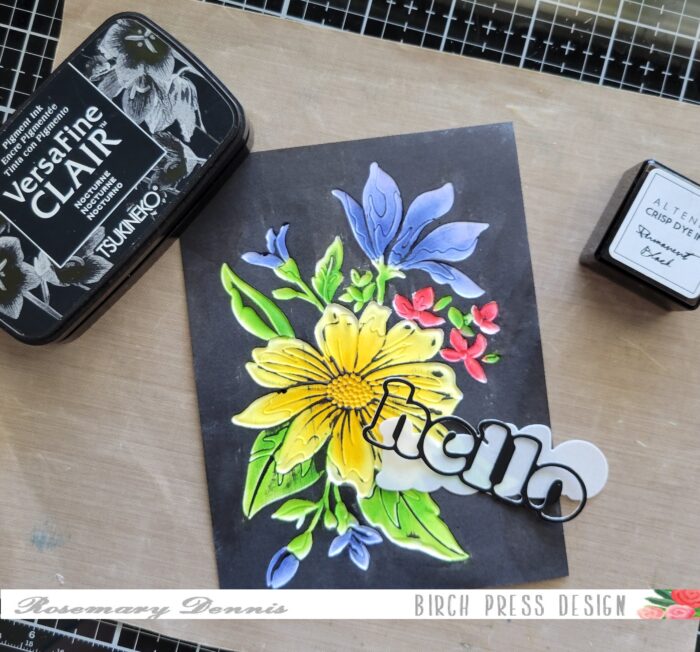
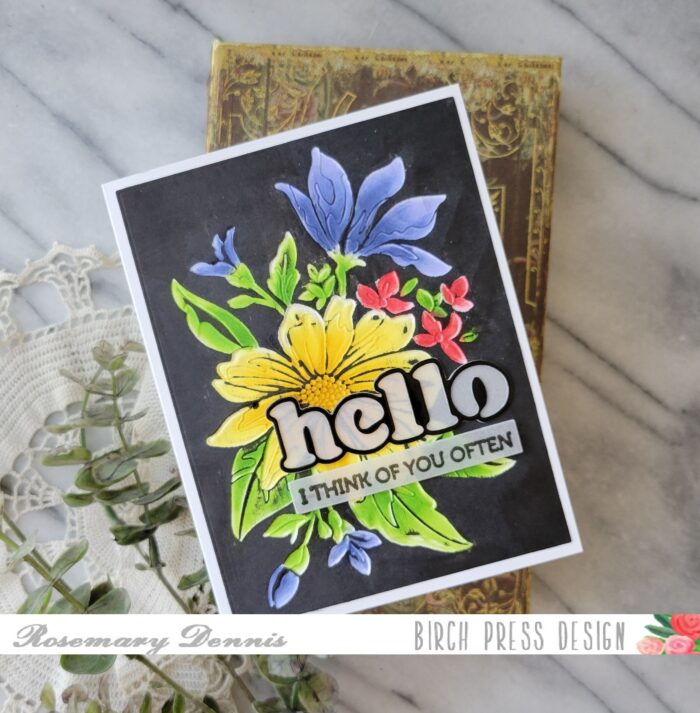
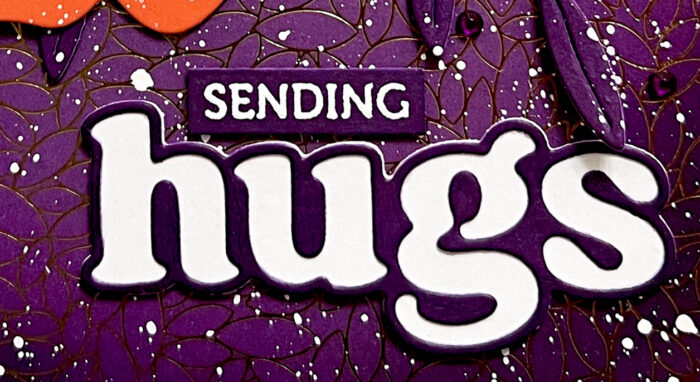
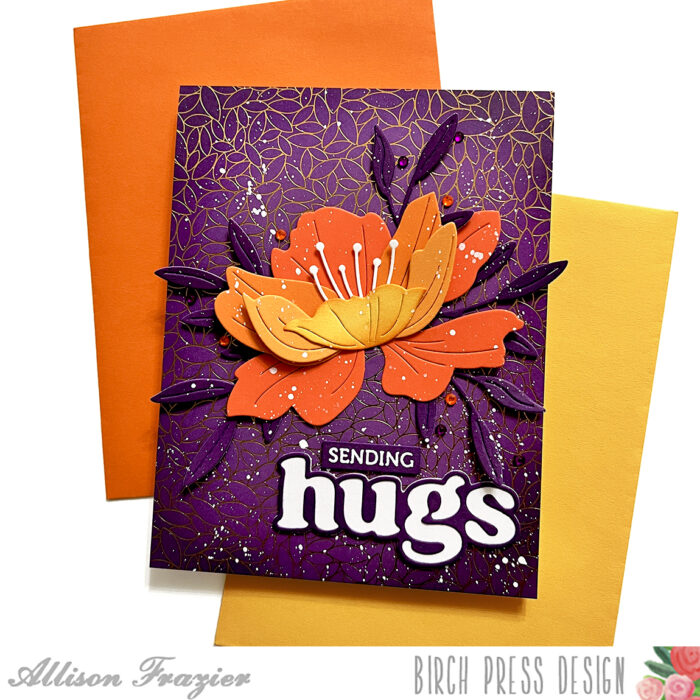
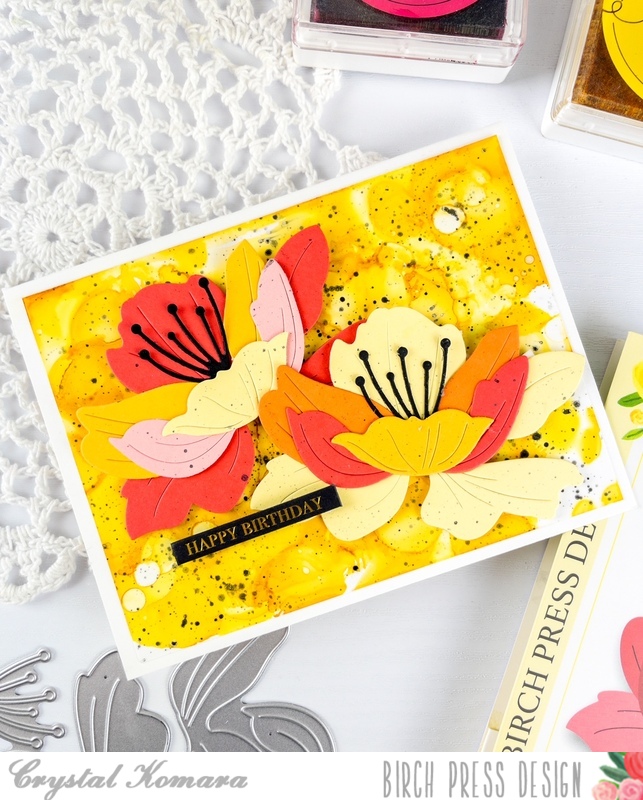
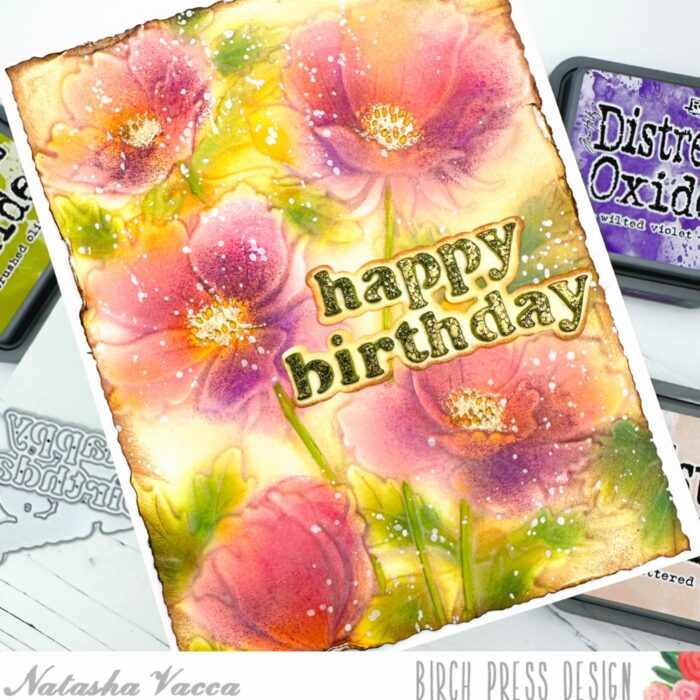
Next I added splatters to the card panel using gouache from my stash. Once the splatters were dry, I adhered the panel to a top folding card base. Next I die the the sentiment – Happy Birthday Vintage Sentiment. I die cut the shadow layer using white cardstock. I then inked the shadow layer using Distress Oxide Ink. Next I die cut the Happy Birthday sentiment 3 times using a green cardstock from my stash. Before I die cut the 3rd layer, I heat embossed the panel, then die cut the sentiment from the embossed panel. I then adhered the letters together from the Happy Birthday sentiment and added the sentiment to my card front.
I had a lot of fun creating today’s card and I hope you enjoyed it! I will be back soon!

Supplies

Supplies