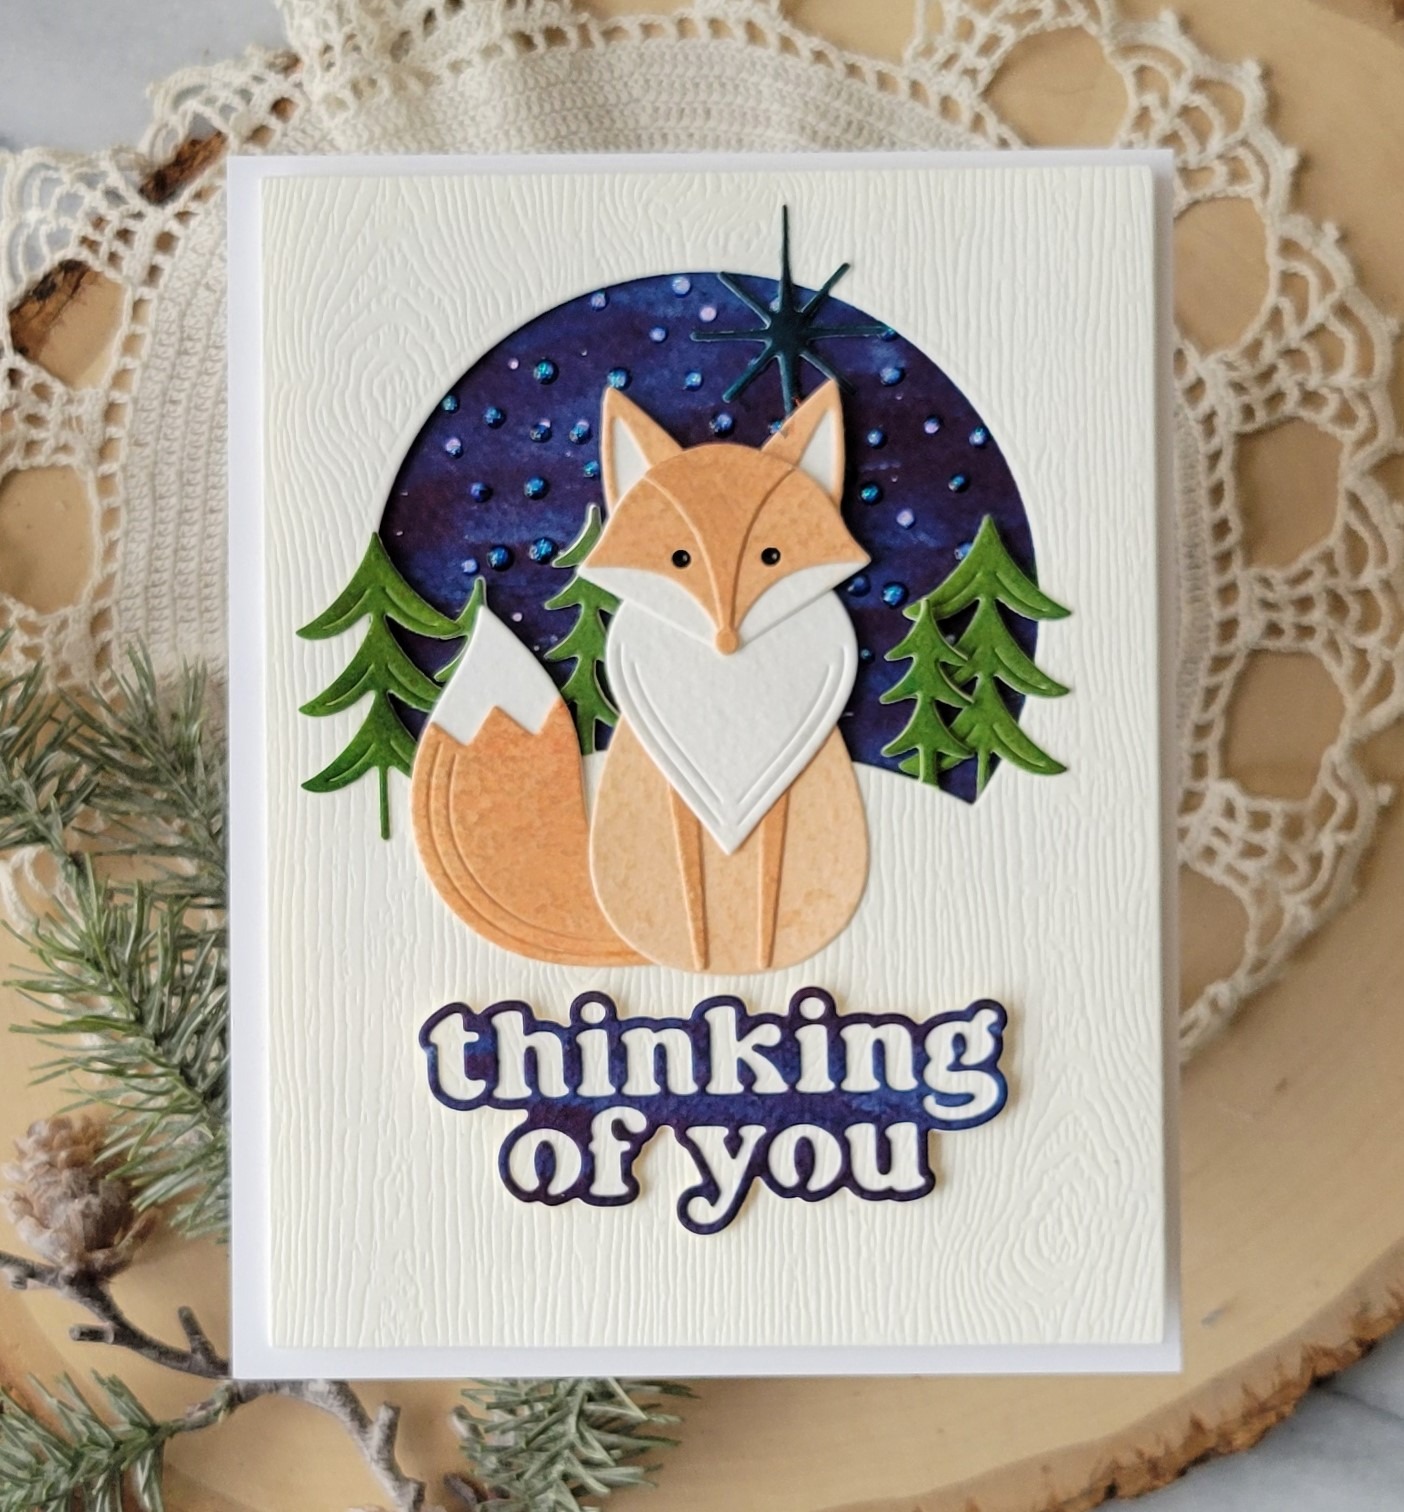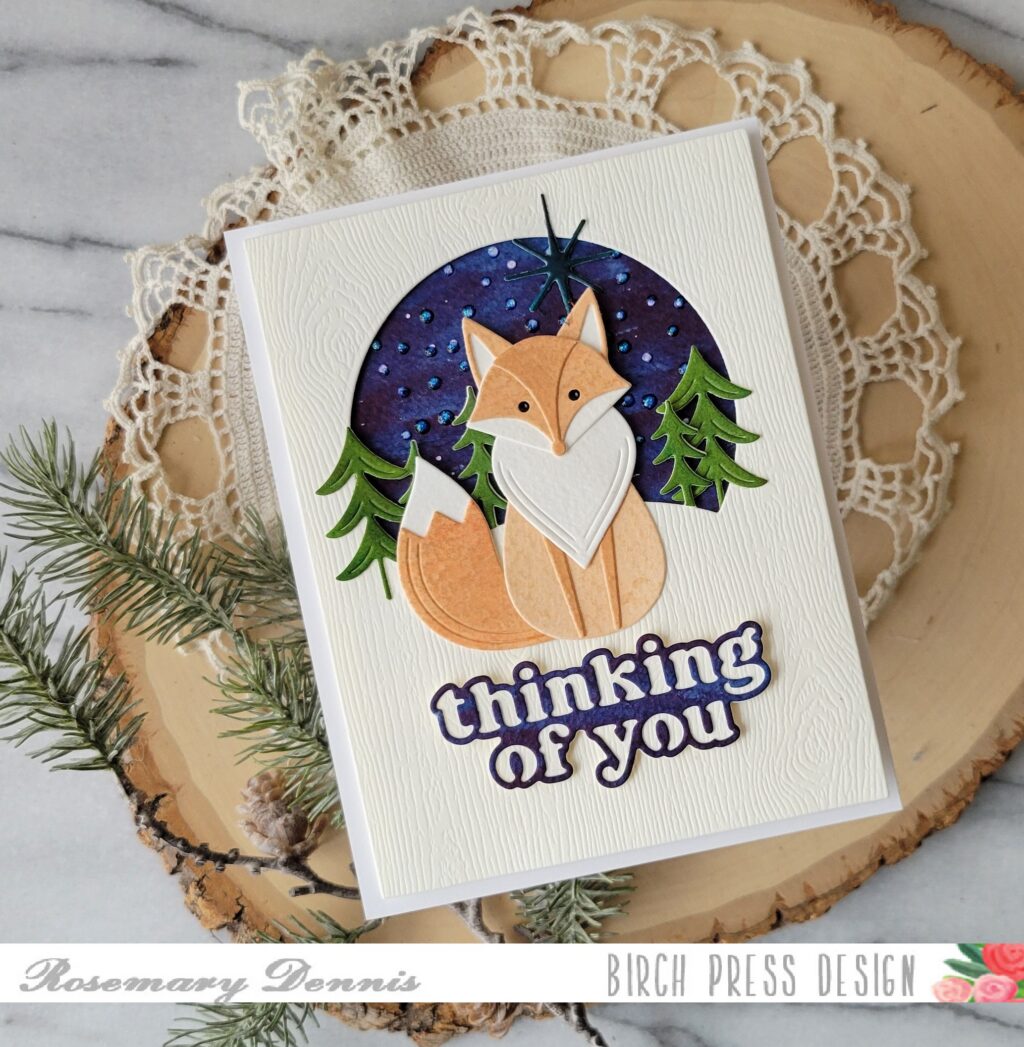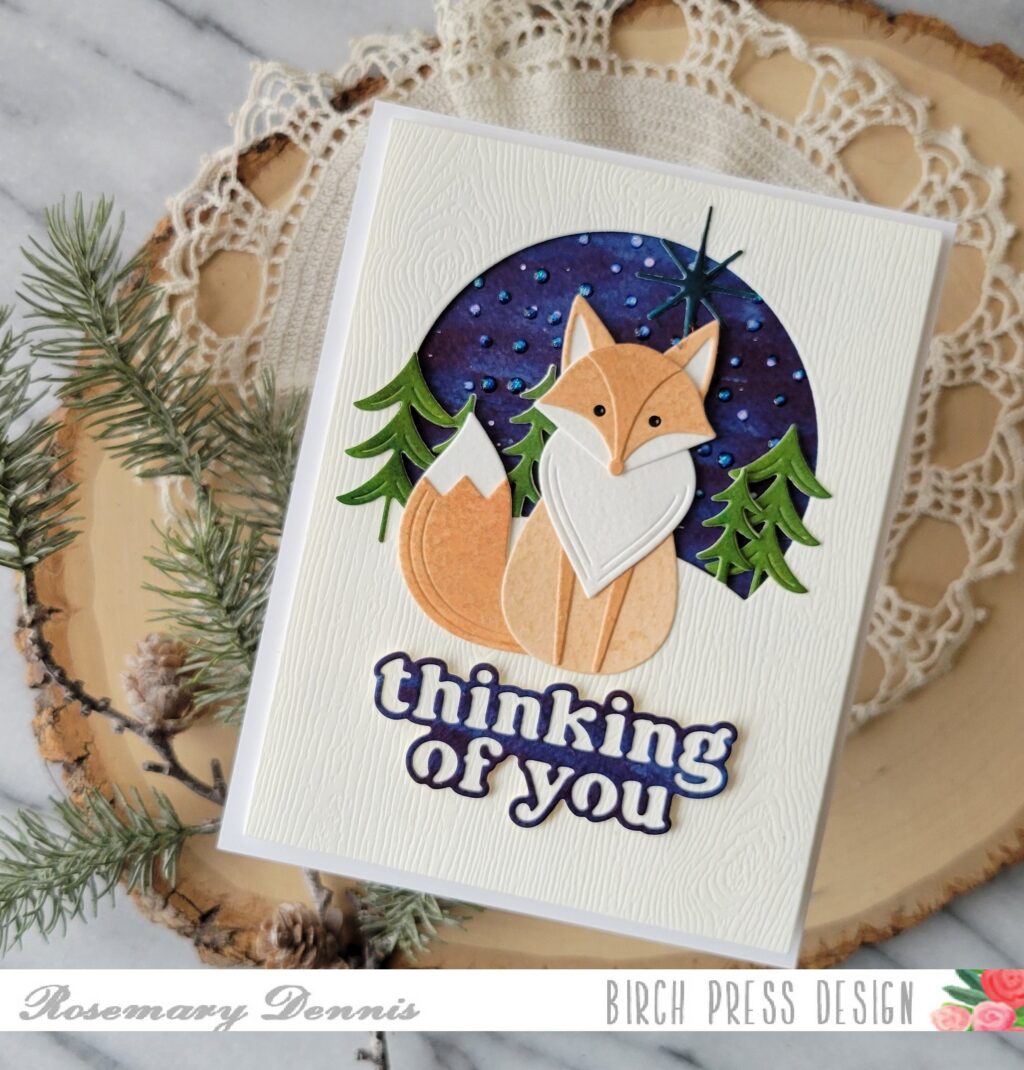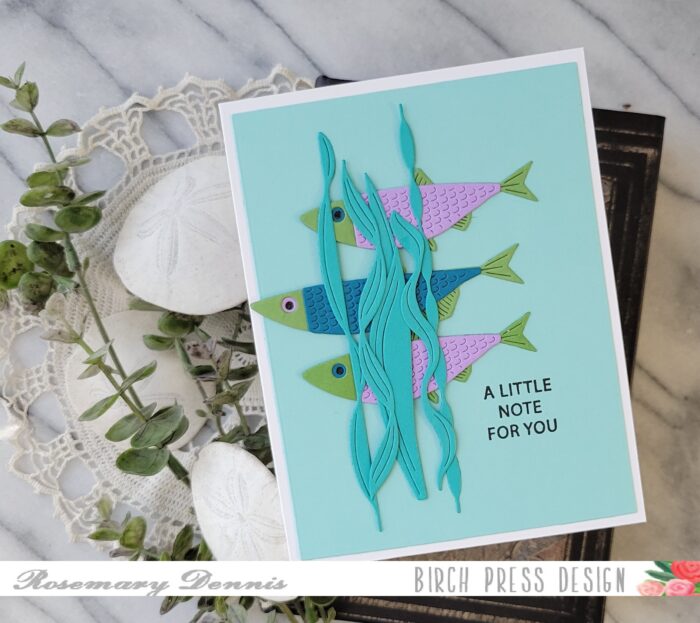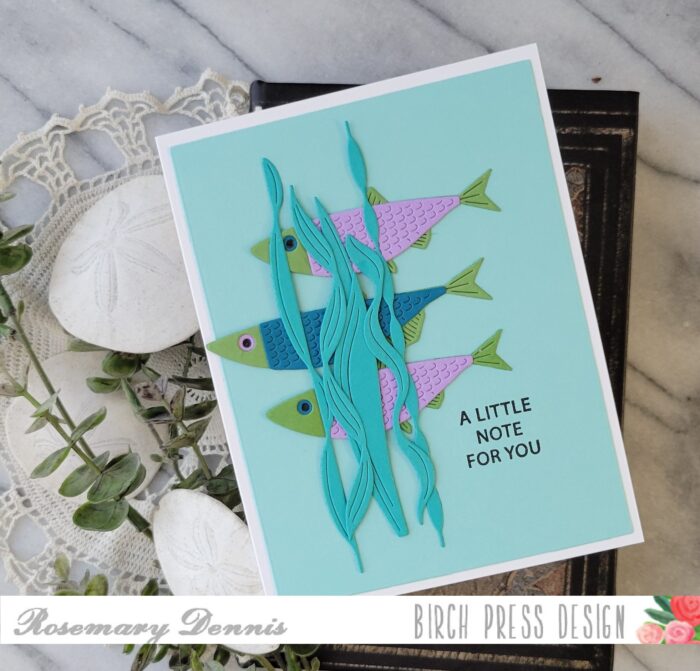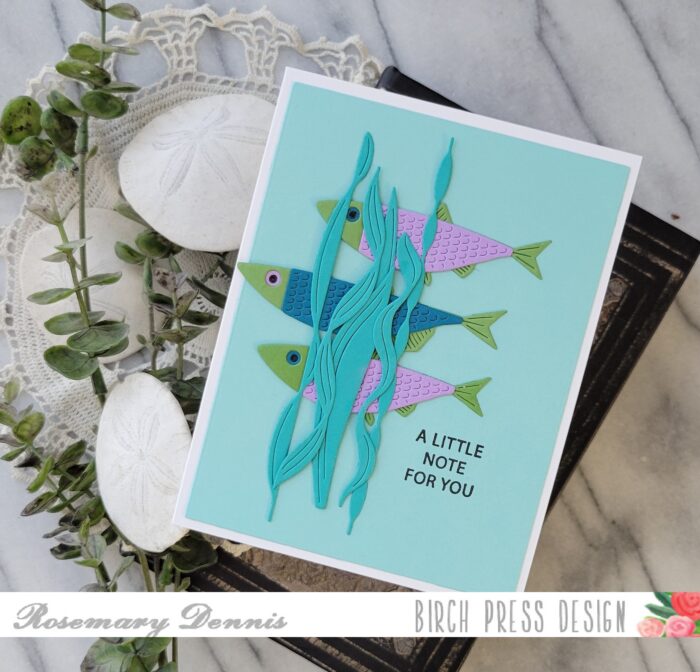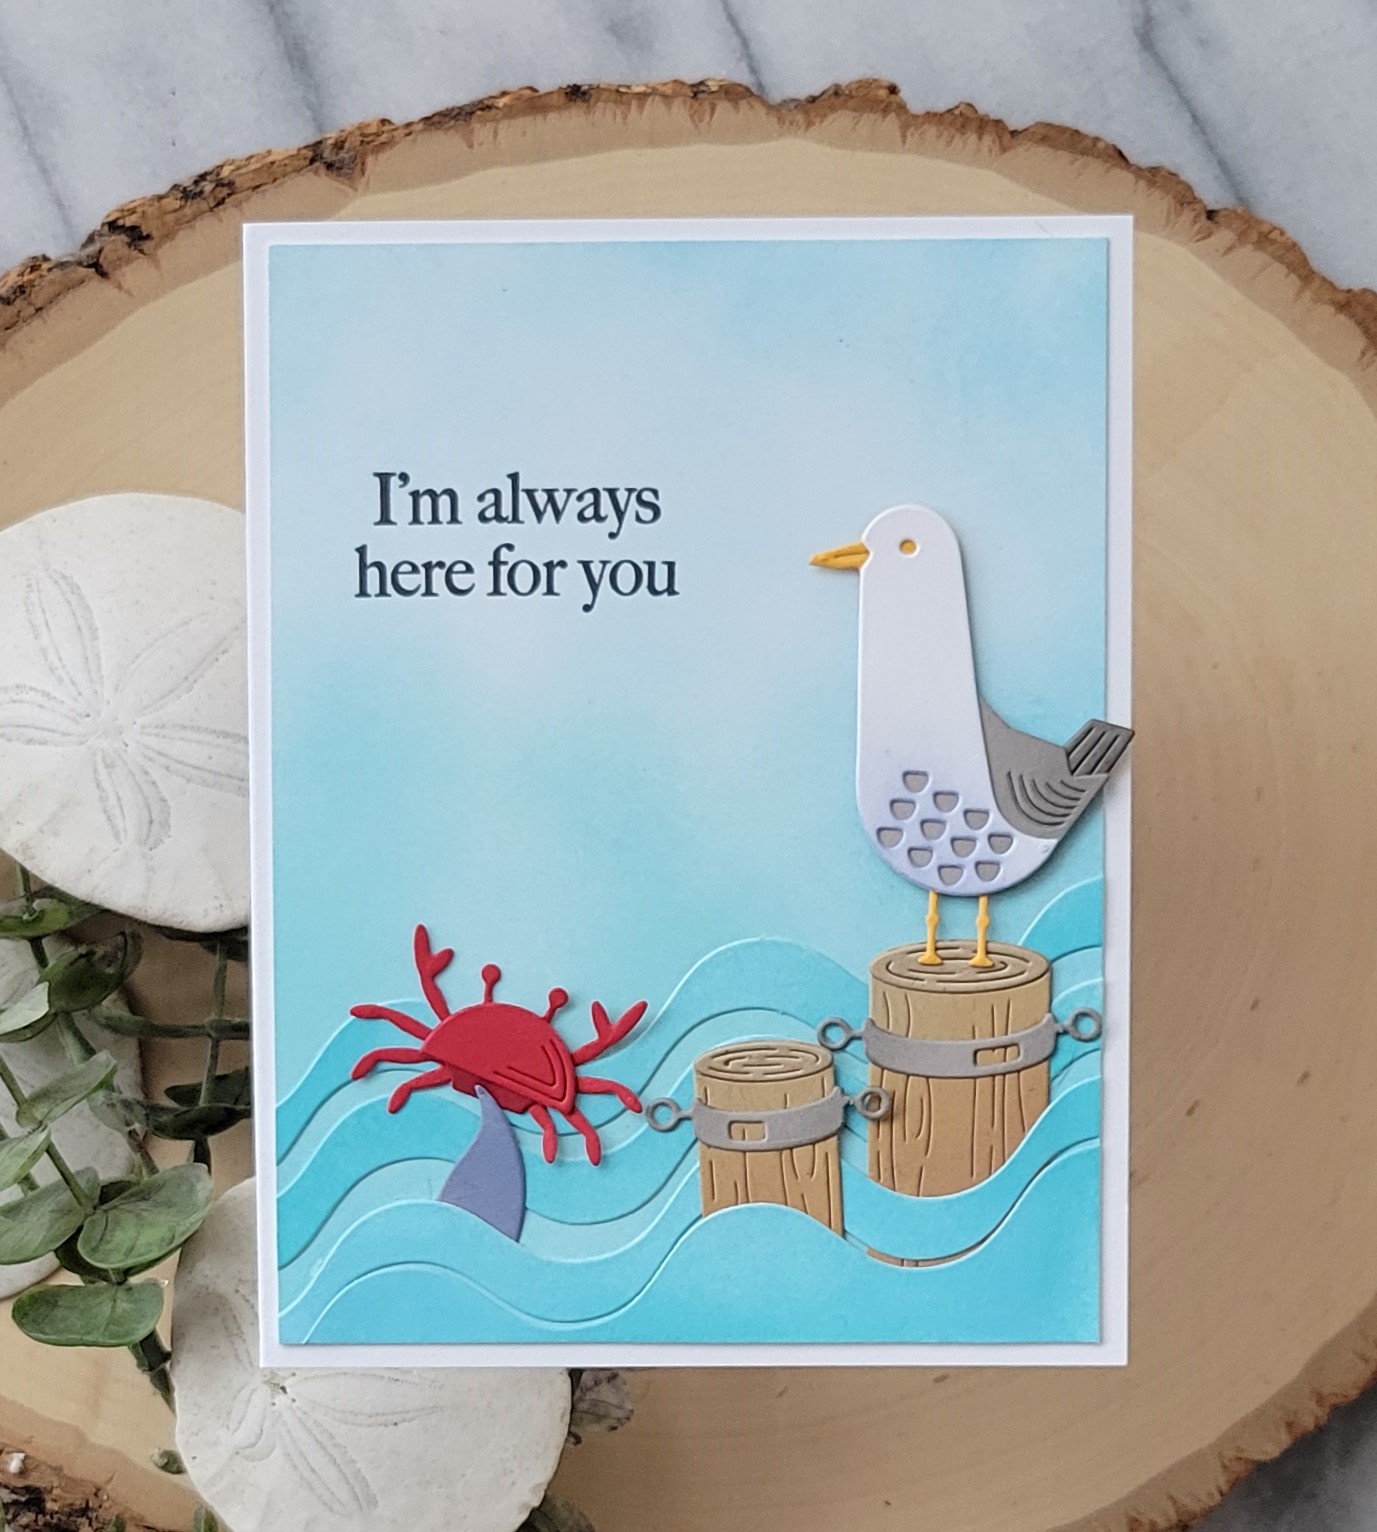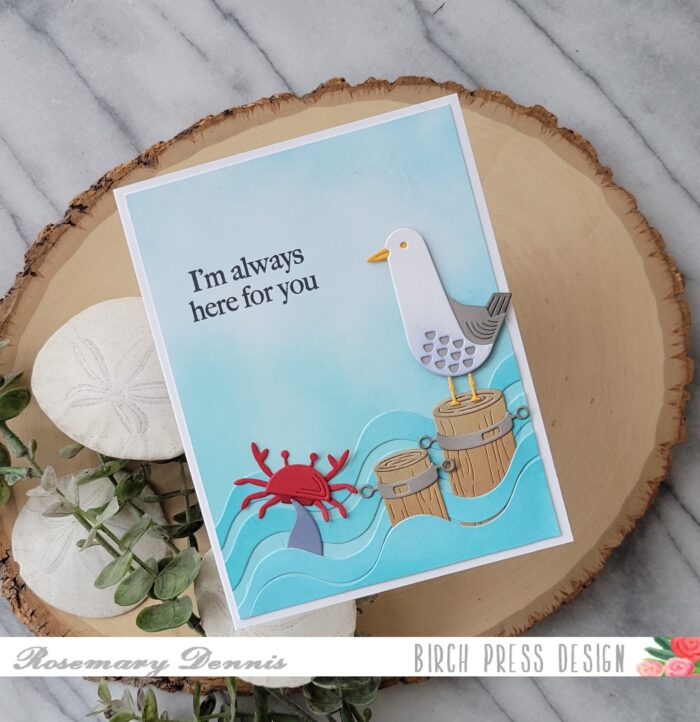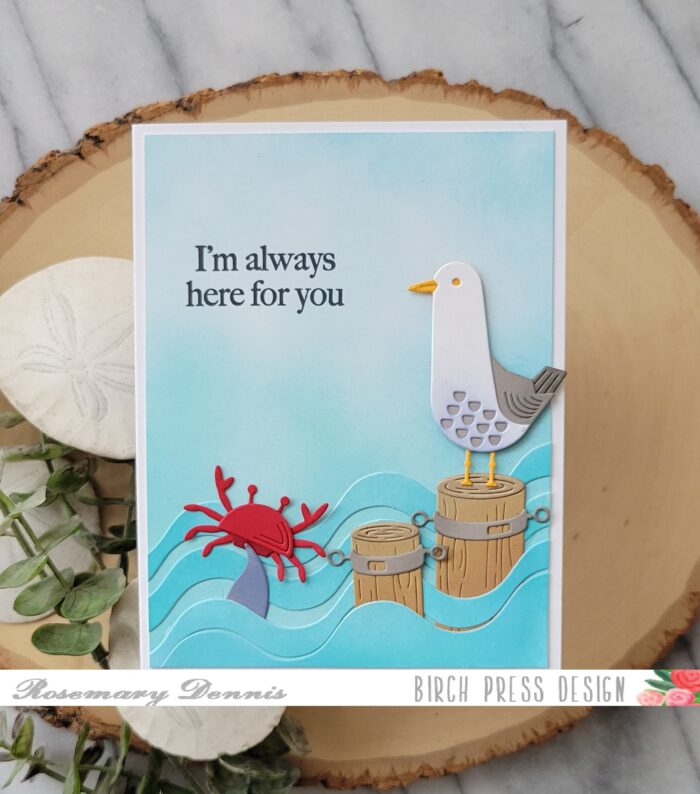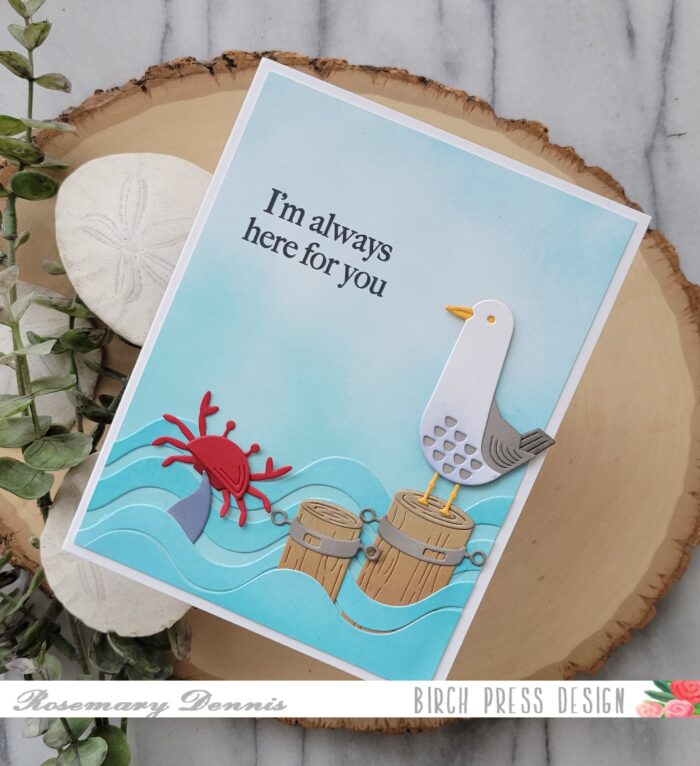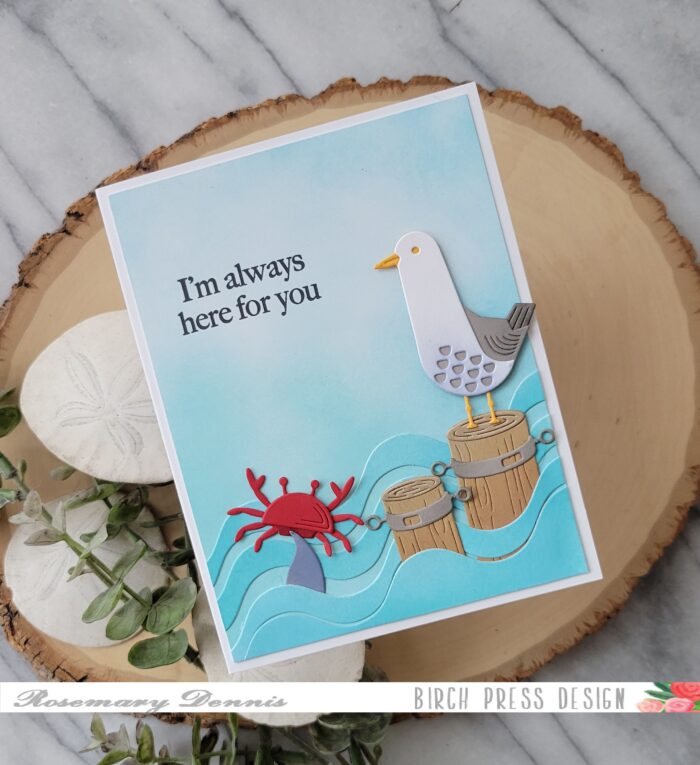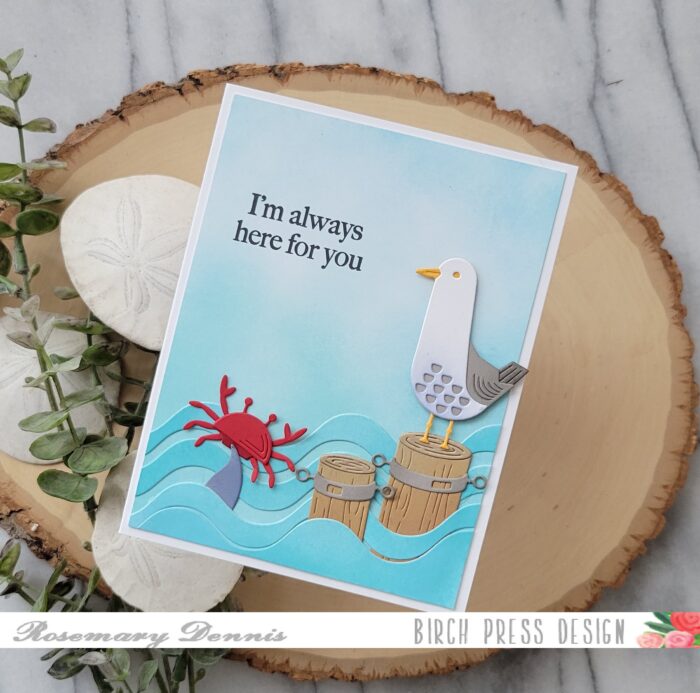
Hello everyone! Rosemary here on the blog today with a fun card created with the super cool Block Print Floating Jellyfish die set, as well as the Block Print Forest Scene die set. Let’s look at what I made.
I just love the Block Print Floating Jellyfish and wanted to make another card with it. I also thought it would be fun to use the Block Print Forest Scene die set to help create the background for my jelly.
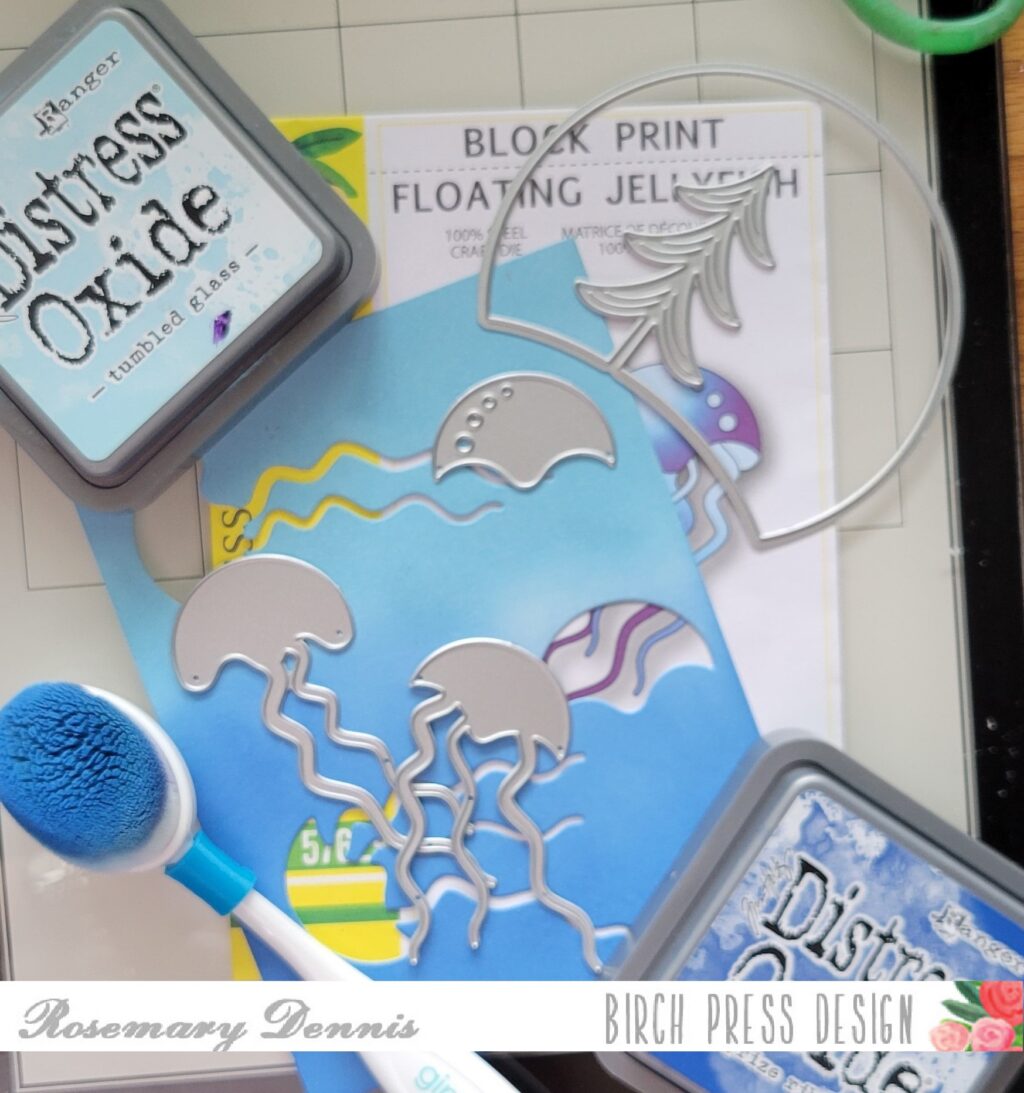
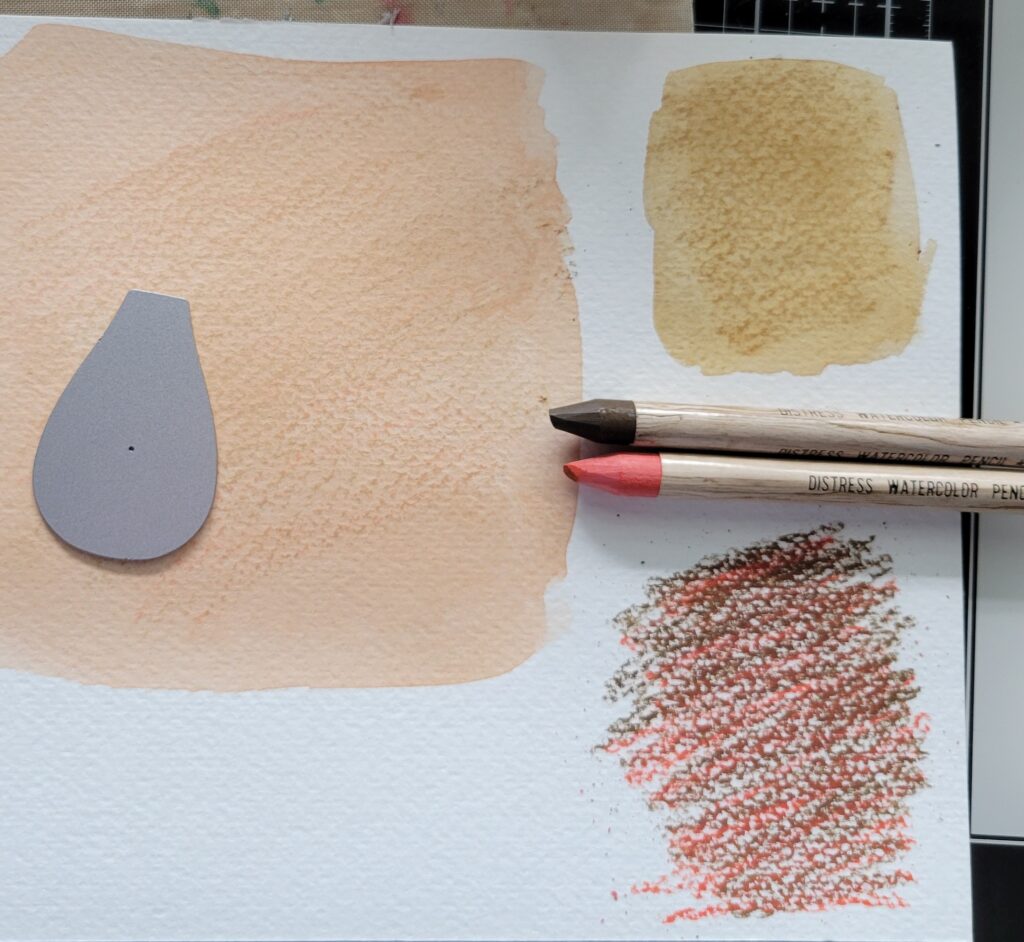
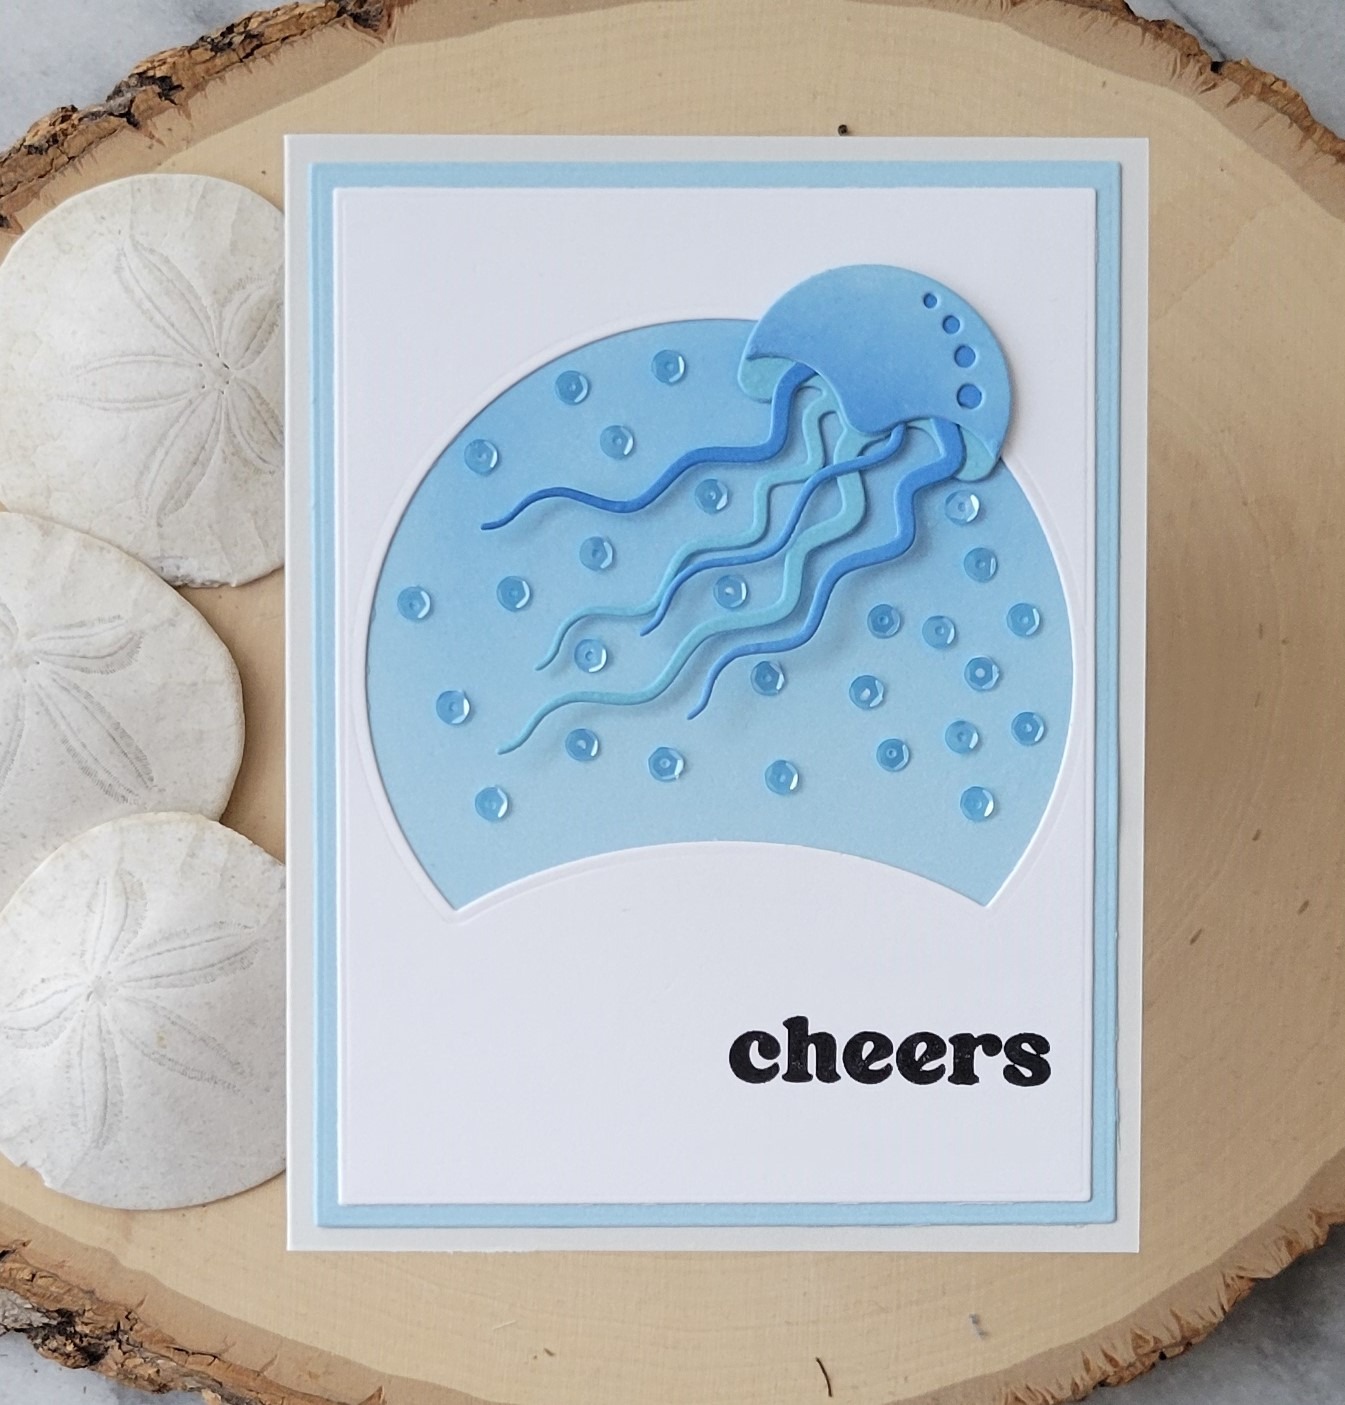
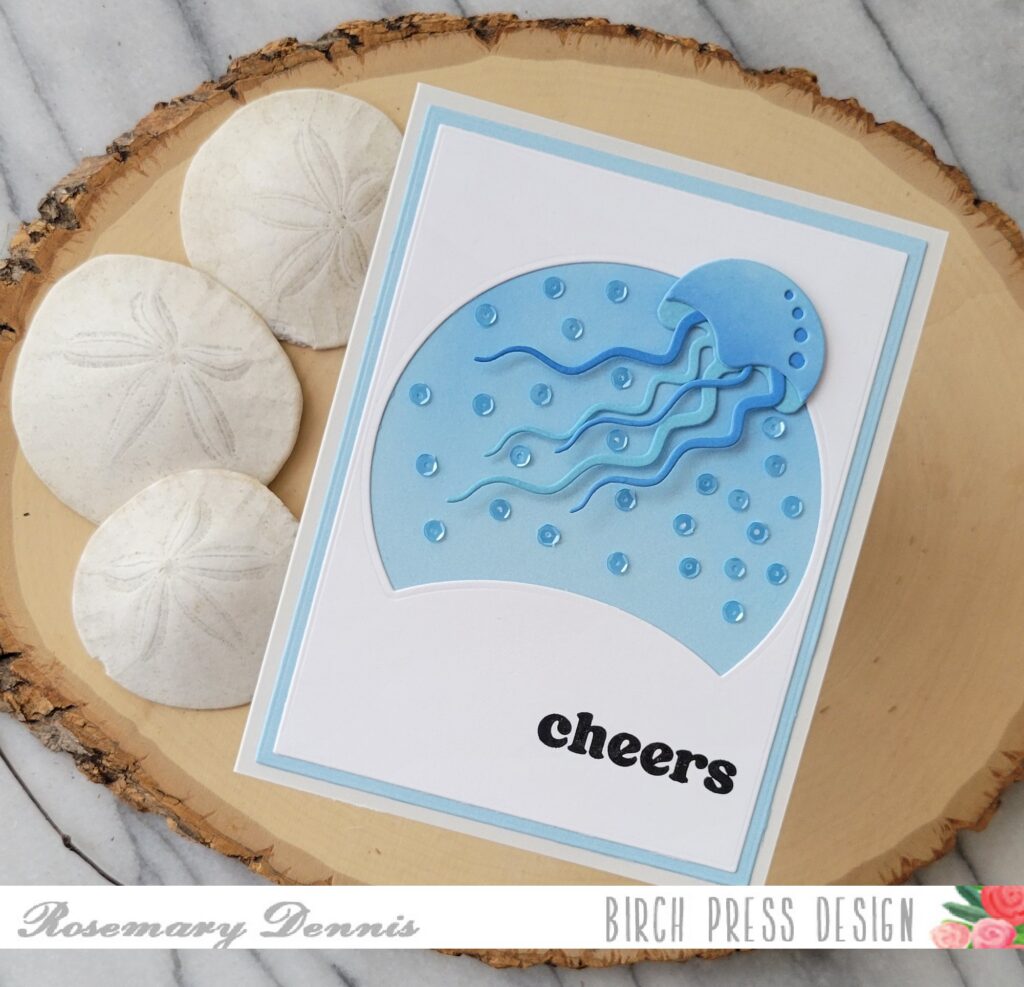
I started by cutting down a piece of light blue Memory Box cardstock and then ink blending on some distress oxide inks in tumbled glass and prize ribbon. Once that was done I die cut out the pieces and assembled the octopus using glue.

The I die cut a piece of the same light blue cardstock with a rectangle die that was slightly larger that the rectangle that I would be cutting the Forest Scene from. The Forest Scene was die cut and then I trimmed off the tree.
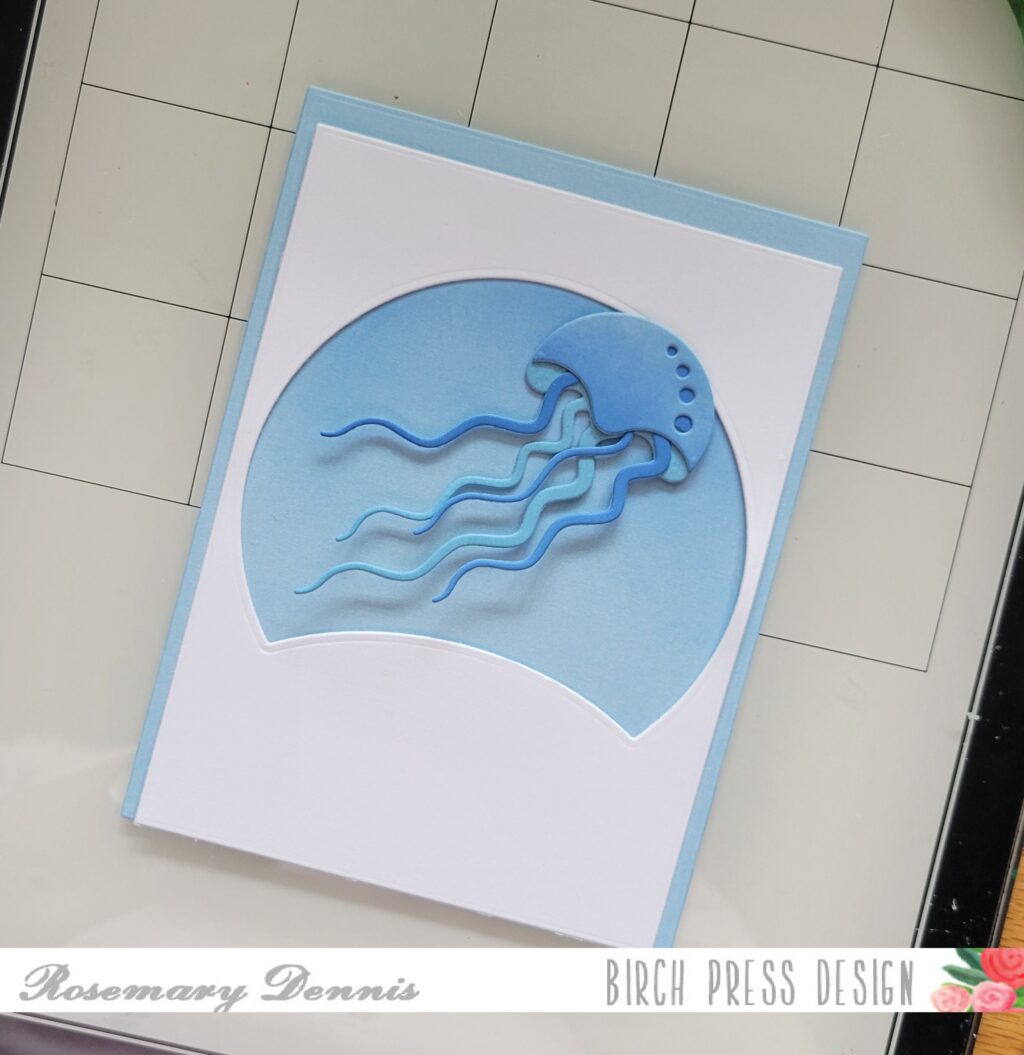
Then I added a little bit of ink blending to the top portion of the light blue rectangle that would show through the cut out area. The top piece was then adhered to the light blue rectangle.
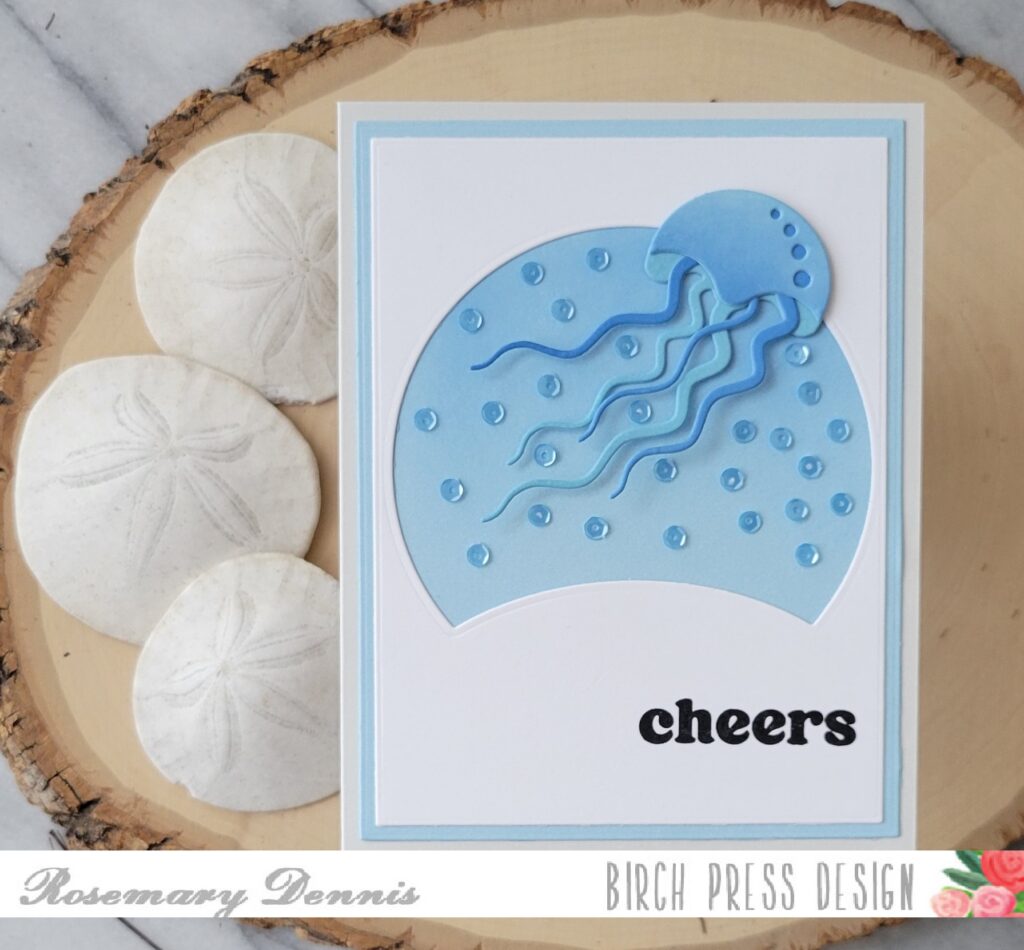
Then I added the panel to a light gray cardstock base, added the jellyfish and lots of small blue sequins to look like bubbles. It was at that point I realized I need to put a sentiment on the panel. Honestly, that happens to me alot because I can get so focused on other elements on the card that I often forget I need to make sure a sentiment fits. Thankfully I had all the open space at the bottom and the sentiment stamped cleanly!
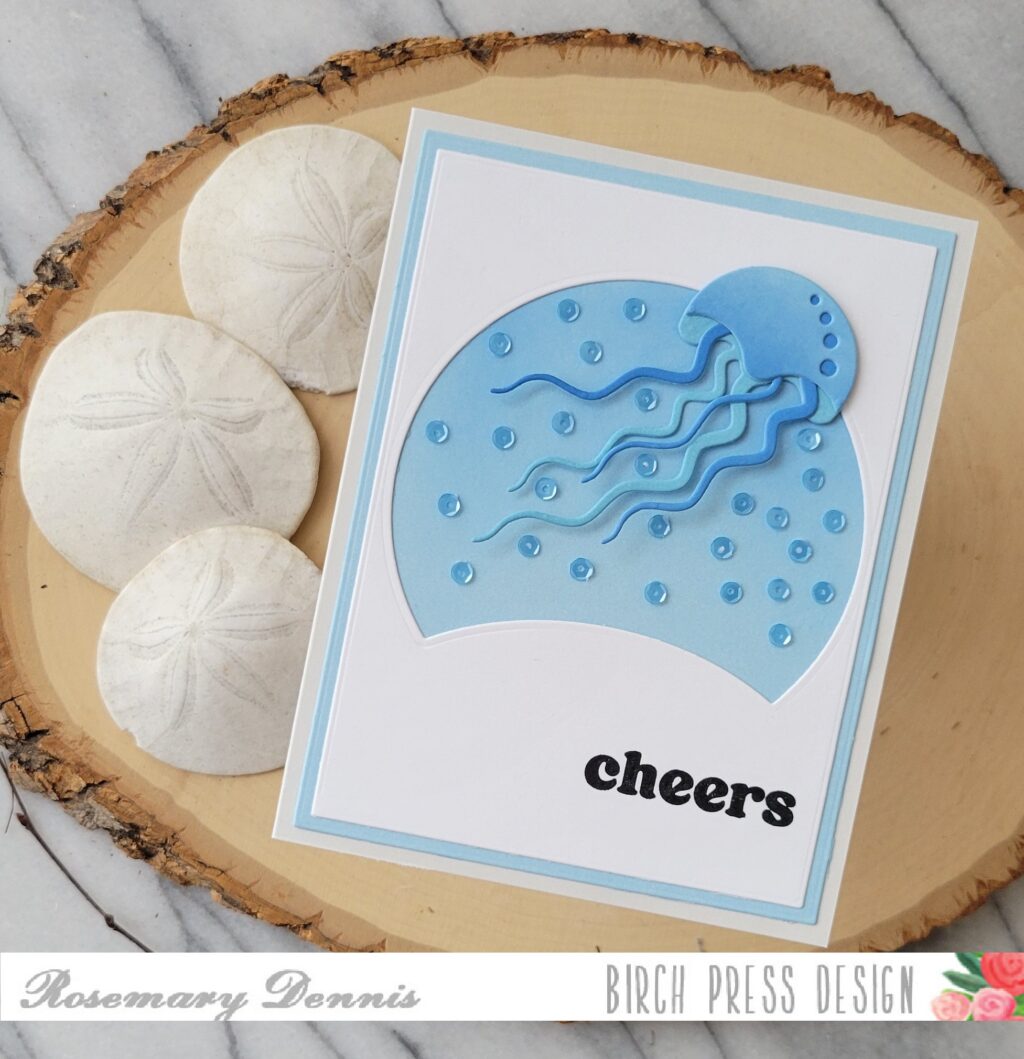
I love the clean monochromatic look of this card and that really fun jelly! I hope you enjoy my card, too! Thanks for stopping by and have a wonderful day.