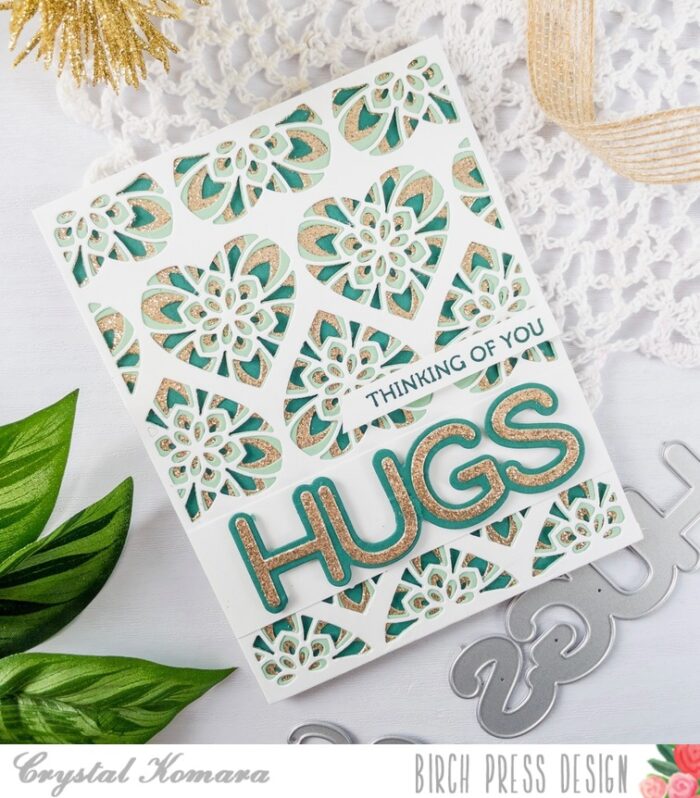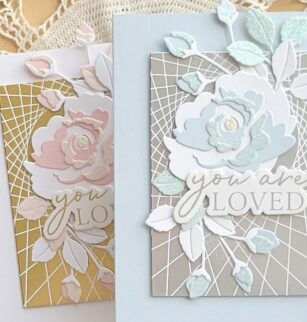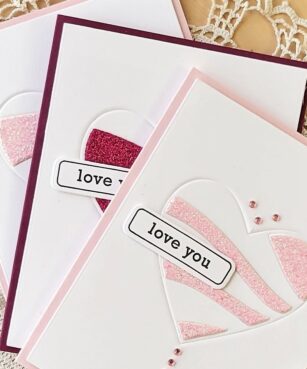
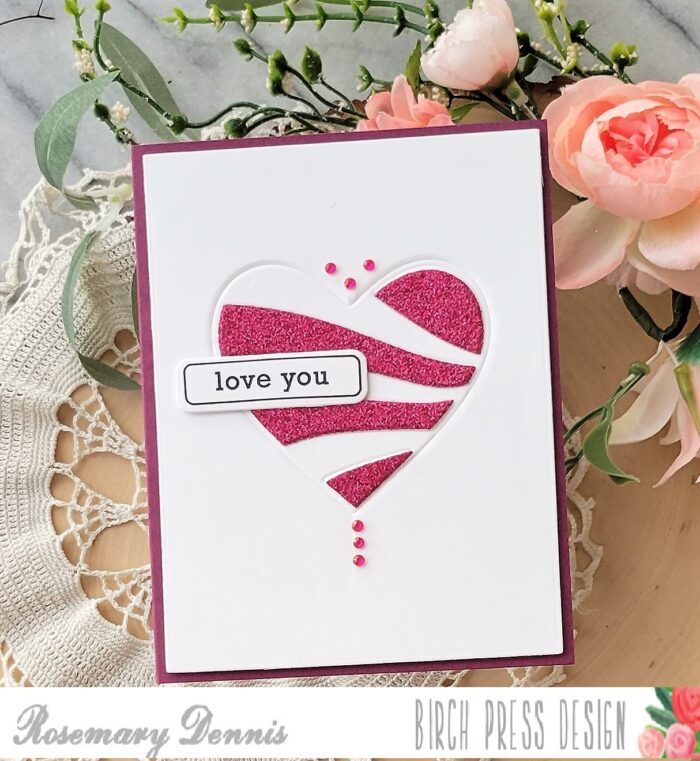
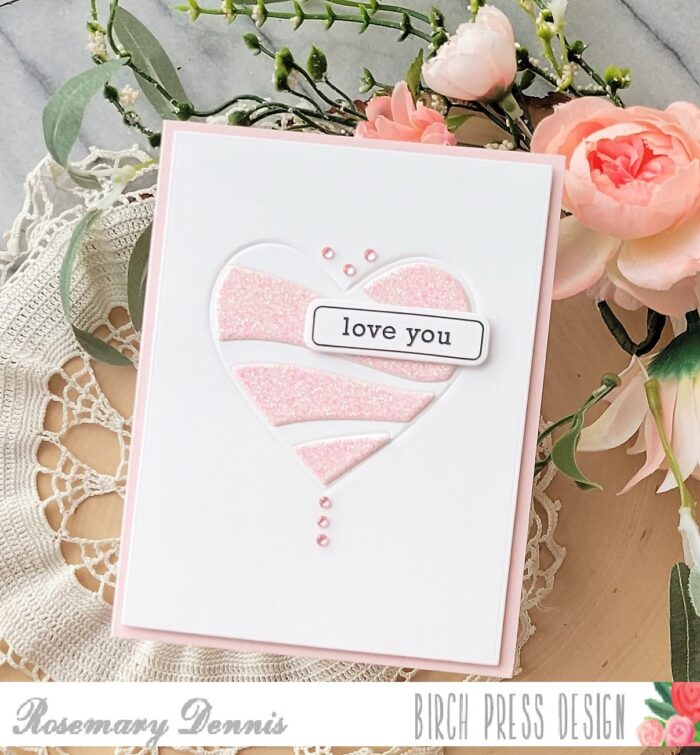
Hello and happy Friday everyone! Rosemary here with a trio of love themed cards that I created using the fall out pieces from a card that I previously created using the Banner Heart layered die set.
When I created the original card, I wasn’t thinking that I would make another three cards, but I quickly realized that I couldn’t just throw away the fall out pieces that were left after I die cut the Banner Heart layers from the glitter cardstock I used. That got me thinking about how I could use the dies and the fall out pieces in a different way.
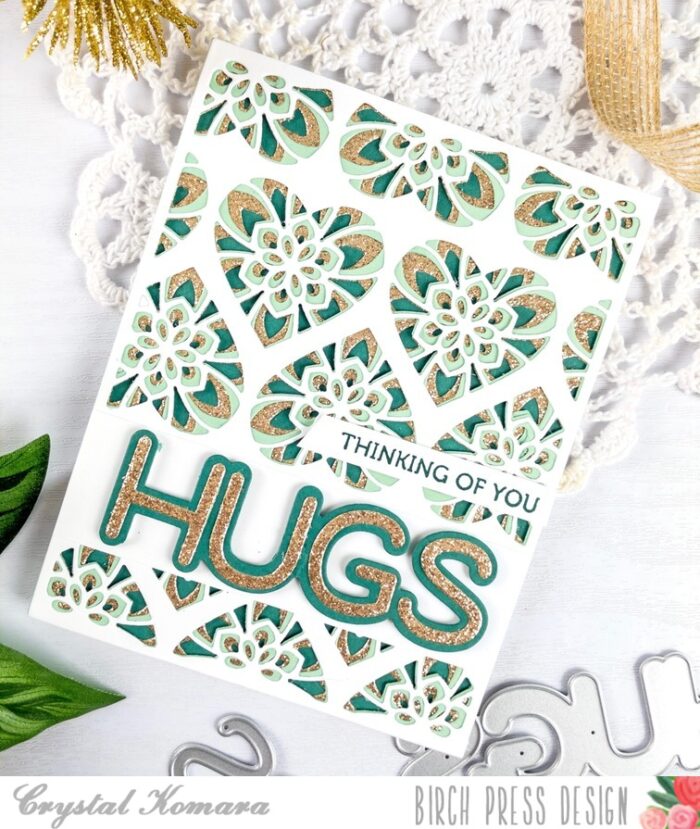
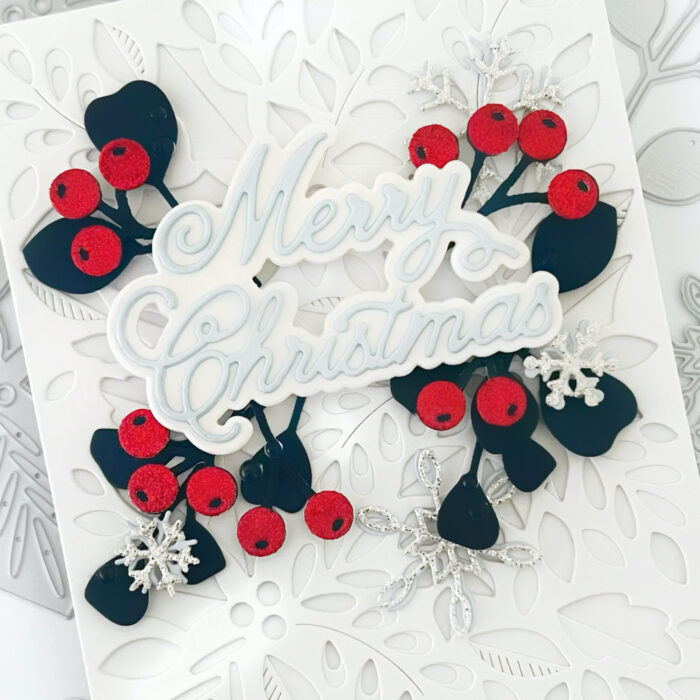
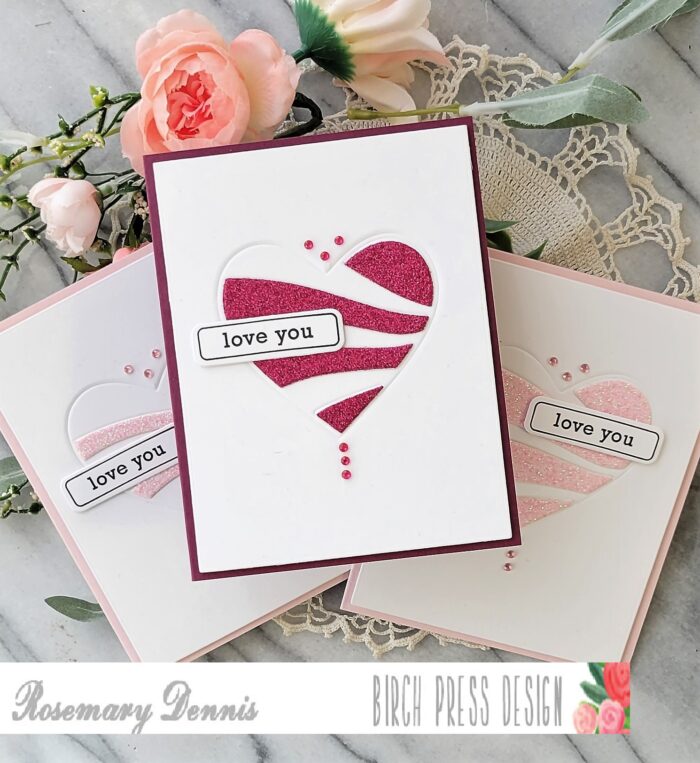
I decided to use each layer of the die to emboss the cardstock and then layer on the corresponding fall out pieces. I die cut three panels of white cardstock and got to work embossing each panel.
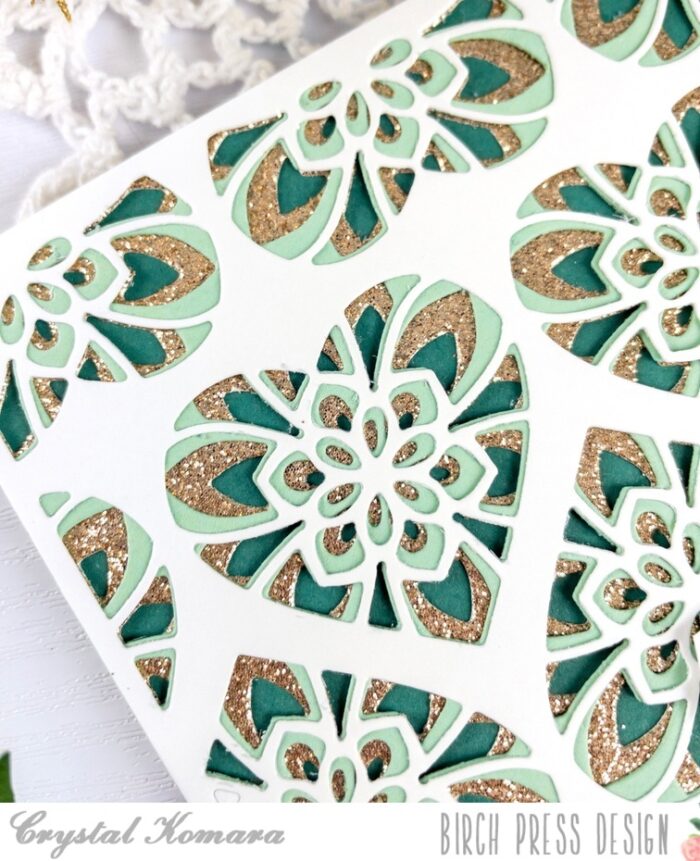
There can be some trial and error when using your dies to emboss, but I was super happy when all three embossed perfectly the first time. The impress I got is very deep because I had to use my thick embossing mat as I wasn’t able to find the thinner one. To emboss a die on cardstock you need to make sure that you use an embossing mat. The mat is flexible, usually tan in color and comes with your die cutting machine.
To emboss with your dies, use low tack tape to keep the die in place on your cardstock. For me my embossing sandwich was die cutting platform, cutting plate, embossing mat, cardstock and die (cutting edge facing down) and additional cardstock shims. For everyone else who has the correct embossing mat the sandwich would be cutting platform, cutting plate, embossing mat, cardstock and die (cutting edge facing down). Then run it through your die cutter. Some people like to lightly spray their cardstock with water in order to make it a little more pliable so the cardstock doesn’t crack. I didn’t do that with my cardstock, but the cracking was minimal.
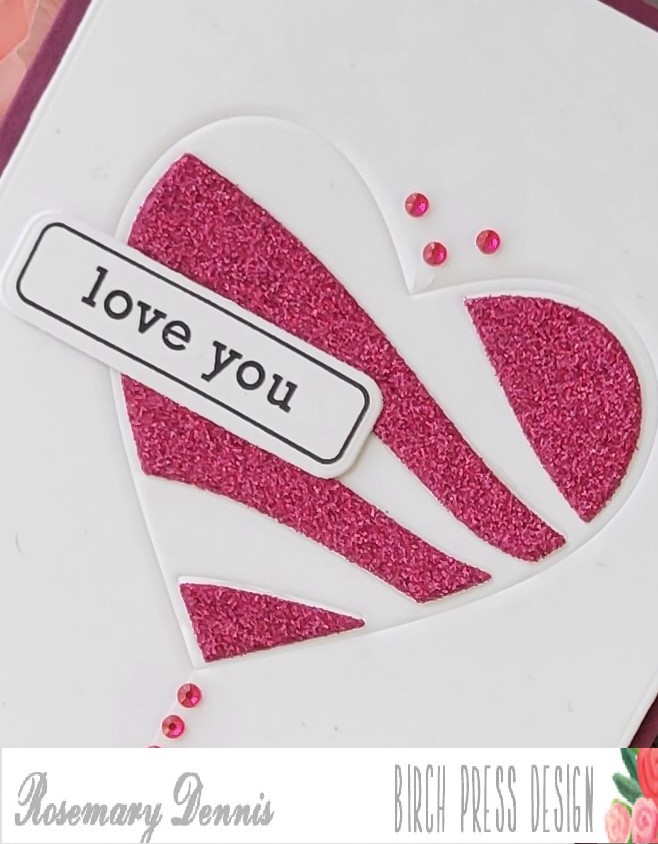
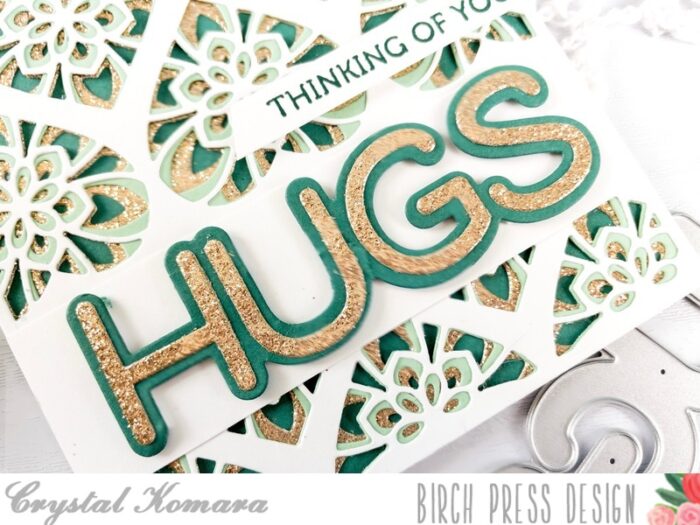
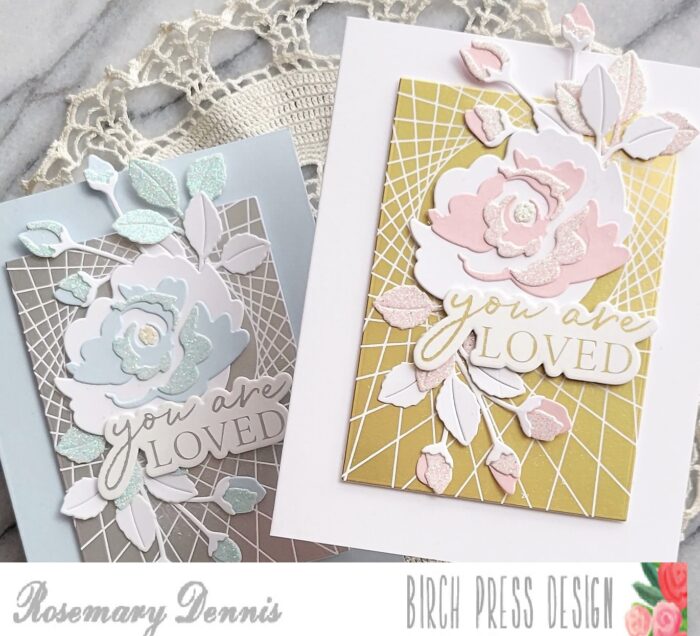
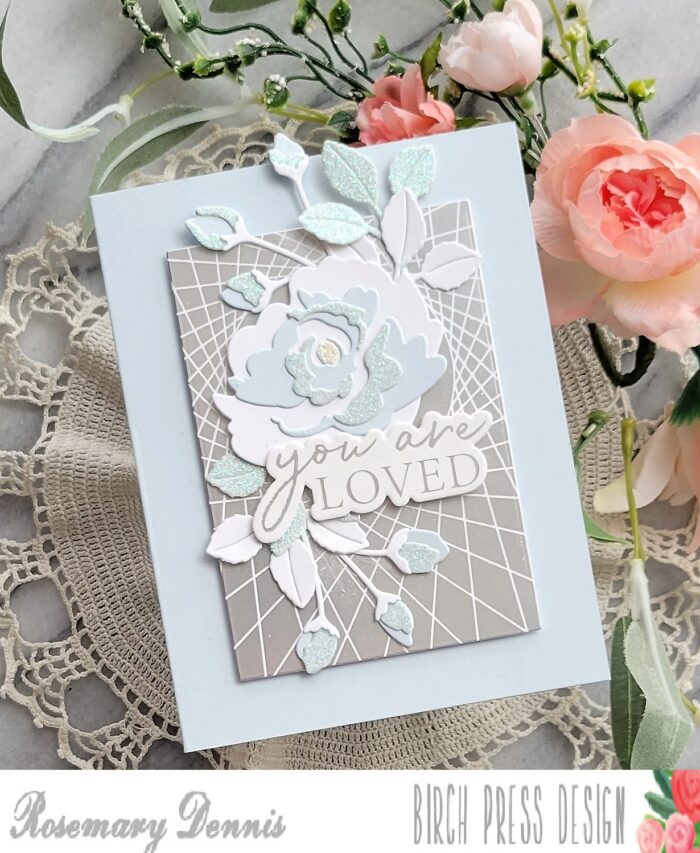
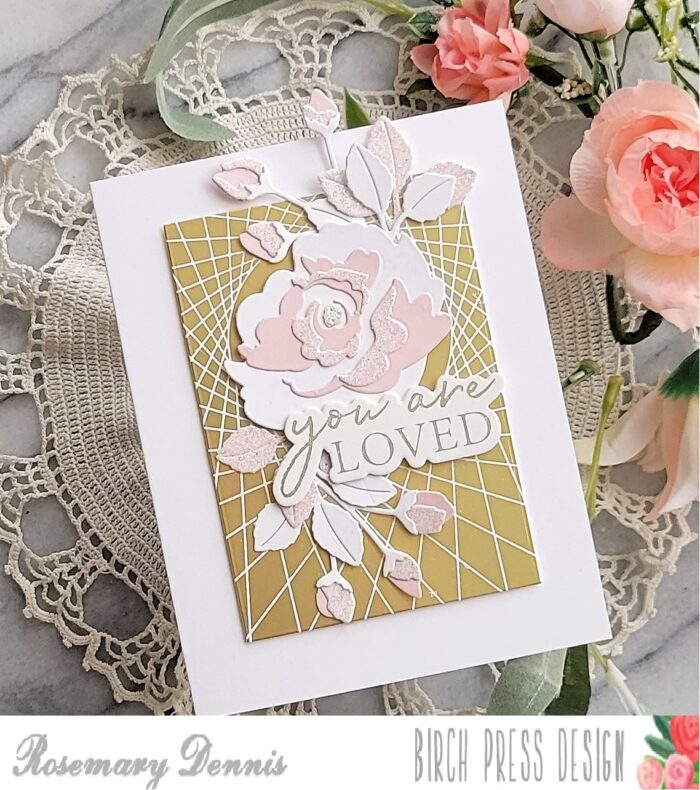
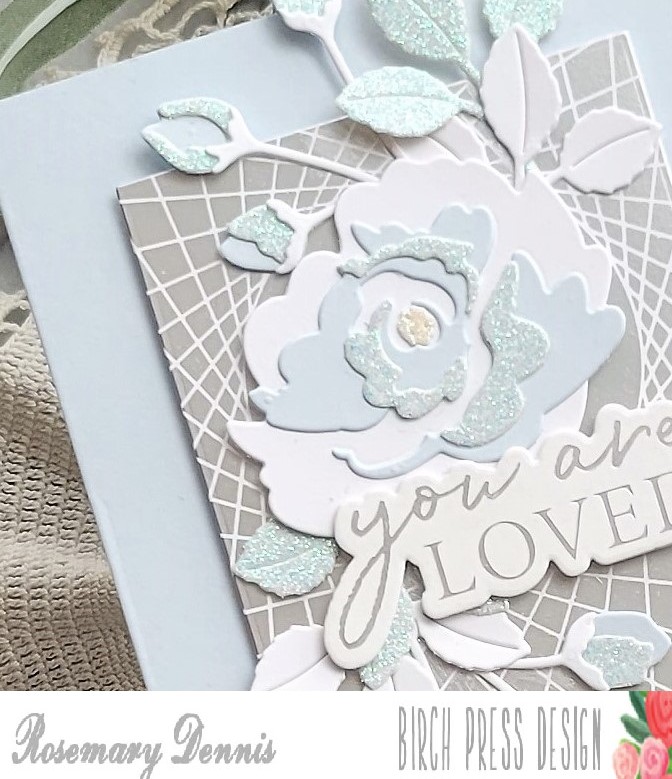
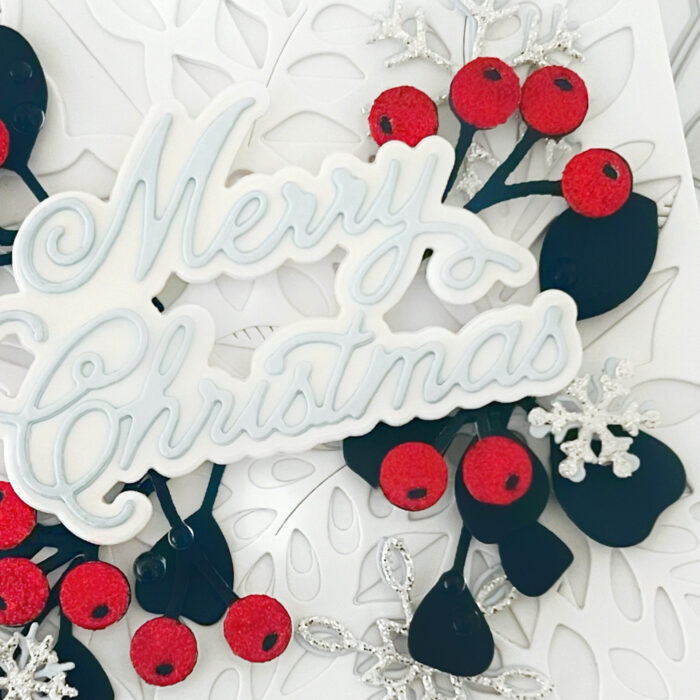
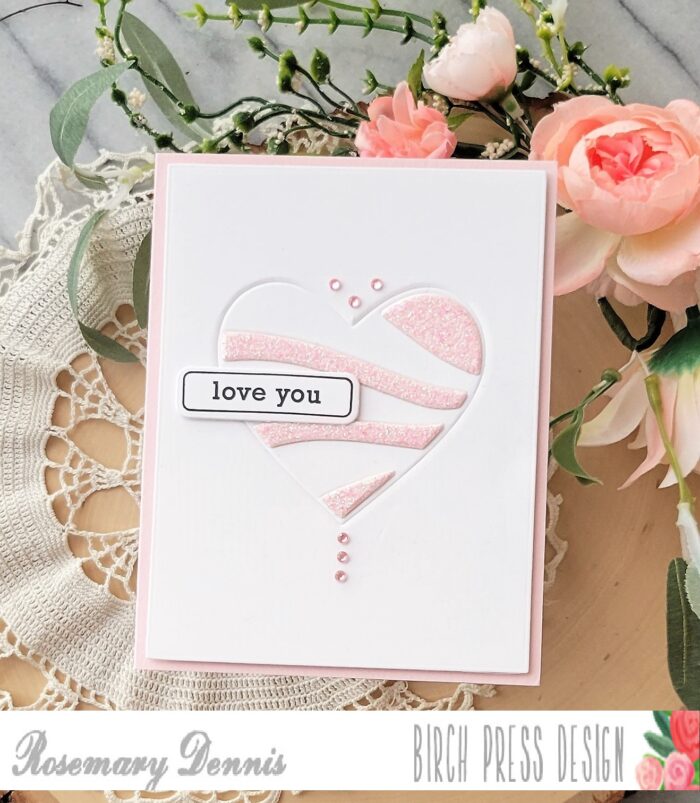
Here is a close up of one of the cards. I found that the embossing left me with really nice impressions on each panel. Layering in the fallout pieces was super easy. I finished off each card with the same sentiment from the Contempo Greetings stamp set and Fairy Jewels that coordinated with the colors of glitter cardstock that I used from the Memory Box Glitzy Glitter 6×6 pad and the Delicate Pastel Glitter 6×6 pad.
I hope you will enjoyed my cards and that you will give embossing with your dies a try sometime. Have a wonderful day!

D7
Supplies