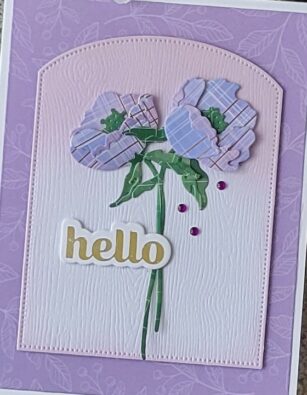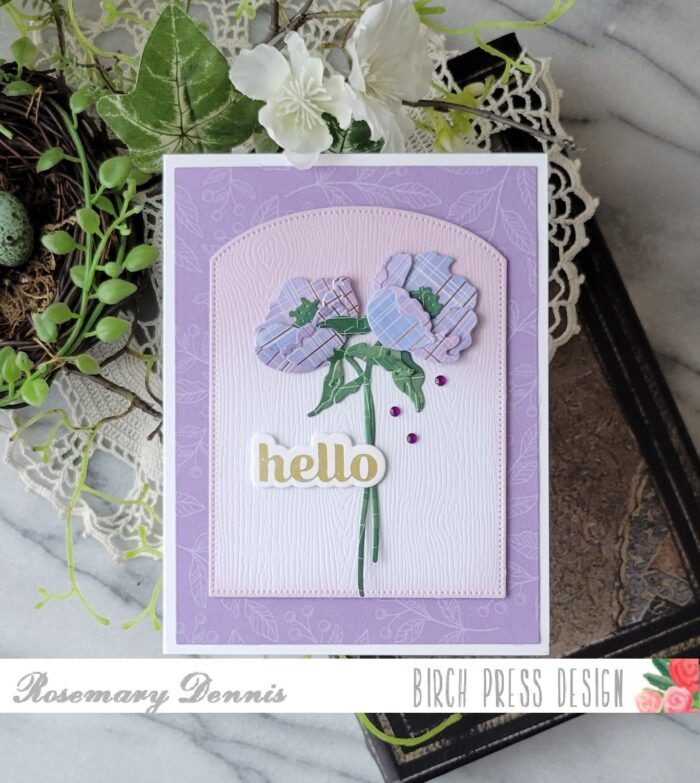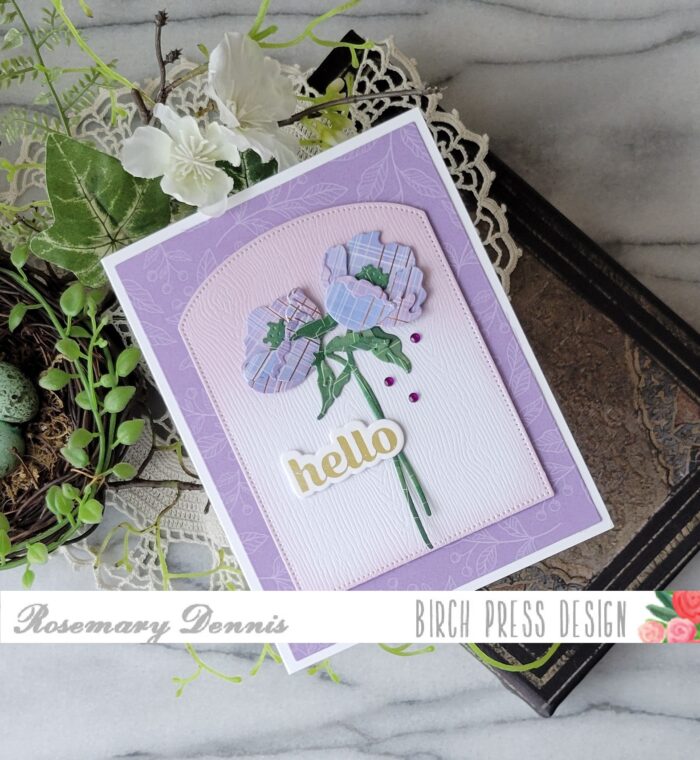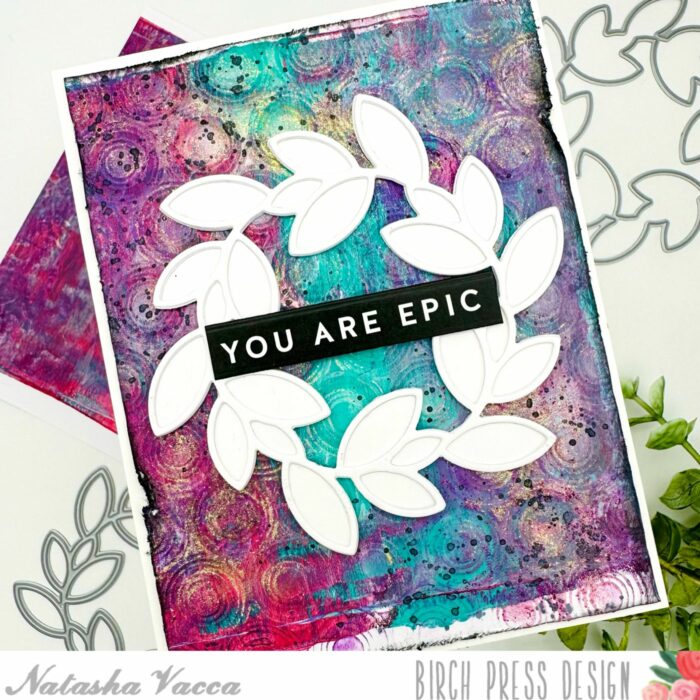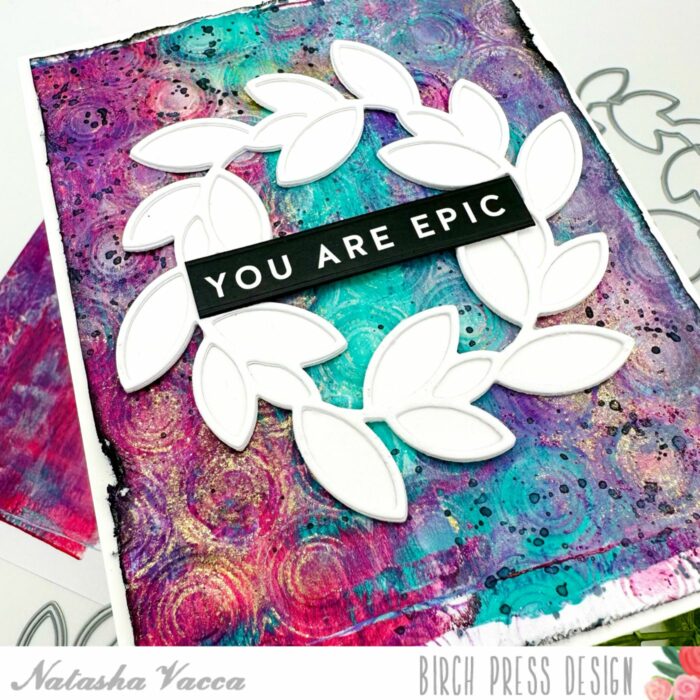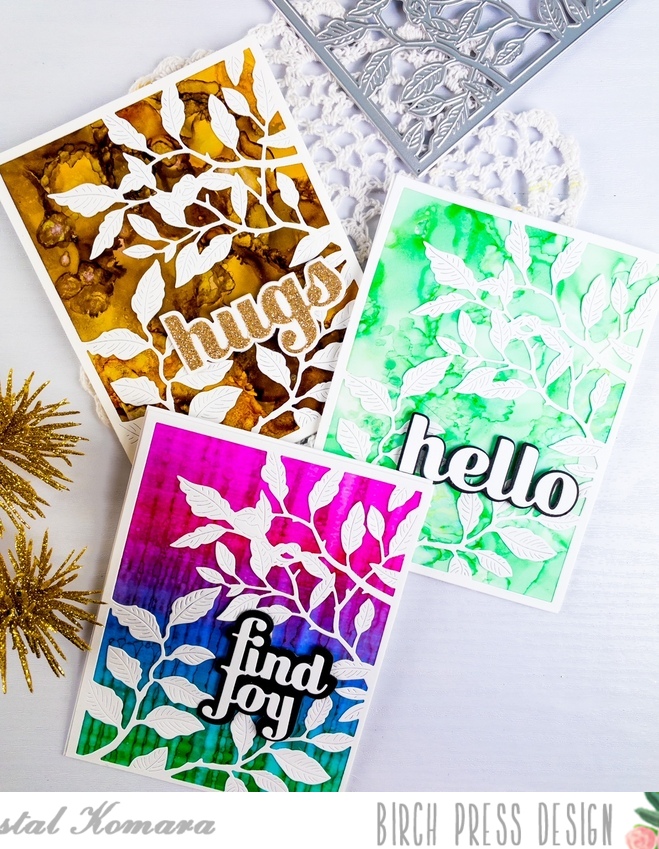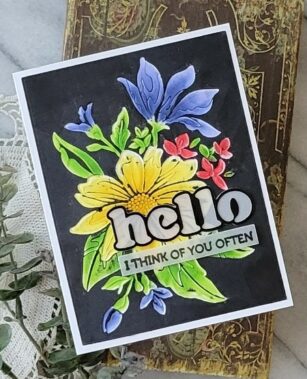
Hey there! Rosemary here on the blog today and I’m sharing a card that took me way out of my comfort zone! My card uses the “blackout” technique that I have been seeing on blogs and Instagram. Full disclosure it took me quite a few times to get a panel I was happy with, but it was fun trying out this new technique.

For this technique you start out with a panel of white (or some other light color) that you emboss with a 3d embossing folder. For my card I used the beautiful Open Studio/Memory Box Gracious Floral embossing folder. After much trial and error I settled on using white distress heavy stock cardstock. After trimming down my panel to A2 size I misted it with water, placed it in the embossing folder and then ran it through my diecutting machine. I let my panel dry thoroughly before moving on to the next step.
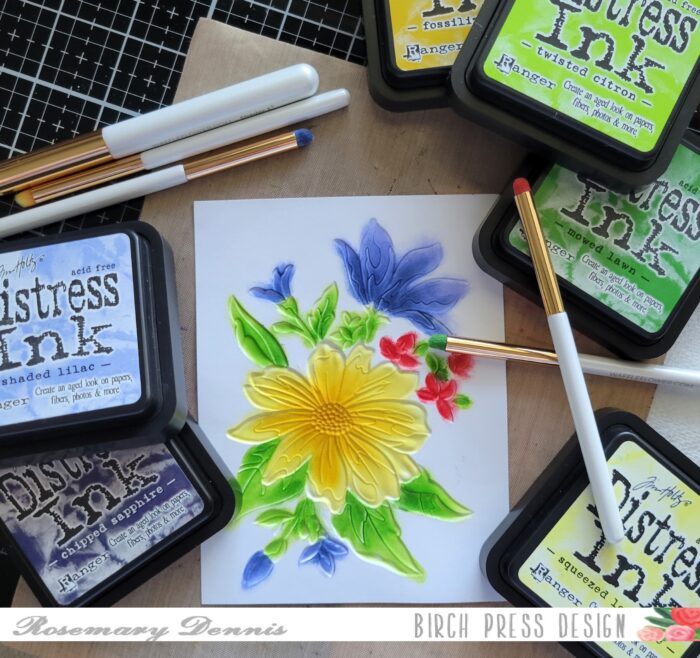
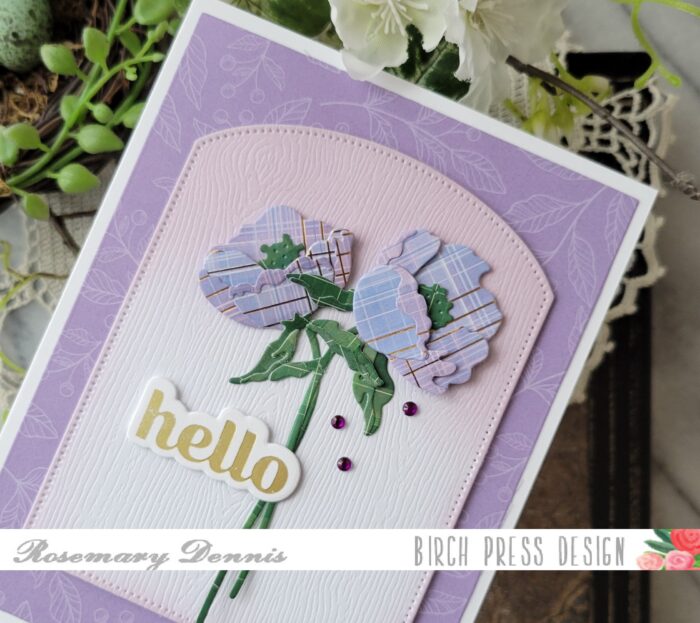
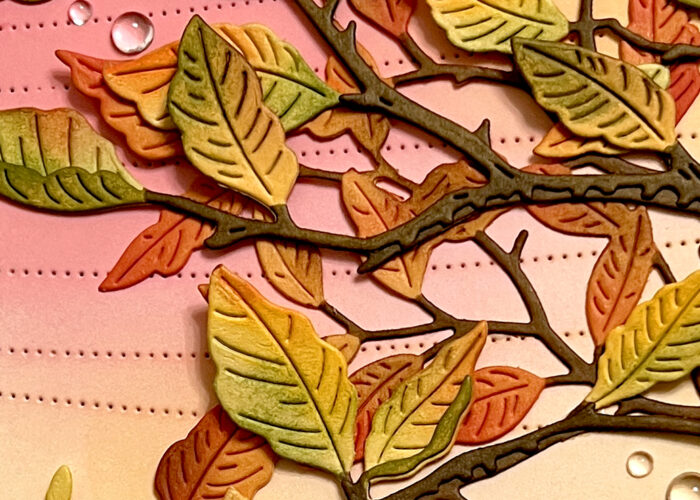
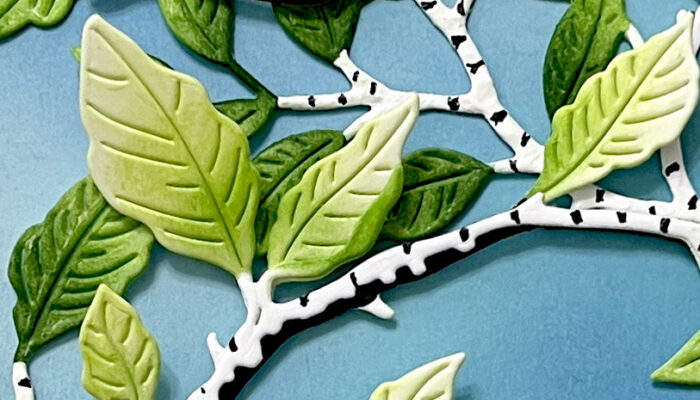
For the second step in the process you apply to the debossed (or backside) of your embossed piece. As you can see I used distress inks and detail blender brushes to apply the ink. With this technique you can get fairly messy with the application of your inks because in the next step you will be engaging in what to me was the scarry part, lol!
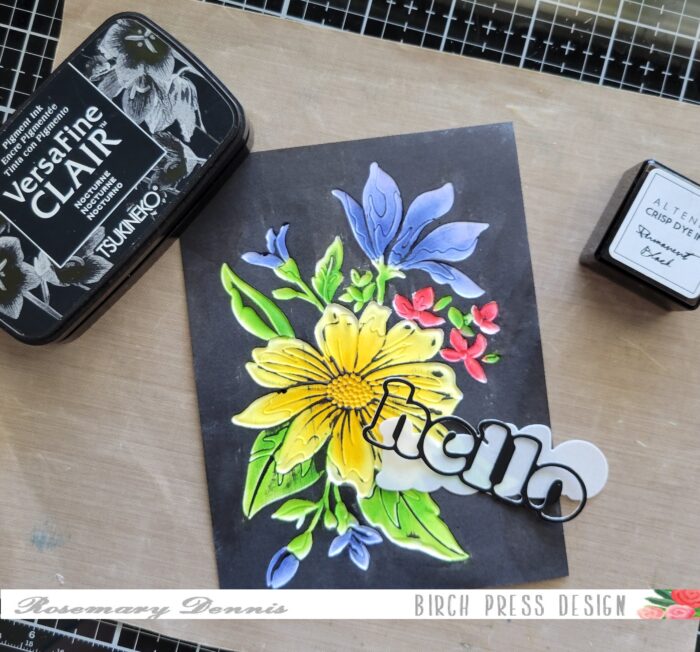
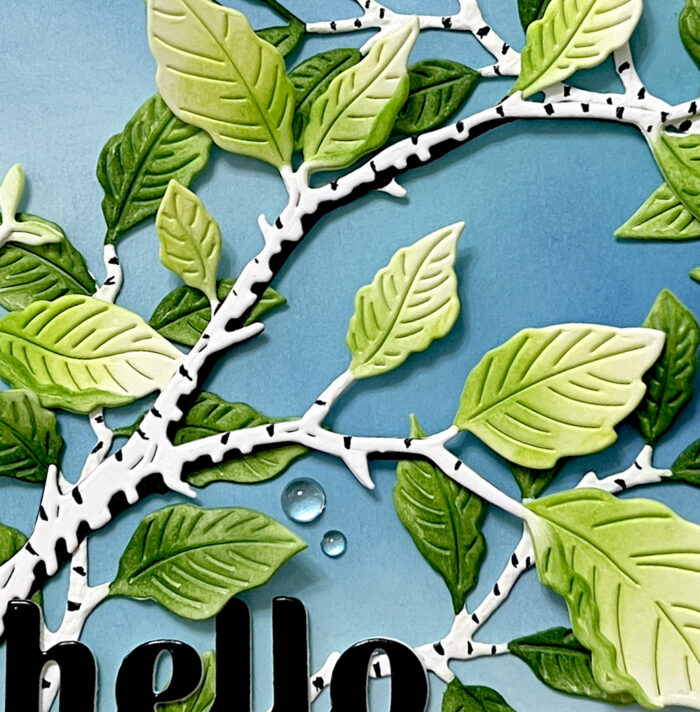
The scarry part is applying the black ink (the reason it is called the “blackout” technique)! I learned through trial and error, again, that you have to apply the ink with a firm swiping motion on the cardstock. If you are too timid with the application of the ink you run the risk of getting alot of black ink in places you don’t want it. Now as you can see from the photos the ink does get left in certain areas, but that is because parts of the embossed image are not as deeply embossed as others. I hope that makes sense.

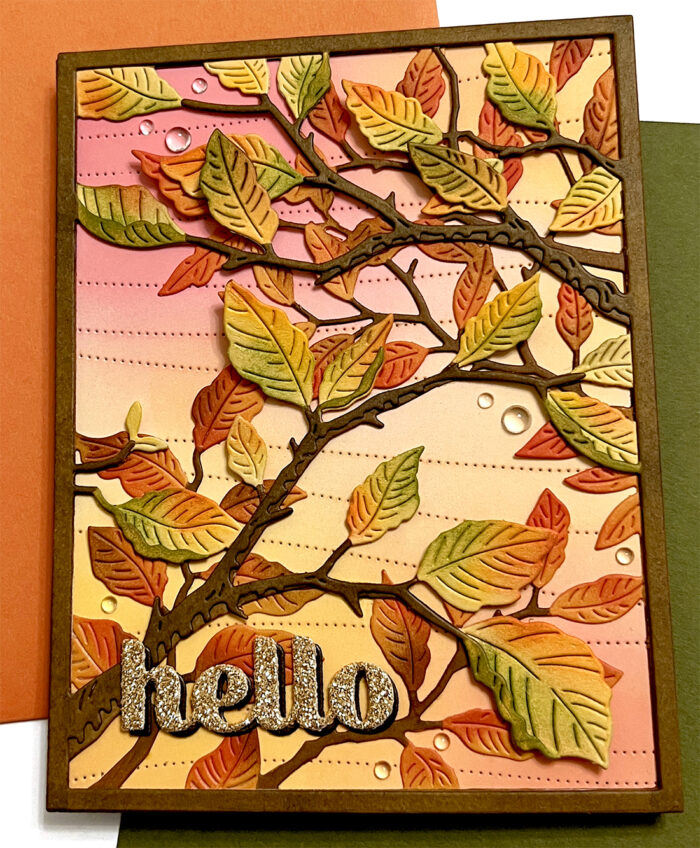
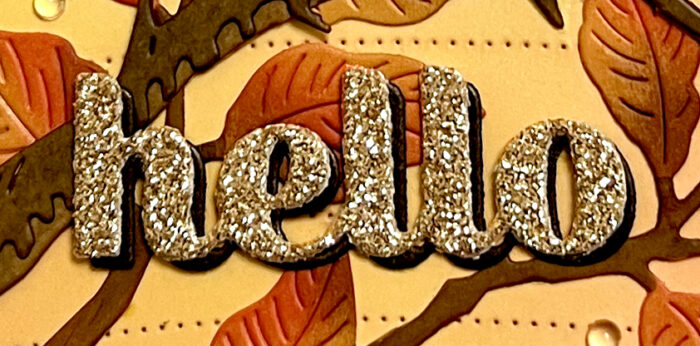
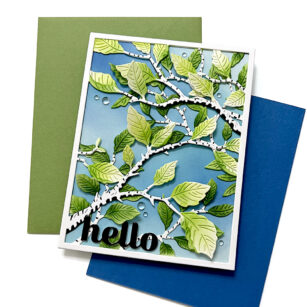
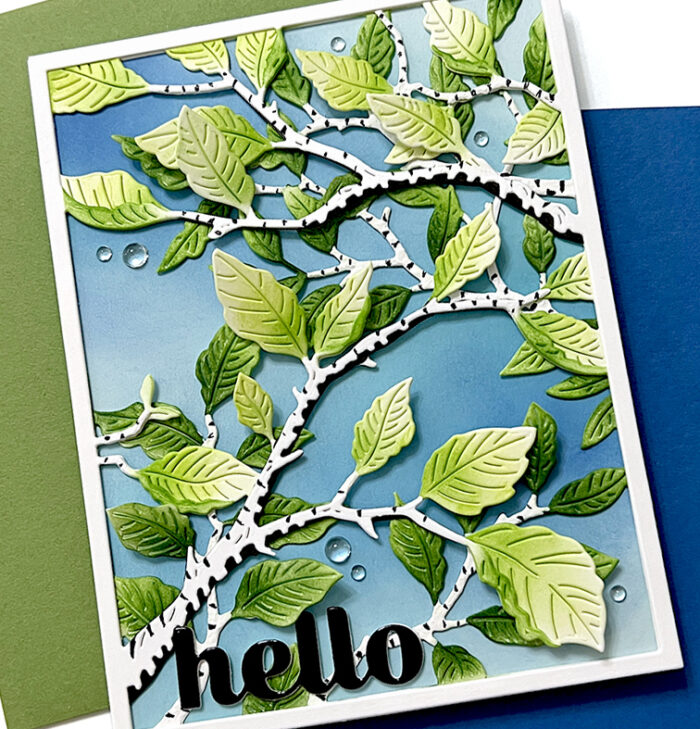
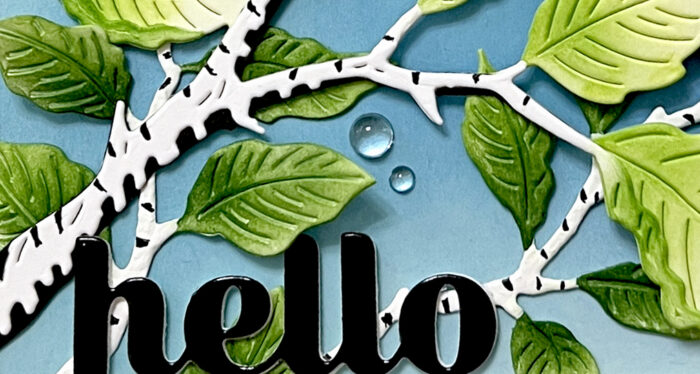
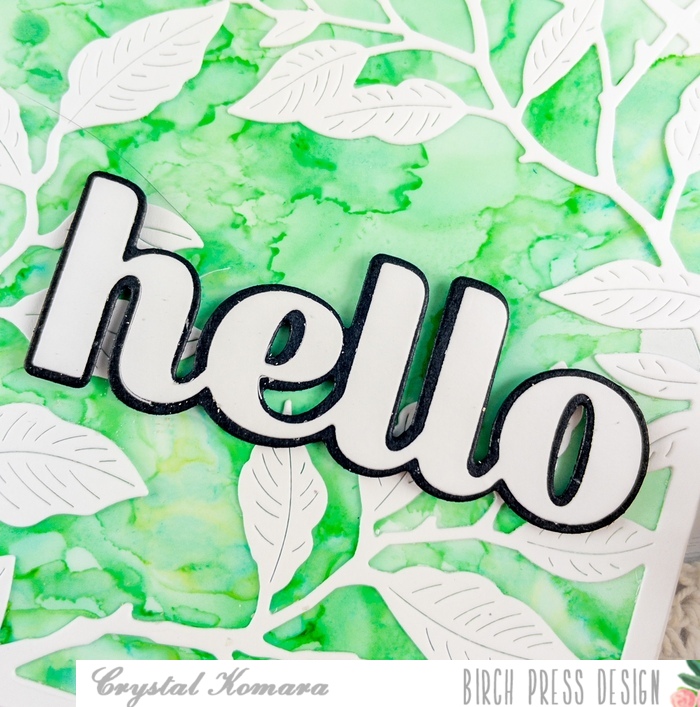
There were still spots where I did not get full coverage and for those areas I used a small black ink cube and used a corner of the cube to apply the ink. Using the corner allows you to get into those small areas without getting more ink on your image. To finish off the card I used the new Big Hello Vintage Sentiment die set and a sentiment from the Crystal Lingo stamp set. I die cut the bottom layer of the Big Hello Vintage sentiment from heavy weight vellum and the top from Memory Box glossy black cardstock. I used liquid adhesive was used to adhere the pieces together and to the front of the panel. I heat embossed the sentiment in black on vellum, die cut it and adhered it with rolled up medium sized glue dots.
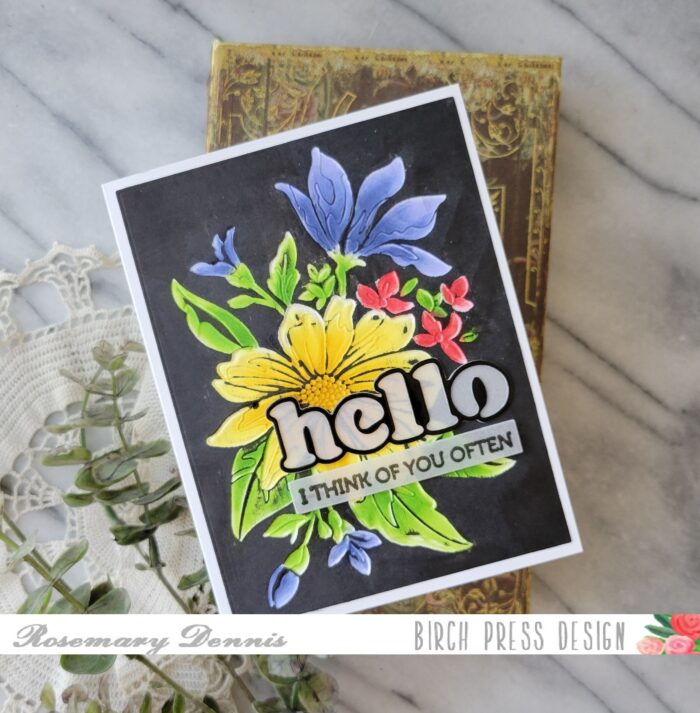
Overall, I’m pretty happy with how my blackout panel turned out. It got me out of my comfort zone and trying something new. Was it perfect? No, but that is okay because this is a handmade card after all! Thanks for stopping by and have a wonderful day!

Supplies