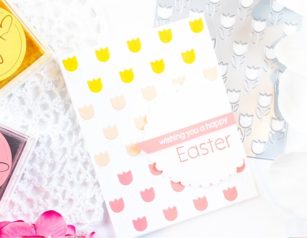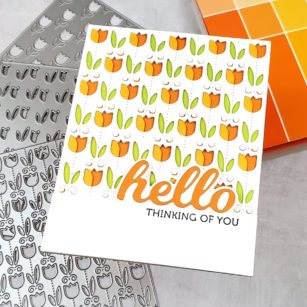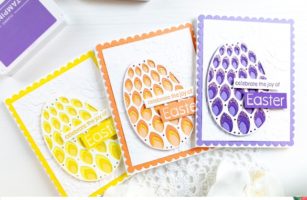
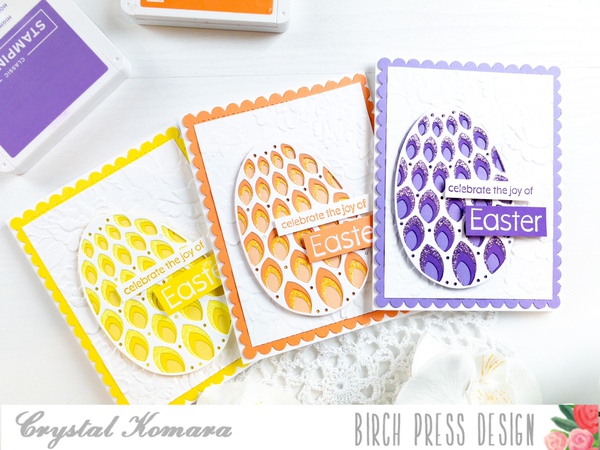
Hello friends and welcome back from the weekend! This is Crystal here with you today and I’m sharing three cards made using the beautiful Petal Egg Layering Dies for this trio of Easter inspired cards.
Please continue reading to see how I made these cards:
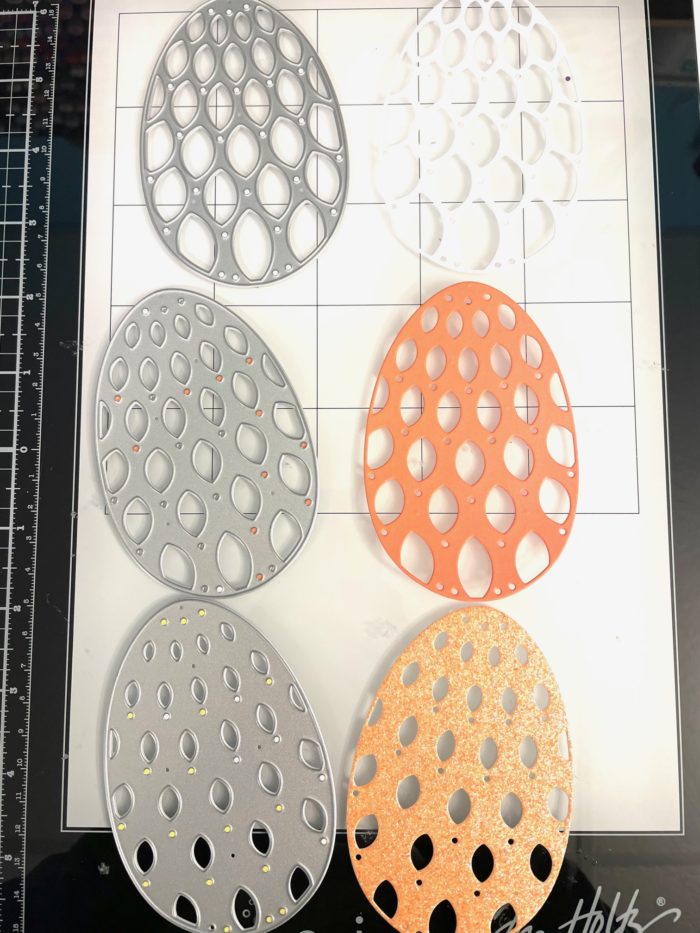
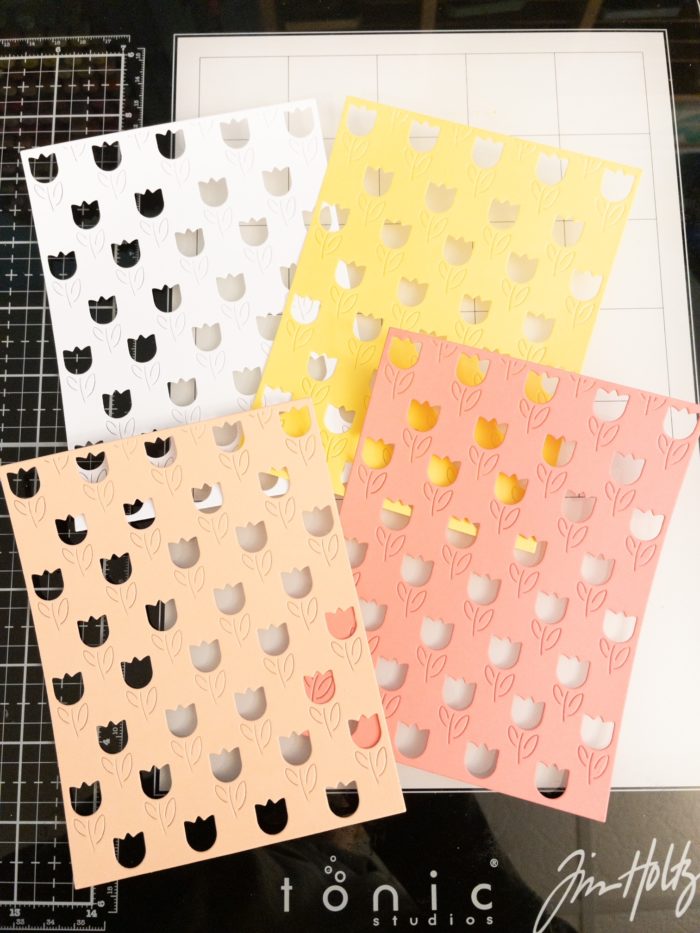
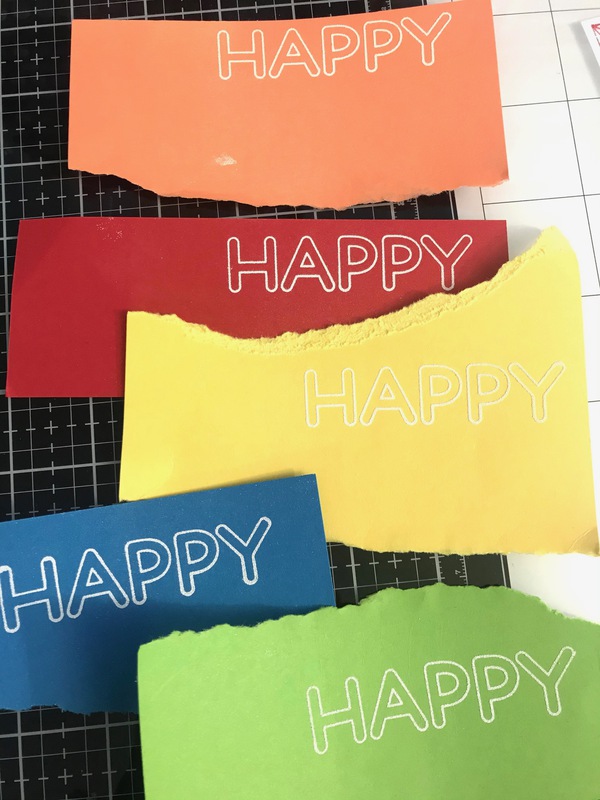
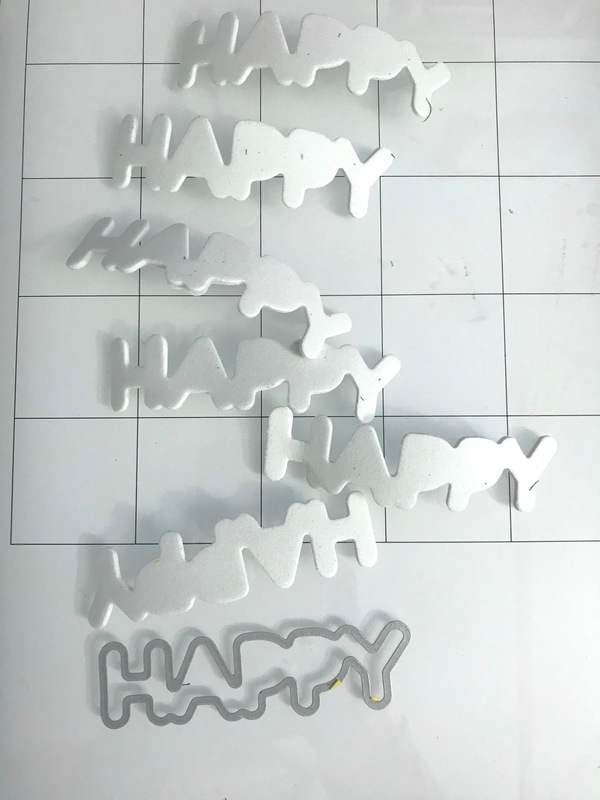
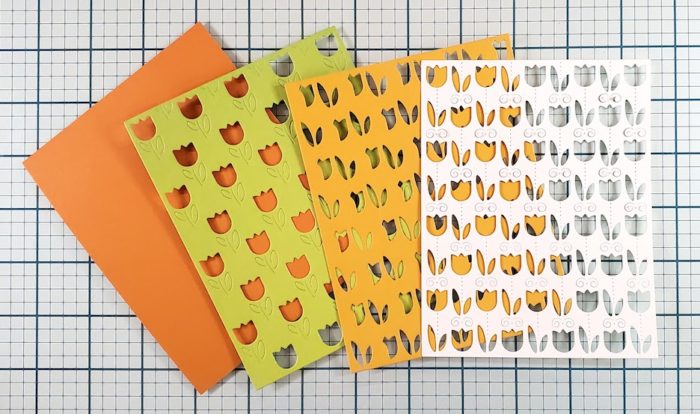
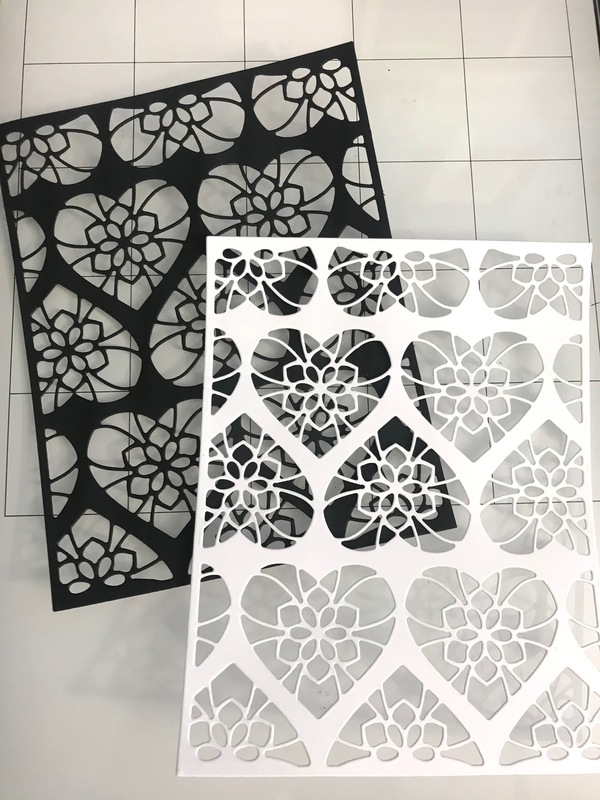
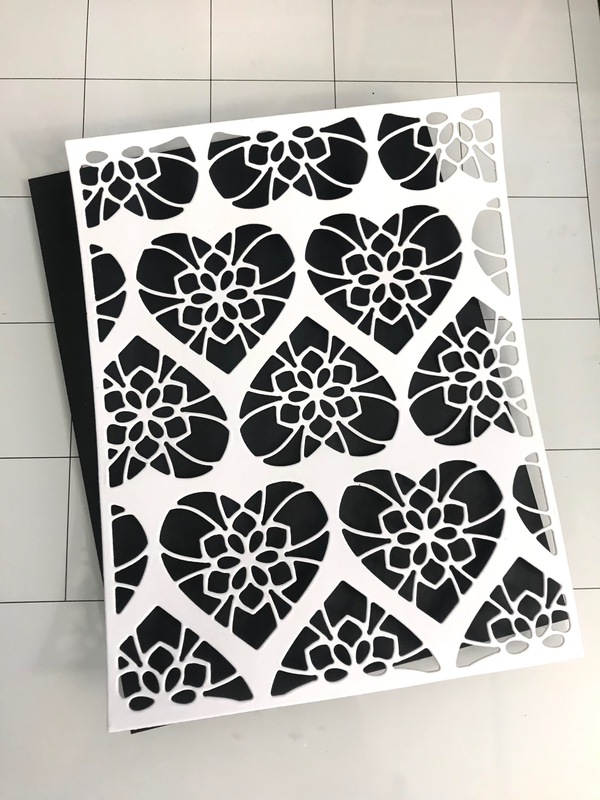
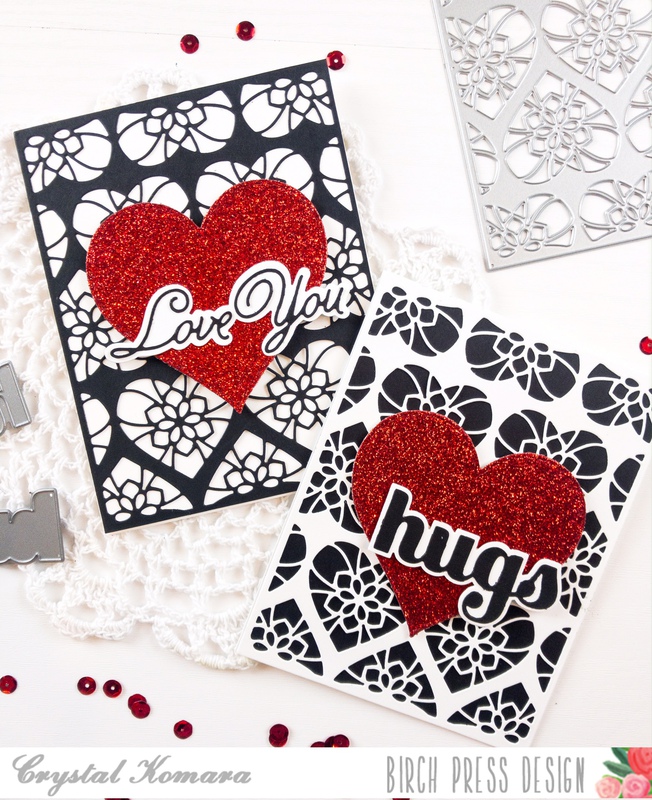
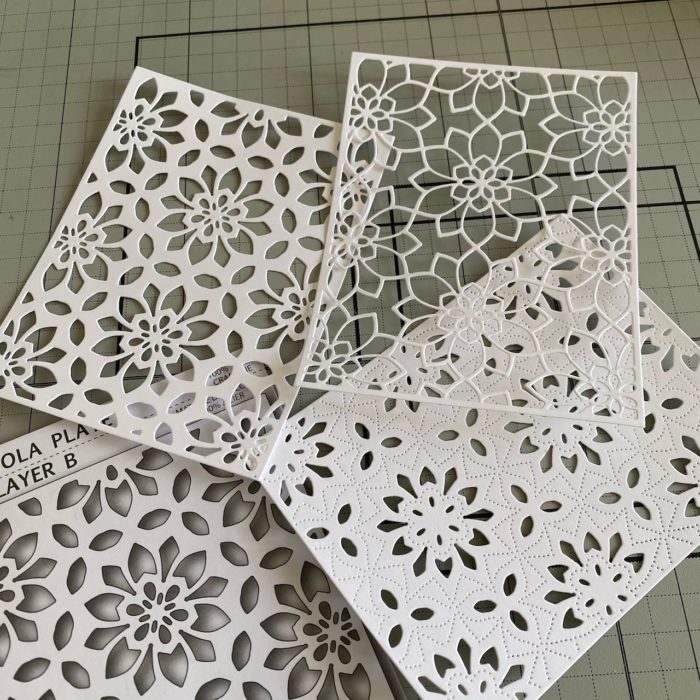
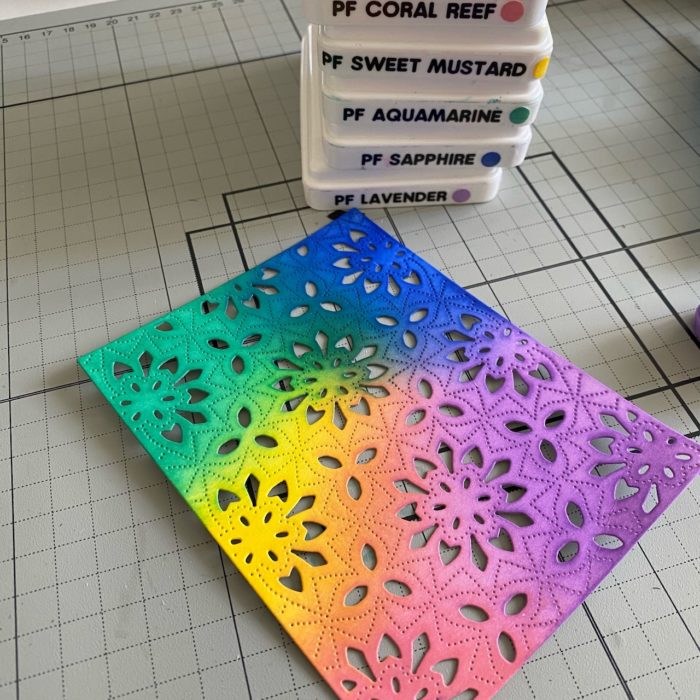
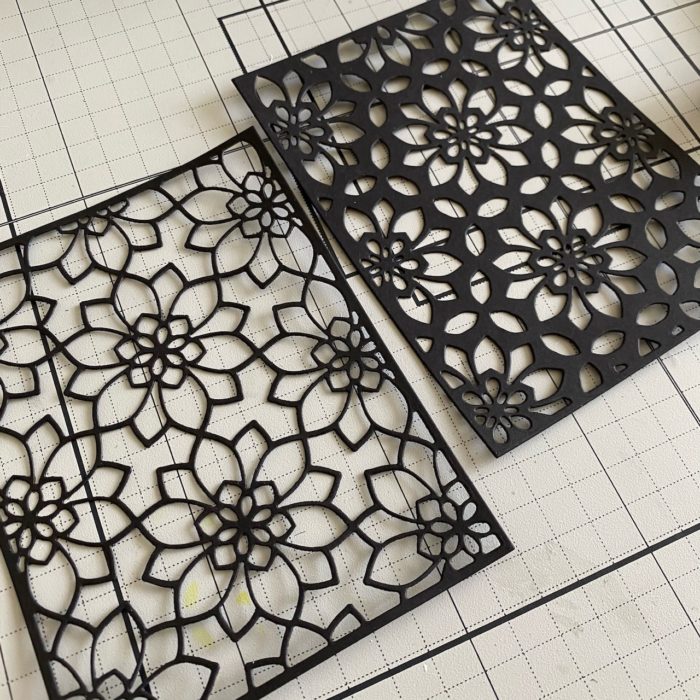
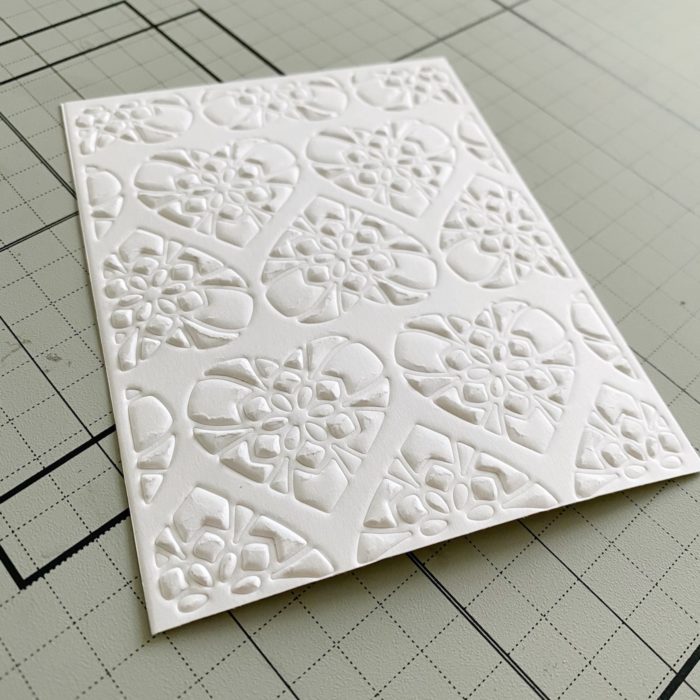
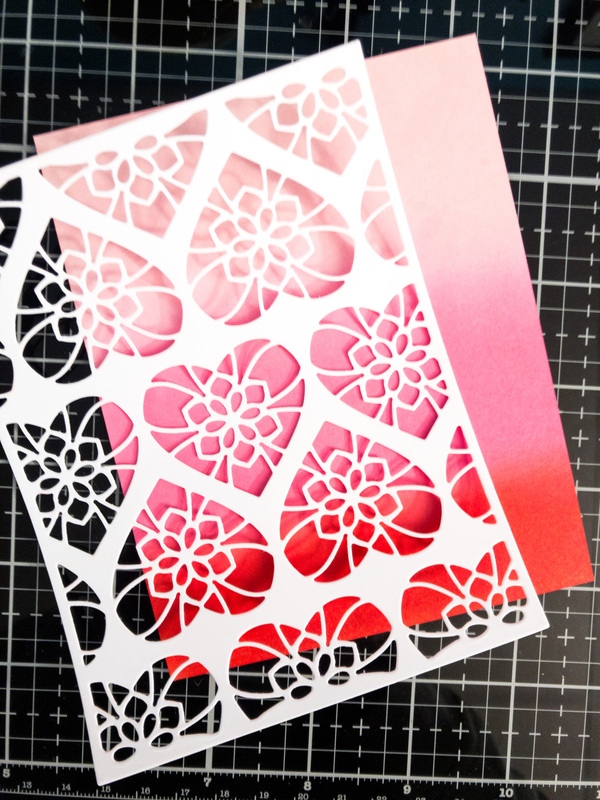
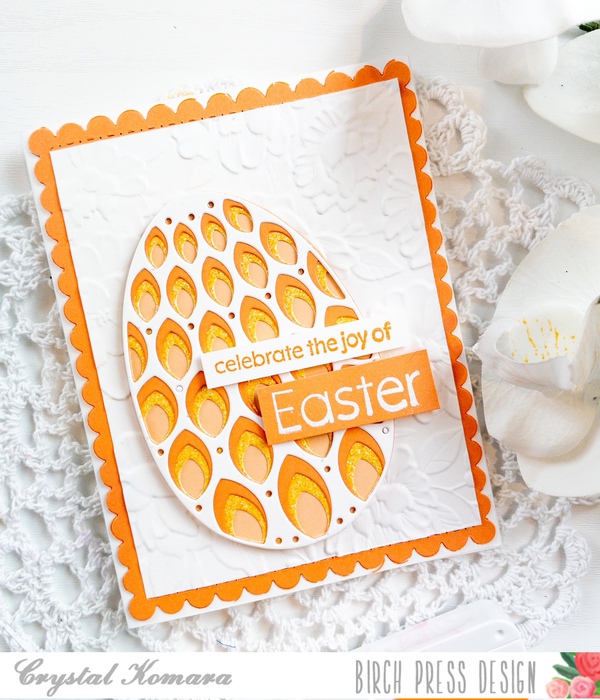
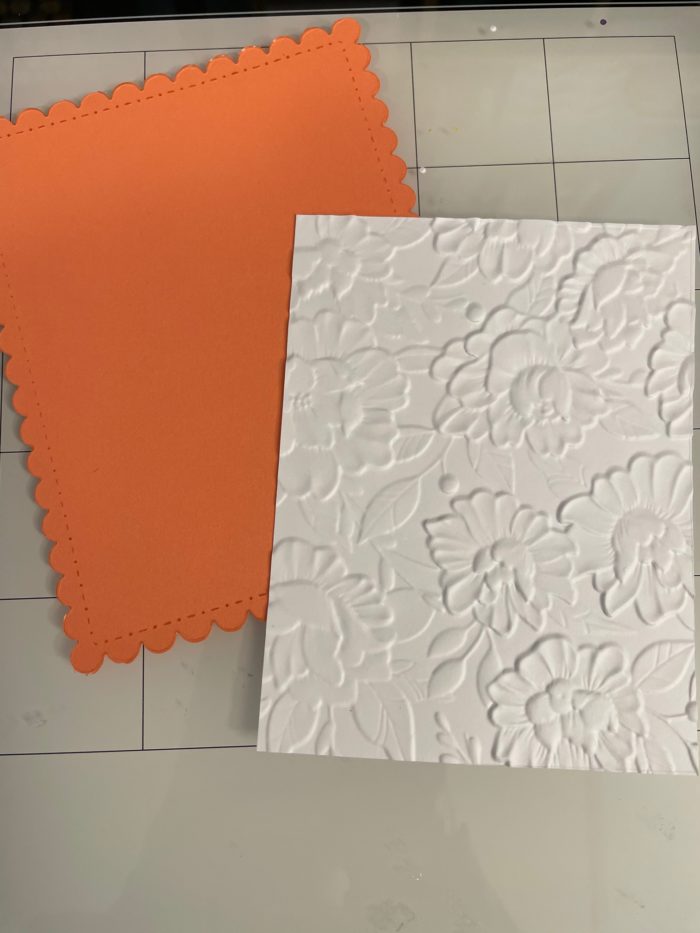
First, I die cut the three layers of the Petal Egg die. For the orange colored card, I die cut Layer A (the top layer) from white cardstock, Layer B (the middle layer) from a peach colored cardstock and Layer C (the bottom layer) from orange glitter cardstock.
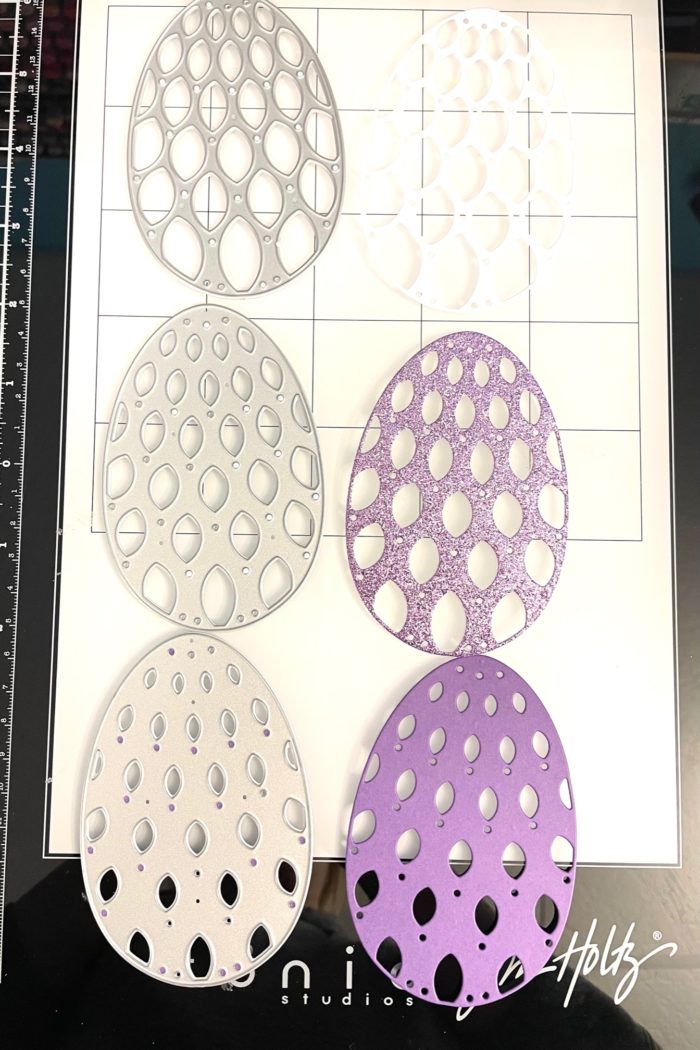
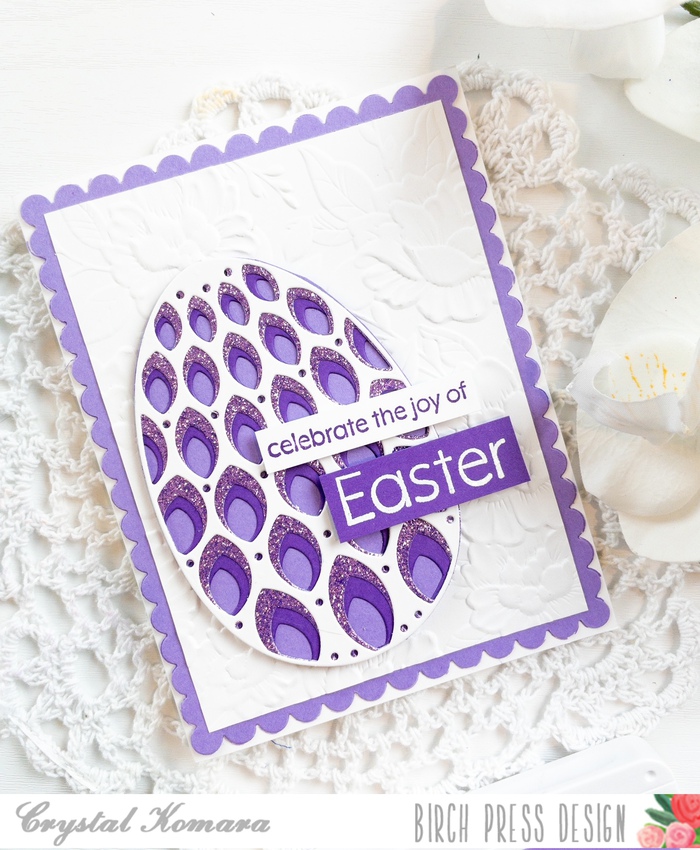
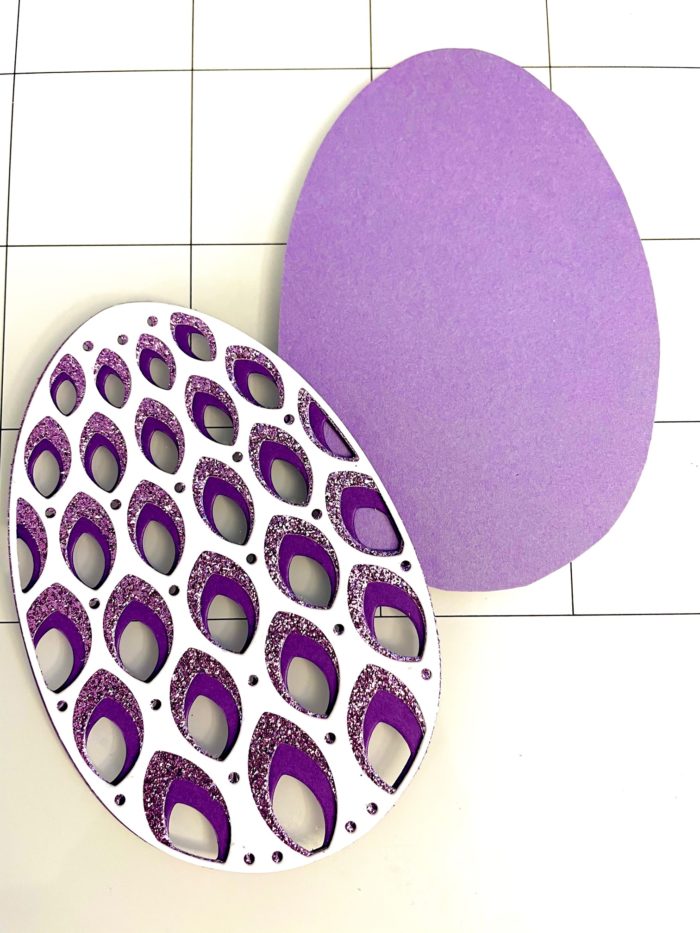
I did the same thing for the both the purple and yellow Easter eggs too. For the purple colored card, I die cut Layer A (the top layer) from white cardstock, Layer B (the middle layer) from a purple glittery cardstock and Layer C (the bottom layer) from lavender purple cardstock.
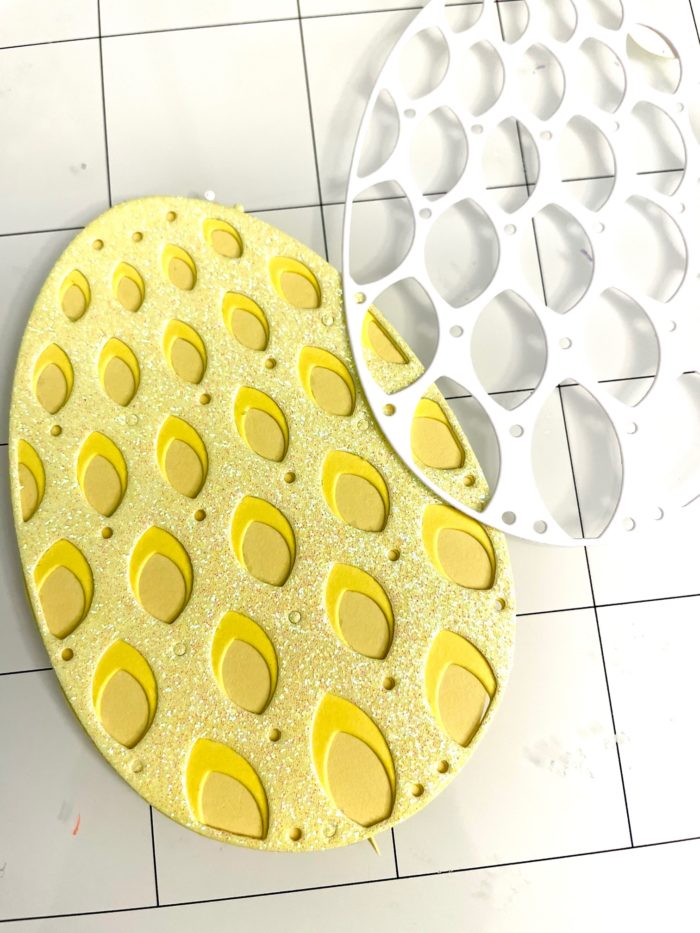
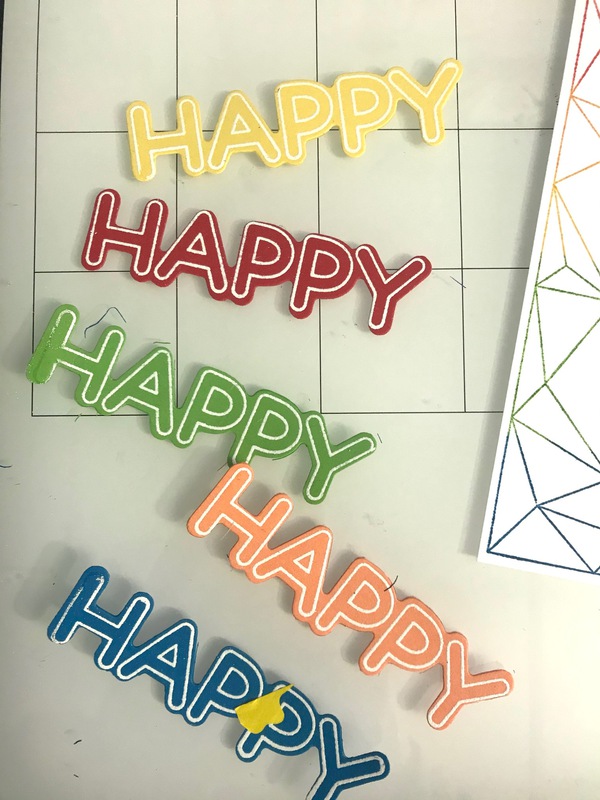
Using a liquid adhesive (LineCo ph bookbinding glue) is my go to!) I began to adhere all the layers of each egg together and set them aside.
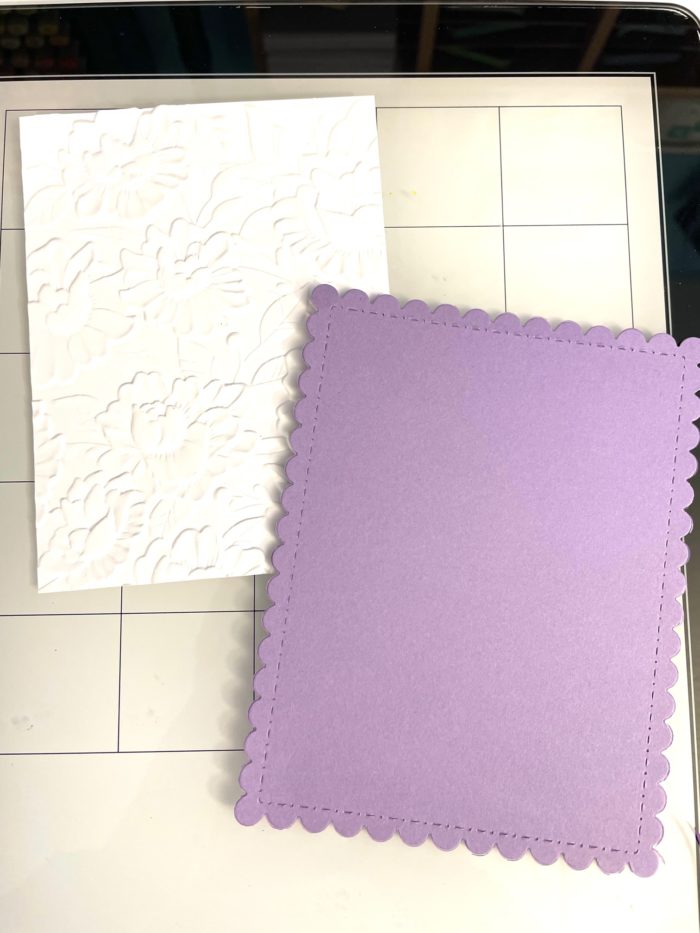
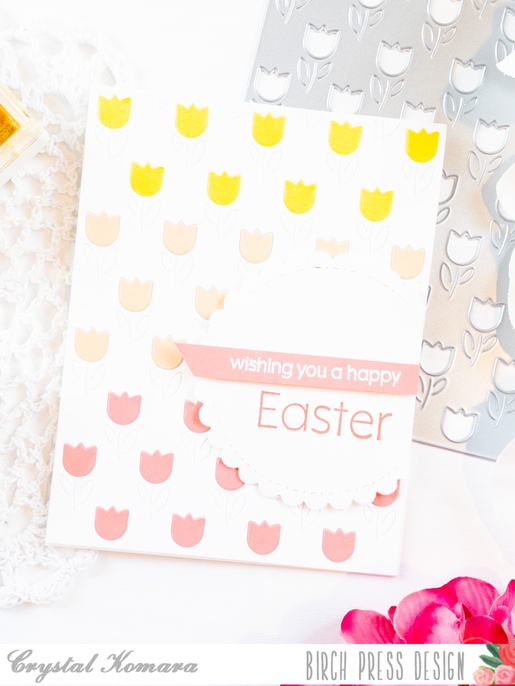
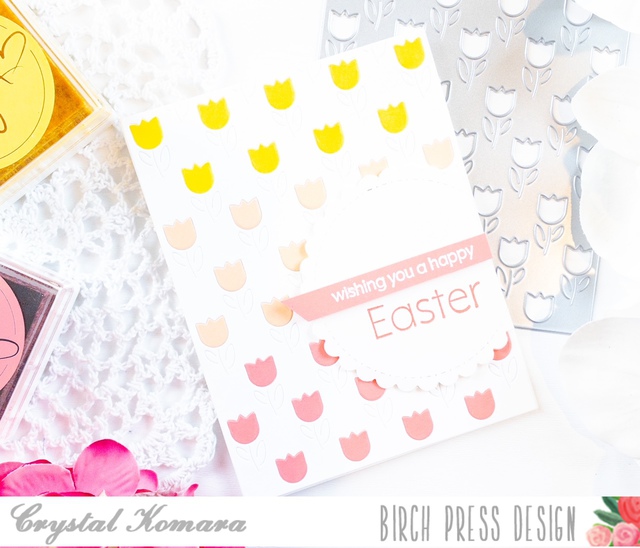
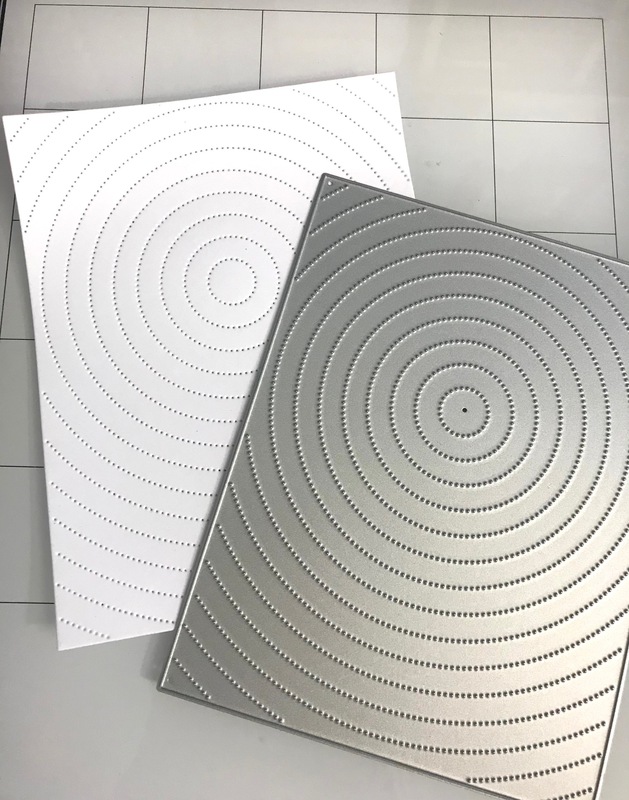
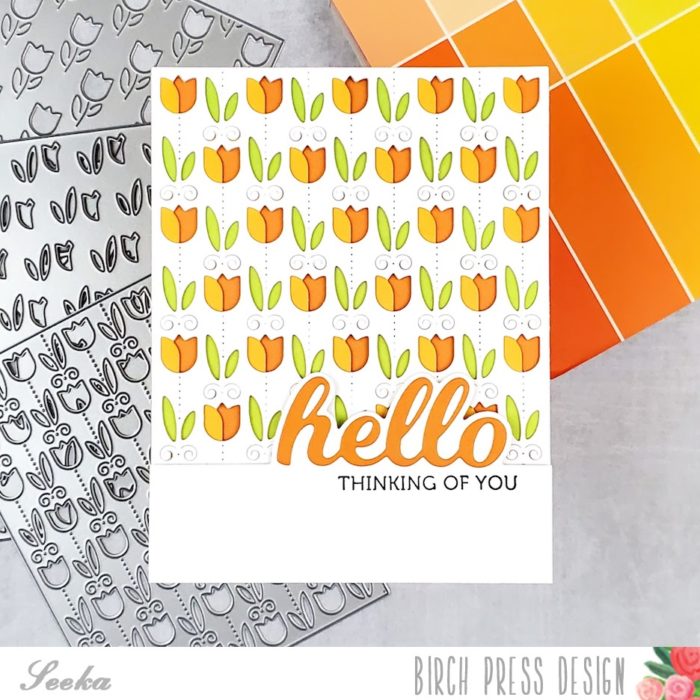
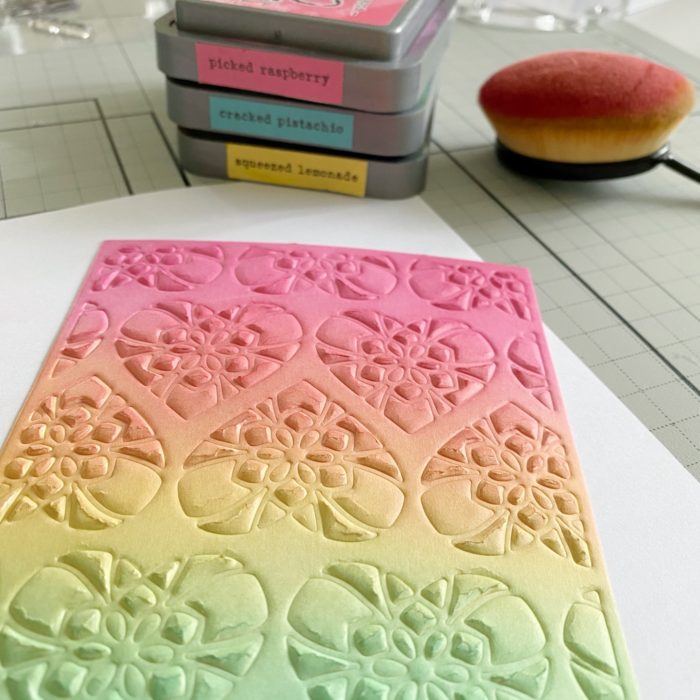
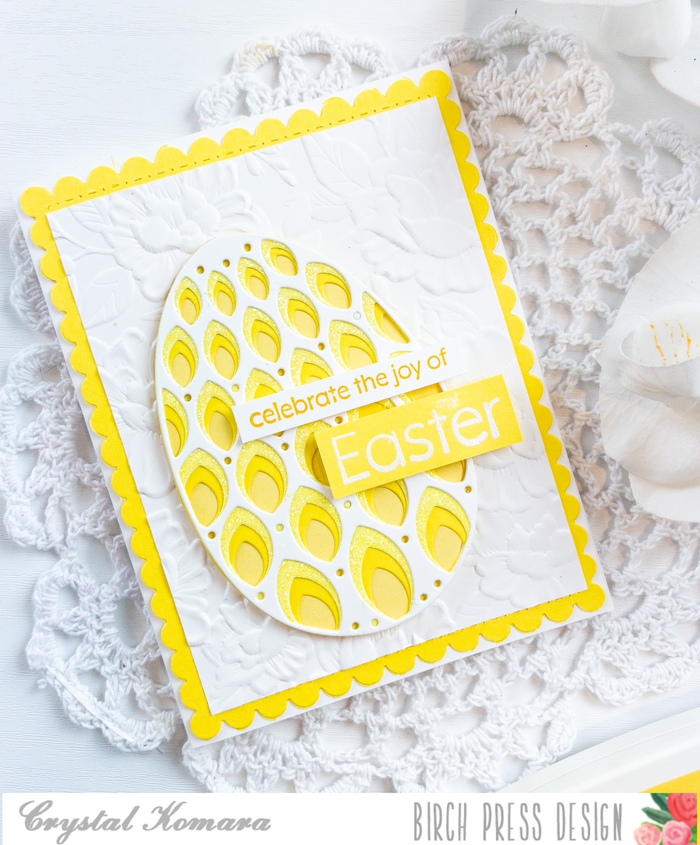
Next I worked on the card base itself. The base of each card is made from 80 lb. Neenah White Solar Smooth cardstock and then I used a scalloped rectangle die to die cut purple, peach and yellow cardstock for a strong background. I dry embossed three pieces of 5″ x 3 3/4″ sheets of Neenah white cardstock to add more dimension to the background.
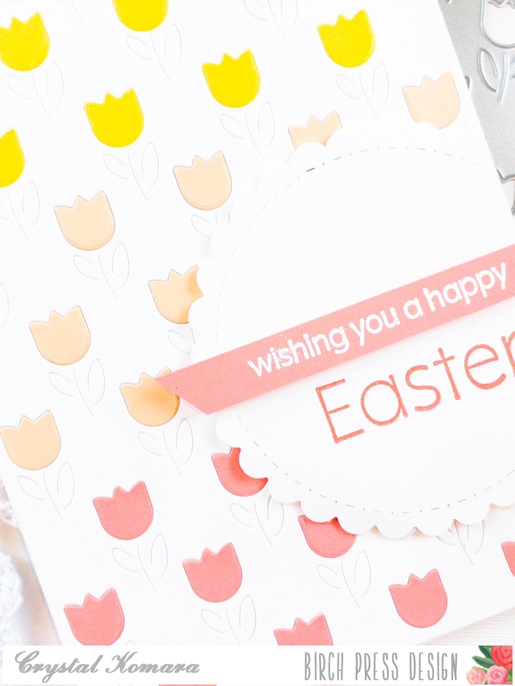
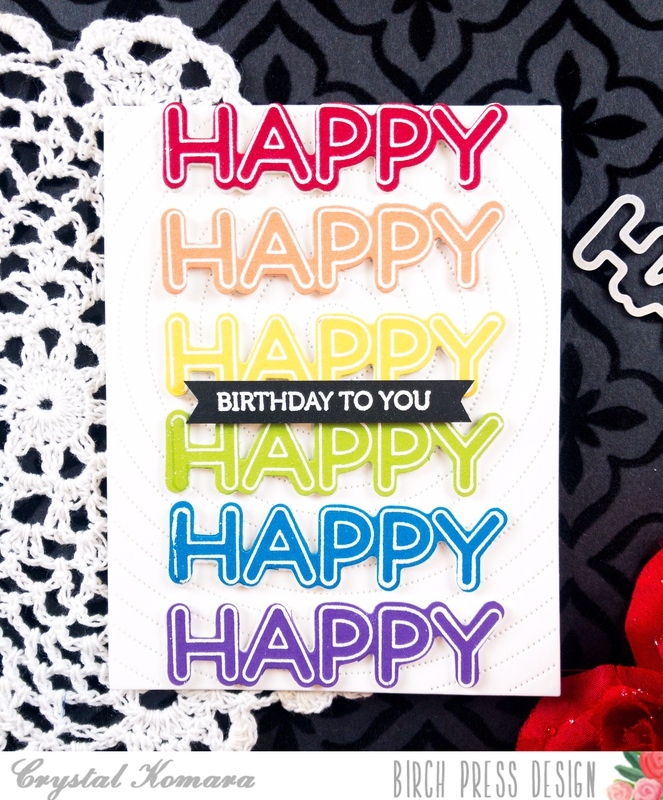
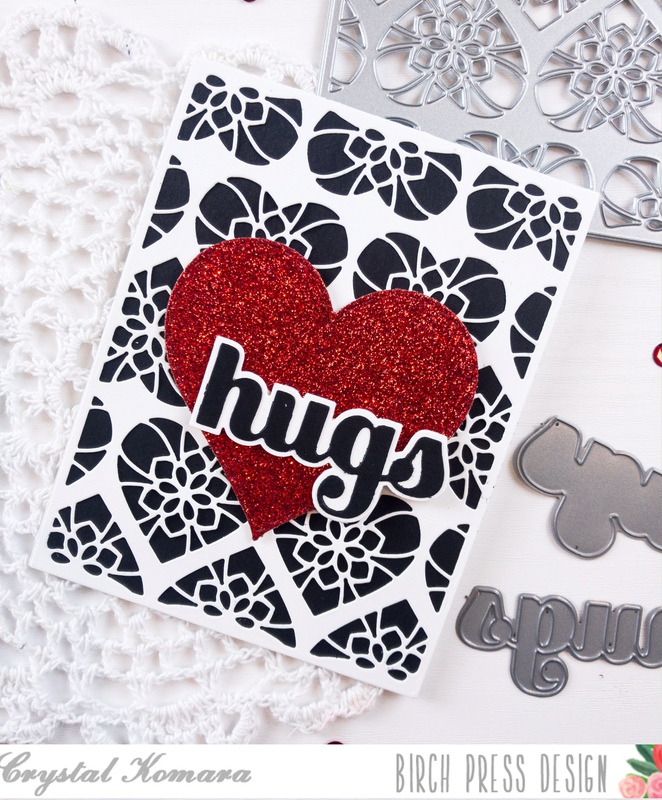
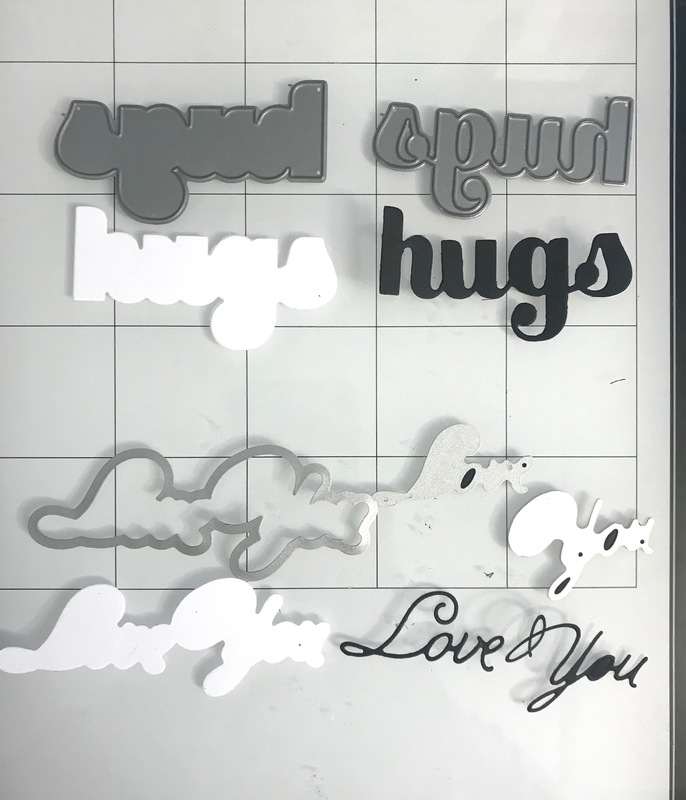
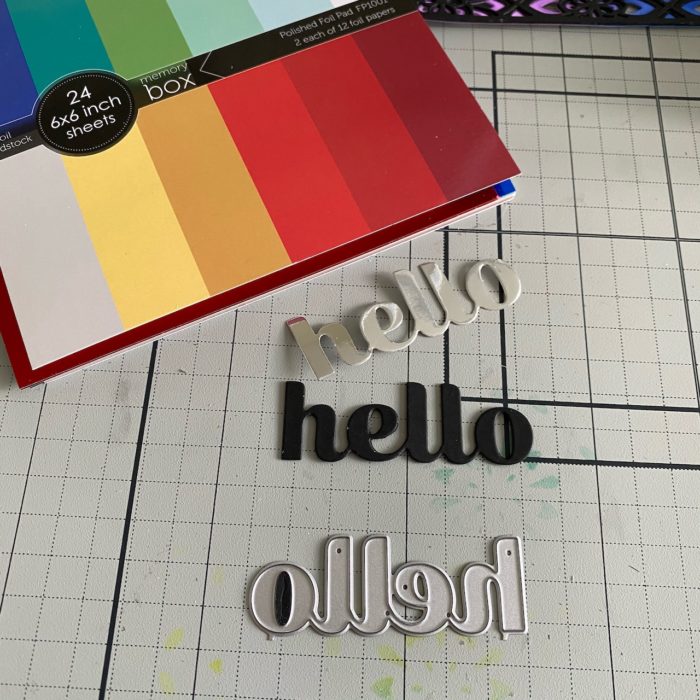
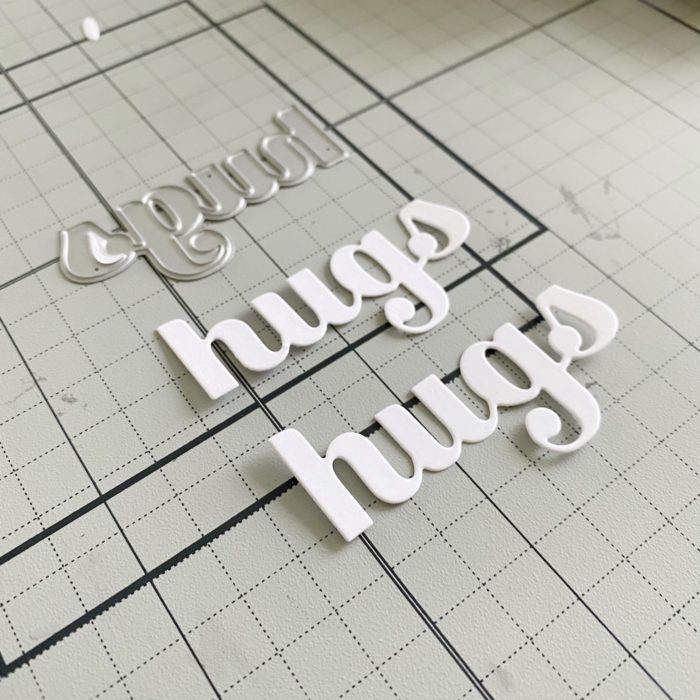
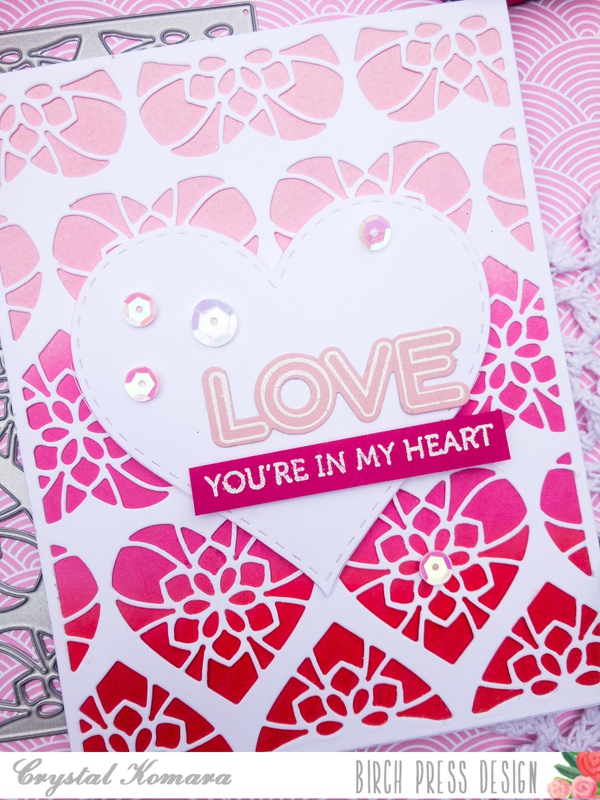
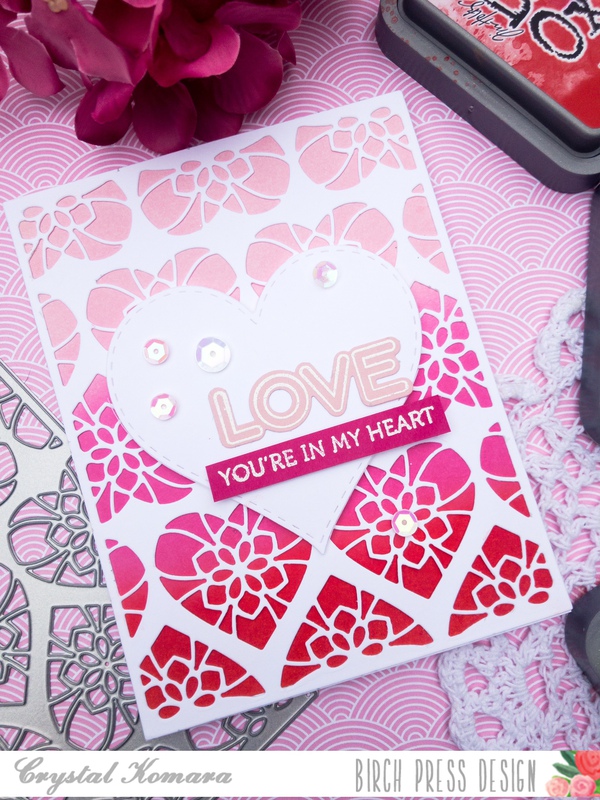
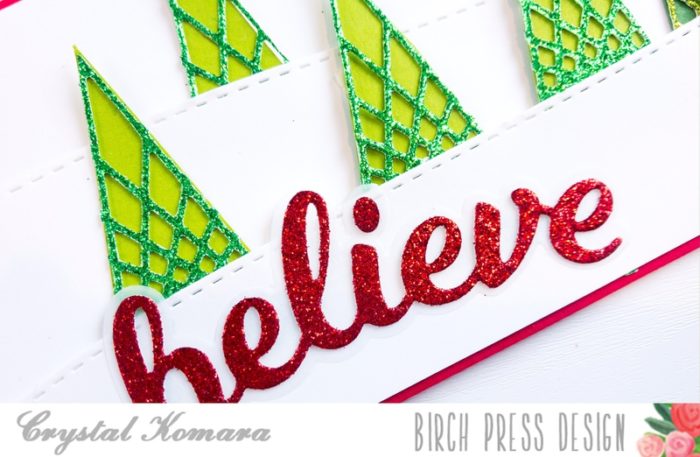
I stamped a sentiment on thin strips of white cardstock and then I heat embossed the word “Easter” on coordinating sheets of peach, purple and yellow cardstock. I adhered the sentiments to the card using 3M foam adhesive for added dimension.
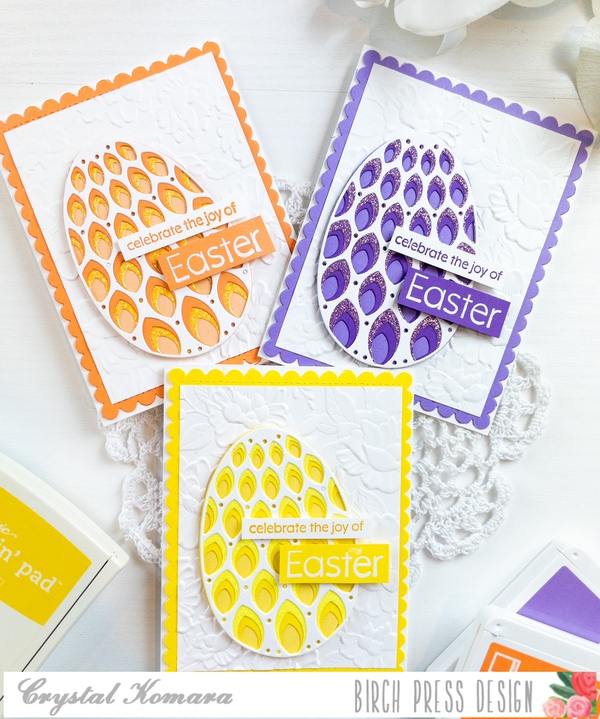
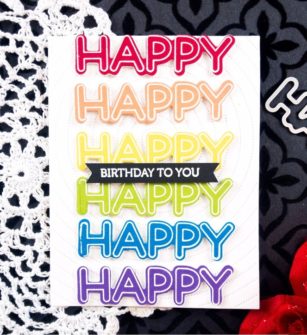
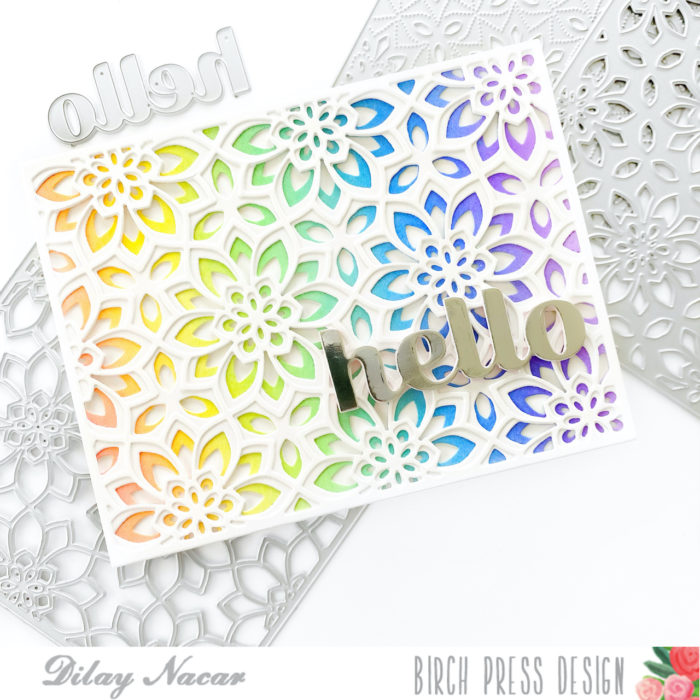
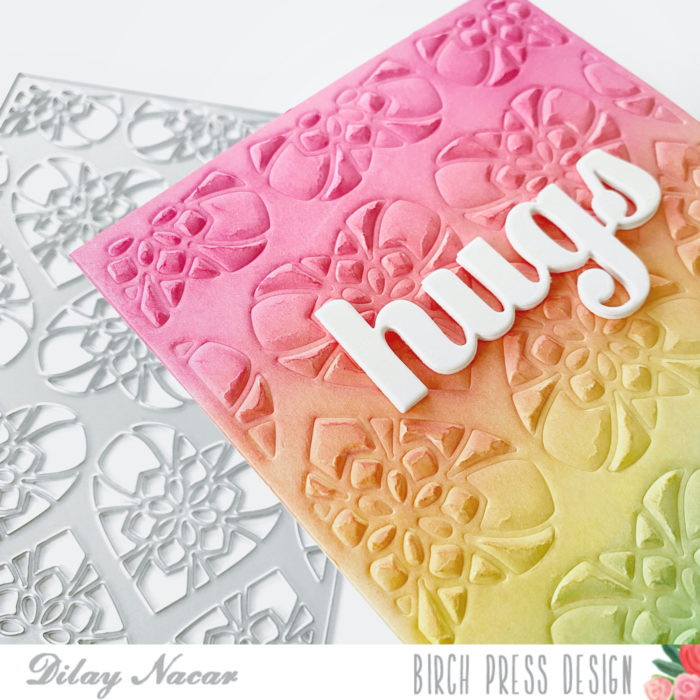
I love how these cards turned out and even though I chose to make them in these three colors, you could use whatever monochromatic color scheme you would like for equally beautiful results!
Thank you for visiting and have a wonderfully creative day!

Supplies