Category: Layered Background Die

  • Blue Balloons | by Crystal Komara

    Blue Balloons | by Crystal Komara

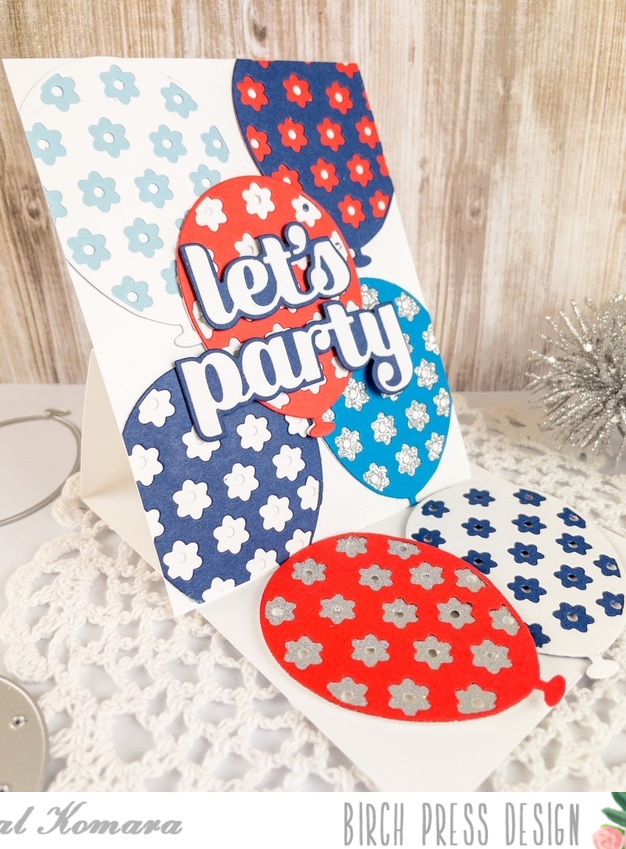
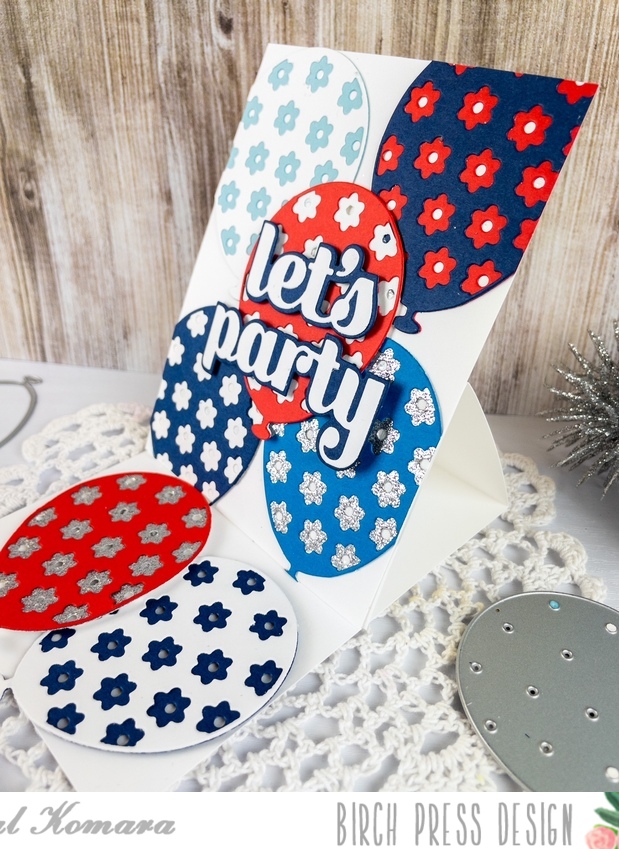
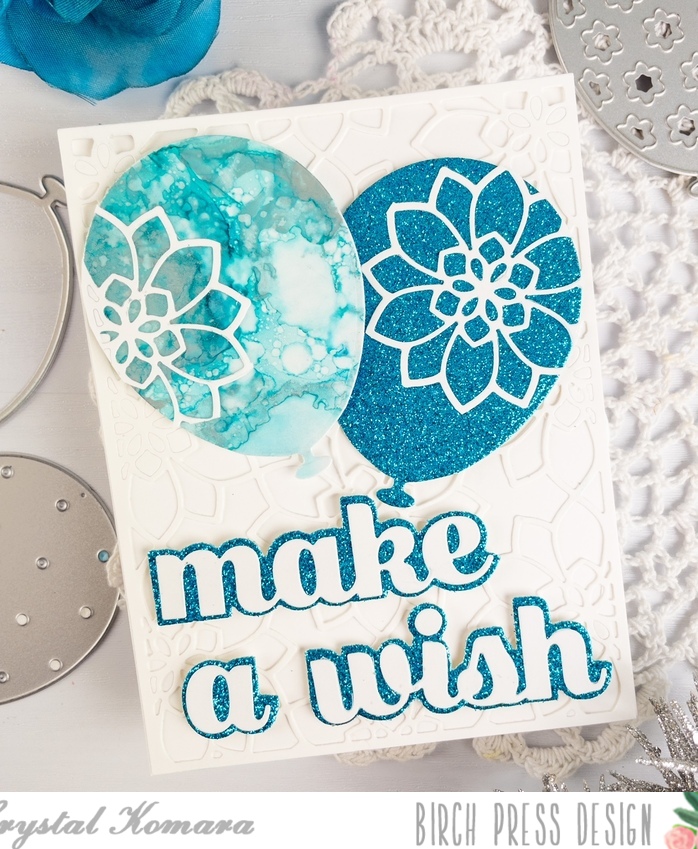
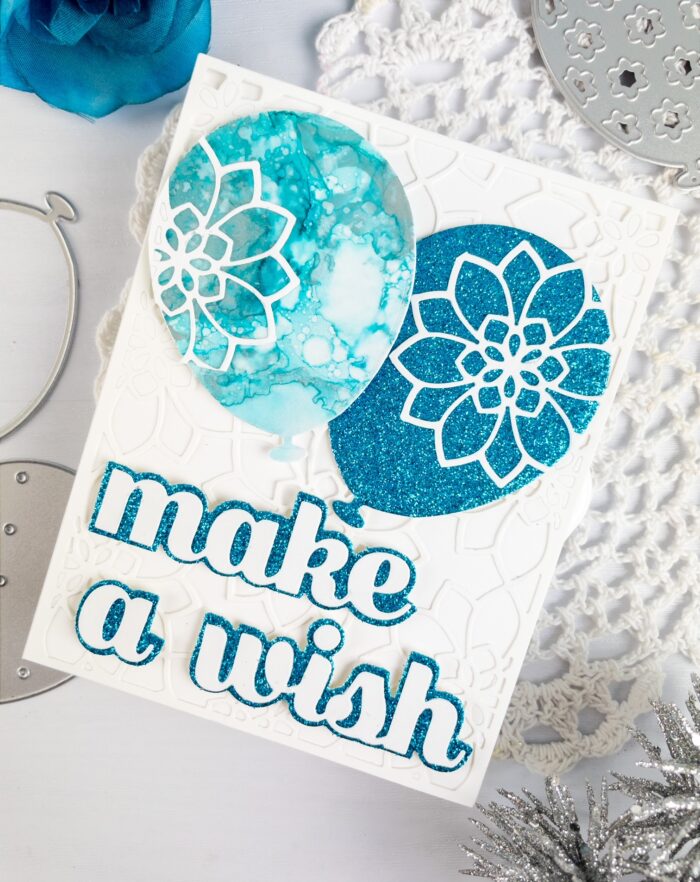
    Hello crafty readers! This is Design Team member Crystal Komara here to inspire you today with a birthday card using a lot of texture from glitter paper to alcohol inks. It’s also in my favorite color – blue! And. . . it sparkles!

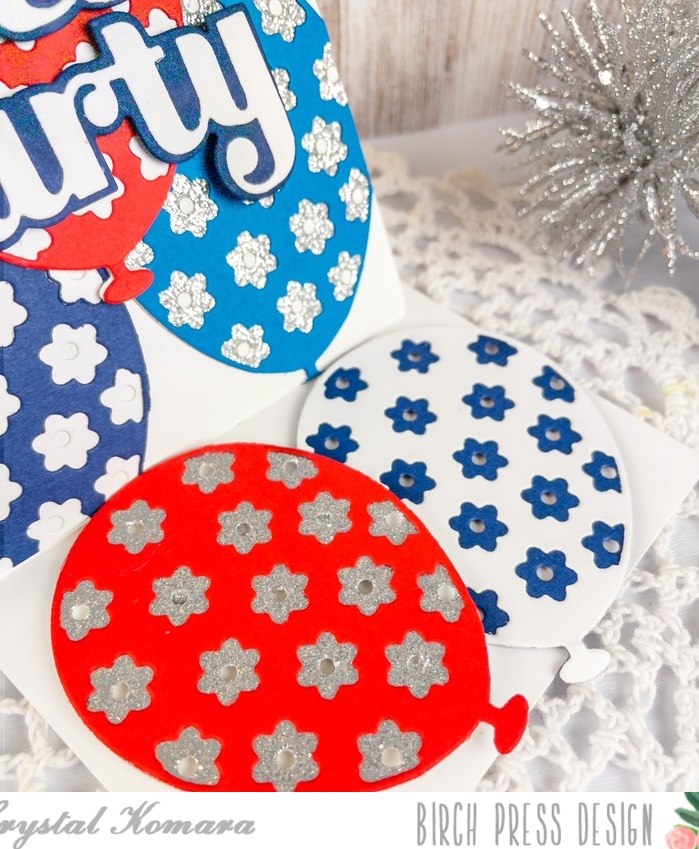
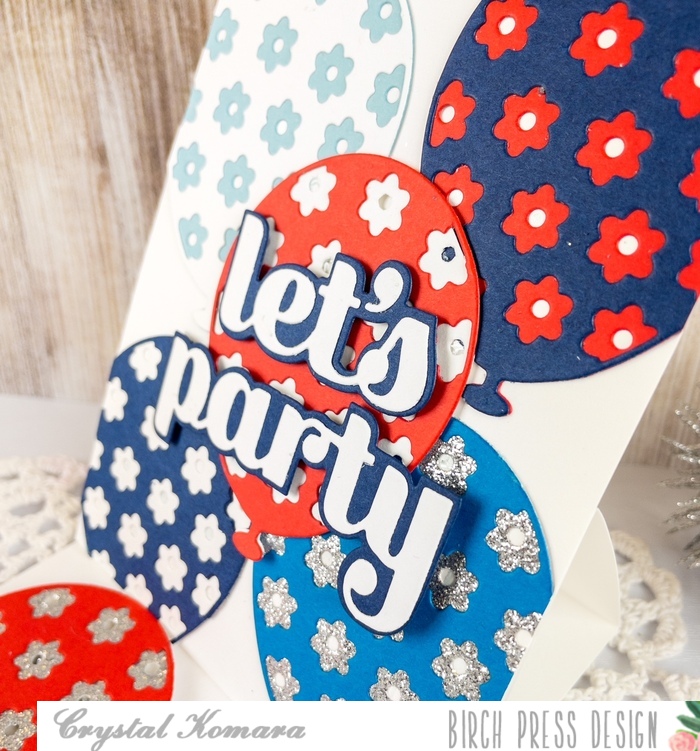
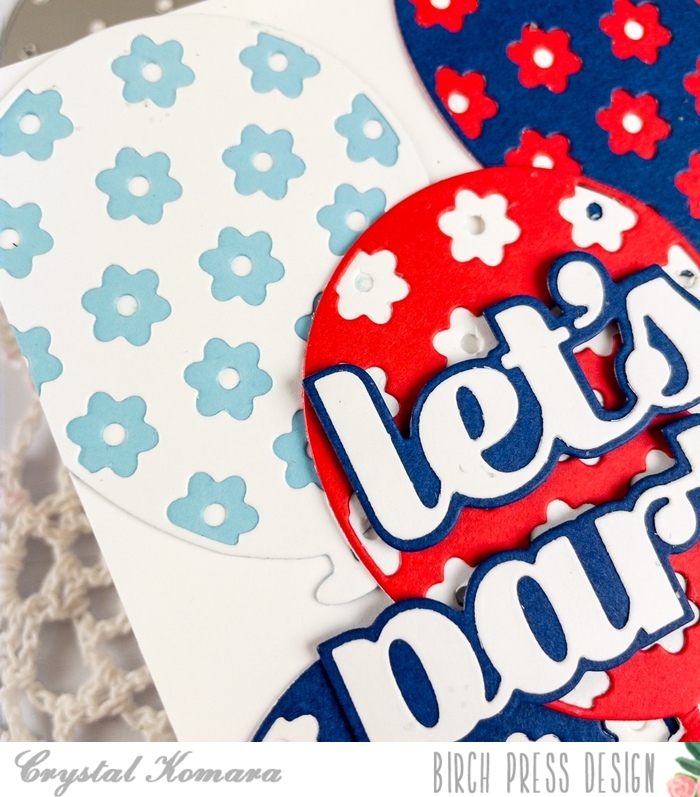
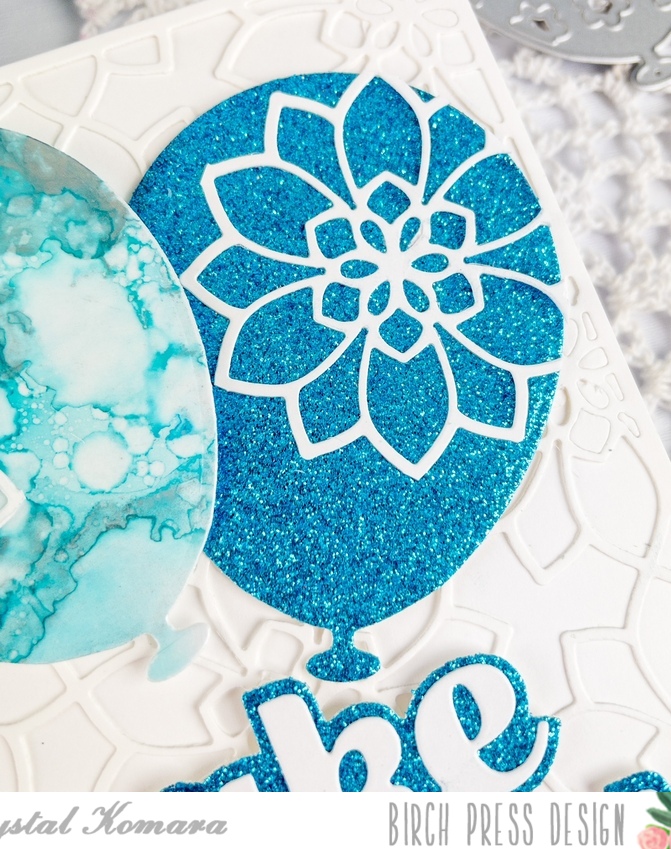
    The base of this A2 size card is made from 80 lb. Neenah Solar White Smooth cardstock. Using Plate A only from the Viola Layering Plates, I cut this background from white cardstock and adhered it directly to the card base. ( I actually cut two of these backgrounds, so that I could fussy cut some of the flowers to add to the balloons). Using Layer Plate C of the Floral Balloons I cut two balloons. The first was from silver glitter paper and the second was from a little scrap piece of an alcohol ink background that just happened to coordinate!

    I fussy cut two of the flowers from the Viola Layering Plate A and adhered them to each balloon. I adhered each balloon to the card using 3M foam adhesive for added dimension.

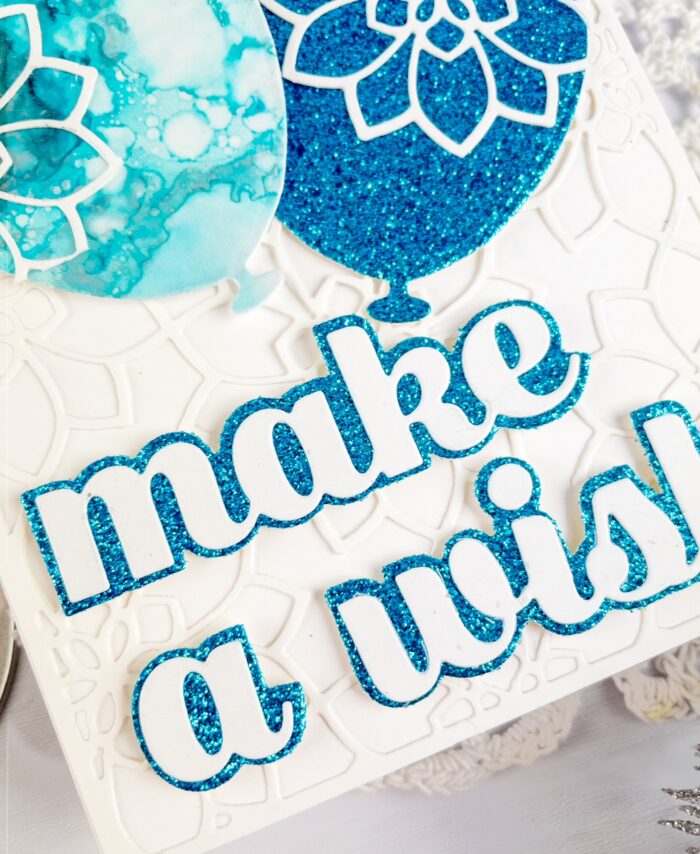
    I die cut the sentiment using the Make a Wish Sugar Script die. I die cut the bottom layer from blue glitter cardstock and the top layer from white cardstock. I adhered the two layers together with a fine-tip liquid adhesive. Lastly, I adhered the entire sentiment to the card using 3M foam adhesive for added dimension.

    I hope you like today’s card! Thanks for visiting and have a wonderfully creative day!

    Supplies
  • Tranquil Thank You | by Toni M Maddox

    Tranquil Thank You | by Toni M Maddox

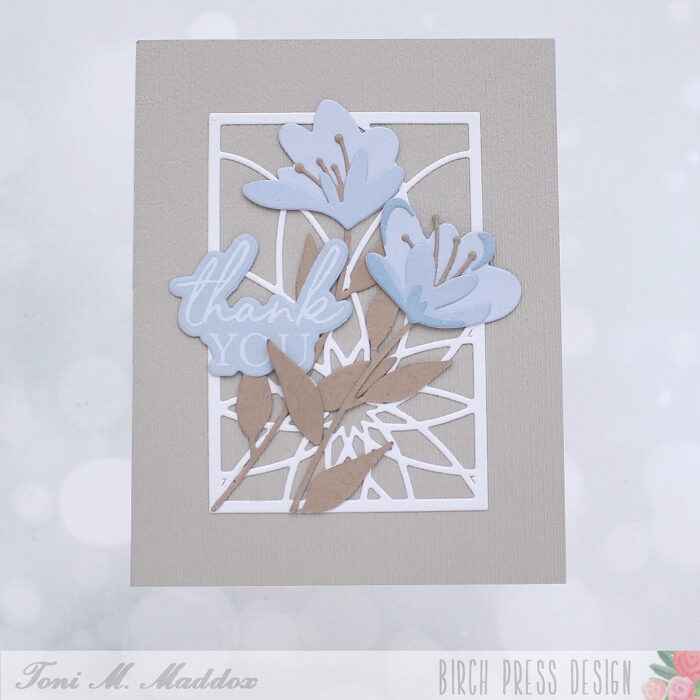
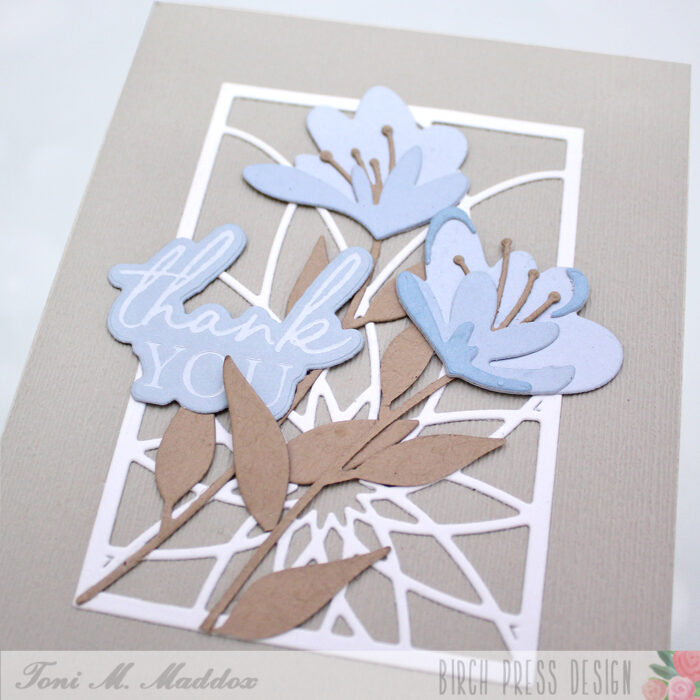
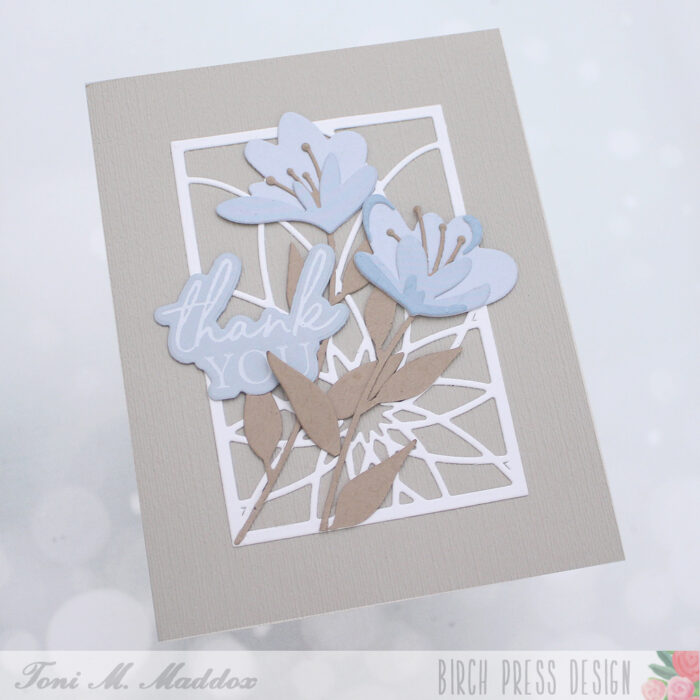
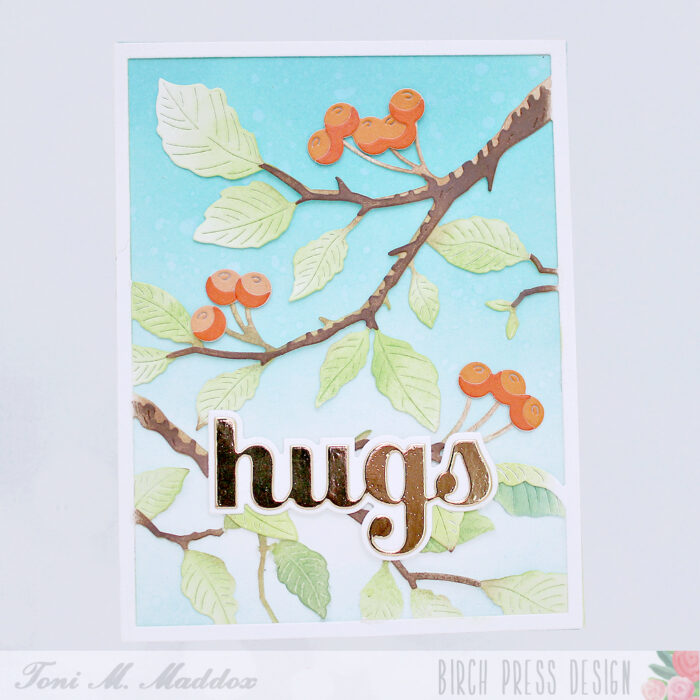
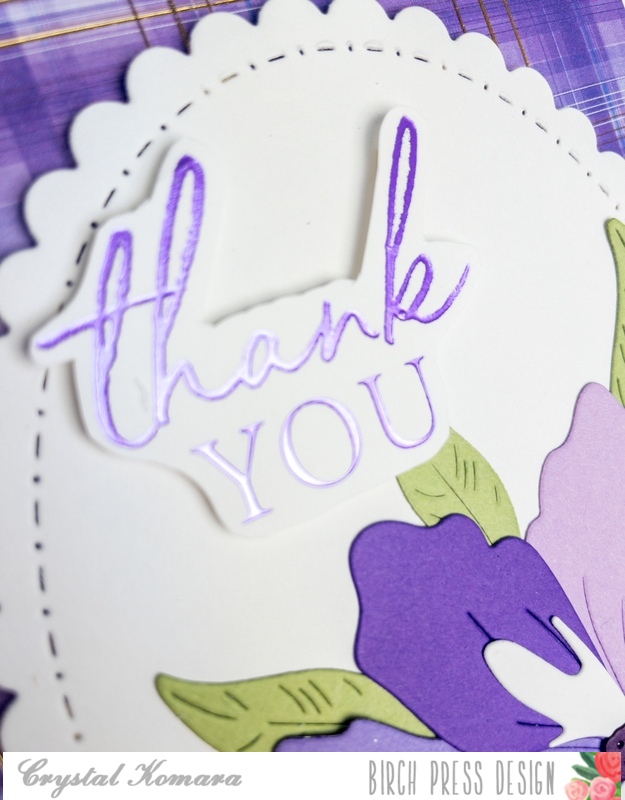
    Hello, Birch Press fans! Toni here with you today sharing a rather tranquil thank you card. Such a calming, spa-like color palette, don’t you agree? I don’t use a lot of blues but, man, this combo is one I love.

    I started the card by cutting out the BPD Dazzle Mini Frame Layer A in a sturdy white cardstock and adhering it to a linen textured card front.

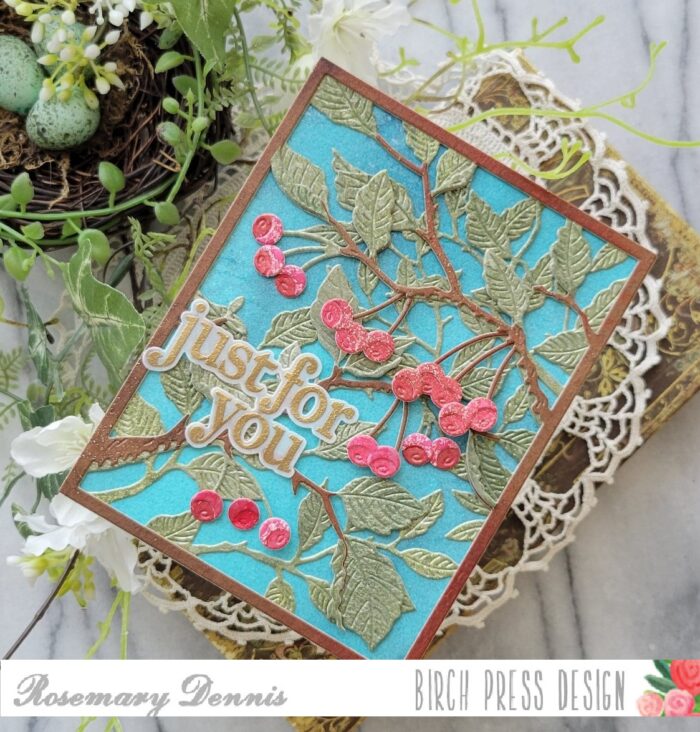
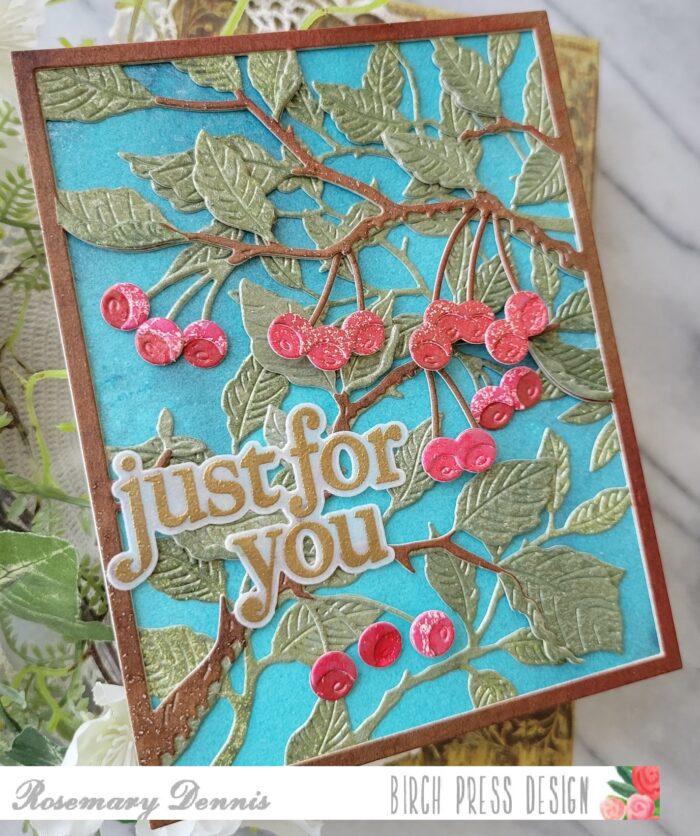
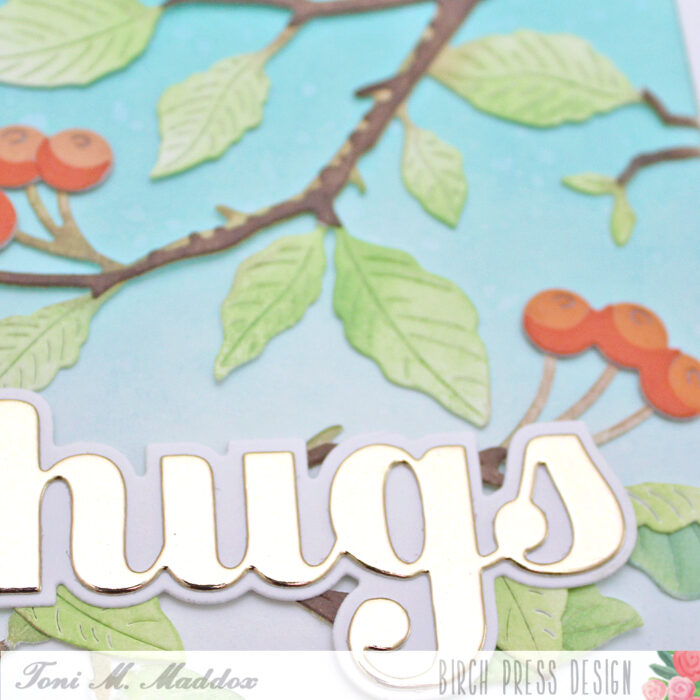
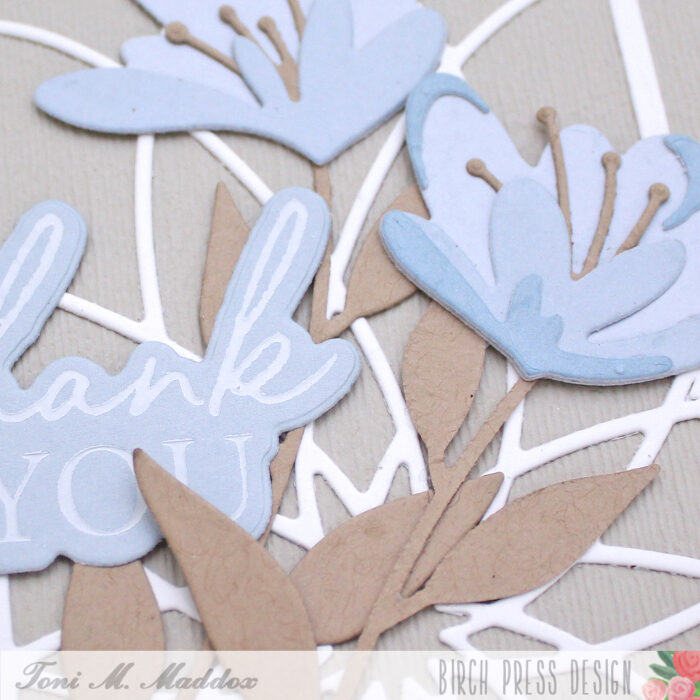
    I cut the Sylvan Berries & Leaves as well as the Jovial Blooms & Leaves Contour Layers out of Memory Box Stormy Blue 6×6 Paper and kraft cardstocks.

    For the sentiment, I used the Thank You Noted Script Hot Foil Plate & Die with Spellbinders White Glimmer Hot Foil. It’s very subtle, both in coloring and nestled amongst the leaves.

    I hope you enjoyed today’s card and have a great rest of your week!

    Supplies

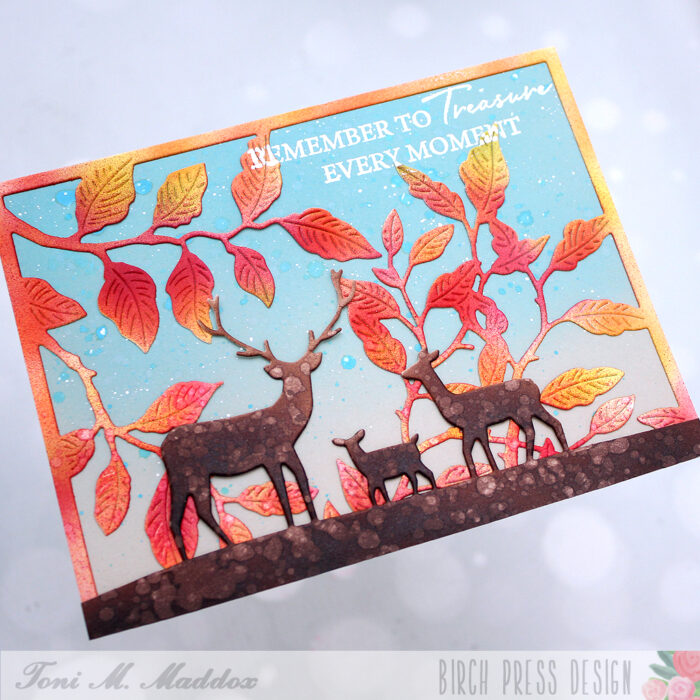
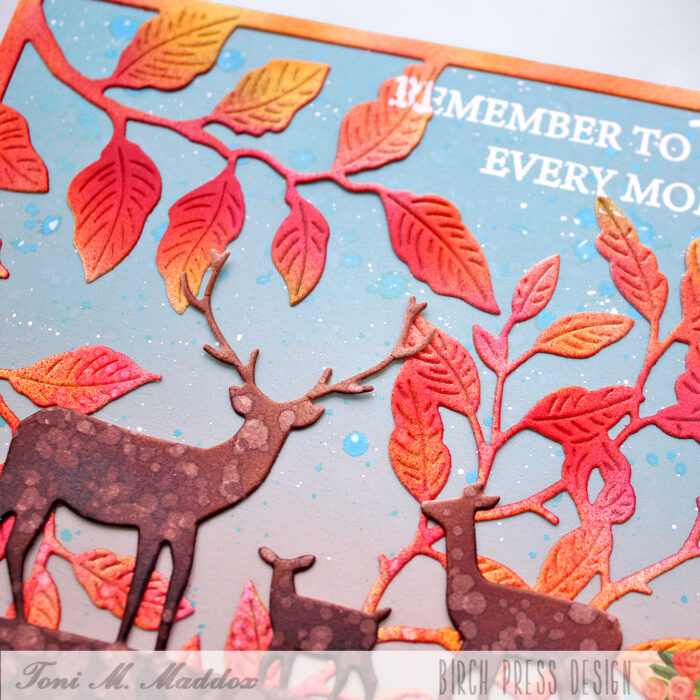
  • Forest Canopy Frames | by Crystal Komara

    Forest Canopy Frames | by Crystal Komara

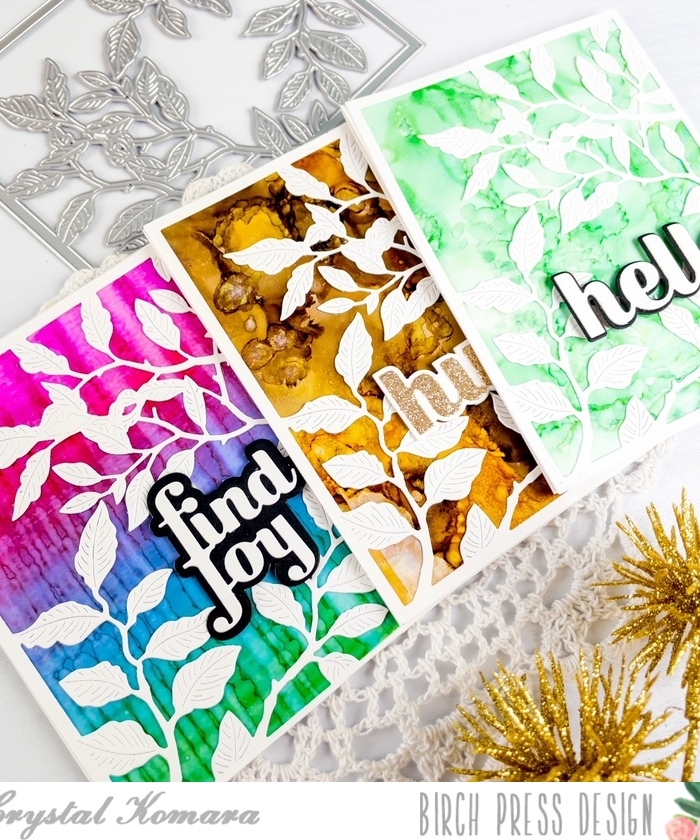
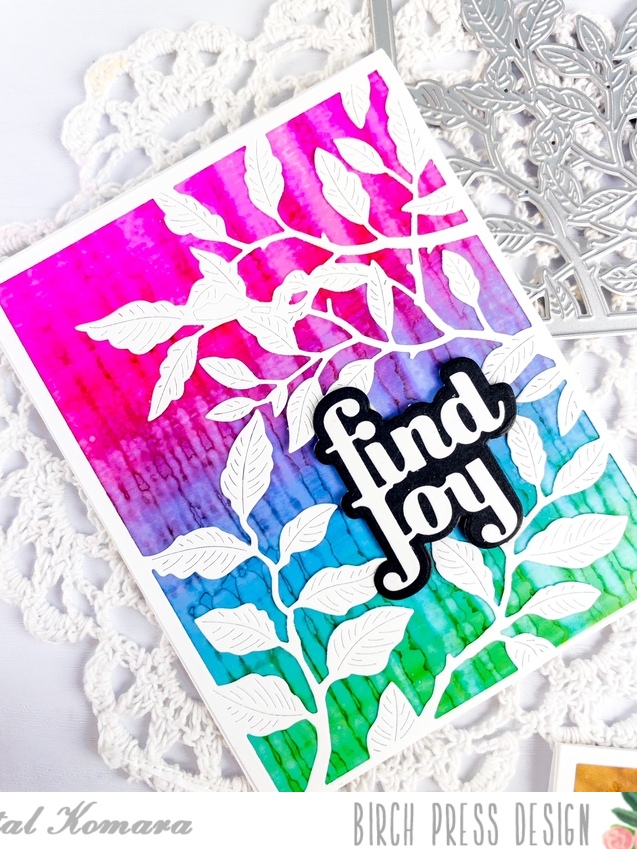
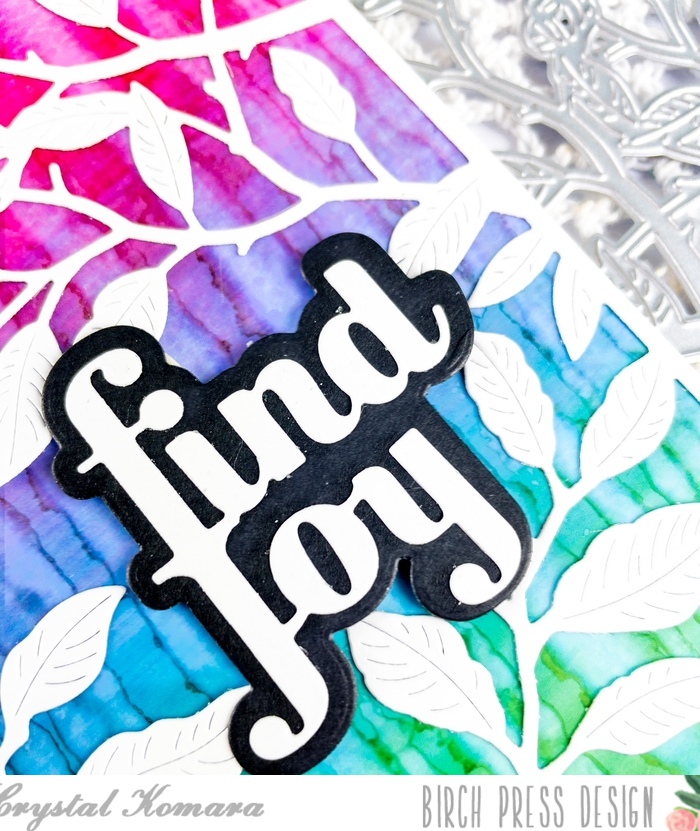
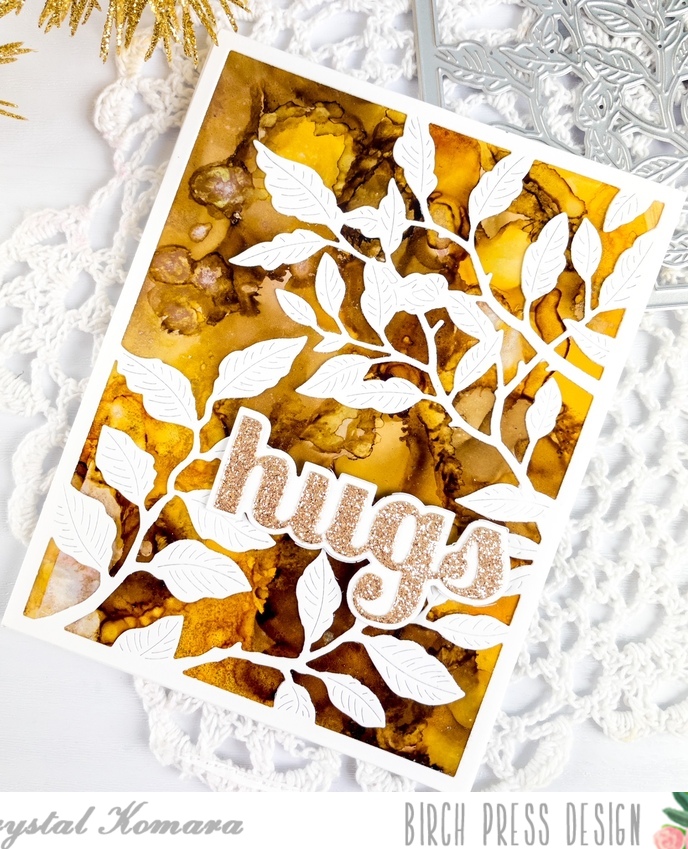
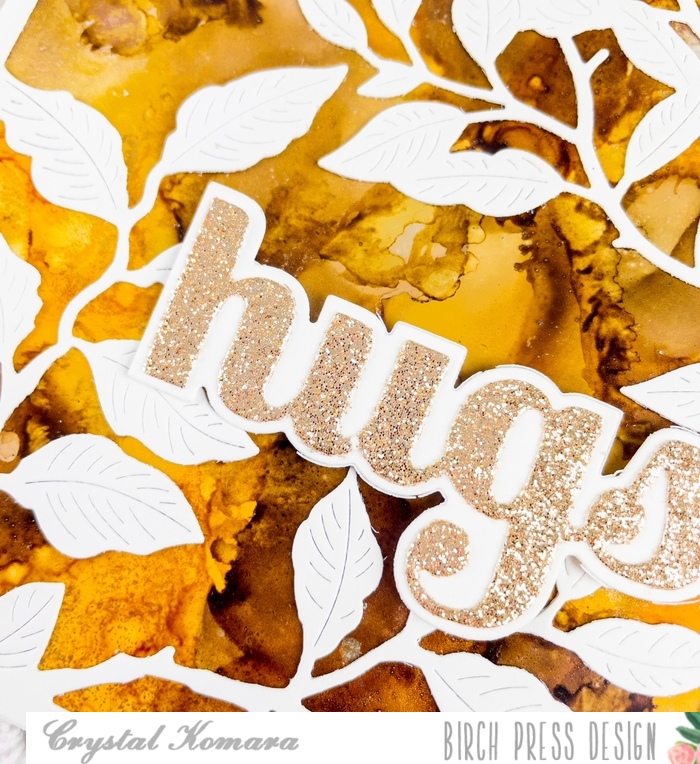
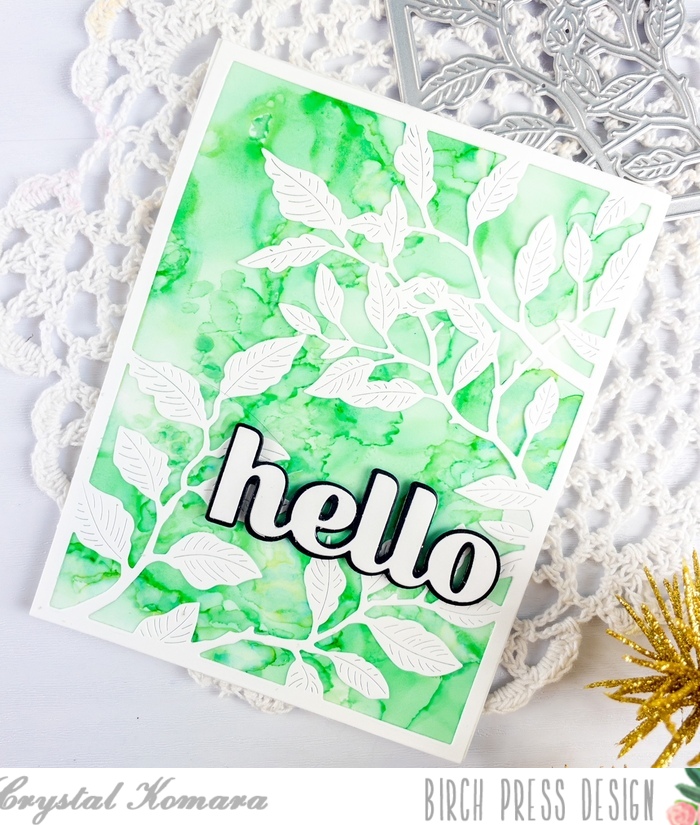
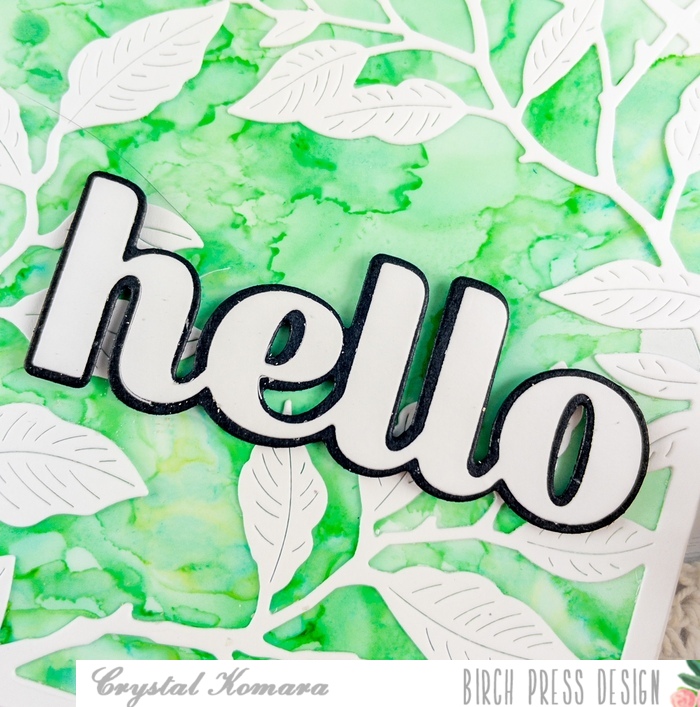
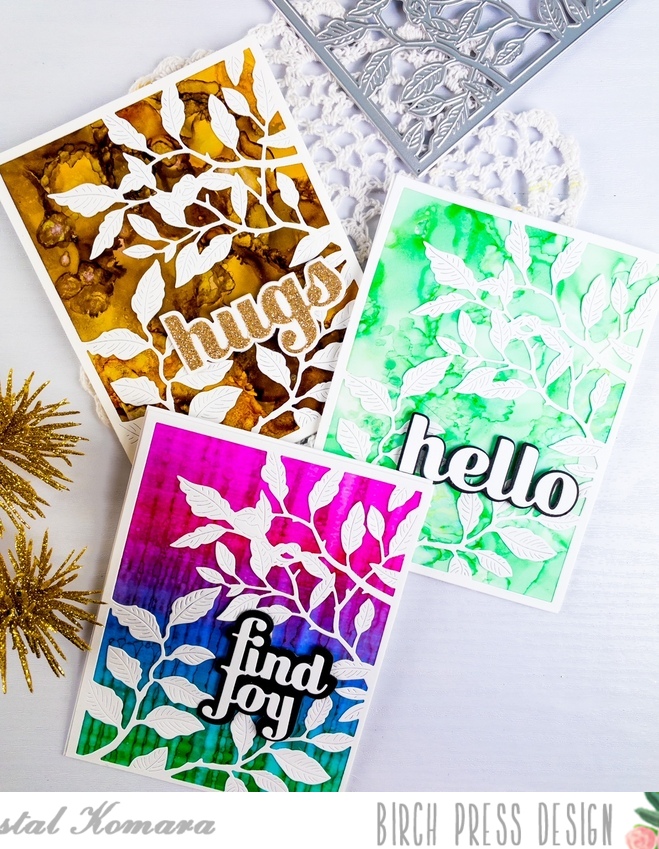
    Hello crafty people! This is Design Team member Crystal Komara here with you today and I have made my first set of cards using the new Forest Canopy Layering dies. I am sooooo in love. These new dies are just beautiful and I think they will quickly become my new favorite.

    Now all three of today’s cards were made using Layer C of the Forest Canopy Layering dies. What makes them most stunning are the alcohol ink backgrounds. Those vibrant colors are really what makes the white leaves pop! Add a sentiment of your choice and voila, easy peasy, but oh-so-pretty cards!

    Card details:

    All three of these A2 size cards were made from 80 lb. Neenah Solar White Smooth cardstock. Using Layer C of the Forest Canopy dies I cut three white leafy frame backgrounds. I have my alcohol ink backgrounds already pre-made, so I just pulled three from my stash and layered the leafy frames over. With alcohol inks, your color options are endless, so no matter what kind of background you add, your card will always look unique and different. Add a simple sentiment of your choosing and that’s it, you’re done!

    I hope you will enjoy this new layering die set as much I do! Thanks for visiting and have a wonderfully creative day!

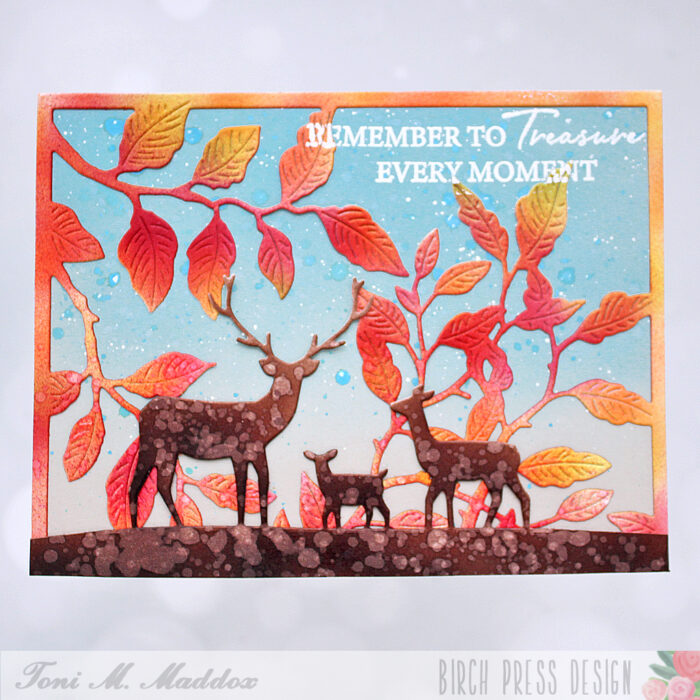
  • Remember to Treasure | by Rosemary Dennis

    Remember to Treasure | by Rosemary Dennis

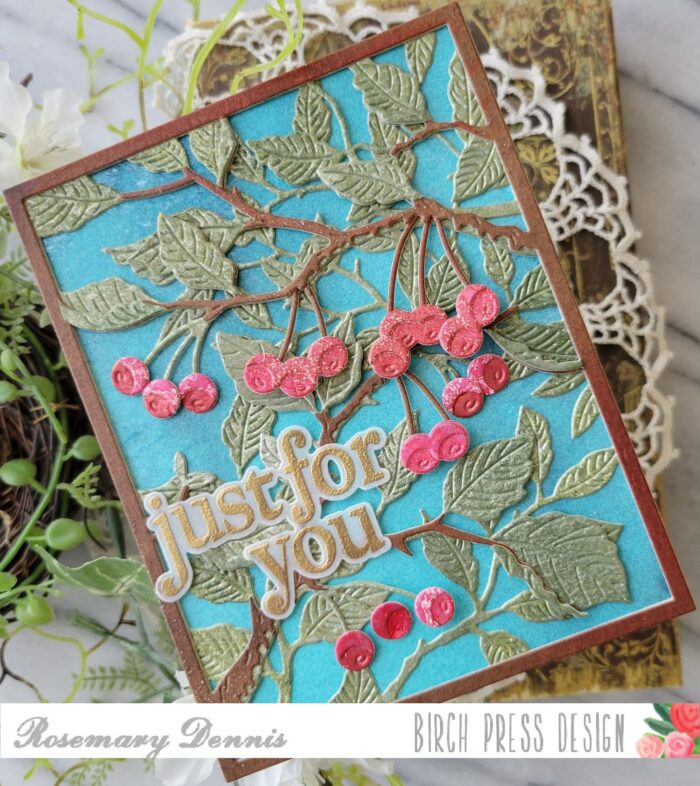
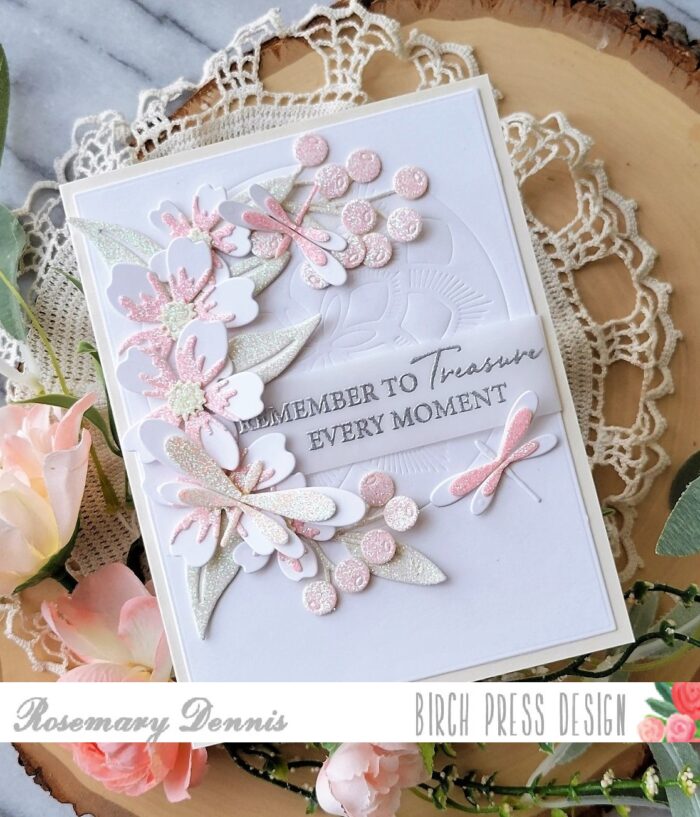
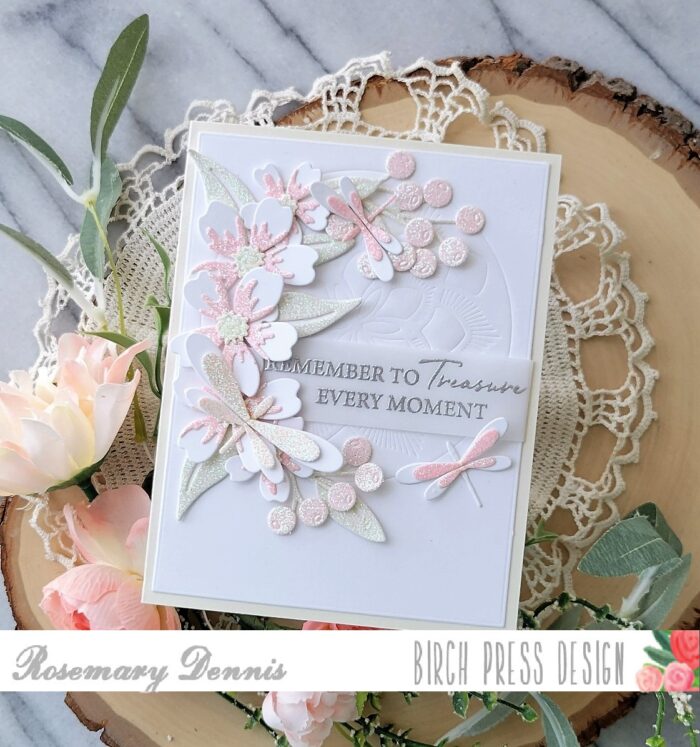
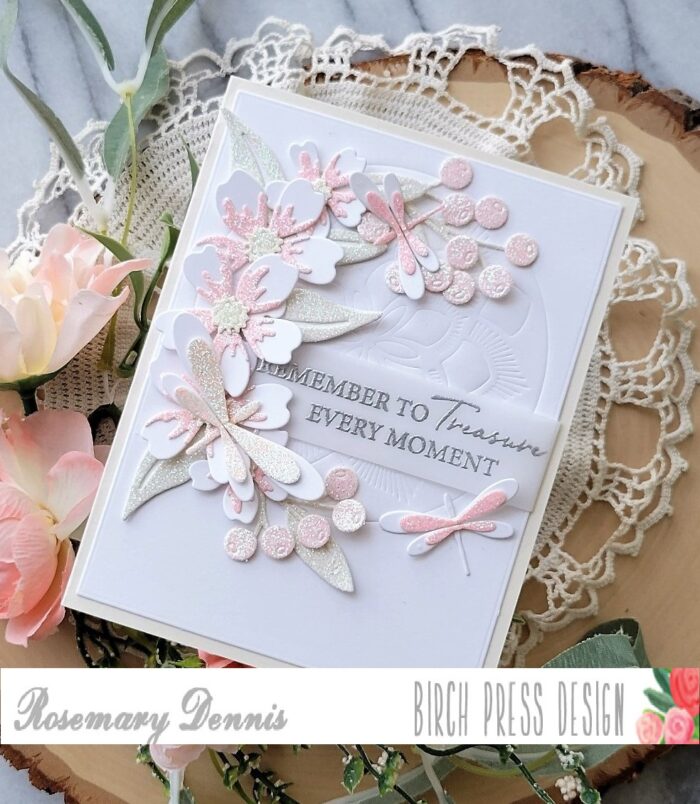
    Hello everyone! I have a soft pastel card to share today that I created with glitter papers from the Memory Box Delicate Pastel Glitter pad and many different Birch Press Design dies. Let’s get started!

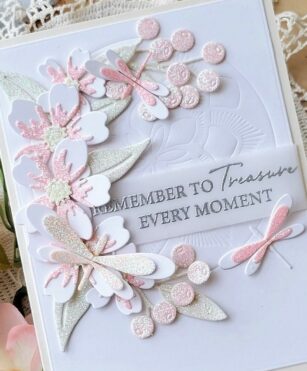
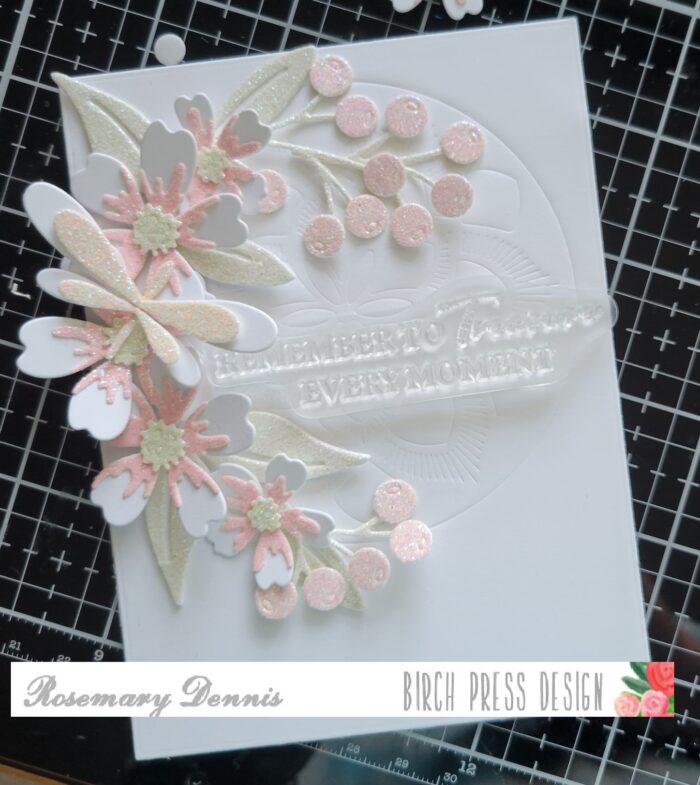
    Birch Press Designs has so many wonderful layering dies and I just love going through them and finding ones that can also be used for embossing. As I was working on my idea for the card I flipped through my dies and came across the Arista layering set. I took one look at Layer B and knew immediately that I wanted to use it to emboss the background. I just love all the detail that is embossed into the background. (The embossing sandwich that works for me is my the diecutting platform, one cutting plate, a tan embossing mat, cardstock and die with the cutting side placed against the mat and a few cardstock shims.) I also knew that I wanted to use the Mixed Berry Contour Layers dies and the Simple Dragonfly Contour Layers. The Phlox Blooms and Leaves Contour Layers are so pretty and work wonderfully with the other dies.

    I die cut the flowers and leaves using white cardstock for the bases and then a sugary pink from the Delicate Pastel Glitter pad to the top layer. A pretty yellow from the pad was used for the flower centers. The glitter portion of the leaves were die cut from a light yellowy-green and layered on. I used yellow for the berry stems and a lighter pink for the berries. The above photo shows the general idea of the layout.

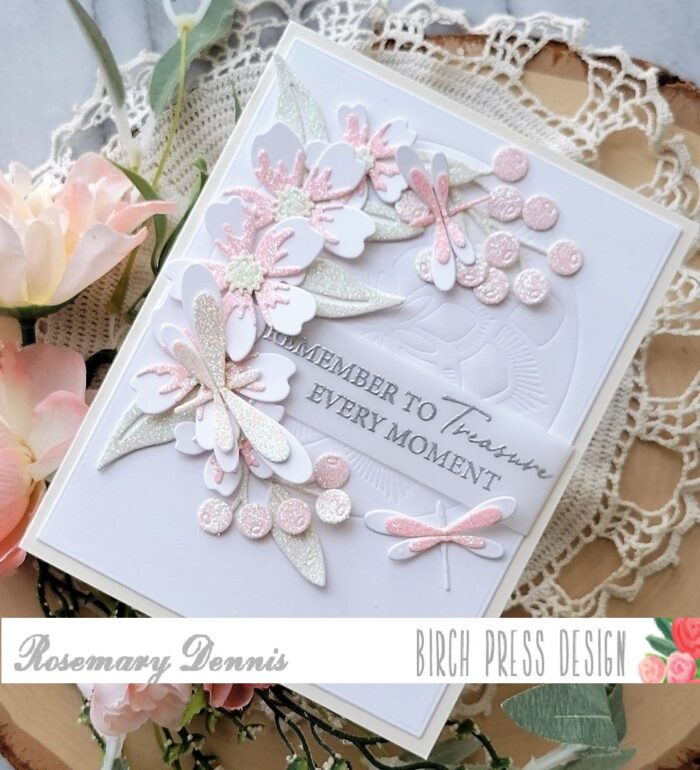
    The base of the dragonflies were die cut from white and the layers from glitter papers. Going to be honest and tell you that when I started to put the dragonflies I got confused as to what layers went where. I got a bit frustrated with myself, but eventually I got them put together correctly. I used pink glitter paper for the small dragonflies and the larger one is a pretty light peach color. I used a sentiment from the beautiful Kind Hearts stamp set. It was heat embossed on vellum using silver embossing powder so it was stand out against all that white.

    I cut the vellum into a strip and then wrapped part of it behind my panel and secured it with liquid adhesive. After that side had dried I secured the other side with liquid adhesive, as well. Then I started adding all the flowers, leaves and berry stems. The large flowers were popped up with thin foam squares. Everything else was adhered with liquid adhesive making it easy to tuck them into place. I finished with the dragonflies.

    If you have yet, I hope you will look through your Birch Press Design layering dies and find ones that can be used to emboss the background of your projects. I think you will just love the look! Thanks for stopping by!

    Supplies

    D2

  • Best Wishes On Your Journey Together  | by Crystal Komara

    Best Wishes On Your Journey Together | by Crystal Komara

    Hello friends and happy May! I feel like May is the unofficial start to summer, which also means that wedding season is upon us. This is Design Team member Crystal Komara here today to inspire you with a wedding/love themed card using a variety of product from Birch Press Design.

    Card details:

    The base of this A2 sized card is made from 80 lb. Neenah Solar White smooth cardstock. This is my go-to white cardstock for e-v-e-r-y-t-h-i-n-g! To create the background of this card I used Layer Plate C of the Flora Plate Layer set, and I die cut it from white cardstock. I mounted that die cut piece onto a piece of white cardstock for a white-on-white look and then mounted both pieces onto black cardstock before adhering it to the card base.

    For the largest heart I used the Flora Heart Layer C. I die cut Layer A and Layer B from red cardstock. I adhered the two layers together with a fine-tip liquid glue. Then I adhered those of a piece of white cardstock and fussy cut a heart shape background. I adhered this heart to the card using 3M foam adhesive for added dimension.

    To create the two smaller hearts, I die cut Layer A of the Kinsley Heart Layer Set from white cardstock. I adhered this over a sheet of red cardstock and then fussy cut the individual hearts out.

    For the sentiment, I stamped the font in black ink on white cardstock. This sentiment is from the Kind Hearts clear stamp set. I then used a heart punch to punch the sentiment out. I adhered the sentiment too the card using 3M foam adhesive.

    I hope you have enjoyed today’s card. Thank you for visiting and have a wonderfully creative day!

    Supplies
  • Focal Point Buds | by Toni M Maddox

    Focal Point Buds | by Toni M Maddox

    Hello, Birch Press fans! Toni here with you today sharing a spring-theme card using the Delicate Floral Buds Contour Layers.

    I found a piece of my cardstock in my stash with a circle cut out of it (why did I cut it from the middle?!) and thought it would make a great focal background for the buds.

    I layered it on top of a scrap piece of aqua cardstock then added the Herbarium Plate Layer A in white on top of that.

    I cut the Delicate Floral Buds Contour Layers from white cardstock which I colored up with Copics R01 and R14. The leaves are cut from Lush Green 6×6 Cardstock.

    For the sentiment I used the Sugar Script Sentiments 1 Hot Foil Plate along with Therm O Web Gold Hot Foil and the Pinkfresh Studio Solid Hot Foil Plate. The latter allows you to use your hot foil leftovers, creating a solid version of the design.

    I hope you enjoyed today’s card and have a great rest of your week!

    Supplies

  • Sending Colorful Hugs | By Allison Frazier

    Sending Colorful Hugs | By Allison Frazier

    Hello, Birch Press friends! Today, I am sharing this rainbow inspired card featuring the Epiphany Plate Layer Set. This is the second post in a row where I have reached for one of my layering background sets. Layering sets never get old for me because there is an infinite number of color combinations. This especially applies to the Epiphany set, since there are essentially three different elements on the card, each having three layers.

    First thing’s first with a layering die set – cut all of the layers! Since there are three plates to the Epiphany set, each cutting out three different elements, I chose to just use each plate once to cut a panel of white card stock. For the large outer layer, I only used the piece that I cut from the A plate. I adhered that to a white A2 card base.

    For the outer circle and the inner circle, I ink blended my white die cuts. For the outer circle pieces, I used green for Layer A, blue for Layer B, and purple for Layer C. For the inner circle, I used red for Layer A, orange for Layer B, and yellow for Layer C. I used circle dies to cut a white back for both of these layers. Once I had adhered the three layers together with glue, I adhered each element to its corresponding white circle background. I glued the outer circle to the card. Before adhering the inner circle to the card, I popped it up on foam tape to create some dimension.

    For my sentiment, I used the “sending hugs” from the Sugar Script Sentiments 1 Hot Foil Plate and Die Set. I hot foiled the sentiment onto black card stock using white opaque foil. This is my new favorite foil! Before adhering the sentiment to the card, I added clear fairy jewels around the die cuts to highlight the design. I made sure not to place any jewels in spots that would interfere with the sentiment. I had so much fun making this card. There is something very satisfying about adding all those jewels!

    Thank you so much for joining us today. I hope this card inspires you and brings a smile to your face! 

    Wishing you a crafty day,
    Allison


    Supplies


    Supplies


  • Rainbow Roundabout | by Crystal Komara

    Rainbow Roundabout | by Crystal Komara

    Hello readers! This is Birch Press Design Team member Crystal Komara here with you today sharing some rainbow inspiration using the Roundabout Layer Set. I love creating rainbow colored cards, I just find them so cheerful and uplifting!

    Card details:

    The base of this A2 sized card is made from 80 lb. Neenah White Solar Smooth cardstock. Using the same Neenah white cardstock, I cut a 5 1/4″ x 4″ piece and ran it through my Big Shot using the Blooming 3D embossing folder from Memory Box Co. (a sister company of Birch Press Design).

    Continue reading below to see how I created and assembled the rainbow roundabout itself, it was a little bit tricky!

    Step 1: Die cut Layer A of the Roundabout Layer Set from white cardstock.
    Step 2: Die cut Layer B of the Roundabout Layer Set from gold glitter cardstock.
    Step 3: Die Cut Layer A from the Roundabout Layer Set from all the colors of the rainbow – ROYGBIV. Red, orange, yellow, green, blue, indigo and violet.
    Step 4: Save the large solid circles for another card!
    Step 5: Adhere Layer A (white cardstock) over Layer B (gold glitter cardstock) using a fine-tip liquid glue.
    Step 6: Piece all the little shapes back into the die in a rainbow array.

    I then adhered 3M foam adhesive to the back of the roundabout and adhered it to the center of the card.

    Using the Hello Honey Script word die, I die cut the back shadow layer from black cardstock and the thinner top outline from white cardstock. I adhered both layers together with a fine-tip liquid glue and then adhered the entire sentiment to the card using 3M foam adhesive for added dimension.

    I also created a second card using the leftover solid circles that were die cut from the Roundabout Layer Set.

    This mini slimline card measures 6 1’2″ x 3″. Honestly, I made up my own dimensions on this card, so don’t take these measurements as being any sort of a “professional” size! I placed all the die cut circles leftover from the Roundabout Layer Set in a rainbow array horizontally across the card. I stamped the sentiment “sending you sunshine, laughter and hugs” in Memento Tuxedo Black ink. This sentiment is from the Kind Hearts clear stamp set.

    Using the same Hello Honey Script word die, I die cut the back shadow layer from black cardstock and the thinner top outline from white cardstock. I adhered both layers together with a fine-tip liquid glue and then adhered the entire sentiment to the card using 3M foam adhesive for added dimension.

    I hope you have enjoyed these two very colorful ways to use the Roundabout Layer Set. Thanks for visiting and have a wonderfully creative day!

    Supplies
  • Floral Thank You | by Toni M  Maddox

    Floral Thank You | by Toni M Maddox

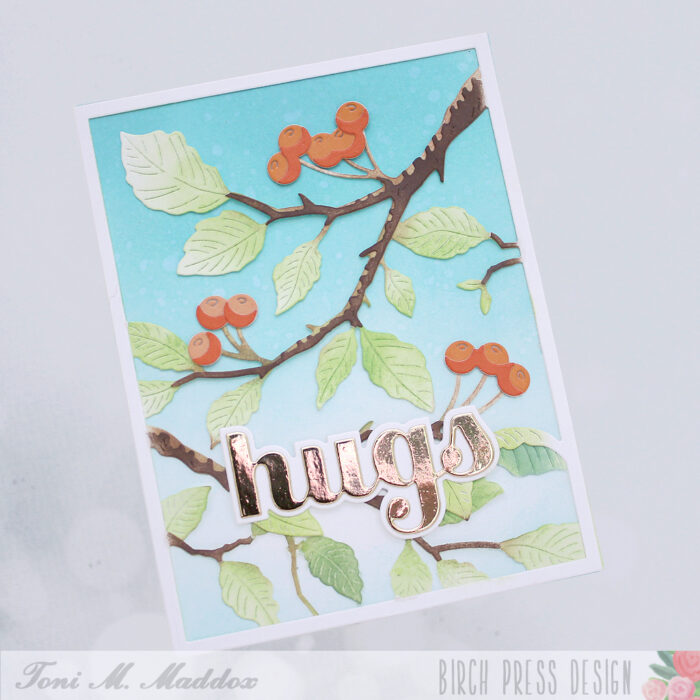
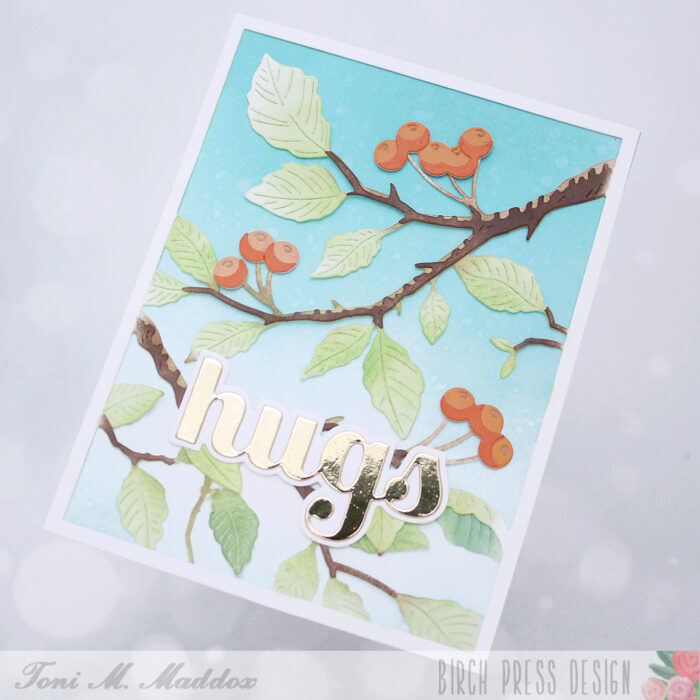
    Hello, Birch Press fans! Toni here with you today sharing a simple floral thank you card.

    I started the card by sponging a aqua card base with Distress Oxide Peacock Feathers. I adhered the Flora Plate Layer C on top of that. I didn’t bother picking out all the paper bits as I think it’s more interesting this way (plus who has time for that?!).

    I cut out the Jovial Blooms and Leaves Contour Layers using Memory Box Lush Green 6×6 Cardstock as well as cardstock I had colored with Lindy’s Magicals Hi Maintenance Magenta and Bling-y Blonde. The shimmer is just amazing in person.

    Finally, I used ThermoWeb Gold Hot foil with the Thank You Noted Script Hot Foil Plate & Die for the sentiment. Gotta love that shine.

    I hope you enjoyed today’s card and have a great rest of your week!

    Supplies
  • To My Friend | by Crystal Komara

    To My Friend | by Crystal Komara

    Hello friends and happy Valentine’s (or Galentine’s) day to you all! This is Design Team member Crystal Komara here today. I wish you a day filled with love, happiness and a lot of something sweet! I have one last love or heart themed card to share with you for this season.
    Card details:

    The base of this A2 sized card is made from Neenah Solar White Smooth cardstock. Using Layer A of the Flora Layering Plates, I cut the background layer from white cardstock. Using the new Banner Heart Layer set, I cut Layer A (the top layer) from magenta pink cardstock. I used the I cut Layer B (the middle layer) from black cardstock. I cut Layer C (the bottom layer) from a magenta pink glitter cardstock. I adhered all three layers together using a fine tip liquid glue. Then once the layers were dried, I adhered the hearts to the card using 3M foam adhesive for added dimension.

    *Note, I cut two of each layer of the Banner Hearts die so that my card would have two hearts on it. Lastly, I stamped the sentiment “to my friend” in magenta ink on a piece of white cardstock. This stamp is from the Kind Hearts stamp set. I then used a small punch to punch out the heart and adhered it on the top of the card.

    Happy Valentine’s Day, my crafty friends! Thanks for visiting and be sure to spread the love today and always.

    Supplies