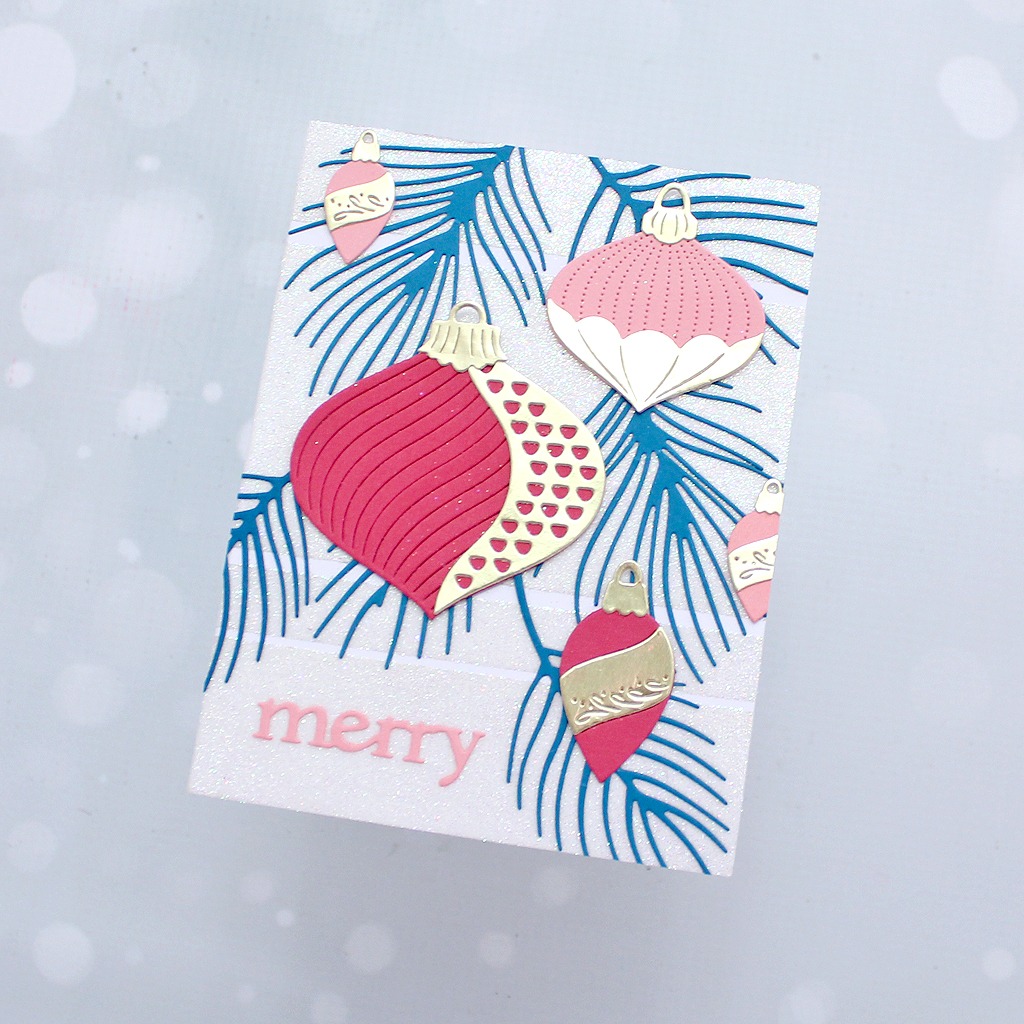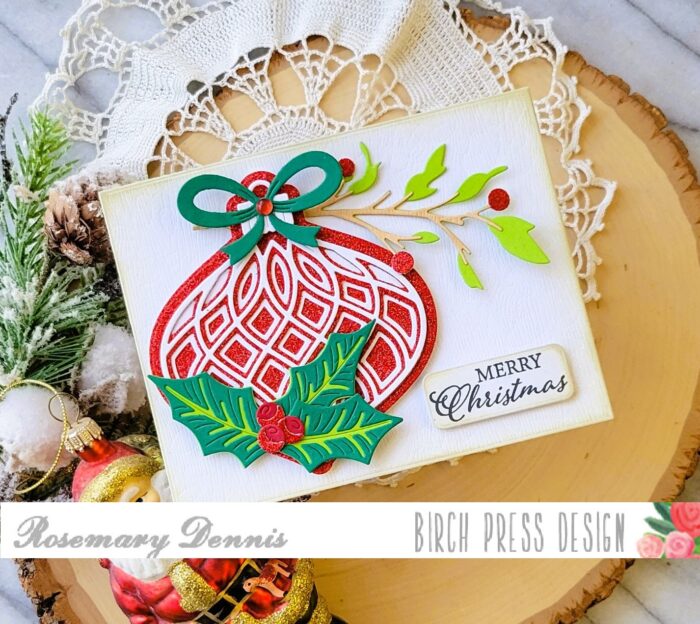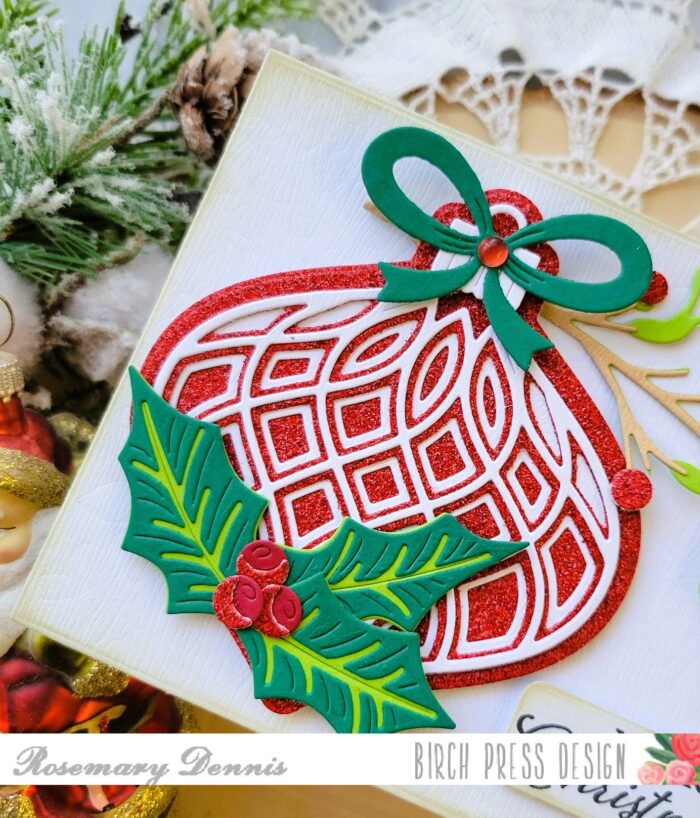
Hello! Christina here to share a festive little Christmas card featuring the new Block Print Petal and Wave Ornaments. I played up the retro feel of these ornaments with a vintage color palette of pink and red and gave them a soft minty green backdrop with a flurry of silver snowflakes. This simple card design comes together quickly and is perfect for the busy holiday season. Let’s get started!
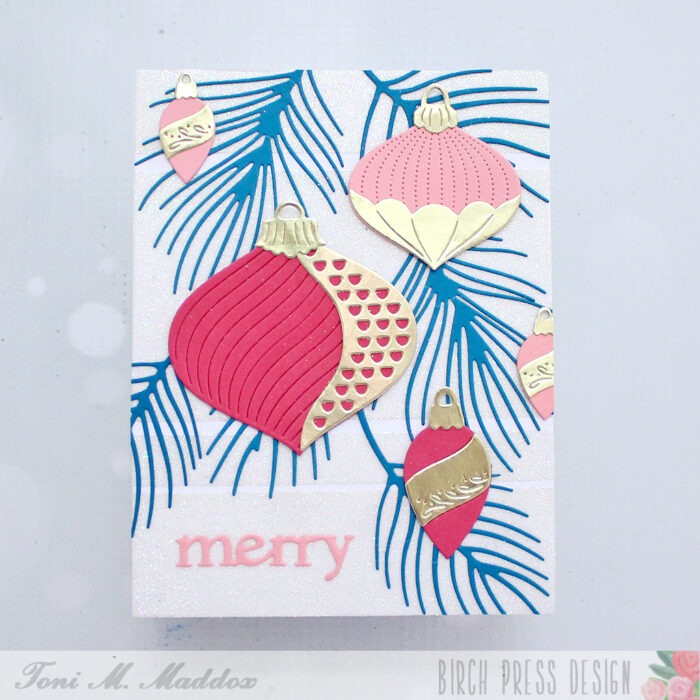
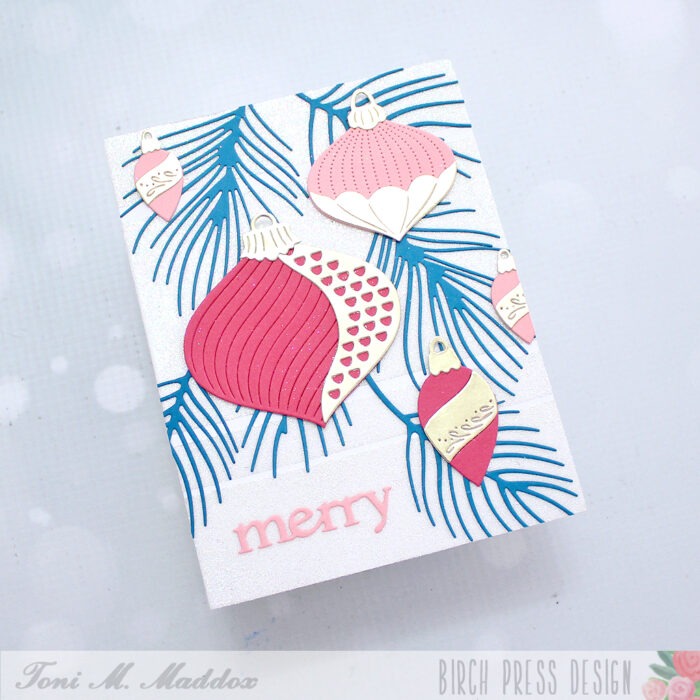
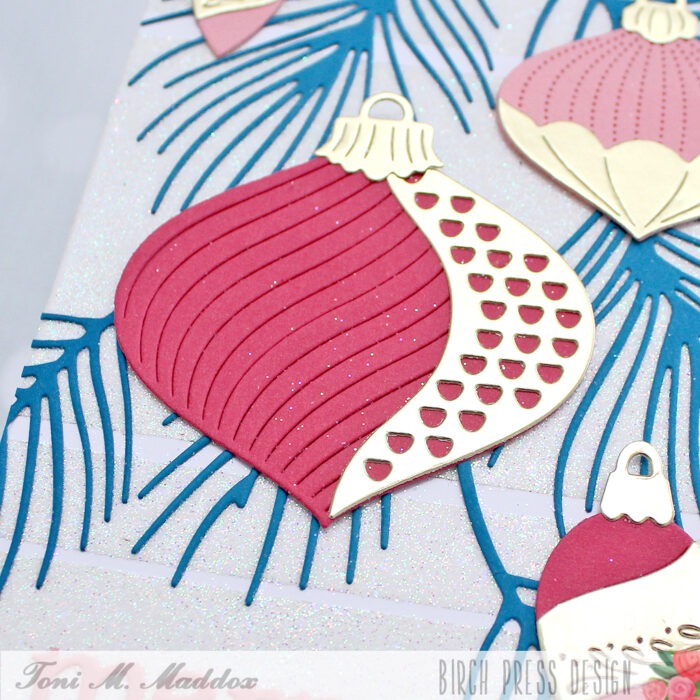
My first step was to die-cut and assemble the ornaments. For the cardstock, I chose Birch Press Design Cherry Red, my favorite red cardstock, along with a soft pink for the bases and a matte silver for the ornament toppers. Then I accented the ornaments with a little greenery from the Foliage Bunch die set.

Next I created the background by softly blending Cracked Pistachio Distress Ink on a white A2 cardstock panel, concentrating the color in the center of the panel and blending it out to white around the edges. Then, for some texture and interest, I lightly spattered the panel with Lucky Clover Distress Ink and Frozen Fog Mica Stain. The Frozen Fog Mica Stain adds a touch of silver sparkle to complement the other silver in the design.

To finish things up, I added the ornaments to the background panel, popping them up with foam squares, and then added a few die-cut silver snowflakes from the Bright Snowflakes die set. The last step was to die-cut the Merry Christmas Dapper Script sentiment from green and silver cardstock, layering them slightly offset, and adding it to my card design.
Thank you for checking out my festive Christmas card featuring some new products from the latest holiday release. See you again soon!


Supplies