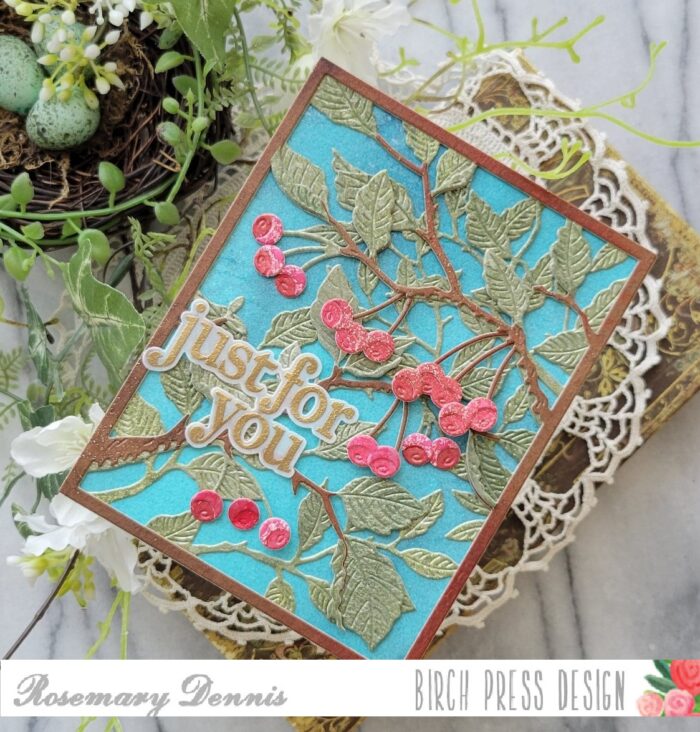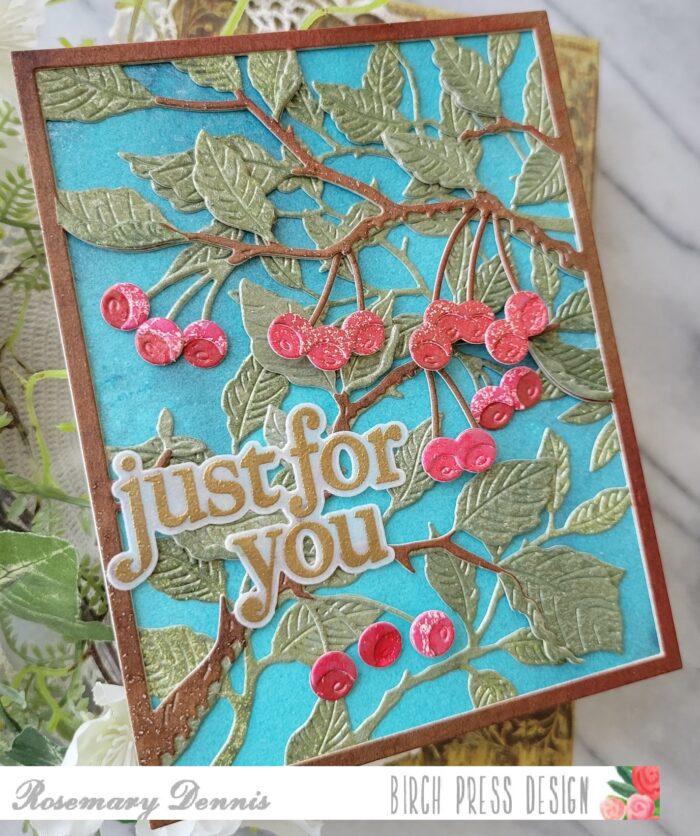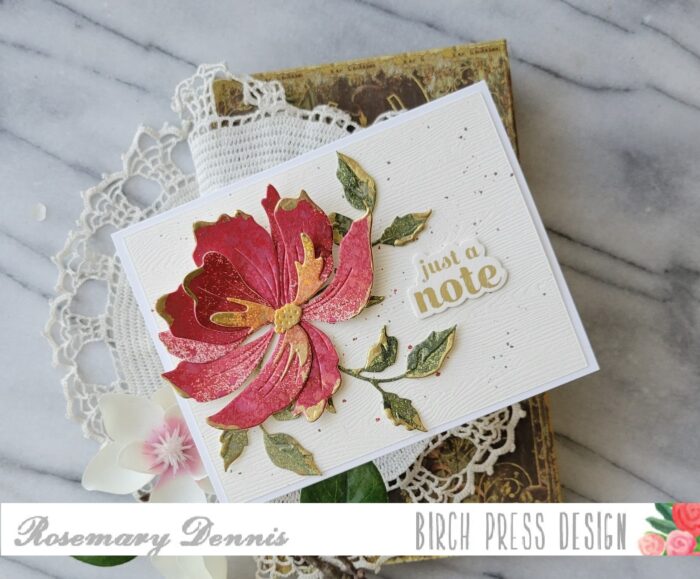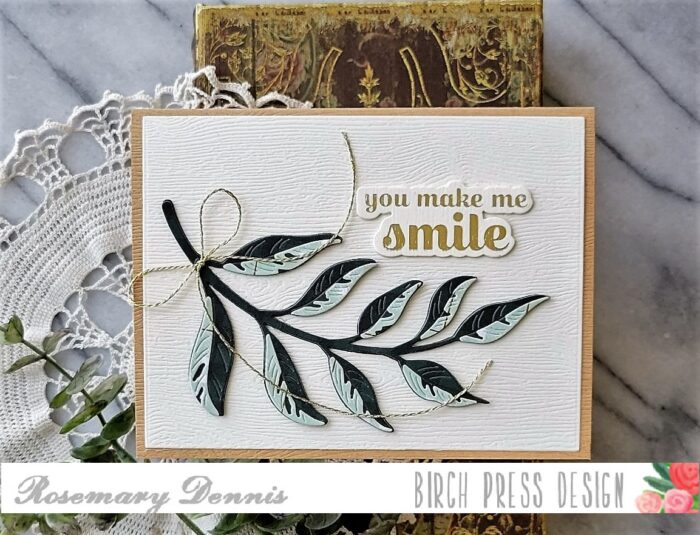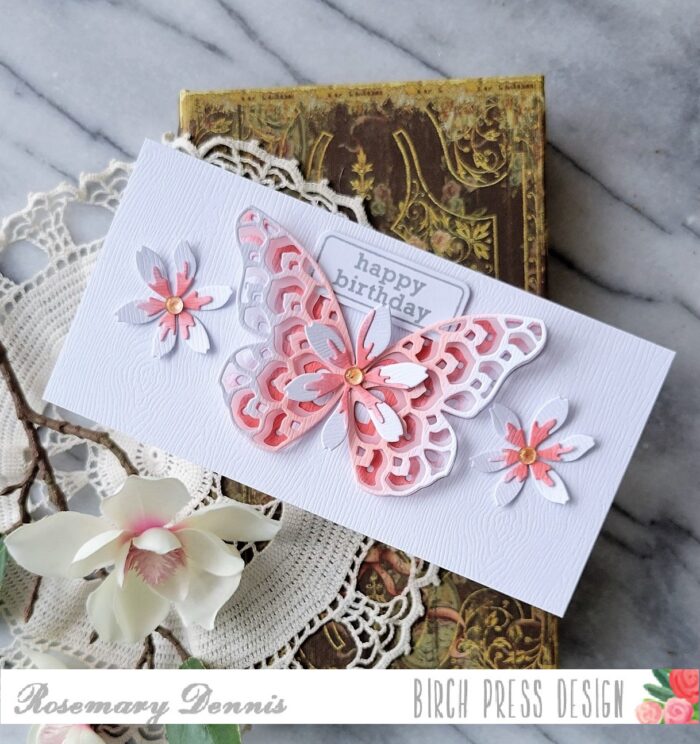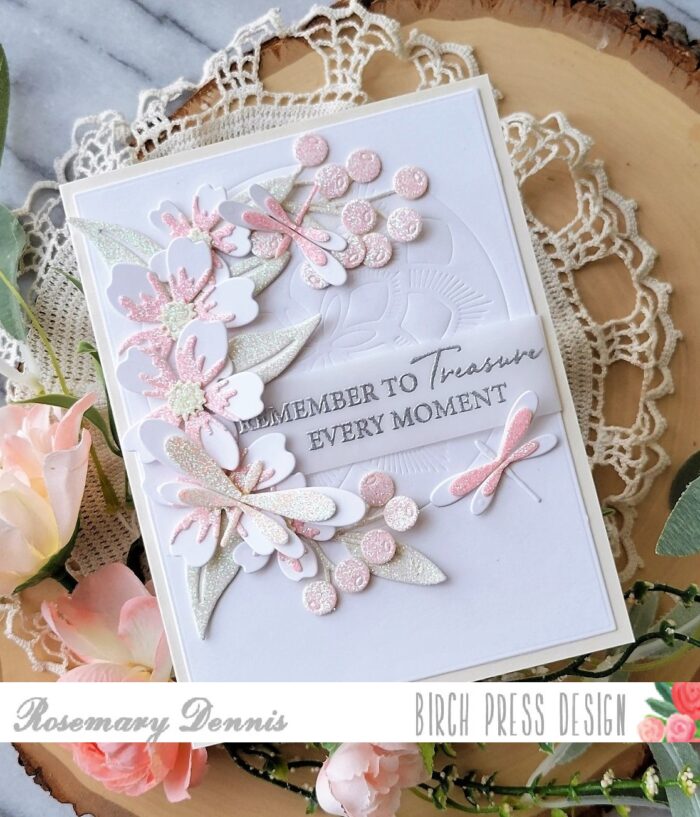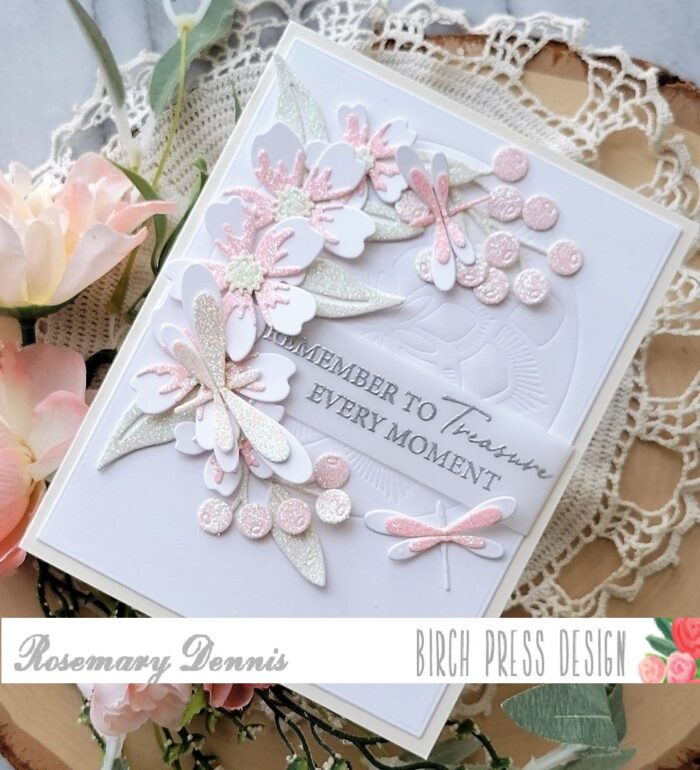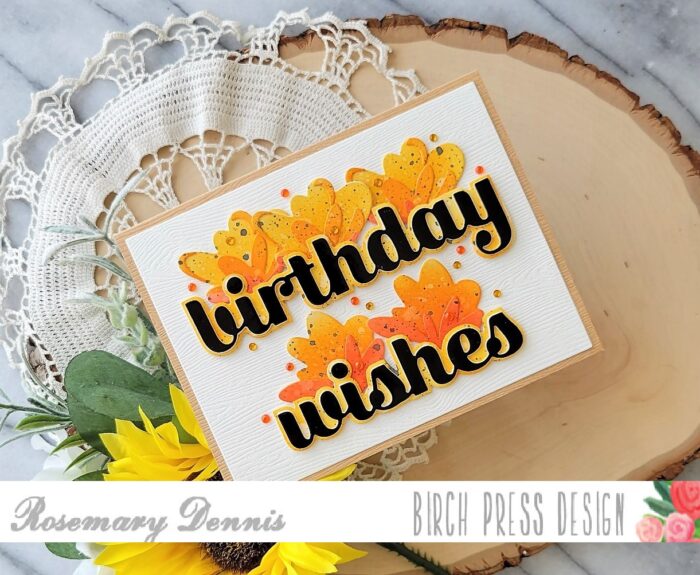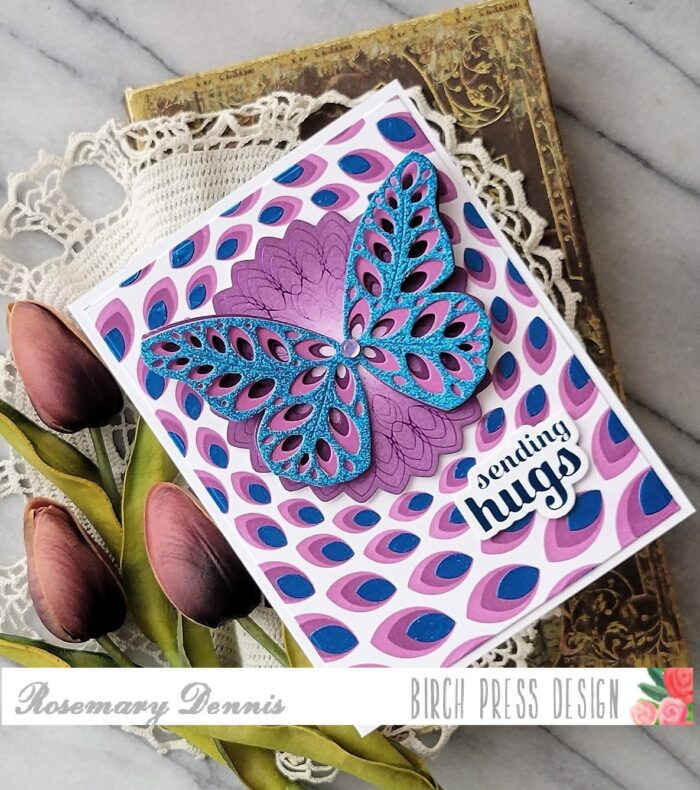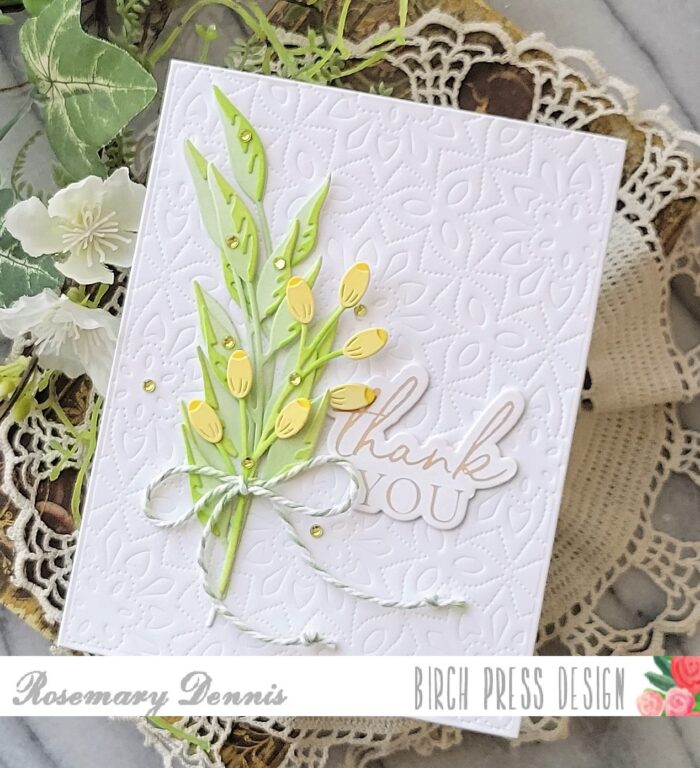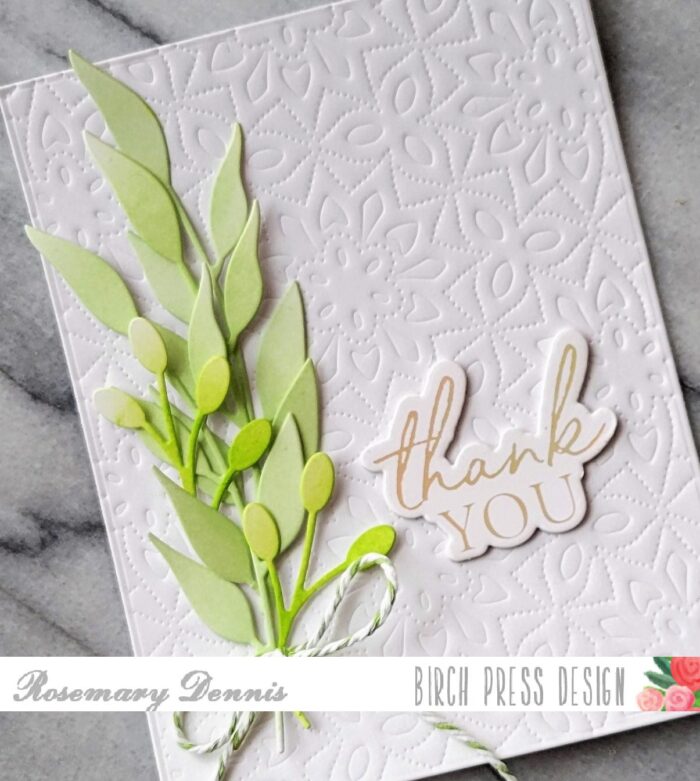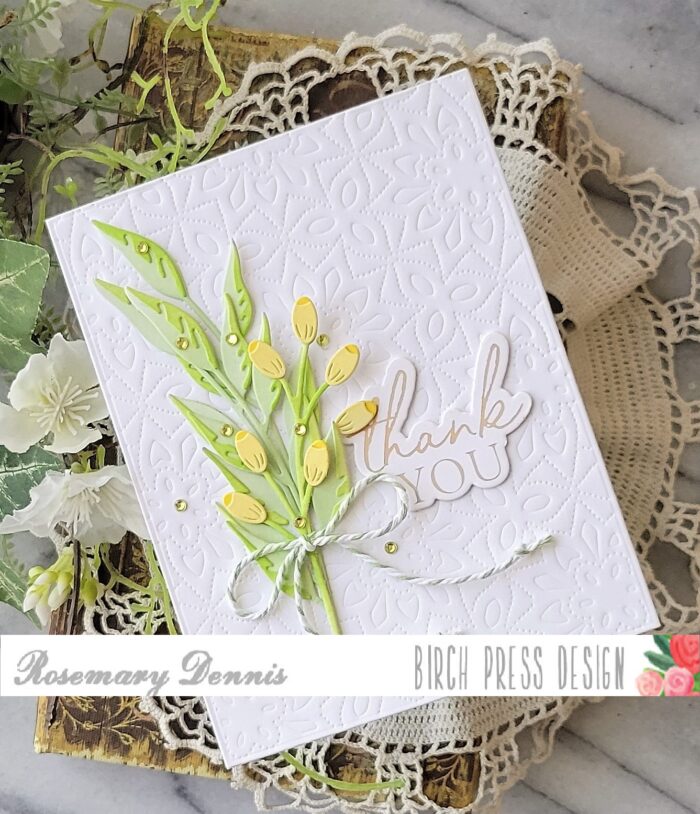
Hello everyone! Rosemary here today sharing a card made with the pretty new Adornment Wreath die from the latest release.
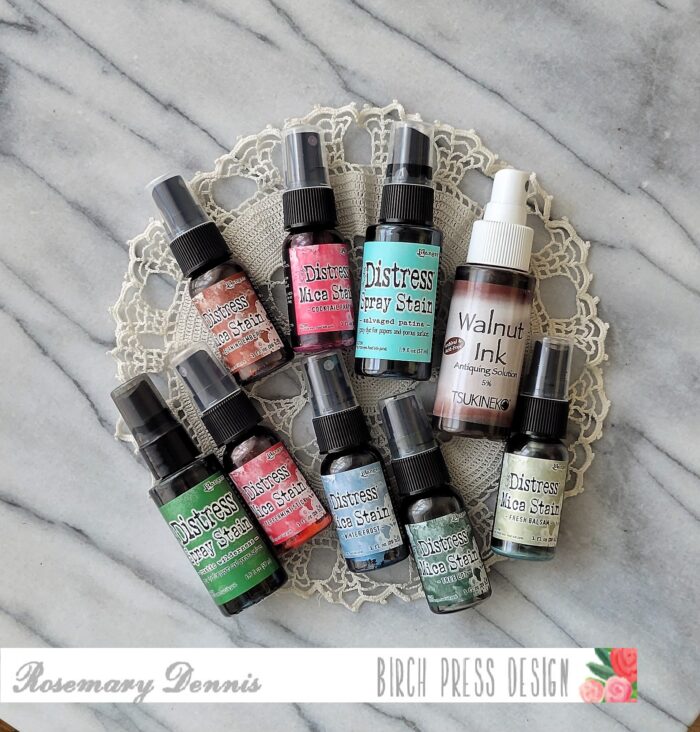
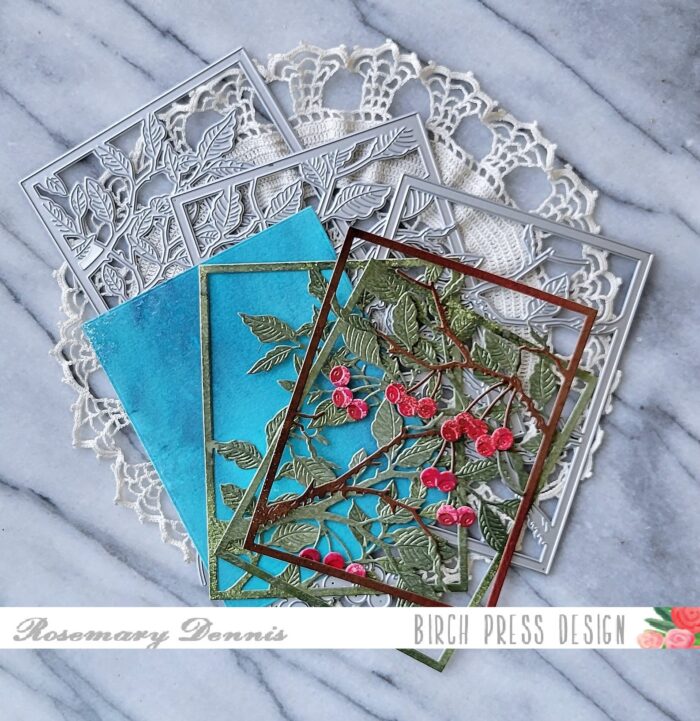
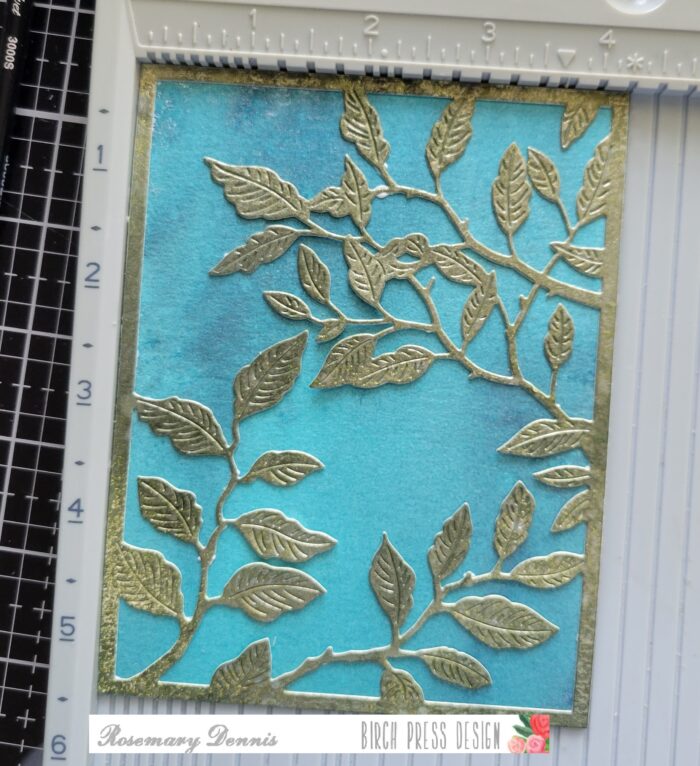
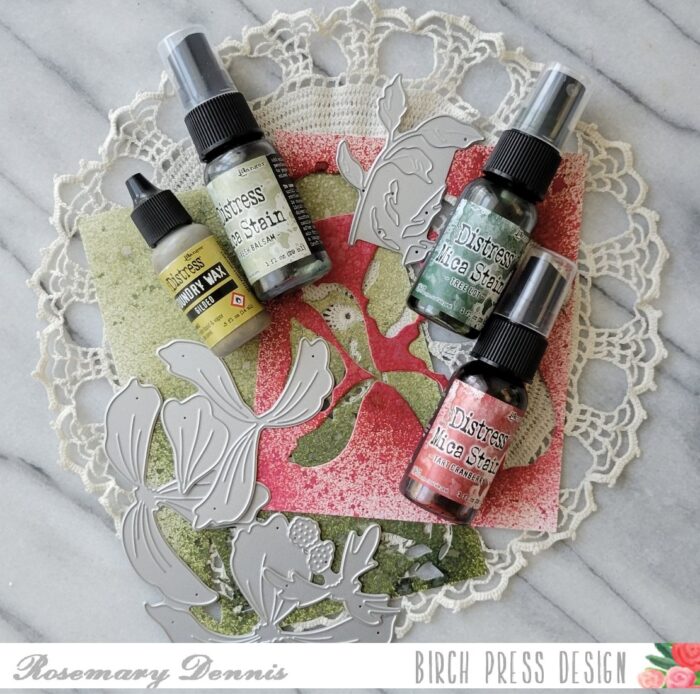
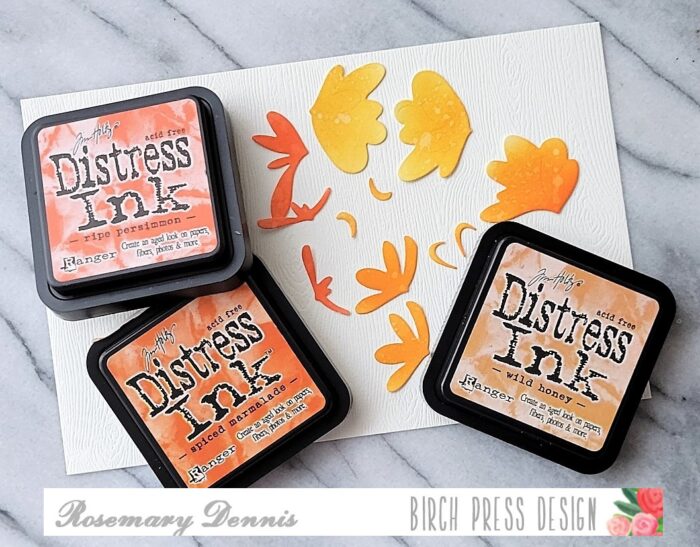
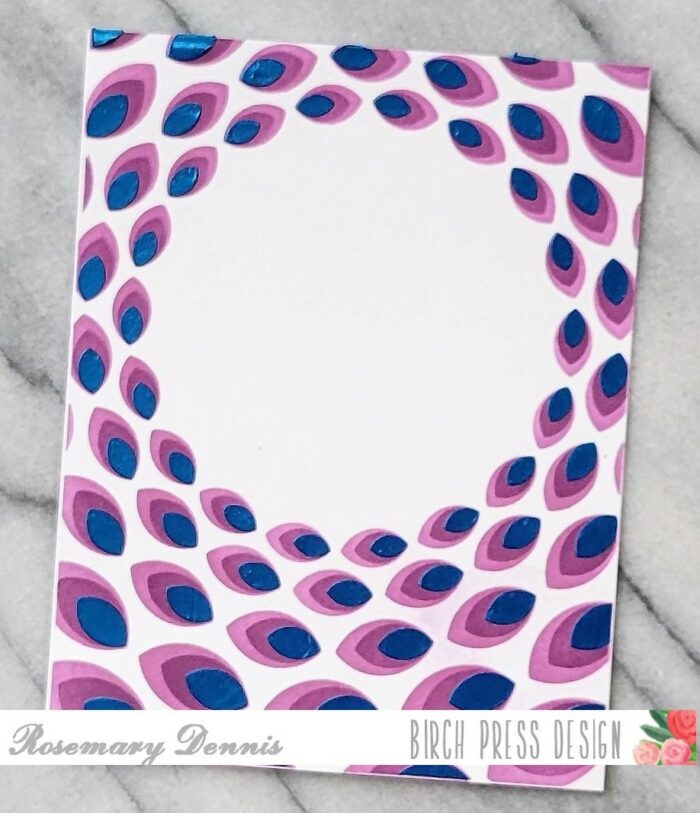
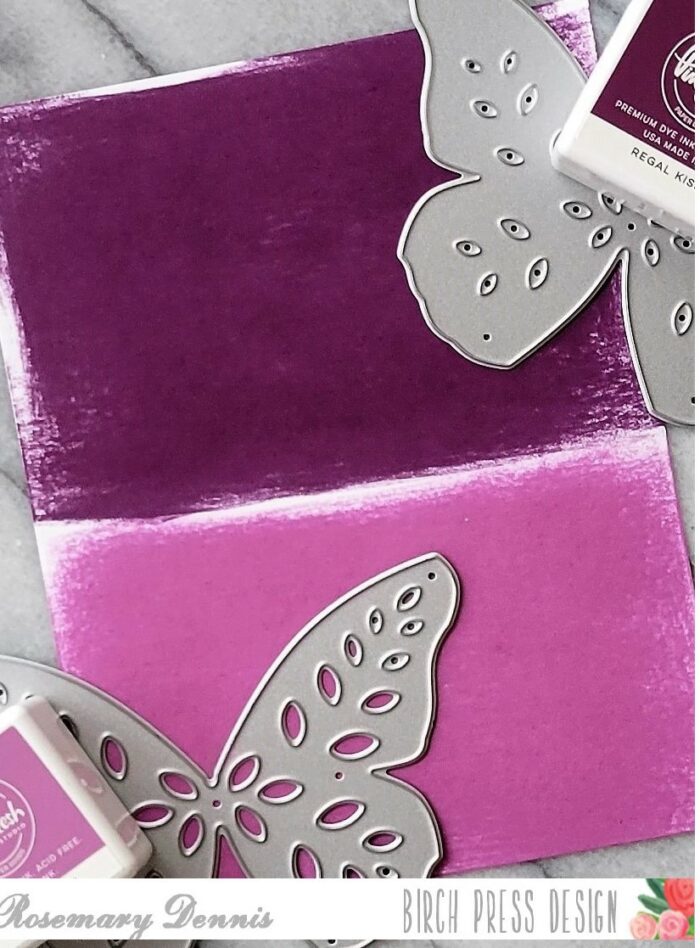
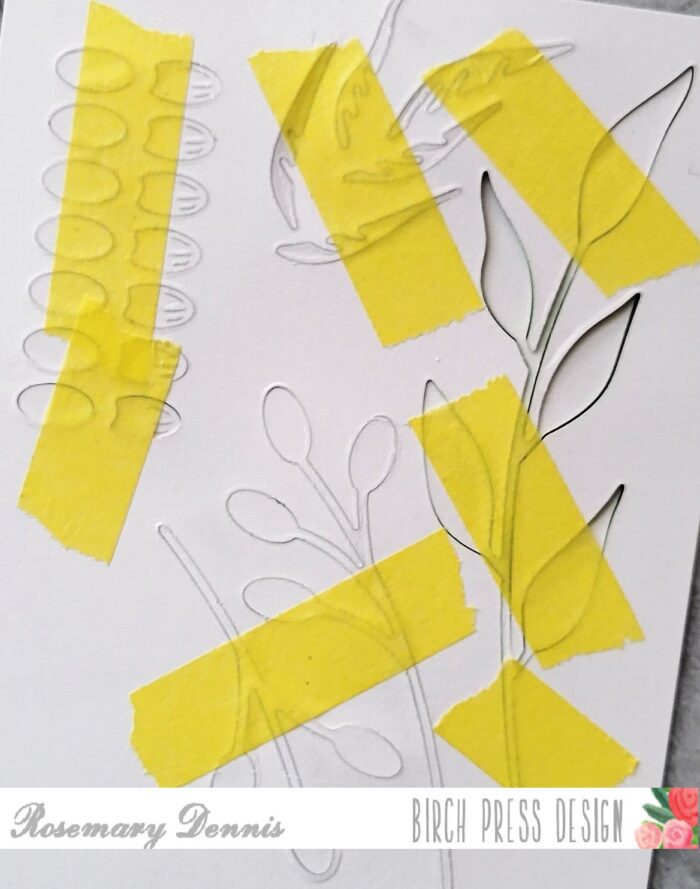
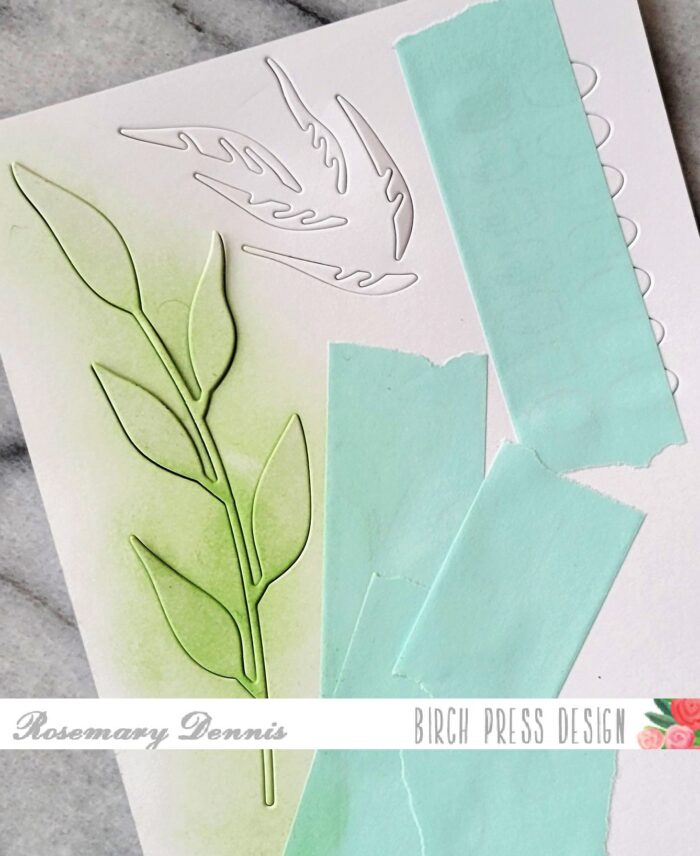
As I thought about what I wanted to make with products from the new release I started to wonder if I could use cardstock from the Vintage Pastel Mirror with alcohol inks. The cardstock does have a slick finish just like glossy cardstock or Yupo paper. So I decided to give it a try and it worked! I used a bluish-green piece of cardstock from the pad along with several green and one blue alcohol ink. I used my Tim Holtz puffer tool (I don’t know if that it what it is called, lol, but it works for me) to move the ink around until I had it to my liking. Once dry I die cut the solid wreath from that panel.

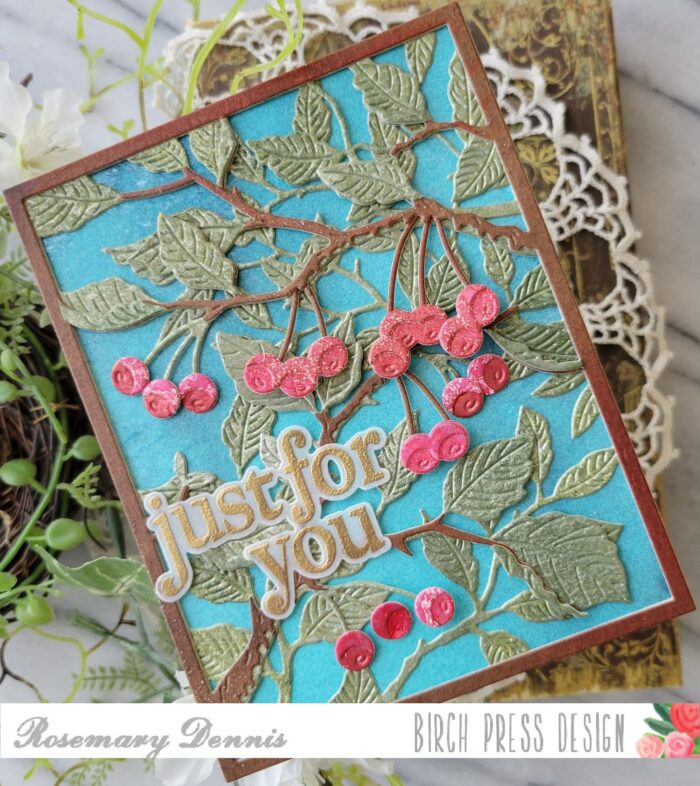
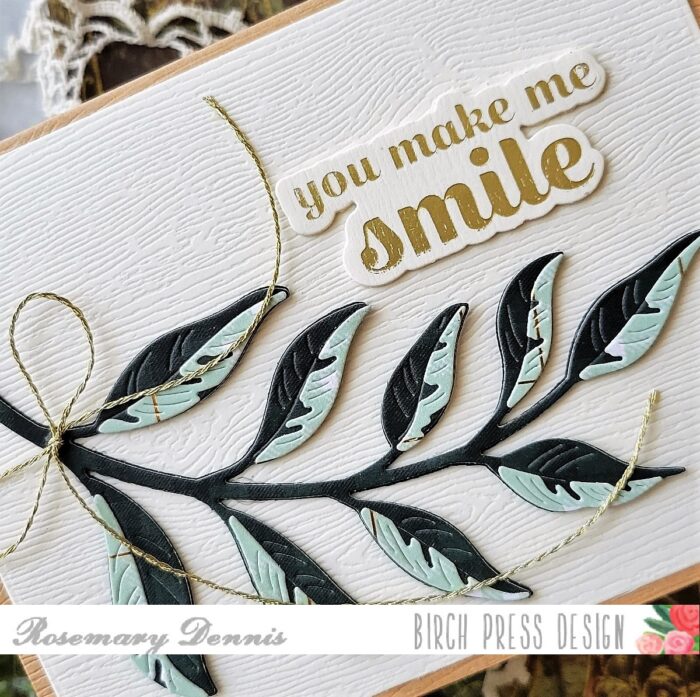
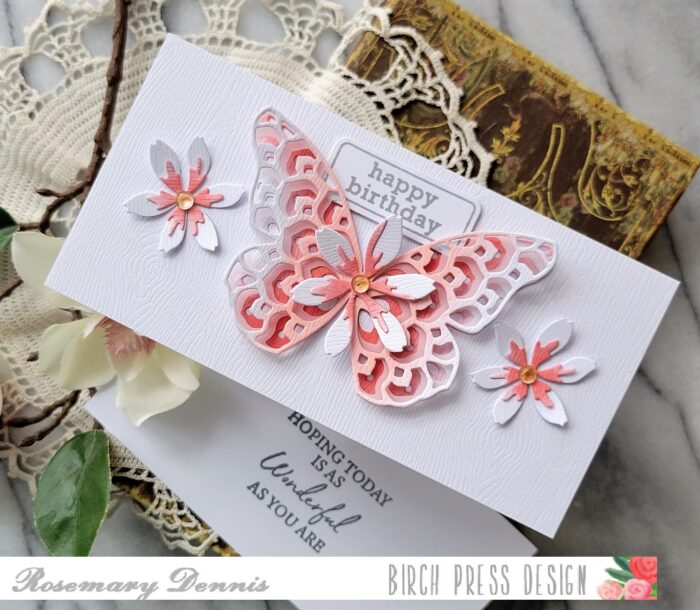
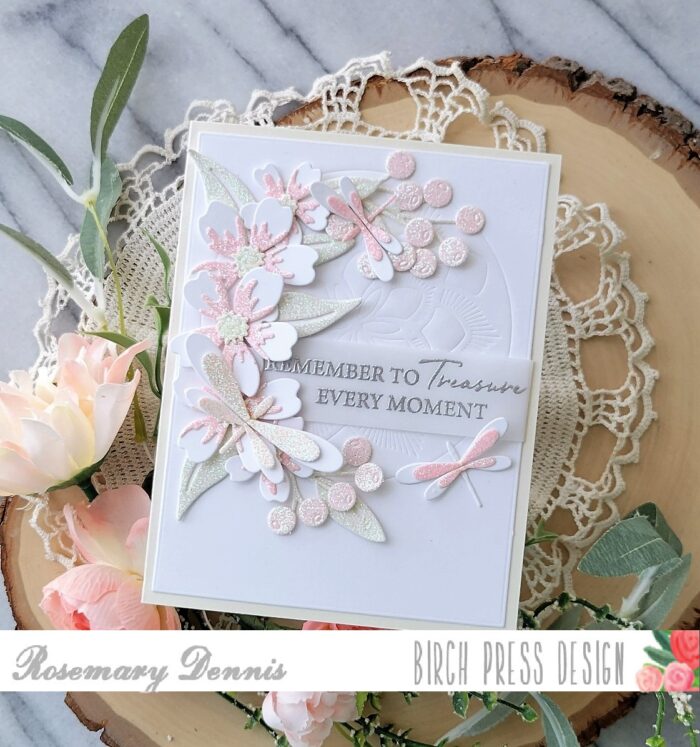
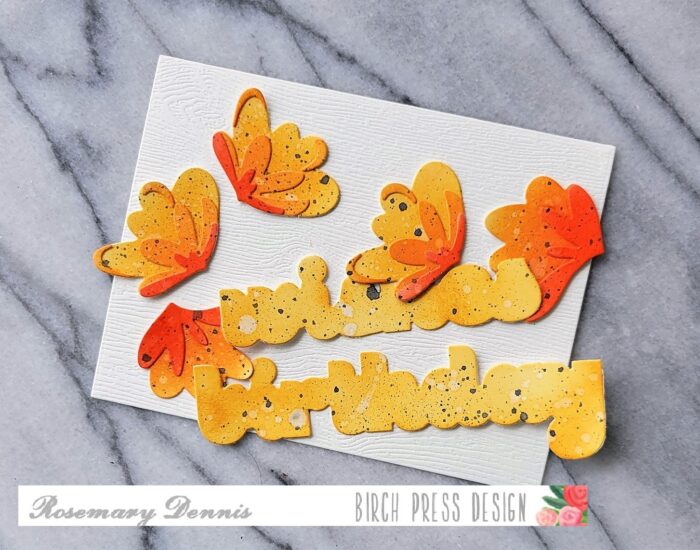
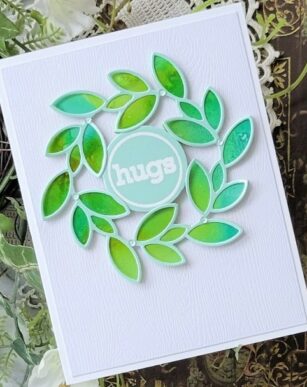
As you can see I still have some left over to die cut smaller pieces from or maybe add more alcohol ink. There are two sheets of each color in the pad so I decided to use the second one to die cut the top layer from and adhered that with liquid adhesive.
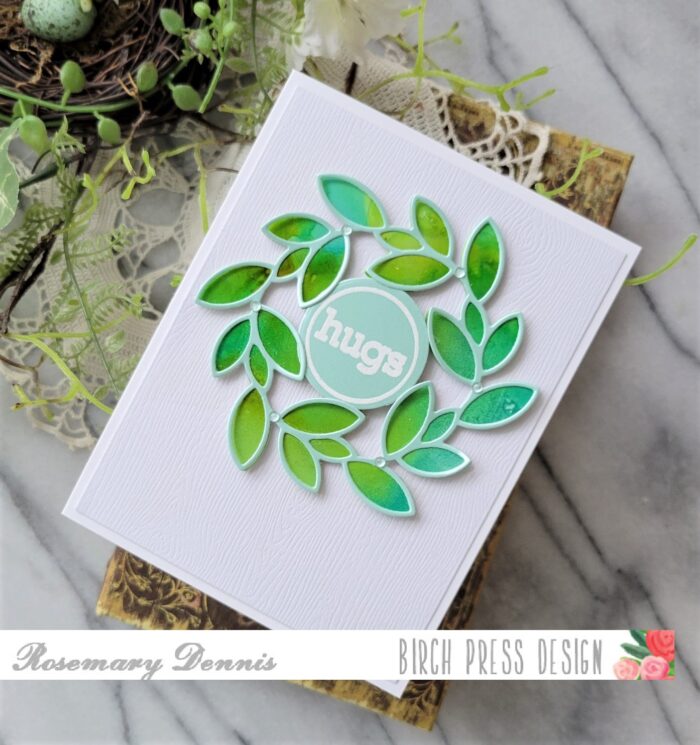
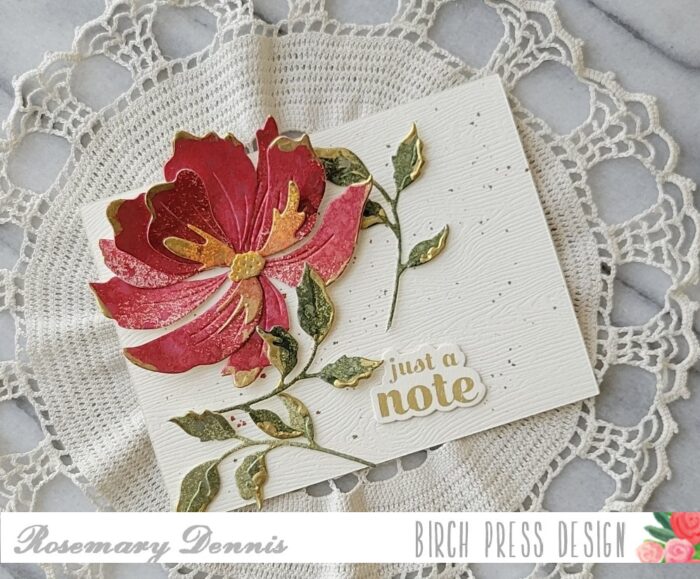
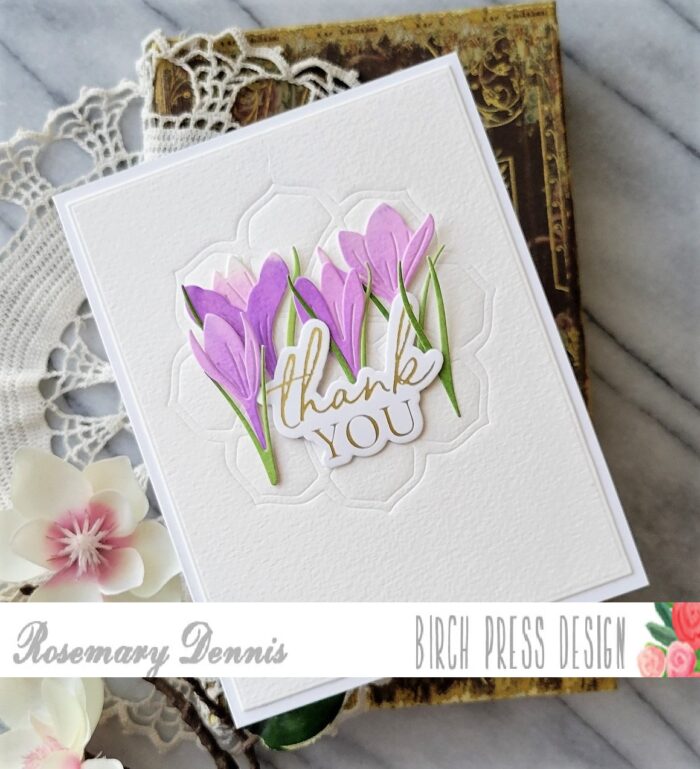
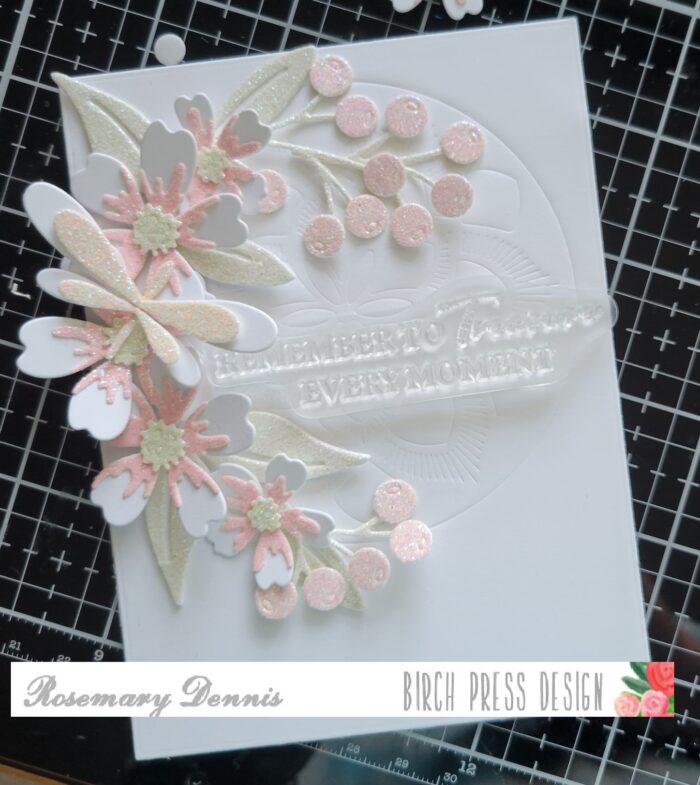
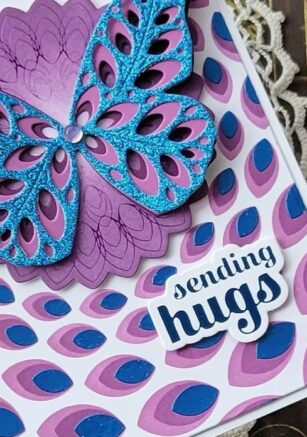
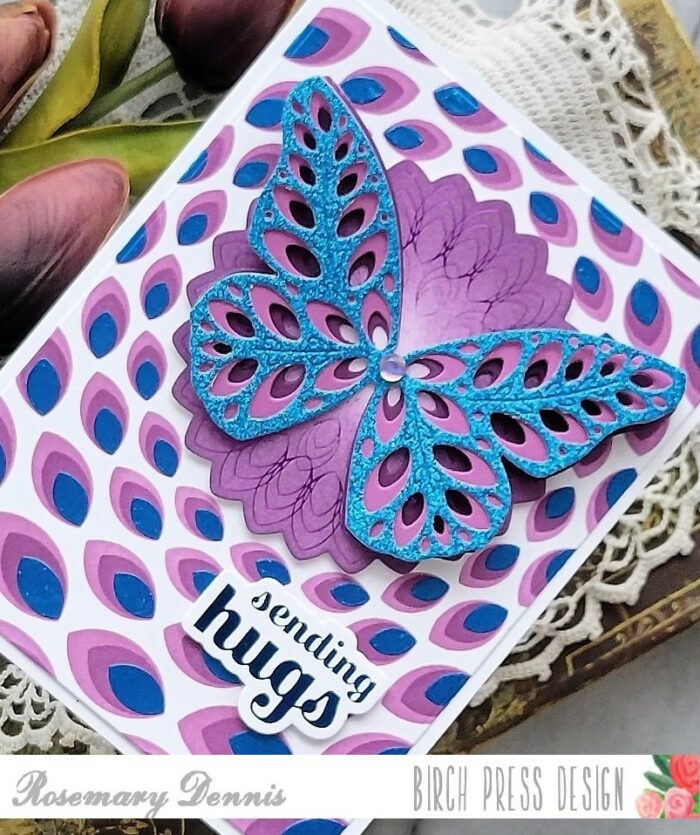
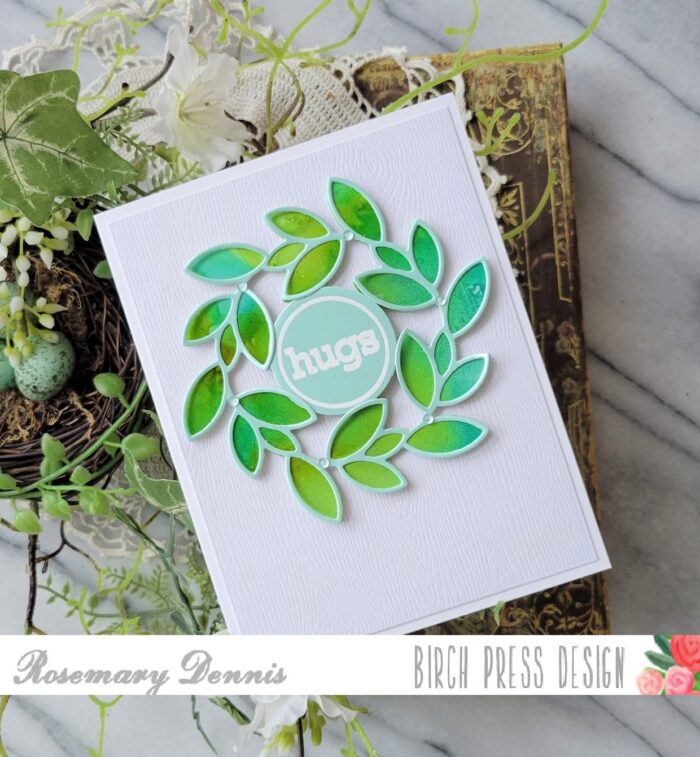
For the sentiment I used one of the circle sentiments from the Contempo Greetings stamp and die set. I stamped the sentiment on a corner of the panel I die cut the adornment layer from using watermark ink and then heat embossed in white. I used the circle die from the set to die cut the sentiment. As I have said before the Memory Box woodgrain cardstock is great for adding just a little bit of interest and texture to your background. I think the wreath looks lovely layered on top!
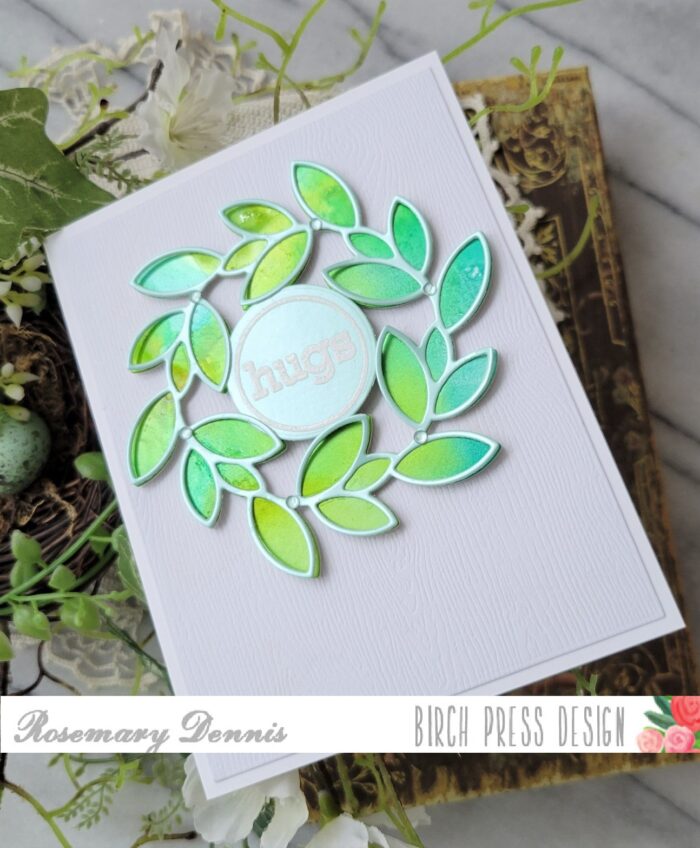
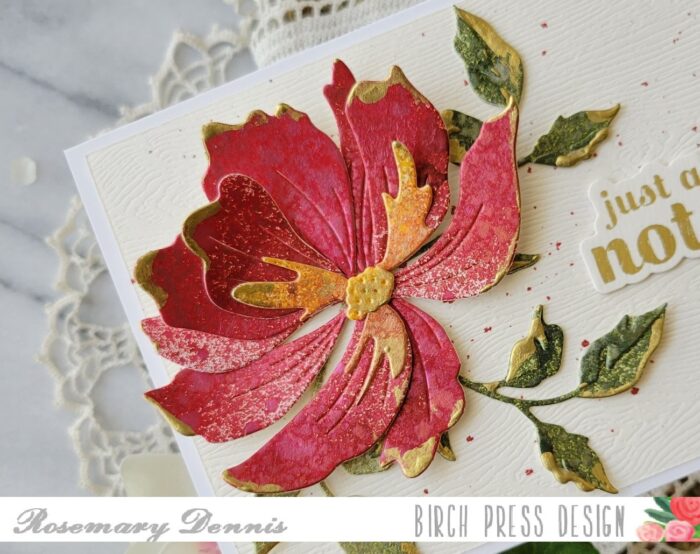
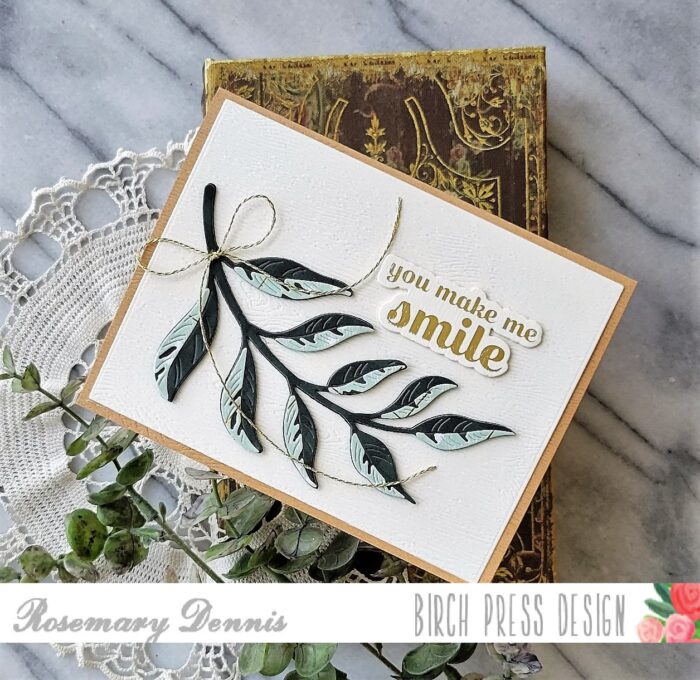
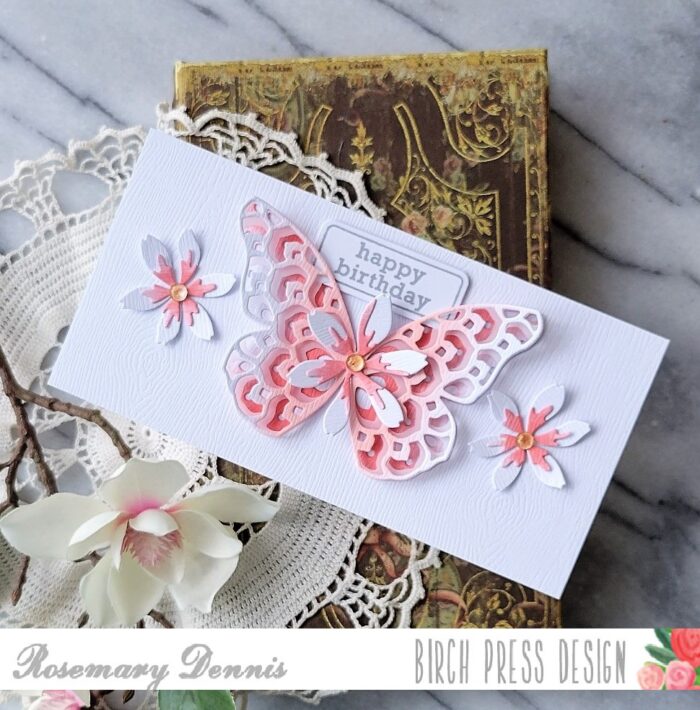
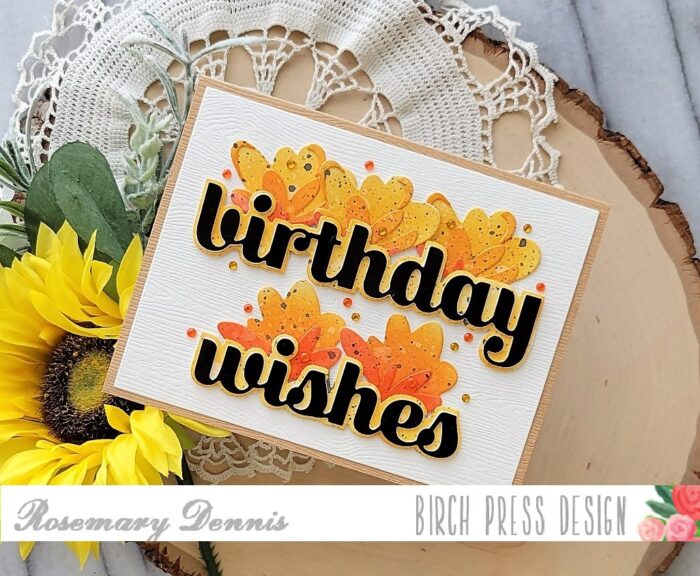
One of the alcohol inks I used is a pearlescent one. I tried to capture some of the shine it creates with the above photo. Not sure if it worked or not! I used thin foam squares to pop up the wreath and then thicker foam squares doubled up on the circular sentiment. I added the panel to a white cardstock base and then finished with tiny clear Memory Box fairy drops.

I hope you enjoyed today’s card. If you have some Memory Box mirror cardstock try out your alcohol inks on it. You just might like how things turn out! Thanks for stopping by and have a lovely day!

Supplies