Category: Seeka

  • Bright Berries | By Seeka

    Bright Berries | By Seeka

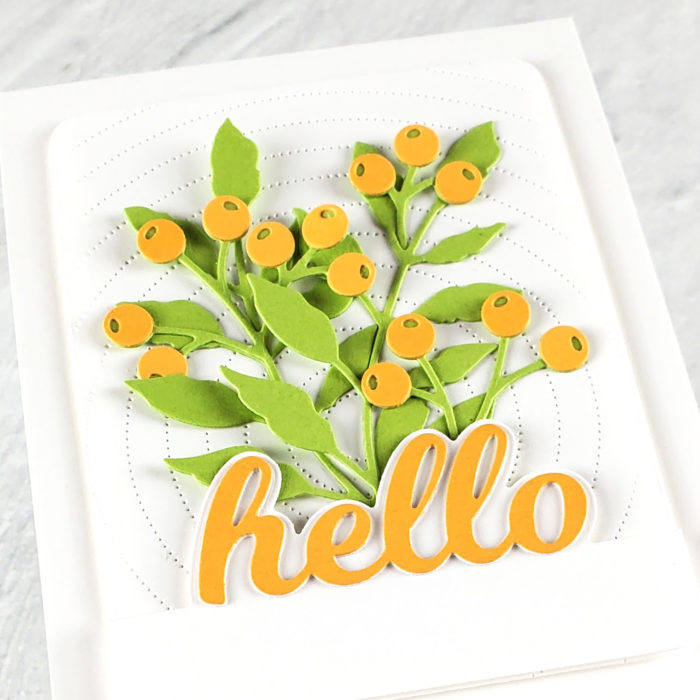
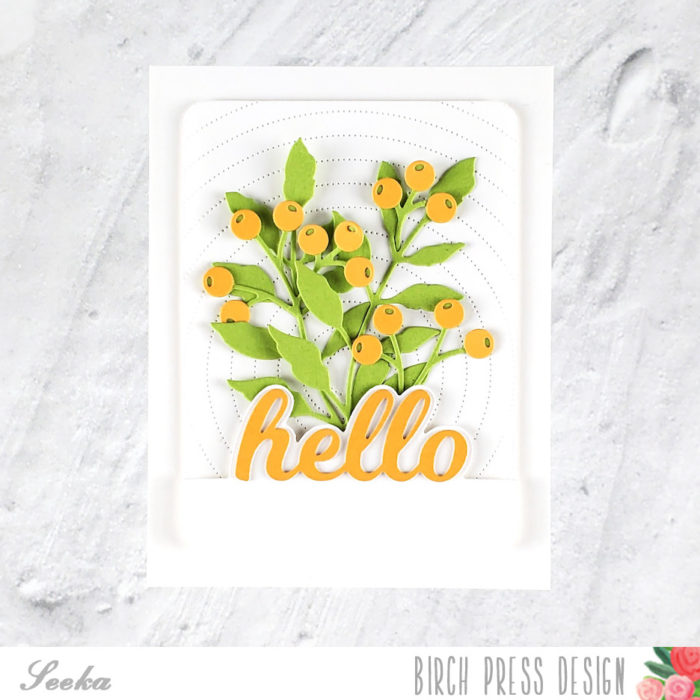
    Hello and welcome! Seeka here and today I’m sharing a fresh bunch of golden berries on this clean and simple card. For this card, I combined berries from the Eucalyptus Stem and Berries die set with leaves from the Fuddled Leaf Branches die set.

    To start, I cut two sets of the large Fuddled Leaf branches as well as two sets of the berry stems from green cardstock. Then I cut two sets of berries from a deep yellow cardstock (check the Lush Green and Sunny Orange 6×6 cardstock packs for great color options). I glued the berries to their stems and then set the die cut pieces aside.

    Next, I cut the hello sentiment (from the Hello Topper die set) once from the same yellow cardstock as I used for the berries, and twice from heavy white cardstock. I stacked and glued the three pieces together, with the yellow piece on top, and then I glued the sentiment to the shadow layer which I cut from white cardstock.

    Next, I used the Pinpoint Radial Plate to cut a piece of white cardstock. I used a rounded rectangle die on both this panel as well as the hello sentiment and then used foam tape to adhere them together.

    To assemble the rest of the card, I tucked the foliage and berries behind the sentiment and selectively added glue to hold them to the background at just a few spots, letting some of the leaves and berries lift away from the background panel. I finished by using foam tape to adhere the card front to a 4.25″ x 5.5″ card base.

    Thank you so much for visiting!

    Supplies


  • Arista Layers | By Seeka

    Arista Layers | By Seeka

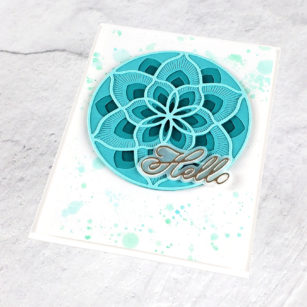
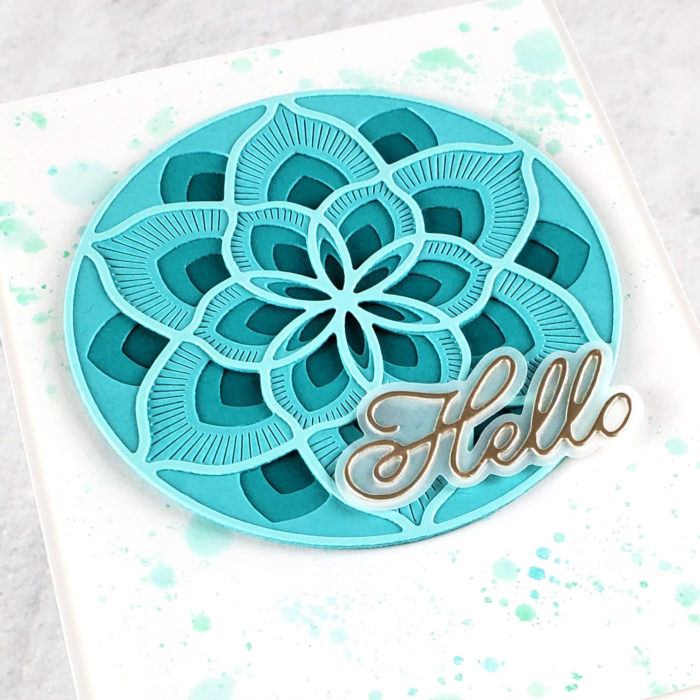
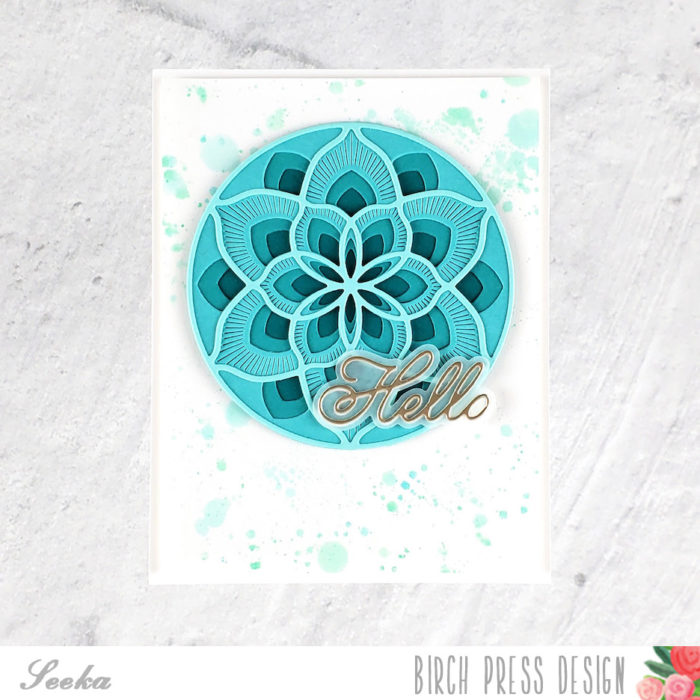
    Hello and welcome! Seeka here and today I have a card featuring the Arista Layers die set. I consistently come back to this set, it’s one of my favorites from Birch Press Design!

    I started off by selecting four shades of teal cardstock (the colors in the Fresh Aqua 6×6 cardstock pad are a good option). I cut each of the three Arista layers from the three lightest shades of teal and then cut a solid circle from the darkest shade of teal. I layered and glued the three die cut pieces together and then glued the solid circle to the bottom.

    Next, I created the sentiment by cutting the detail layer of the Handwritten Hello and Outline die set from mirror cardstock (check out the Vintage Pastel Mirror 6×6 cardstock pad for good options). Then, I adhered it to the shadow layer which I cut from vellum. I glued the two layers together and then glued the sentiment to the Arista medallion.

    For the background, I dropped a few drops of several shades of teal acrylic paint onto a craft mat. I spritzed the paint with clean water and then dragged several 4.25″ x 5.5″ panels of white cardstock through the paint. By the third panel, only a few drops of paint remained on the craft mat and instead of dragging the panel through the paint, I used it to blot up the drops which created this splattered look. I used this panel for the card, saving the other two for future projects.

    To assemble the card, I trimmed a quarter inch off each end of the background and then used foam tape to adhere it to a cardbase. Last, I adhered the medallion and sentiment.

    Thank you so much for visiting!


    Supplies


  • Foiled Hello | By Seeka

    Foiled Hello | By Seeka

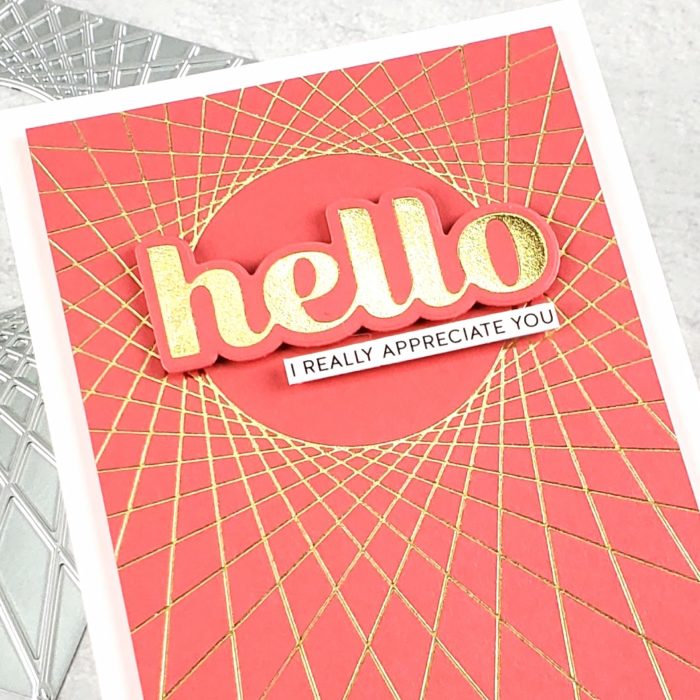
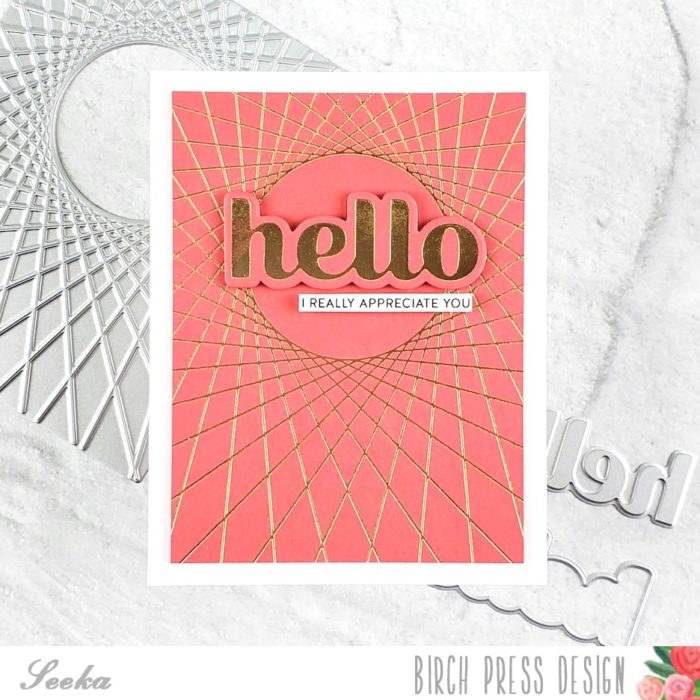
    Hello and welcome! Seeka here and today I’m sharing a simple card featuring new hot foil plates and dies. I chose a coral cardstock and warm gold foil for this card; what colors would you choose?

    I started by using the new String Art Frame hot foil plate to transfer gold foil onto a 4.25″ x 5.5″ panel of cardstock. Then I trimmed the panel down to 3.75″ x 5″, keeping the foiled pattern centered.

    Next, I used the same gold foil and cardstock to create the sentiment using the Hello Sugar Script hot foil plate and die set. I used foam tape to adhere the sentiment, as well as a smaller sentiment from my stash, to the background. To finish, I used more foam tape to adhere the card front to an A2-sized card base.

    Thank you so much for stopping by!


    Supplies


  • Foiled Dazzler | By Seeka

    Foiled Dazzler | By Seeka

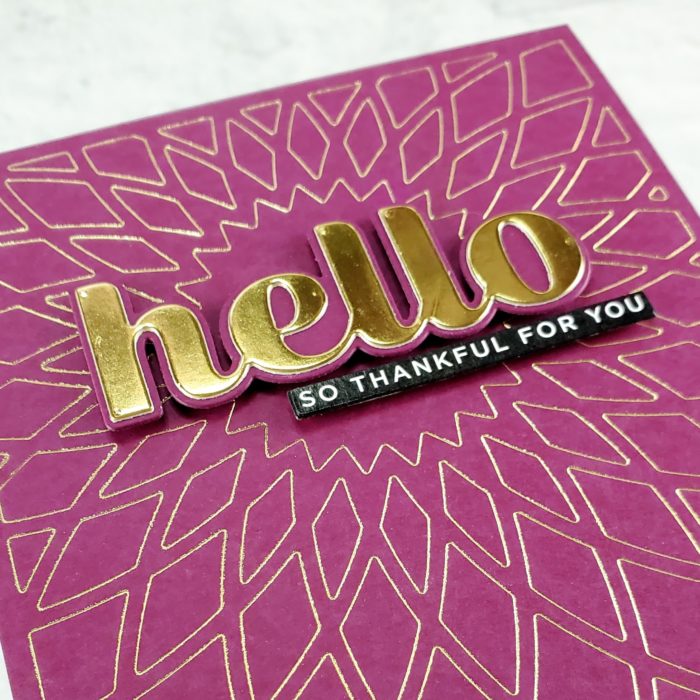
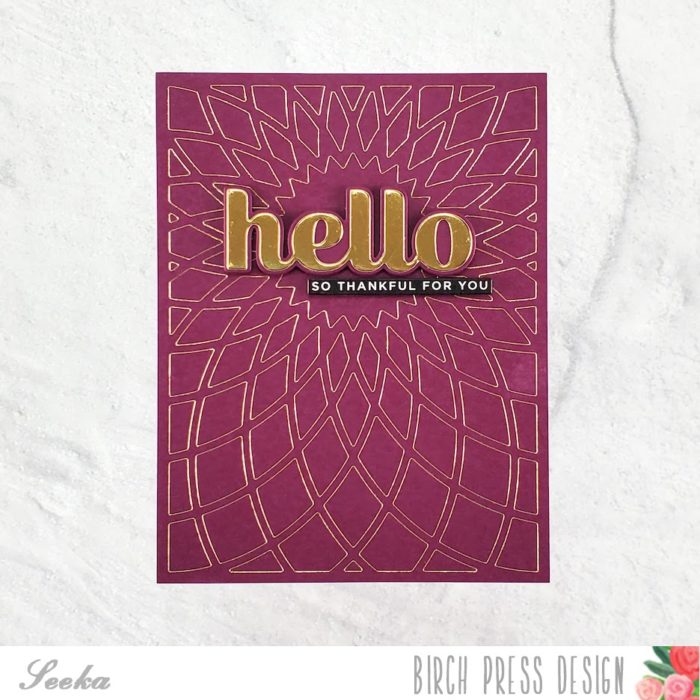
    Hi there and welcome! Seeka here and today I’m sharing a card featuring a background made by foiling the Dazzle Layer A cover plate. Foiling with dies is a wonderful way to stretch your supplies!

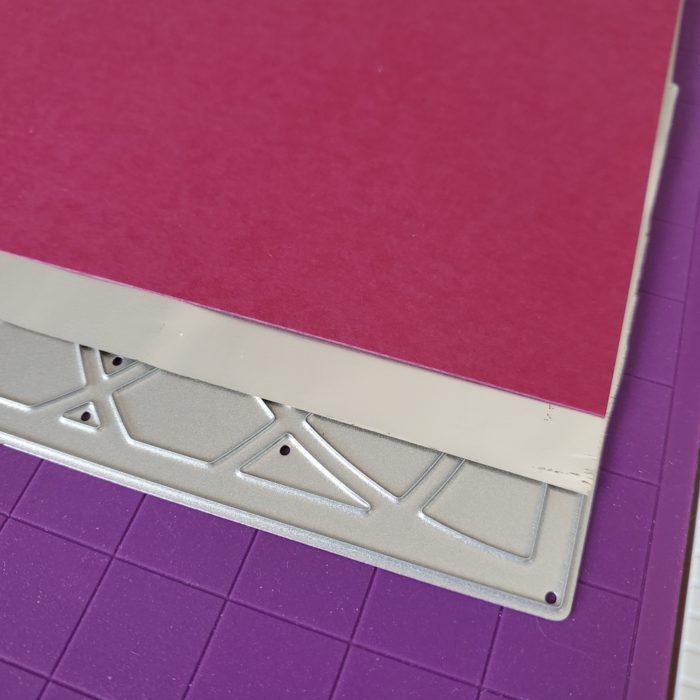
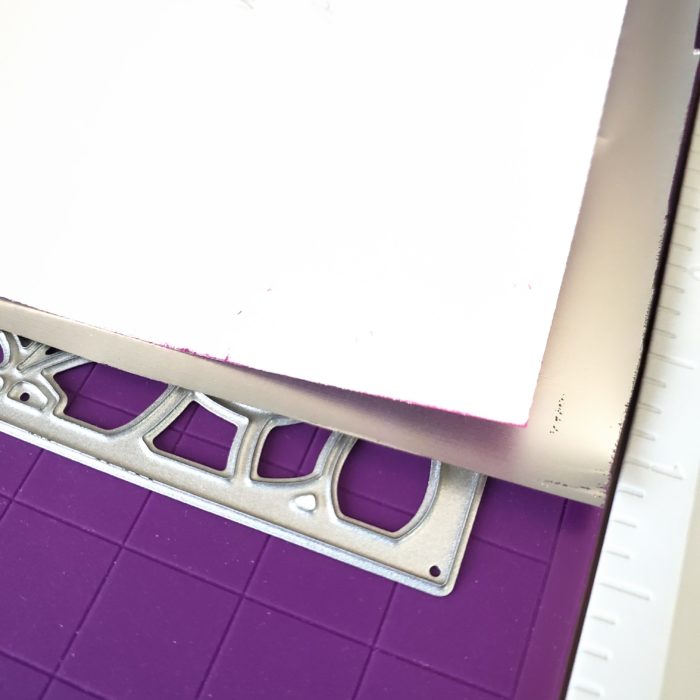
    I started by prepping my foiling machine. I centered the Dazzle Layer A die over a 4.25″ x 5.5″ panel of plum cardstock and then flipped the two upside down, together, and placed them onto the heating platform. I used a piece of Post-it Tape to tape the cardstock panel down at one end, creating a hinge, and then I swung the panel up and placed a piece of gold foil over the die, shiny side down. I replaced the plum cardstock panel and then followed the instructions for my foiling machine to foil the panel. Below is an example of the order and orientation of the die, foil, and ink-blended panel on the heating plate (when I went to actually foil, I aligned all these pieces, as described above).

    With the foiling done, I started on the sentiment. I die cut the detail layer of the Big Hello Sugar Script die set from gold cardstock and the shadow layer from the same plum cardstock as the background. I glued the two together and then used foam tape to adhere the sentiment to the background. I also added a smaller sentiment from my stash. To finish, I adhered the card front to a card base.

    Thank you so much for visiting!

    Supplies

  • Foiled Viola Plate | By Seeka

    Foiled Viola Plate | By Seeka

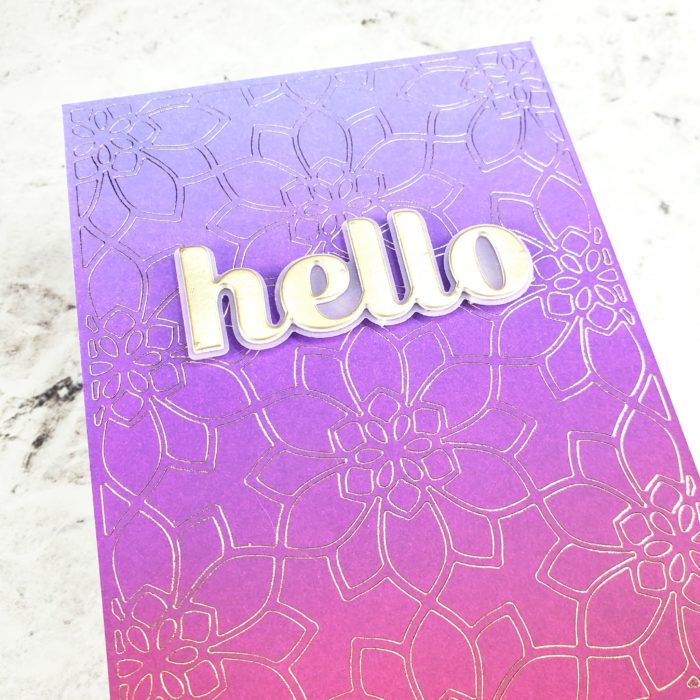
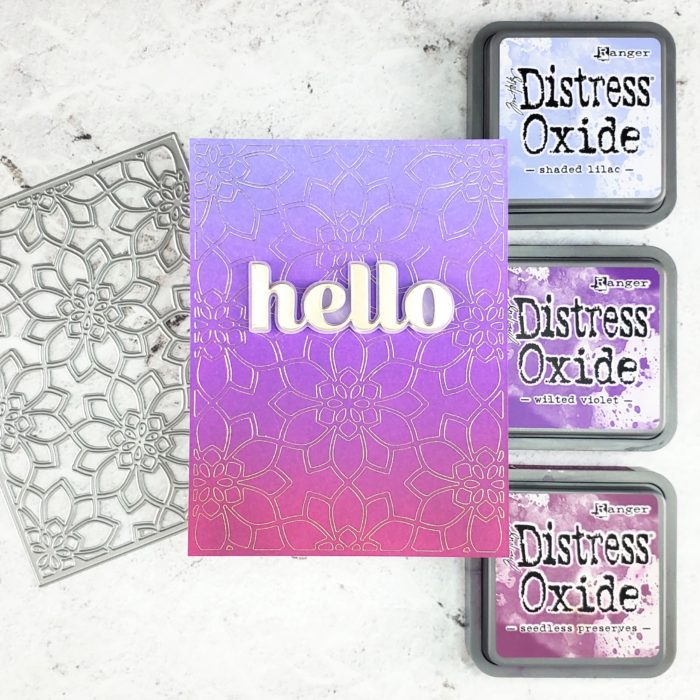
    Hello and welcome! Seeka here and today and I’m sharing a foiled card that features a layer from the Viola Plate layer set. Foiling is a great way to get extra mileage out of your dies!

    To start, I created a background by using foam blending tools to blend Shaded Lilac, Wilter Violet, and Seedless Preserves Distress Oxide inks onto a 4.25″ x 5.5″ panel of Bristol Smooth cardstock.

    Next, I prepped my foiling machine. Holding the Viola Layer A die and the ink-blended panel in my hands, I centered the die over the panel and then flipped the two upside down, together, and placed it onto the heating platform. Taking care not to move the panel in relation to the die, I used a piece of Post-it Tape to tape the panel down at one end, creating a hinge. I swung the panel up and then placed a piece of gold foil over the die, shiny gold side down. I replaced the ink-blended panel and then followed the instructions for my foiling machine to foil the panel. Below is an example of the order and orientation of the die, foil, and ink-blended panel on the heating plate (when I went to actually foil, I aligned all these pieces, as described above).

    After peeling away the sheet foil to revealed the foiled panel, I adhered a sentiment that I made using the Big Hello Sugar Script die set, gold mirror card, and vellum.

    Thank you so much for visiting!


    Supplies


  • Berries Galore | By Seeka

    Berries Galore | By Seeka

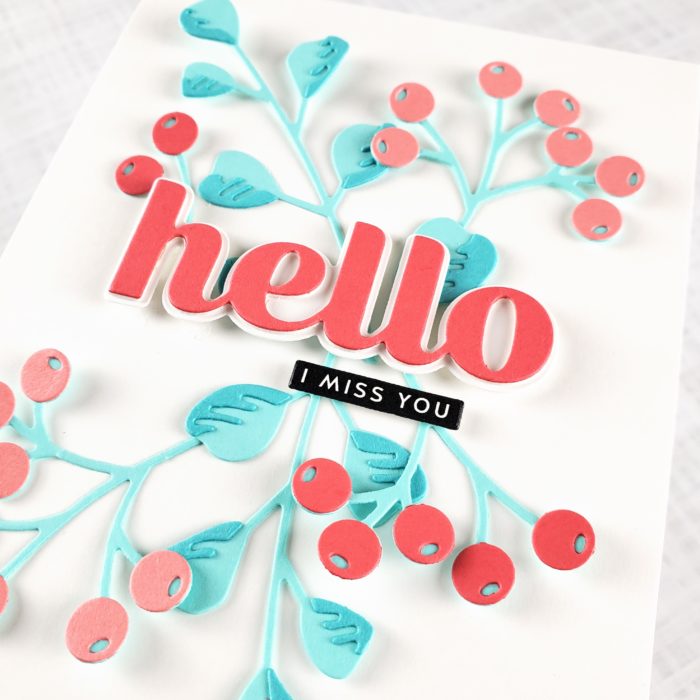
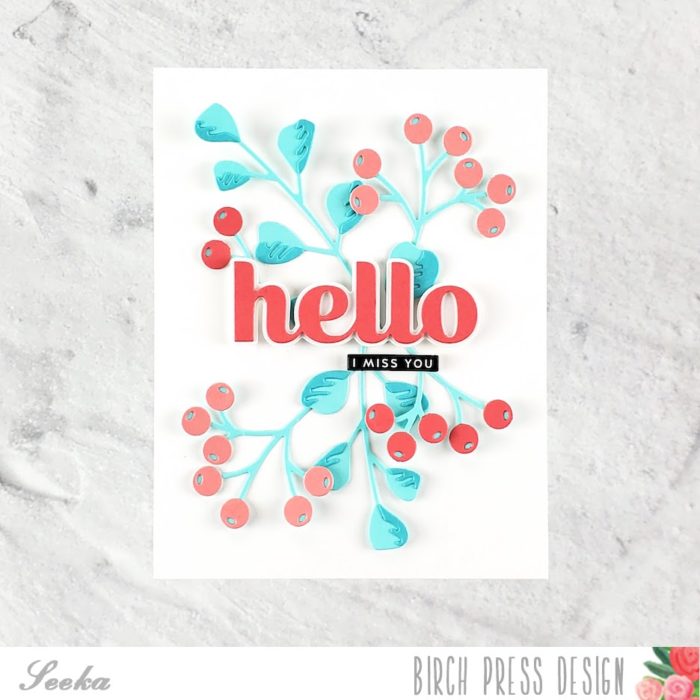
    Hello and welcome! Seeka here and today and I’m sharing another clean and simple card featuring the Eucalyptus Stem and Berries Contour Layers die set.

    For this card I went with pink and red berries and aqua leaves. I started by die cutting the leaves and branches from two colors of aqua cardstock. I glued the darker detail layers of each leaf onto the lighter base layer. Then I cut berries from pink and red cardstock and glued them to their stems.

    Next, I created the sentiment using the Big Hello Sugar Script die set. I cut the detail layer from red cardstock and the shadow layer from white cardstock.

    To assemble the card, I glued the base of the leafy stems to a 4.25″ x 5.5″ panel of white cardstock and then I used foam tape to pop up some of the leaves and berries. I also used foam tape to adhere the die-cut sentiment as well as a smaller sentiment from my stash. I trimmed any stem ends that were peeking out from behind the sentiment and then to finish, I adhered the card front to a card base.

    Thank you so much for visiting!


    Supplies


  • Star Flower Thank You | By Seeka

    Star Flower Thank You | By Seeka

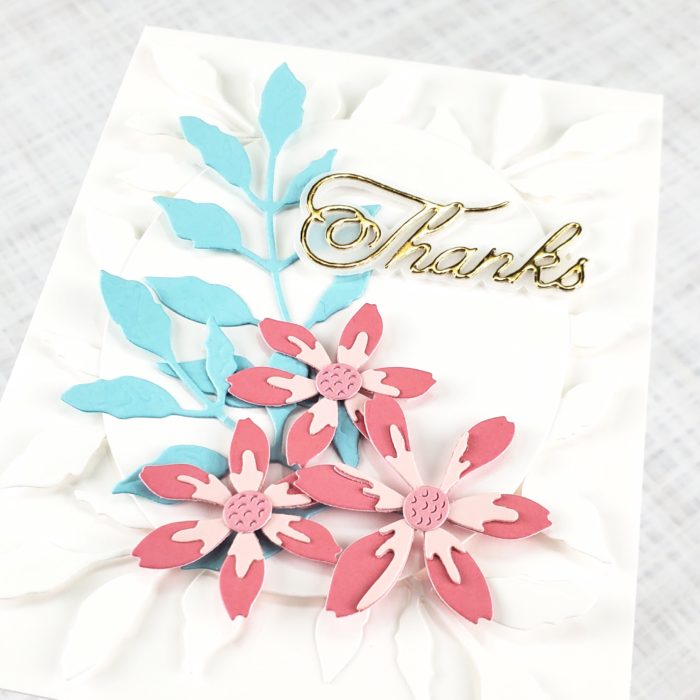
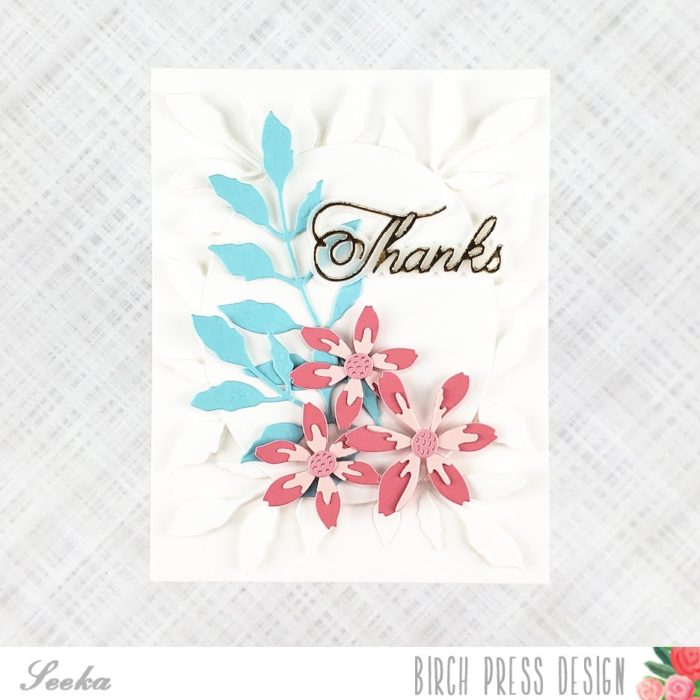
    Hello and welcome! Seeka here today with a card featuring the Star Flower Contour Layers set with a bit of foliage from the Fuddled Leaf Branches Contour Layers set.

    I started off by die cutting the Star Flower layers from different shades of pink cardstock. I glued the layers together and then set them aside.

    Next, I used the largest die from the Fuddled Leaf die set to cut two leafy branches from a light aqua cardstock and a few extra branches from white cardstock.

    I prepped the sentiment by cutting the detail layer of the Handwritten Thanks and Outline die from gold mirror cardstock, and the shadow layer from vellum. I glued the layers together and then set the sentiment aside.

    To assemble the card, I used foam tape to adhere a white oval from my stash onto a 4.25″ x 5.5″ panel of white cardstock. Next, I positioned the leafy branches over the oval and glued a few of the leaves down, and then I used foam tape to pop up a the rest of the leaves. I used more foam tape to adhere the flowers and then trimmed away the bases of the two branches that extended past the flowers. I also added white leaves peaking out from behind the oval and then adhered the sentiment before gluing the card front to a card base.

    Thank you so much for visiting!


    Supplies


  • Clean And Simple Eucalyptus | By Seeka

    Clean And Simple Eucalyptus | By Seeka

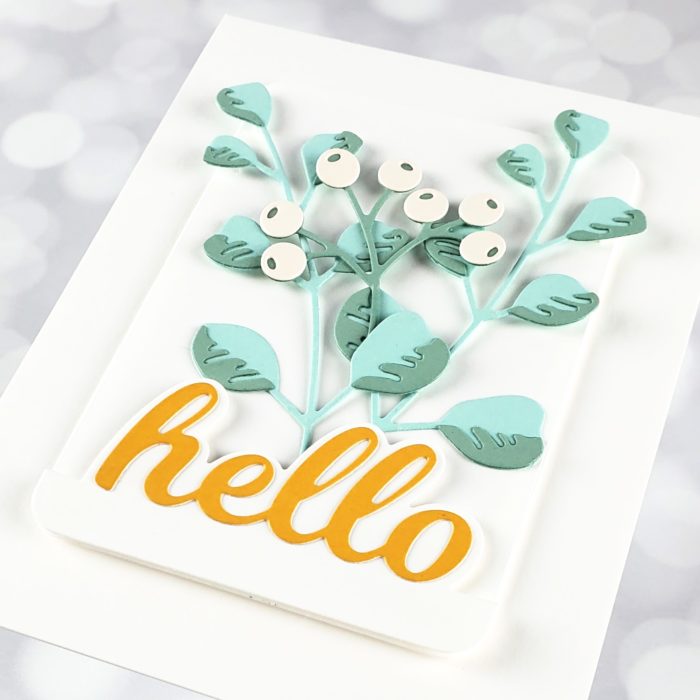
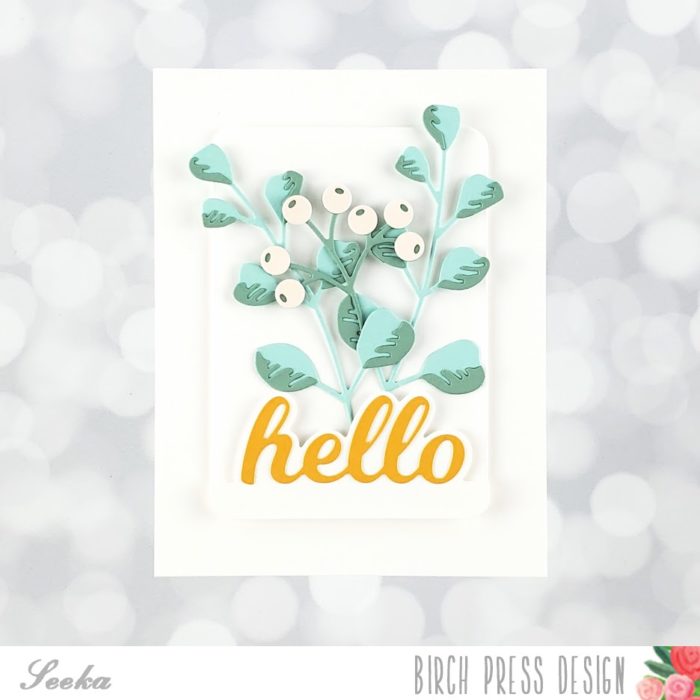
    Hello and welcome! Seeka here and today and I’m sharing a clean and simple card featuring the Eucalyptus Stem and Berries Contour Layers die set.

    I started off by die cutting two sets of the base layer of eucalyptus leaves from a light blue cardstock. Then, I die cut the detail pieces from a sage cardstock. I glued the small sage pieces to the base layers and then set them aside.

    Next, I cut the base layer of the berries die from the same sage cardstock and I cut the berries from a very pale pink cardstock. I glued the berries to the base layer and then set the piece aside.

    For the sentiment, I used the Hello Topper die set. I cut the detail sentiment from a mustard yellow cardstock and cut the shadow layer from white cardstock.

    I used a rounded rectangle die form my stash to cut a panel of white cardstock and also to cut the shadow layer of the sentiment. Using foam tape, I adhered the sentiment shadow layer to the bottom of the rounded rectangle and then I added the leaves and berries, gluing them down and using foam tape to add a bit of dimension behind some leaves.

    To finish, I used foam tape to adhere the rounded rectangle piece to an A2-sized card base.

    Thank you so much for visiting!


    Supplies


  • Clean And Simple Wispy Blooms | By Seeka

    Clean And Simple Wispy Blooms | By Seeka

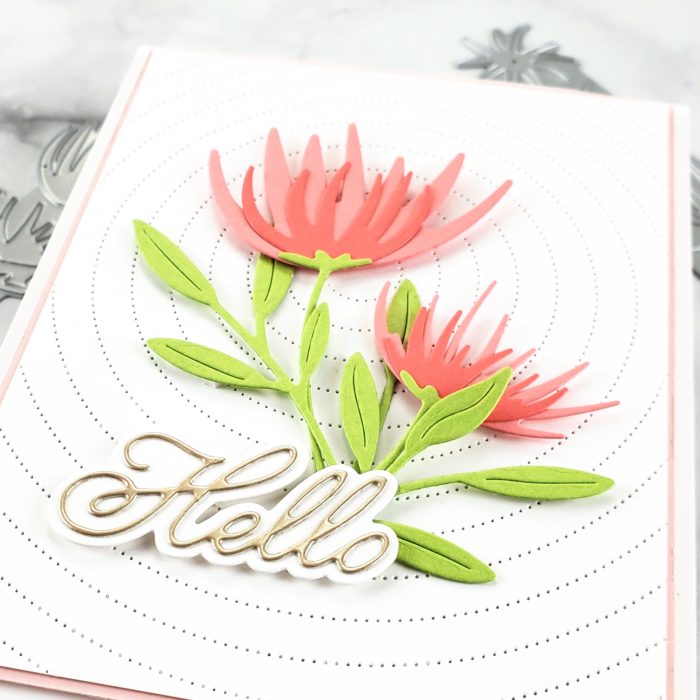
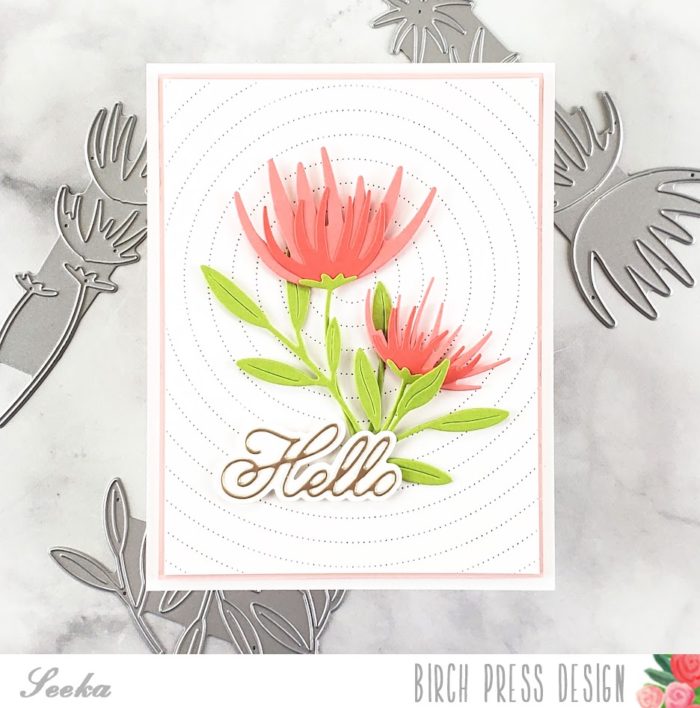
    Hello and welcome! Seeka here and today I’m sharing a clean and simple card featuring the brand new Wispy Blooms die set with some extra foliage from the Tiny Tuft Flowers And Leaves die set. If you haven’t seen the new florals released earlier in the week, be sure to stop by the shop!

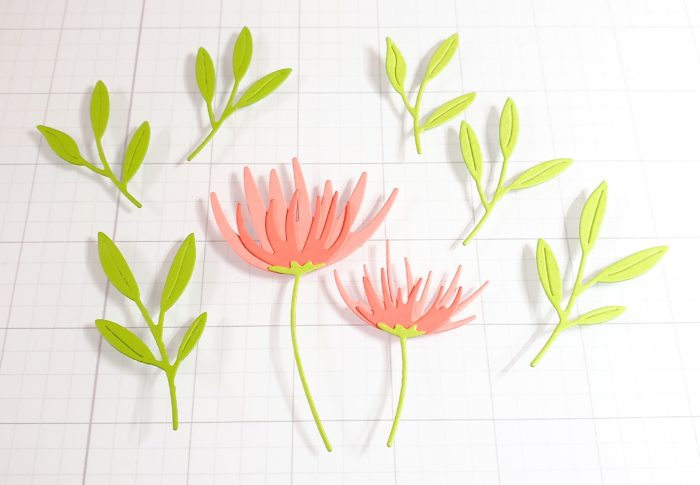
    I started off by die cutting the two layers of each bloom’s petals from two shades of salmon pink cardstock. Next, I cut the stems, as well as the extra leaves, from green cardstock. I cut them from two shades of green cardstock but ended up using just the light green leaves on this card.

    I glued the two layers of the each flower together and then glued on the stems.

    Next, I used the Pinpoint Radial Plate to cut a piece of white cardstock. I trimmed 3/16″ inch off each side of the panel, and 3/8″ off the bottom of the panel. Then, I used glue and foam tape to adhere the blooms and the leaves to the panel.

    I created the sentiment using the Handwritten Hello die set. I cut the detail layer from a piece of cardstock from the Memory Box Vintage Pastel Mirror Pad and adhered it to the shadow layer which I cut from white cardstock. Then I used foam tape to adhere the sentiment over the base of the flowers’ stems.

    To assemble the card, I adhered the card front to a very slightly larger piece of light pink cardstock and then used foam tape to adhere the combined piece to an A2-sized white card base.

    Thank you so much for visiting!


    Supplies


  • Butterfly Flora Thank You | By Seeka

    Butterfly Flora Thank You | By Seeka

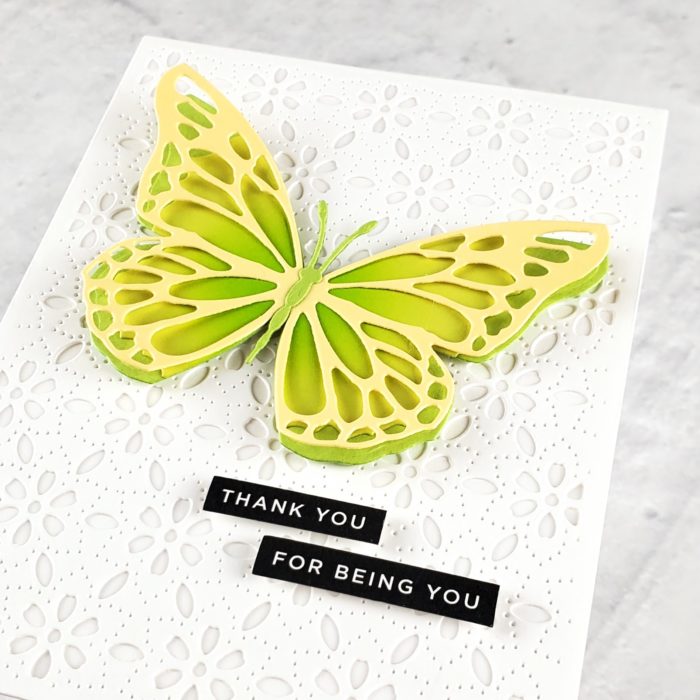
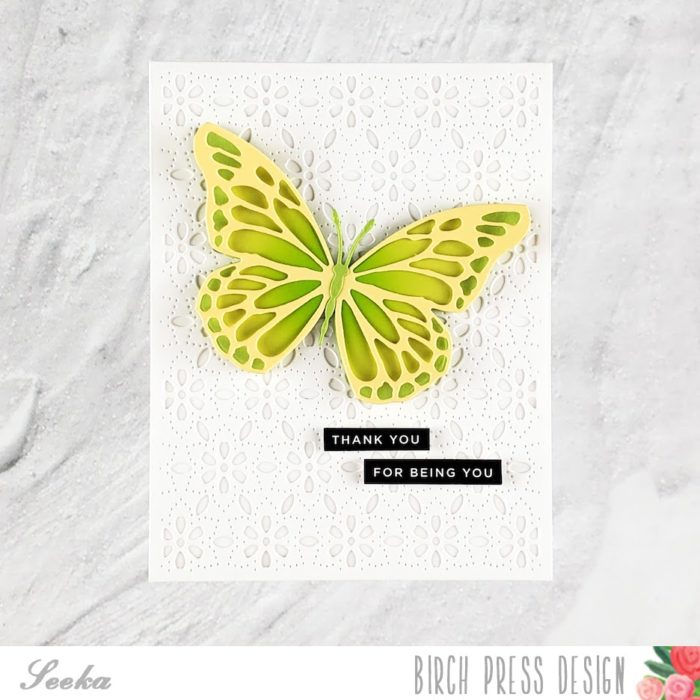
    Hello and welcome! Seeka here and today I’m sharing a card made using the Butterfly Basics layer die set and a single layer from the Flora Plate layer dies.

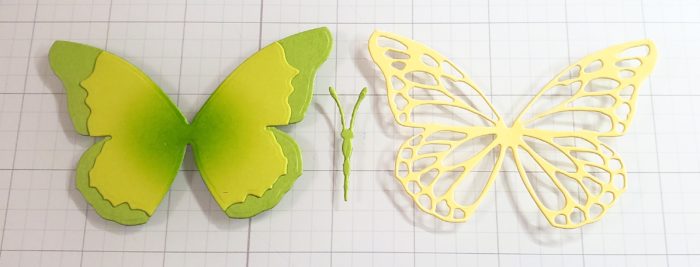
    I started off by die cutting the four pieces of the butterfly from green and yellow cardstocks. I used a blending brush and green dye ink to add a bit of shading to the second layer of the butterfly, and then I adhered the layer to the base layer. Next, I added just a bit of glue to the very center of the butterfly wings detail layer and adhered that to the base. Leaving the edges of this layer unglued lets it lift up from the base and creates even more dimension. To finish off the butterfly, I adhered its body to the center.
    Next, I used the Flora Plate Layer C die to cut a piece of white cardstock. I adhered this piece to a white card base to create a white-on-white background, and then I adhered the butterfly with foam tape. I finished off the card by adhering a printed sentiment from my stash.

    Thank you so much for coming by today!


    Supplies