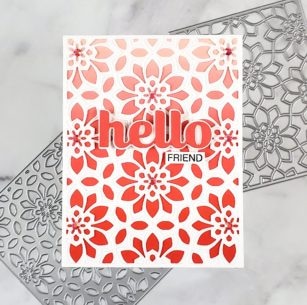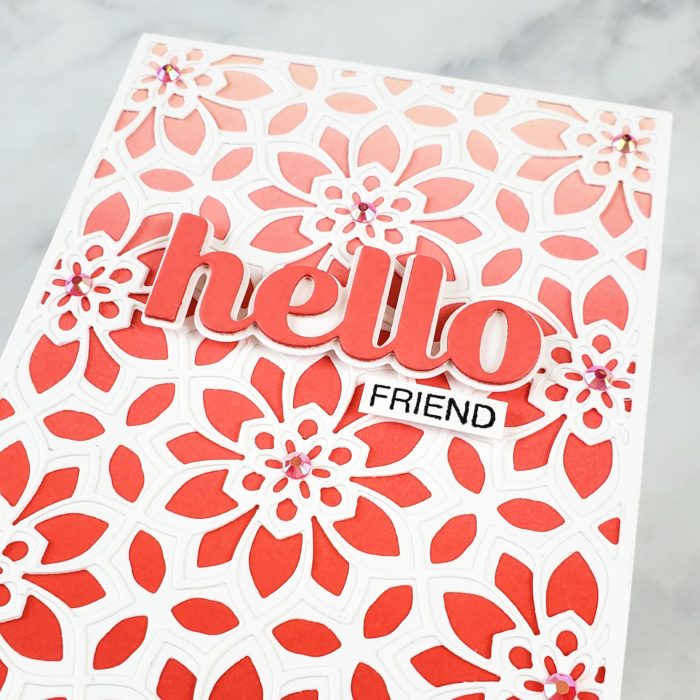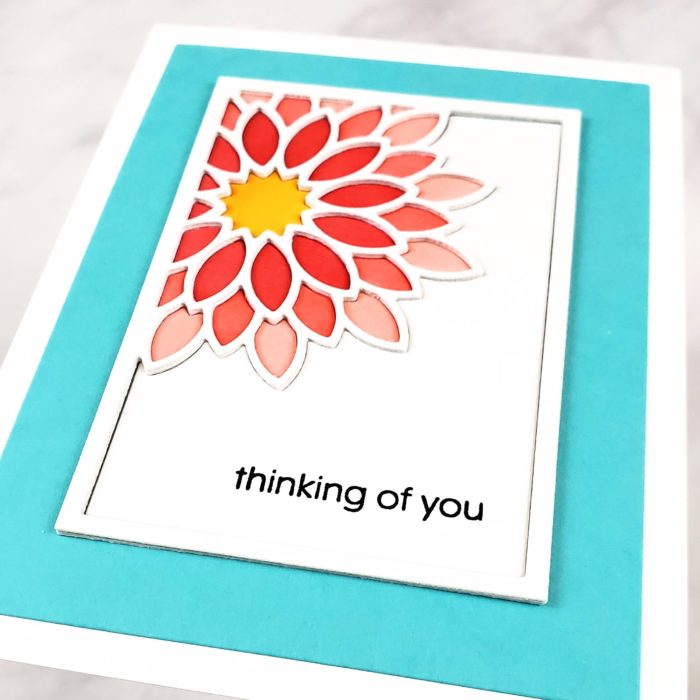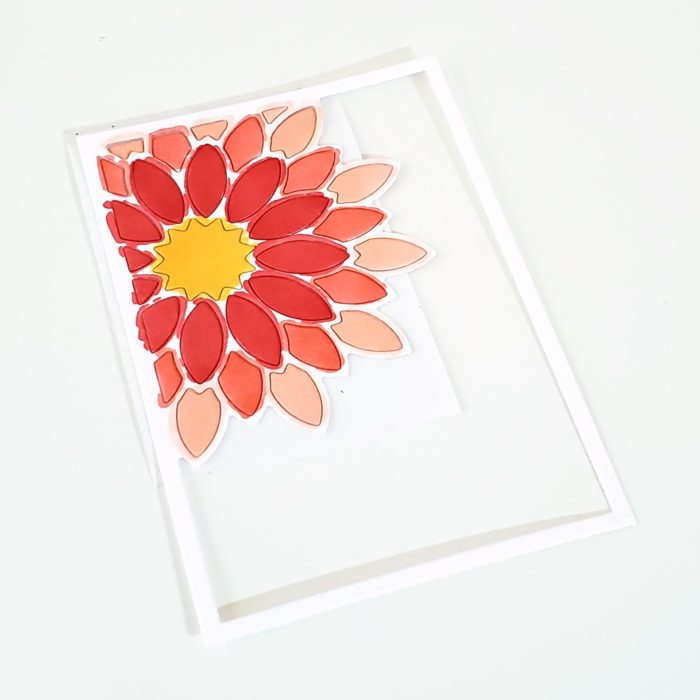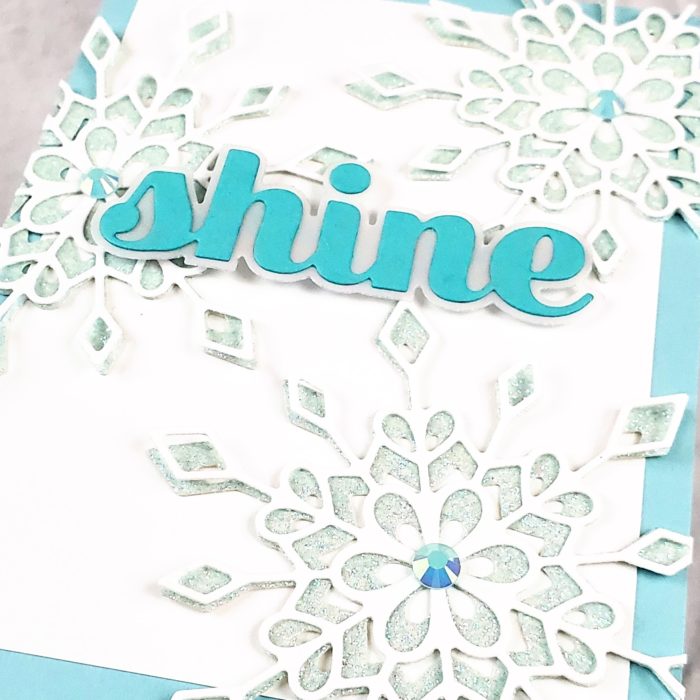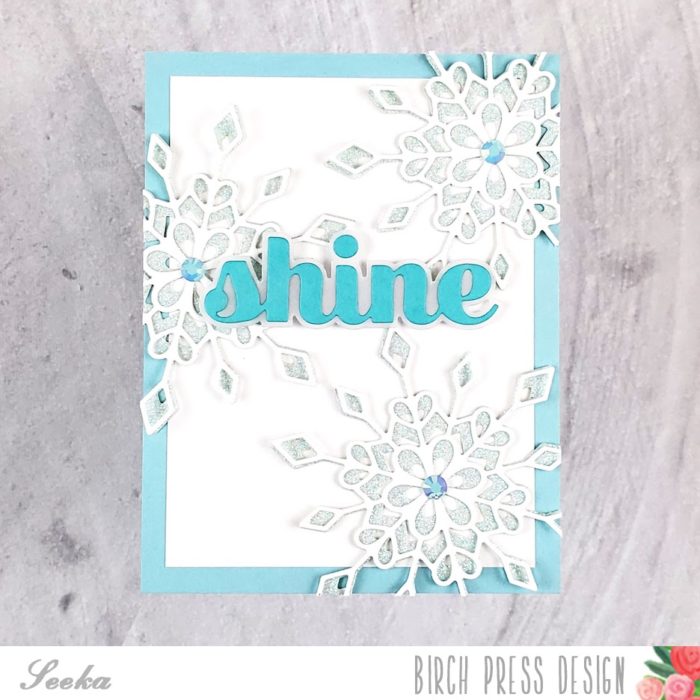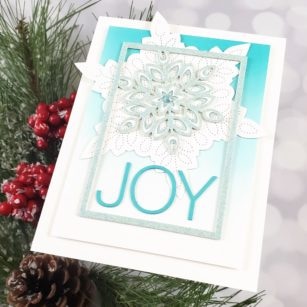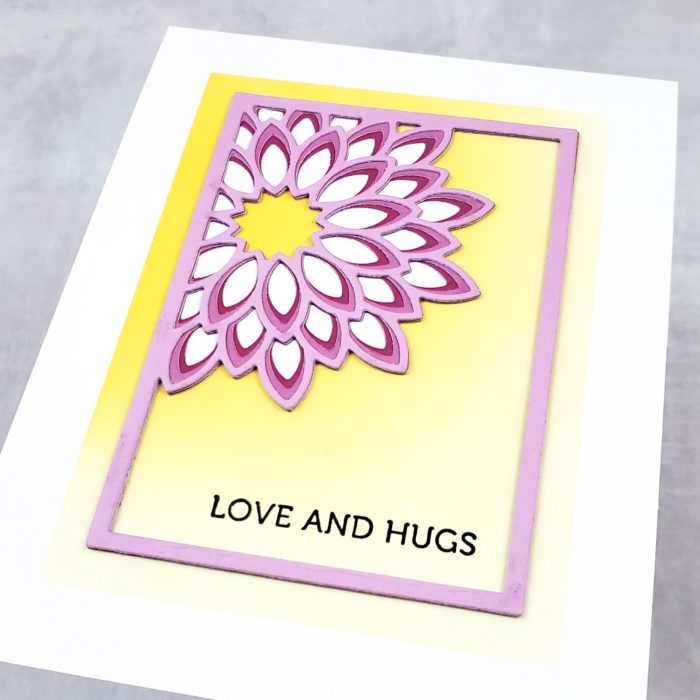
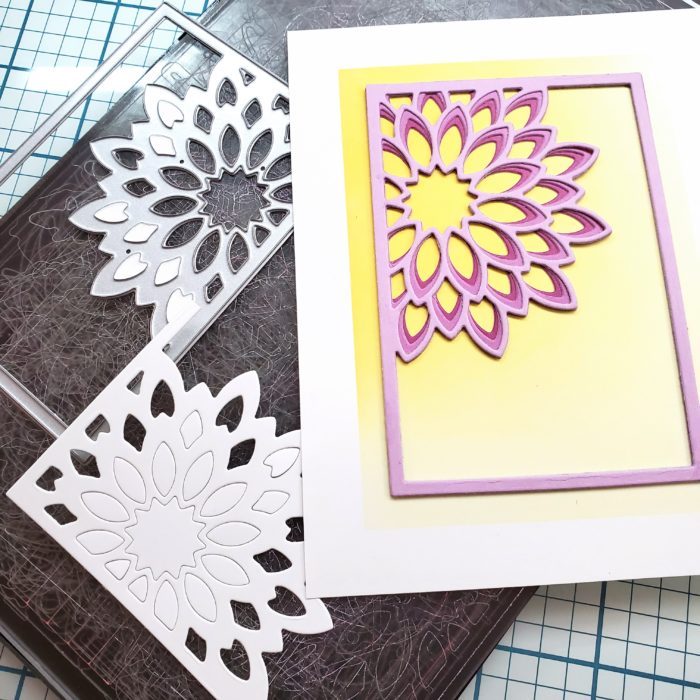
Hi there, it’s Seeka here and today I’m sharing a card featuring one of my favorite Birch Press Designs layer die sets: Dahlia Mini Frame.
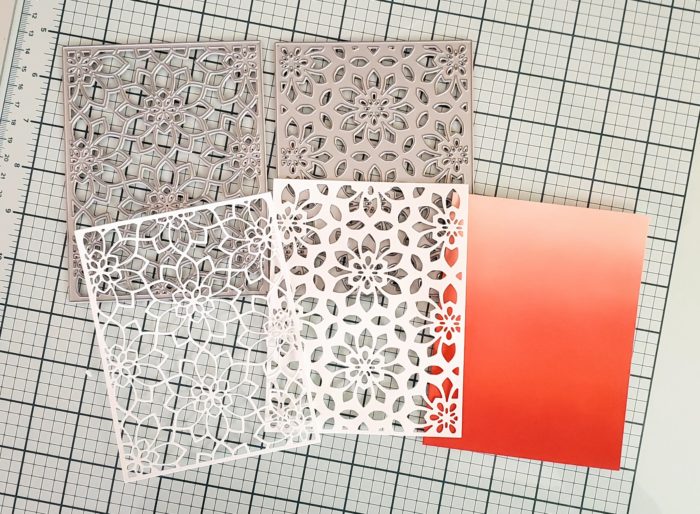
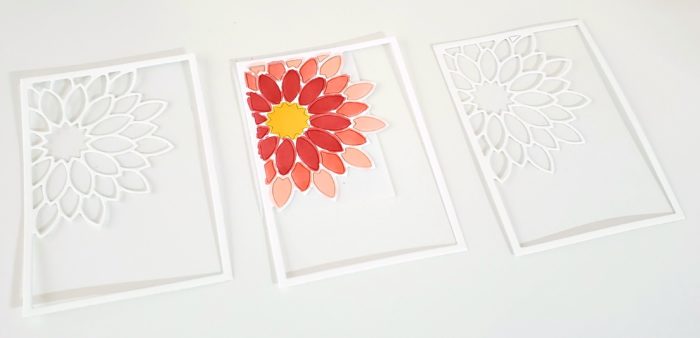
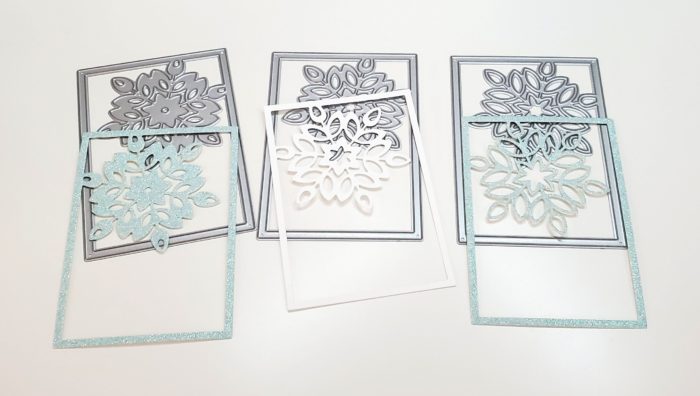
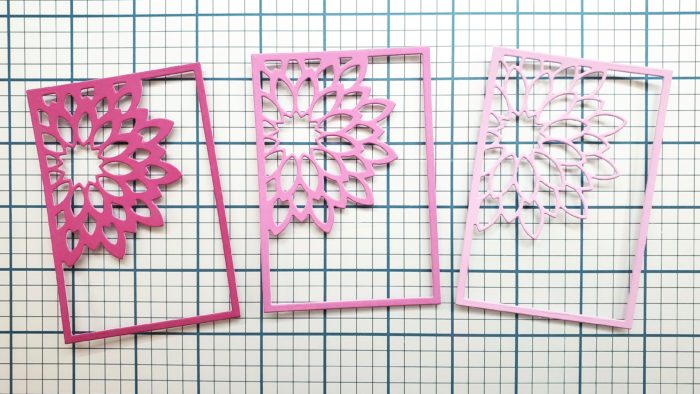
I started off but cutting the three layers of the frame in three shades of violet, with the bottom layer cut out of the darkest shade.
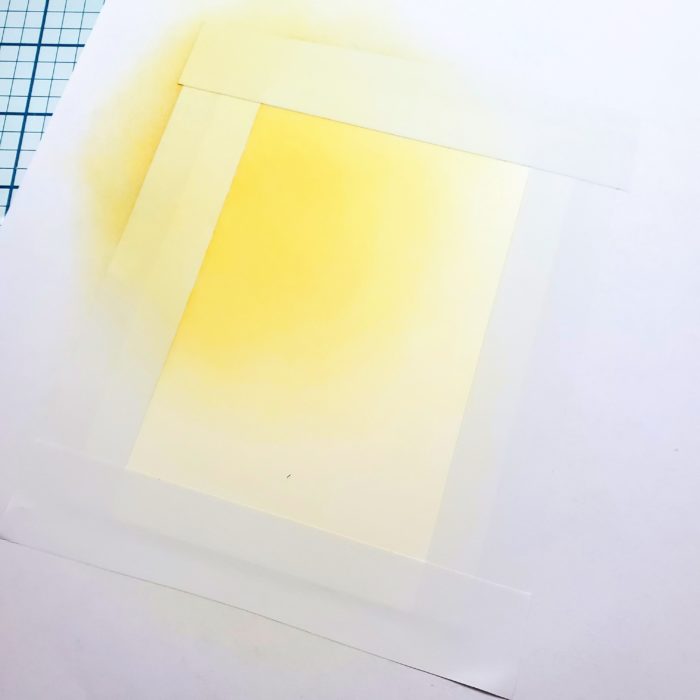
Next, I began creating a background by masking off half-inch borders of a 4.25″ x 5.5″ inch panel of white cardstock. Using a blending tool, I blended a sunny yellow dye ink into the center of the panel, concentrating and deepening the color at the top left corner of the rectangular area.
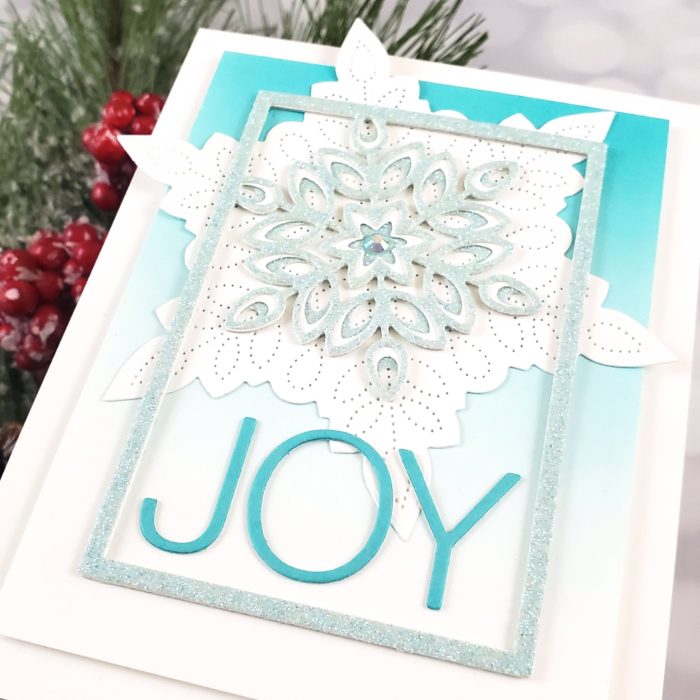
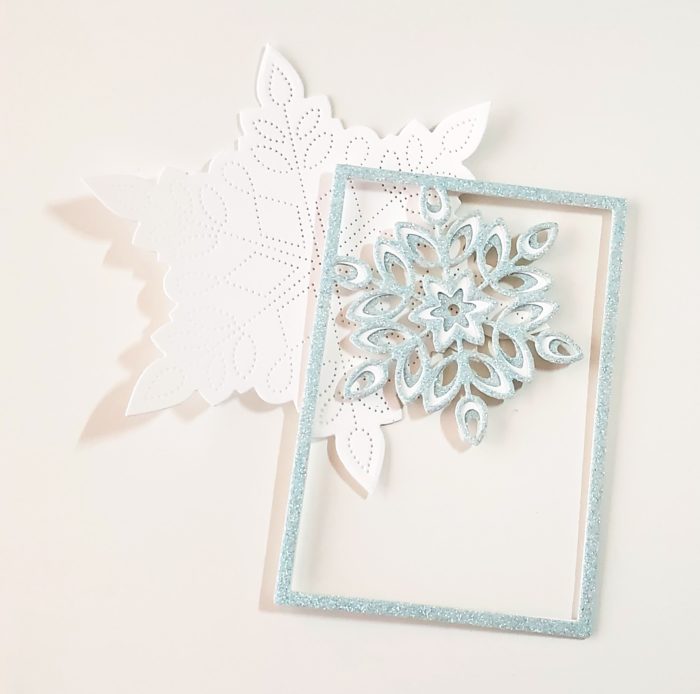
Then, I adhered the three layers of the frame together and adhered it to the ink-blended background.
I used the die for the bottom layer to cut a piece of white cardstock, and then pieced in the white fallout pieces into the petals of the dahlia.
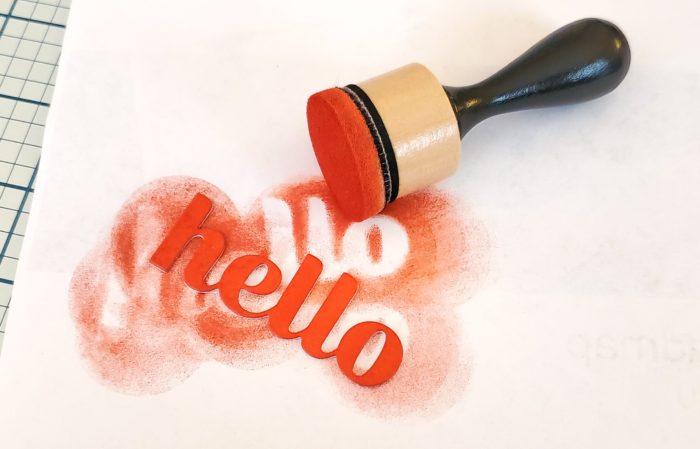
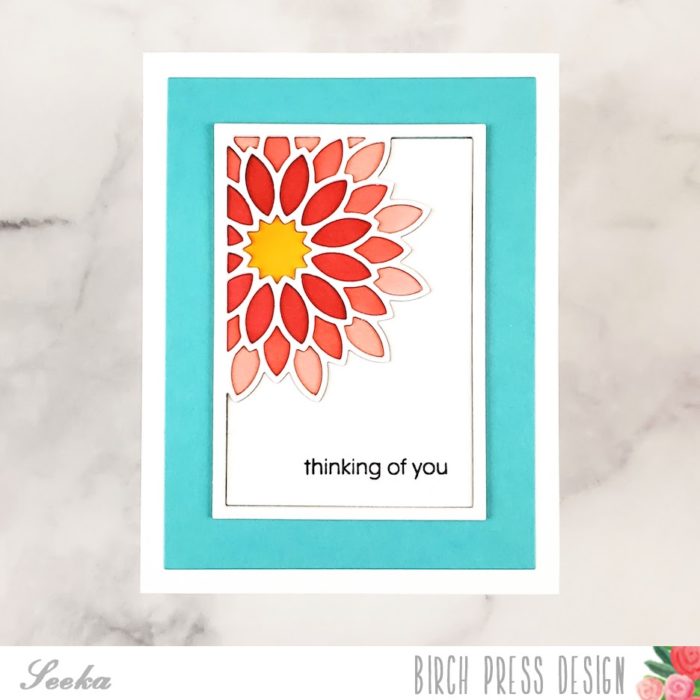
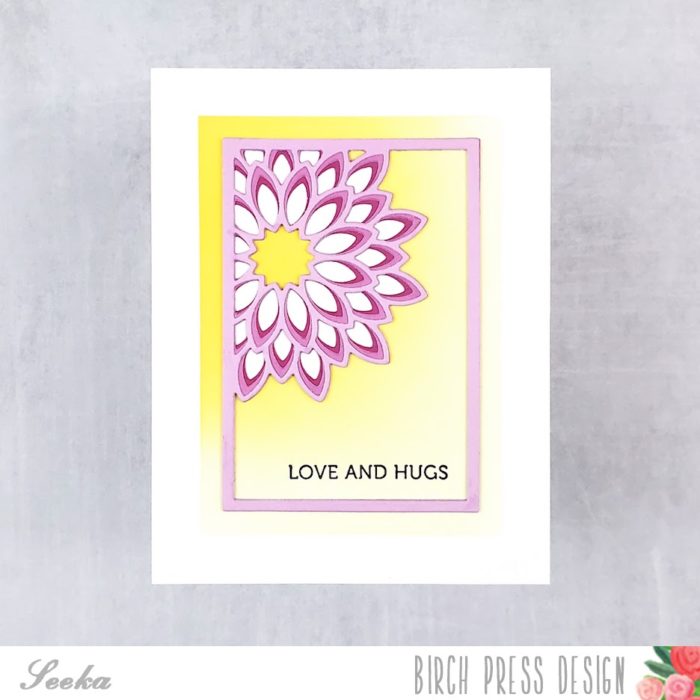
To finish, I adhered the card front to a card base and then stamped the sentiment, which is from the Lingo Thanks stamp set, in black pigment ink.
Thank you so much for coming by!

Supplies