Category: Snowflake

  • Adornment Dove Tag | by Rosemary Dennis

    Adornment Dove Tag | by Rosemary Dennis

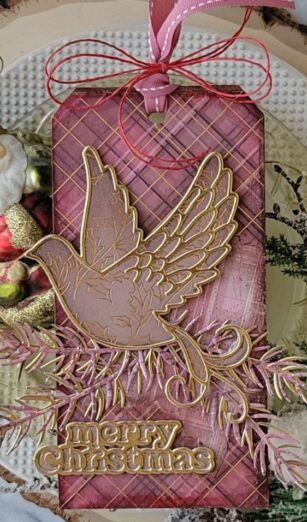
    Hello! Rosemary here on the blog today. Today is July 25th and so I decided to make a “Christmas in July” project. I used several older products and one newly released product for today’s project. Let’s have a look at what I made.

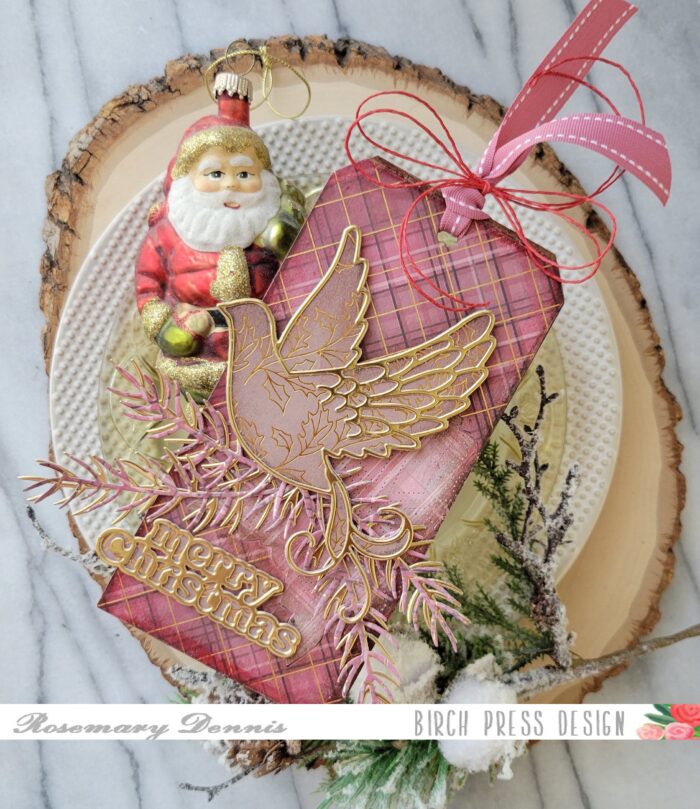
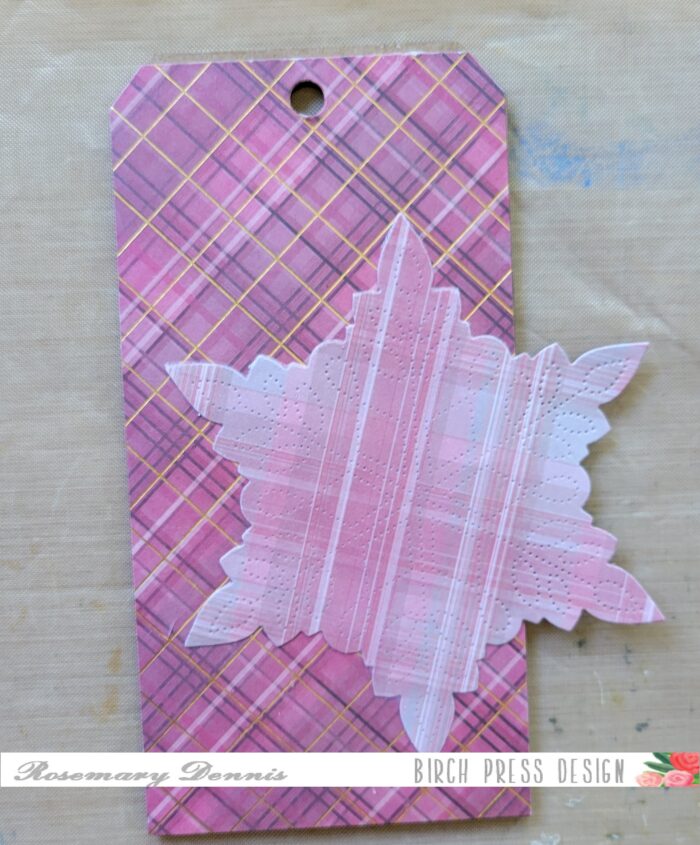
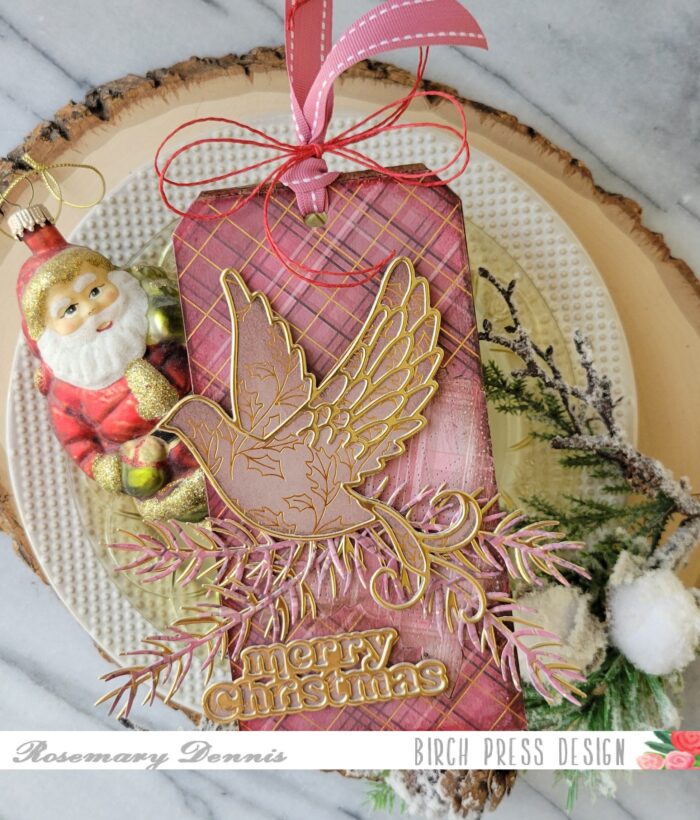
    Today’s project is a large tag that can be used as a deco piece at Christmas time. I really enjoy making these kinds of projects to share. I started with a Tim Holtz thickboard tag. I pulled out a piece of plaid paper from the Poinsettia Plaid 6×6 pad that had various shades of red in it and trimmed it down to fit the tag. The top of the paper has a hole in it so that the pad can be hung and I used that to my advantage. I aligned the hole in the paper with the hole on the tag, trace around the tag and then trimmed out the paper. There was a little bit of the tag not covered at the very top, but in the end you don’t really notice it.

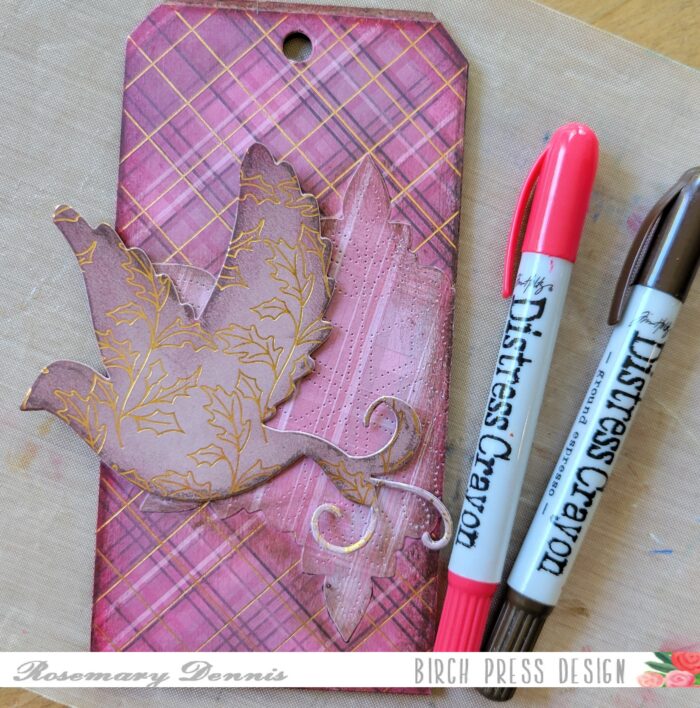
    I then adhered the paper tag to the thickboard tag using distress collage medium and let it dry. I then decided to add another layer of texture to the tag by adding the large Pinpoint Snowflake that I die cut from the reverse side of the paper used for the tag. I adhered the snowflake to the tag using the collage medium, as well, and once things were dry trimmed off the one side. Once I had the base of my tag put together I worked on the focal point of the tag. For this I used the pretty Adornment Dove die set. Initially I die cut solid layer of the dove from three different papers from the Poinsettia Garland 6×6 pad and determined which one I wanted to use. As you can see I went with the lightest paper dove.

    I then die cut the top layer from gold foil cardstock from the Vintage Pastel Mirror 6×6 pad. To give the base layer of the dove a little more stability I adhered the other two doves I wasn’t using behind the main one. The Vintage Merry Christmas sentiment was also die cut from the same papers and adhered together. I used liquid adhesive for both. Then I got out distress crayons in festive berries and ground espresso to blend onto the edges of the dove, the tag and around the snowflake. Once I had done that the small gap at the top of the tag almost completely disappeared!

    As I was working on my tag the newest release from Birch Press Design landed in my mailbox. It is absolutely gorgeous! So I decided to make sure to incorporate one of the new products from the release into my project. I made the decision to use the Pine Needle Twigs Contour Layers dies. I die cut them from scraps of the paper I used, as well as the gold foil cardstock and then layered them together using liquid adhesive.

    Once they were dry I began layering the elements on to my tag. I started with the Pine Needle Twigs using liquid adhesive to attach them. I used a combination of liquid adhesive and foam squares to attach the dove. Foam squares were also used to attach the sentiment. I finished off my tag with some ribbon looped through the hole in the top and then tied with some red twine.

    I hope you enjoyed today’s project. I had a lot of fun making it! Thanks for stopping by and have a wonderful day!

    Supplies

  • Snowflake Thank You | by Rosemary Dennis

    Snowflake Thank You | by Rosemary Dennis

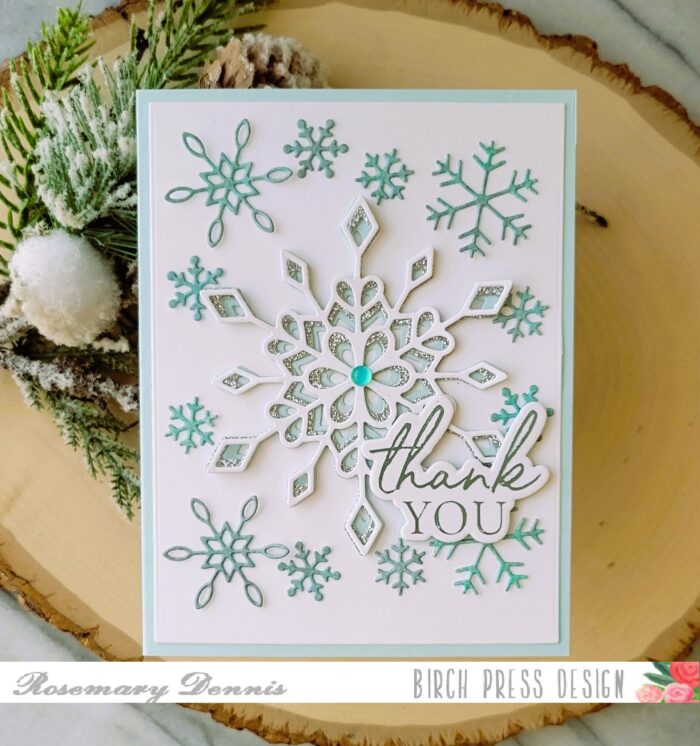
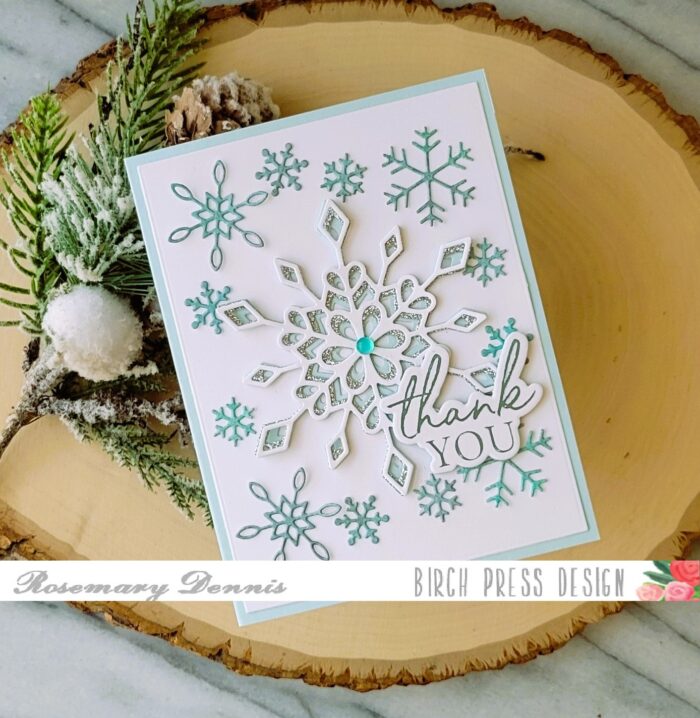
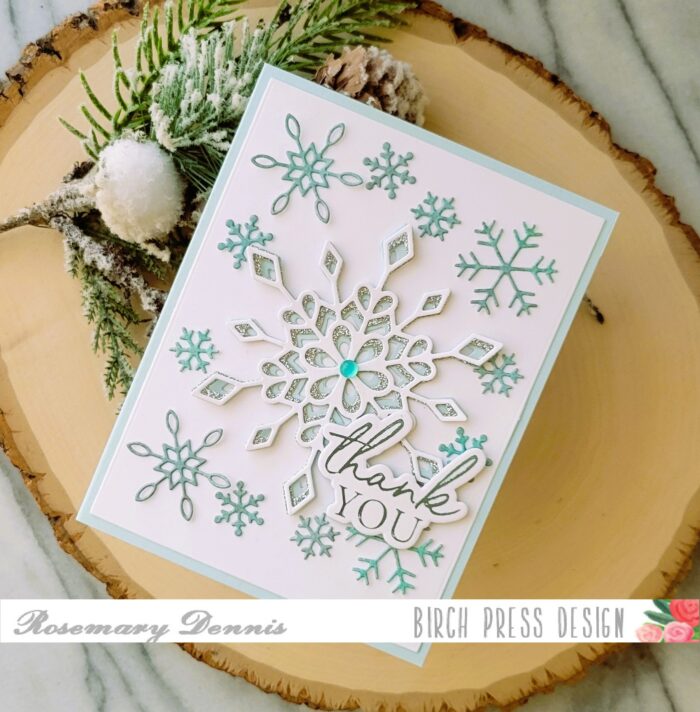
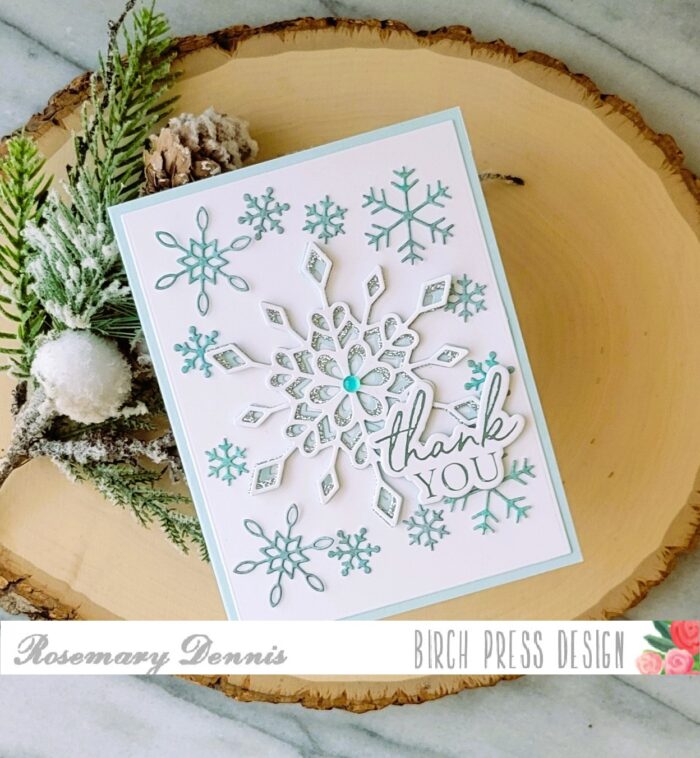
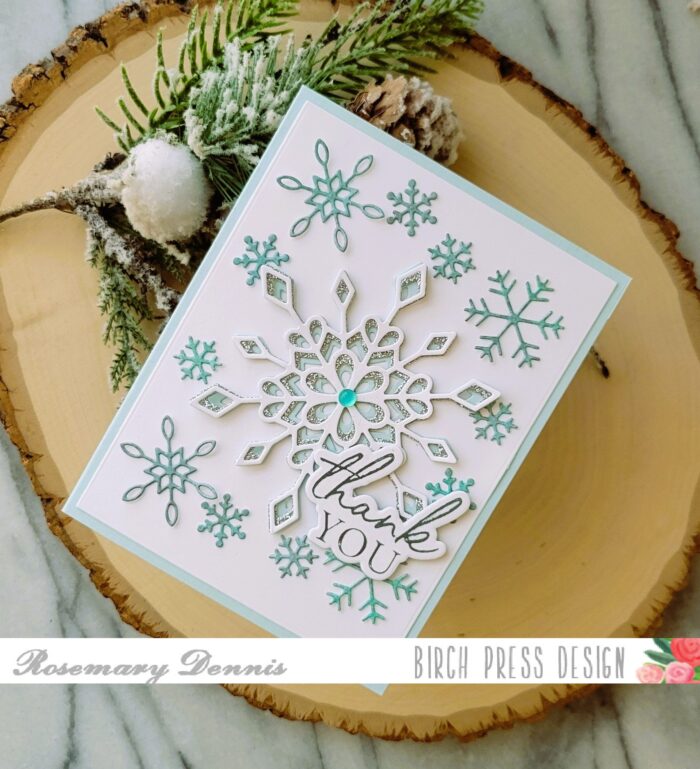
    Hello everyone! Rosemary here today. I hope everyone had a wonderful Christmas celebration with family and friends. Now that Christmas is past it is time to think about thanking people for the gifts given. With that in mind I made a wintry thank you card using several Birch Press Design snowflake dies. Let’s take a look at what I made.

    When I made the light blue snowflake ornament for my last post I had lots of scraps of the panels I had made left over. I decided to die cut lots of snowflakes using the Felicity Snowflakes die set with the idea to use them on a card.

    I then pulled out the Frosty Flake Layering die set and determined an arrangement of the flakes that I liked. I then die cut the Frosty Flake layers from a very pale blue cardstock, silver glitter cardstock and white.

    To give the layered snowflake more dimension and movement I only adhered the layers together in the very center. Adhering the snowflake together this way also created some off-setting of the layers which I think looks really pretty.

    I die cut a piece of white cardstock with a rectangle die and then arranged all the snowflakes on the panel as you see. When adhering the smaller snowflakes I only used the liquid adhesive on the centers of them so that there is a little bit of dimension and movement. I foiled the sentiment using Thank You Noted Script hot foil plate using a light blue foil and then die cut with the matching die. I adhered that to the card using a combination of foam squares and liquid adhesive. An icy blue fairy jewel was added to the center of the large snowflake to finish off the card.

    I hope you enjoyed today’s project. Thanks for stopping by and have a very, very happy new year!

    Supplies

  • Winter Thank You | by Allison Frazier

    Winter Thank You | by Allison Frazier

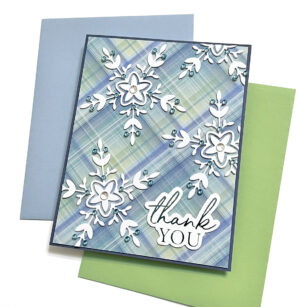
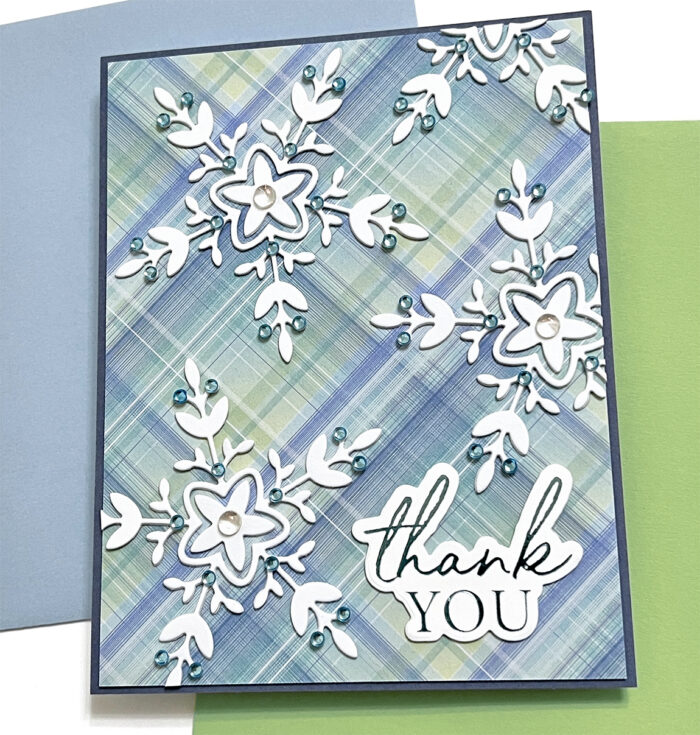
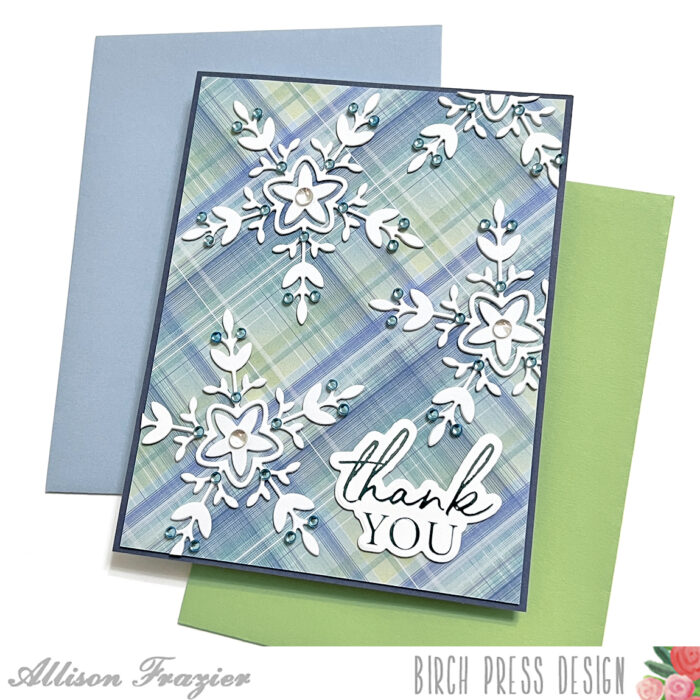
    Hello, Birch Press friends! I hope you all had a wonderful Christmas and have been enjoying the holiday season. I admit that I am always sad to see the holiday card making come to an end. But just because the holidays are over doesn’t mean that you have to put your winter-themed supplies away. Snowflakes are still great for winter birthdays, winter greetings, or in the case of my card today, a post-holiday thank you card. I am featuring the Piped Icing Star die set today, and I am just using the detail die from that set as a snowflake.

    I started by choosing a background for my card. I love plaid for the holidays, but since I am not necessarily going for a holiday card, I reached for an older pad of Memory Box paper – the Madras Plaid Blue and Violet paper pad. This has some fun plaids that make me think more of spring, but this particular piece of paper also says winter to me. I mounted this piece of paper onto a dark, muted purple piece of card stock and then glued that to an A2 card base.

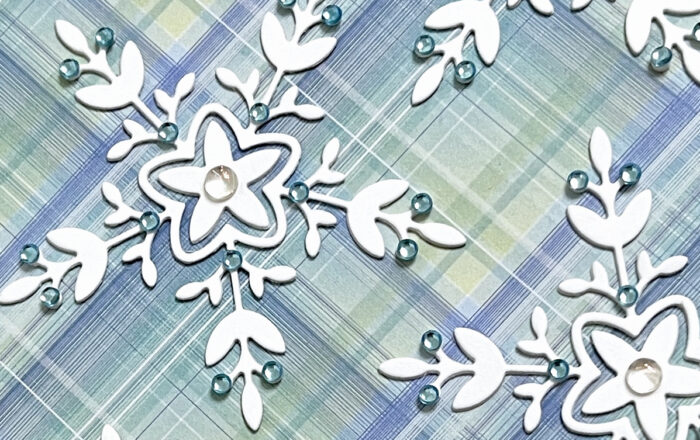
    I then cut the detail die from the Piped Icing Star set out of white card stock eight times. This is so I could glue two of the “snowflakes” together for dimension, for a total of four snowflakes. As you can see from the card, I used almost three full snowflakes and a portion of the fourth up in the right corner. After glueing my snowflakes to my card panel, I just snipped off the excess that hung over the panel.

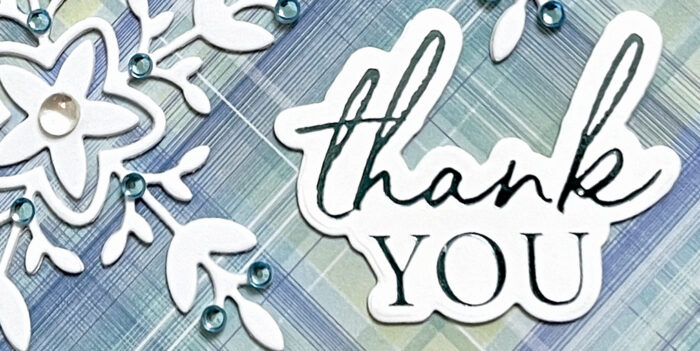
    I hot foiled the Thank You Noted Script sentiment with light blue foil and cut it out with the matching die. I glued that to my panel, and I love how the points of the snowflakes complement the shape of this sentiment. Once I was done gluing my die cut elements, I added light blue jewels to each of the snowflakes. I also added a larger, clear crystal to the middle of each snowflake. The addition of these embellishments really kicks things up a notch, don’t you think?

    That is it for my card today. I hope it puts a smile on your face. Thank you so much for joining us today.


    Supplies


    Supplies

  • Ho Ho Holidays | by April Antonio

    Ho Ho Holidays | by April Antonio

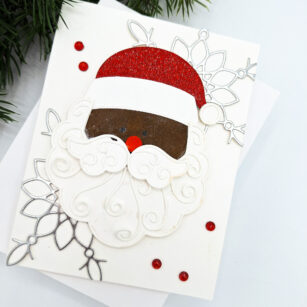
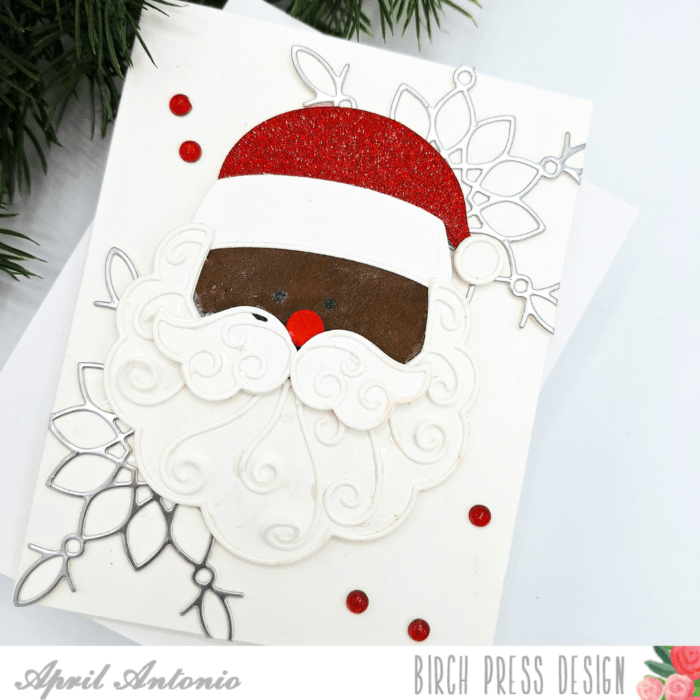
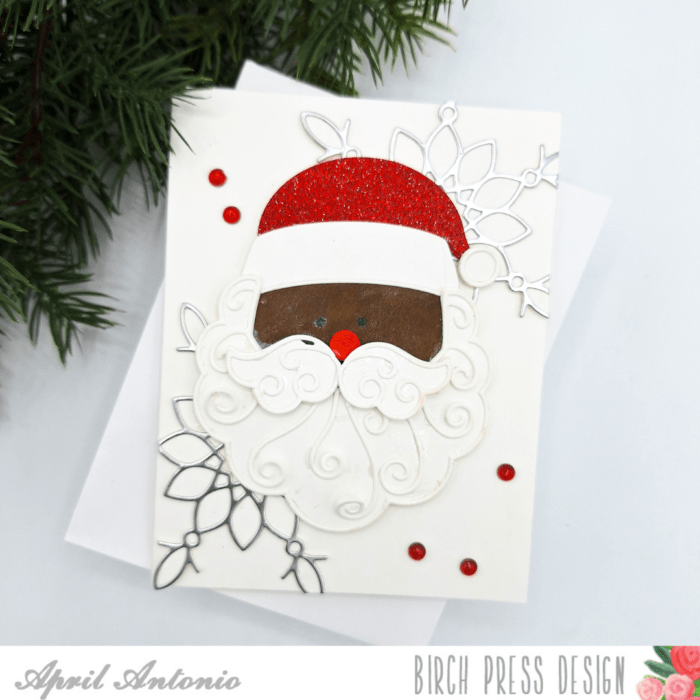
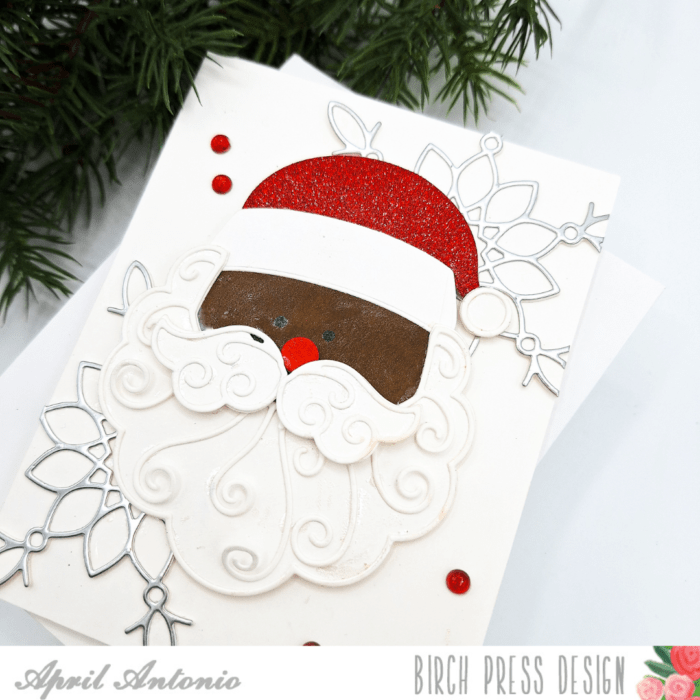
    Happy Saturday! With Christmas less than 10 days away, I think many of us are in full swing with holiday themed cards. I had a lot of fun creating a Santa card using the Adornment Santa die set. Read on to find out how I pulled this card together!

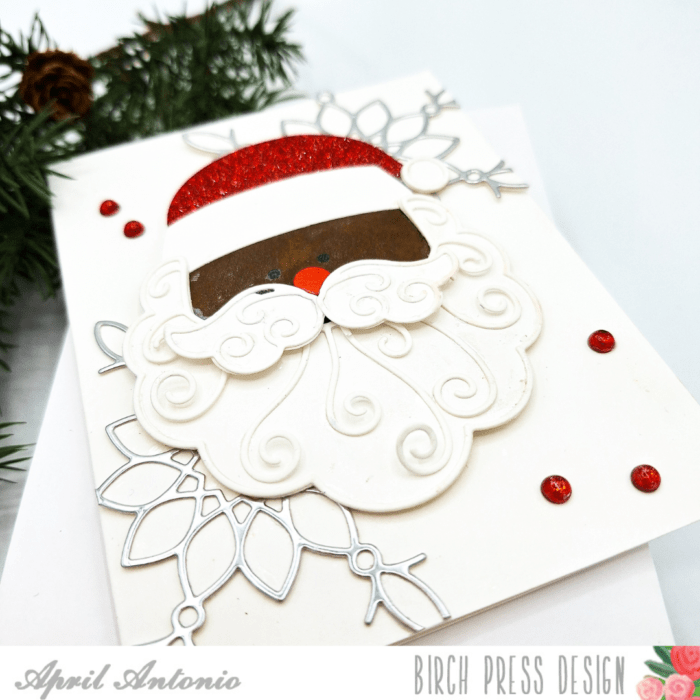
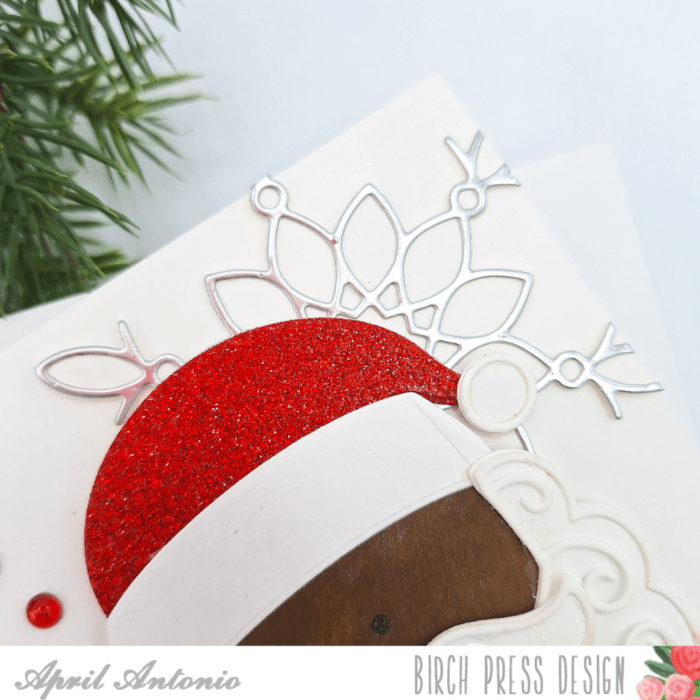
    I started with the Santa Adornment die set and die cut each piece from white cardstock. I also cut the hat from a beautiful red glitter cardstock piece from the Memory Box Glitzy Glitter Pad.

    I used ink and blending brushes to color my Santa brown, and used red on the circle shape for his nose.

    Next I assembled Santa together, starting with his face and, beard, and hat pieces. Then I added his mustache and nose, and also made sure to layer the thin outline cut out pieces (I did leave the outline pieces off of his hat by choice). I used a shiny black gel pen to add eyes to his face 🙂

    For the card base I cut the outline from the Adornment Snowflake out of silver cardstock I grabbed from the Vintage Pastel Mirror Pad (which is one of my favorites!). I cut the snowflake background from white cardstock and layered the white and silver pieces together. I then glued the assembled snowflakes to my A2 card background, and trimmed off the pieces that were hanging over.

    I then glued my Santa on top of this background, and added red Christmas Fairy Crystals around him for some extra shine.

    That is it! The Adornment Santa is super cute and perfect for the holidays!

    Supplies
    Supplies

  • Simple Ornaments | by Rosemary Dennis

    Simple Ornaments | by Rosemary Dennis

    Hello everyone! Rosemary here on the blog today. With Christmas right around the corner I thought it would be fun to make a couple of simple ornaments using the Pinpoint Snowflake die set. Let’s take a look at what I created.

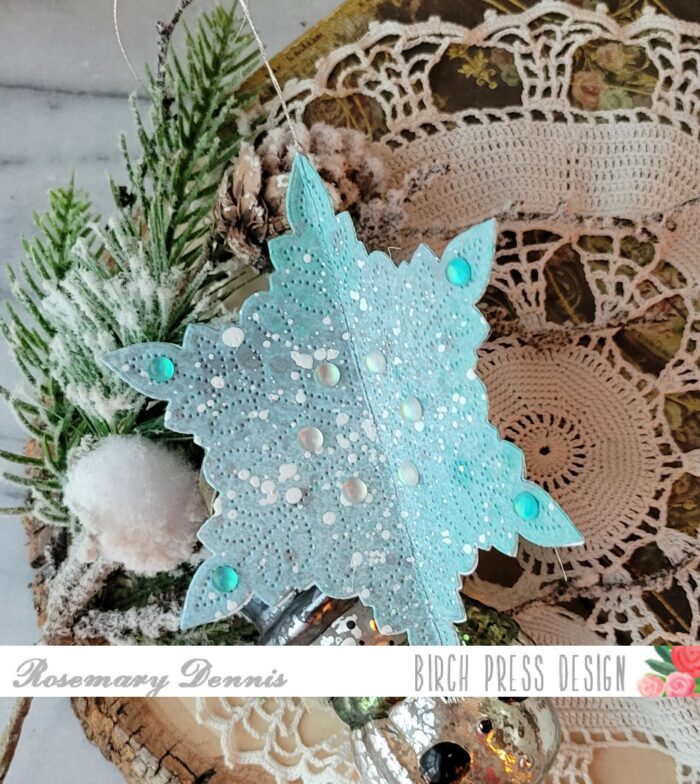
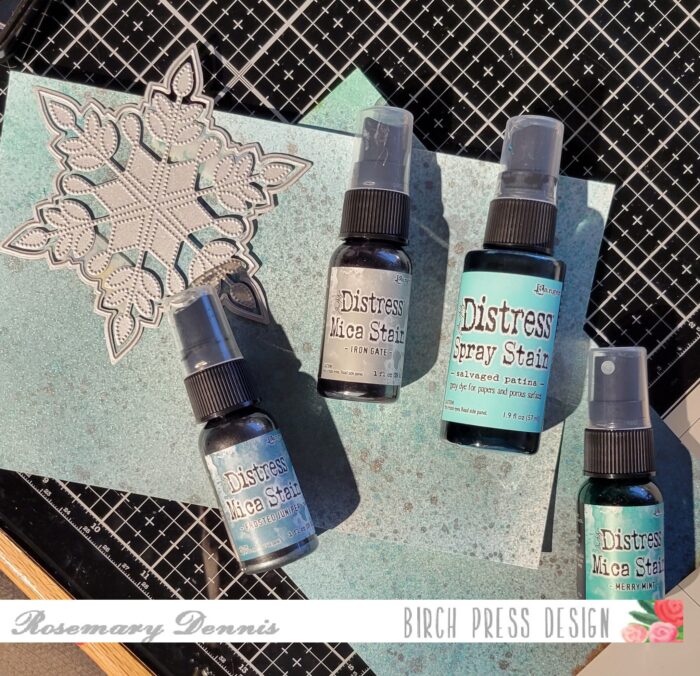
    The first ornament I created is a 3d one. I started by covering some heavy weight white cardstock with a distress spray stain and several different distress mica sprays in icy blues and grays.

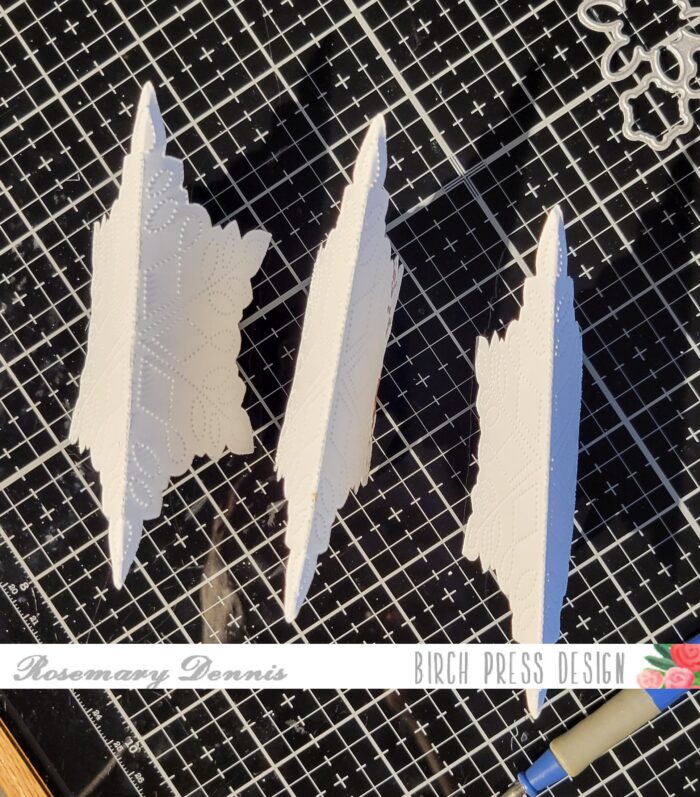
    When the panels were dry I die cut them with the Pinpoint Snowflake die, scored them down the middle of each snowflake (which was really pretty easy) and then folded them in half.

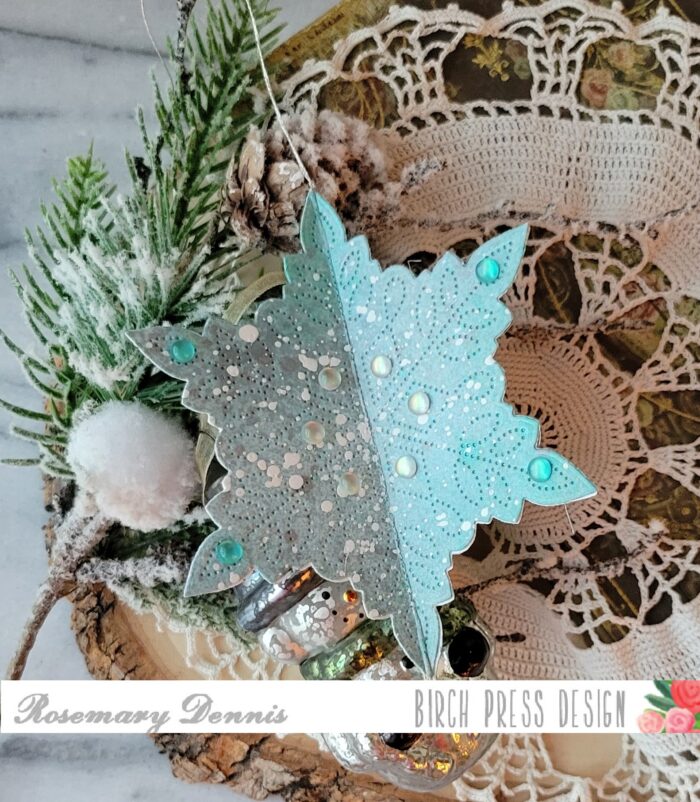
    Then I glued them together using liquid adhesive. I did each side one at a time and after adhering each side together placed an acrylic block on the finished side to allow the glue to set. Before adhering the final snowflake I cut a length of silver thread, knotted it at one end and then laid it down the center of the snowflake. The final snowflake was adhered securing the hanger inside the snowflake.

    I finished off the ornament with lots of fairy jewels in an icy blue and milky white. There you have it a three-sided dimensional snowflake to hang on your tree! The second ornament was even easier to create and can be used as a tag for a gift before hanging it on the tree.

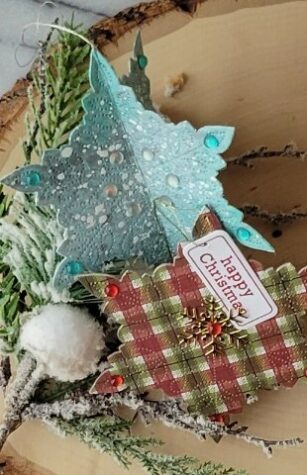
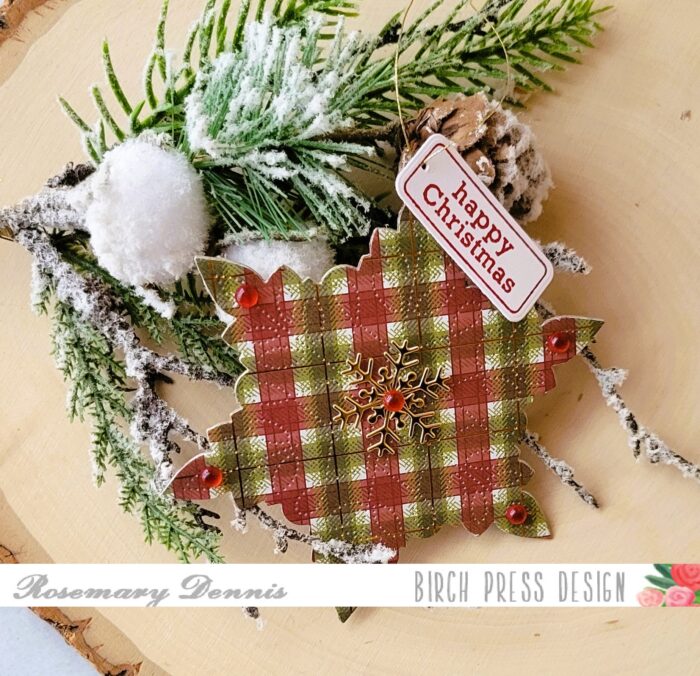
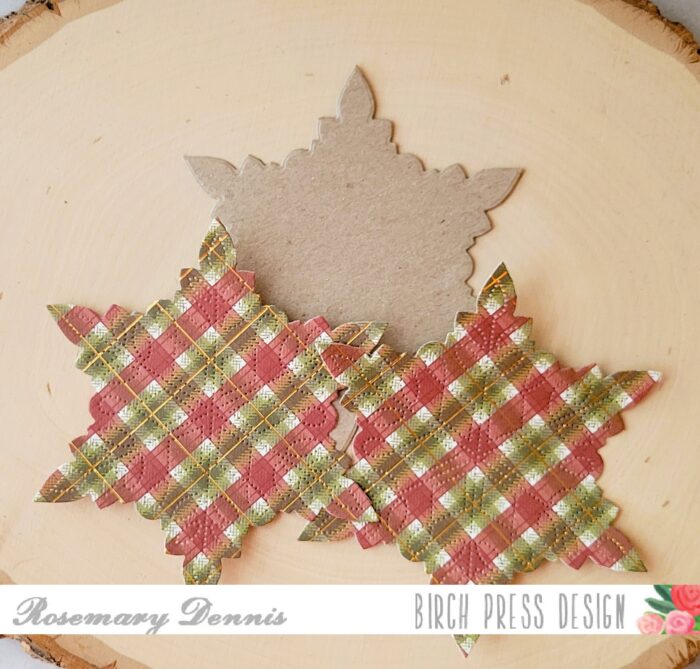
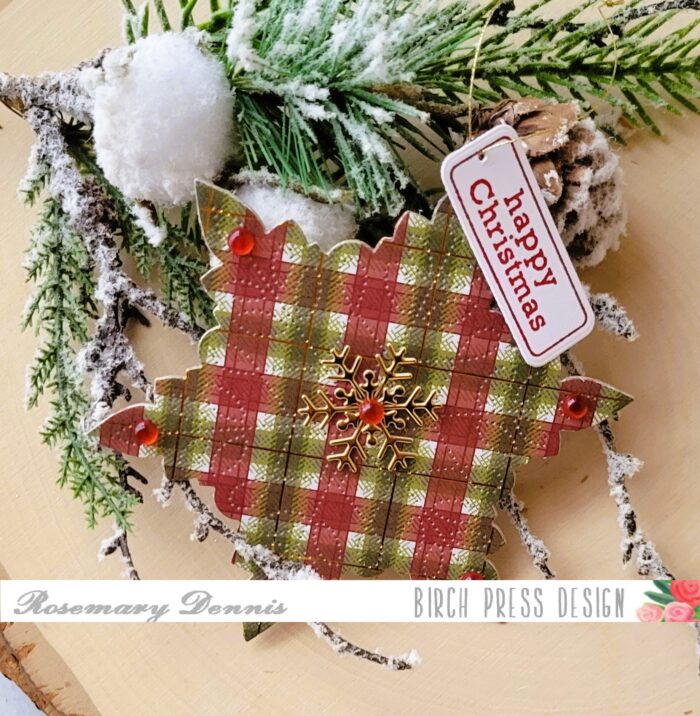
    For this one I pulled out some plaid papers from the Memory Box Christmas Jolly 6×6 pad to die cut the snowflake. I had some thin chipboard that I used to die cut the snowflake from and that was sandwiched between the patterned paper snowflakes. When I die cut the patterned paper snowflakes I made sure to position the die in approximately the same spot on the paper to that the back and front would match fairly well.

    After adhering all the pieces together I used a pointed tool I have to help place gems, etc on my projects to pierce a hole through the top of the snowflake. Then I stamped a sentiment from the Contempo Christmas Greetings stamp and die set on white cardstock with dark red ink. I die cut with the matching die and pierced a whole through it. Gold thread was used as a hanger for this ornament and was threaded through the ornament and little tag, then tied in a knot.

    I finished off both the front and the back of the ornament with two little gold snowflakes in the center and red fairy gems on the points of the snowflake. The dies I used for the little snowflakes are the Felicity Snowflakes.

    I hope I inspired you to think outside the box and create an ornament or two with your snowflake dies! Thanks for stopping by and have a wonderful day!

    Supplies
  • Snowy Crochet Snowflake | By Seeka

    Snowy Crochet Snowflake | By Seeka

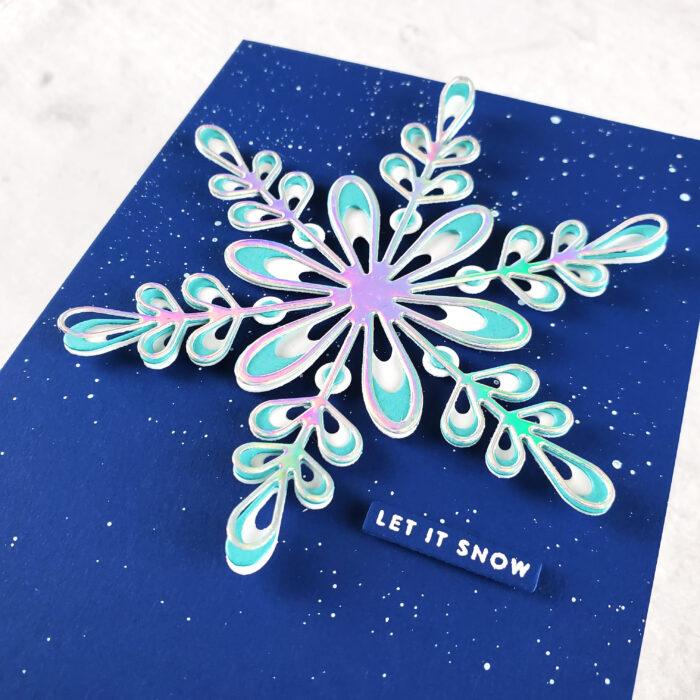
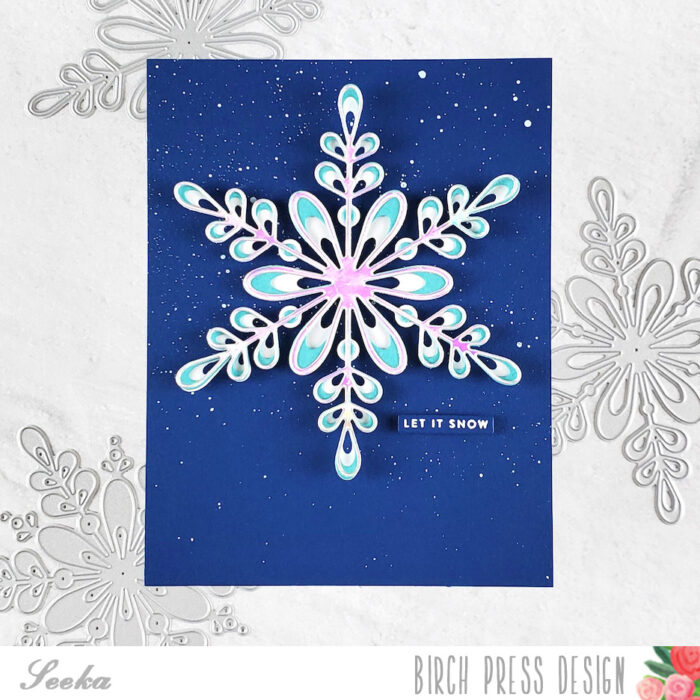
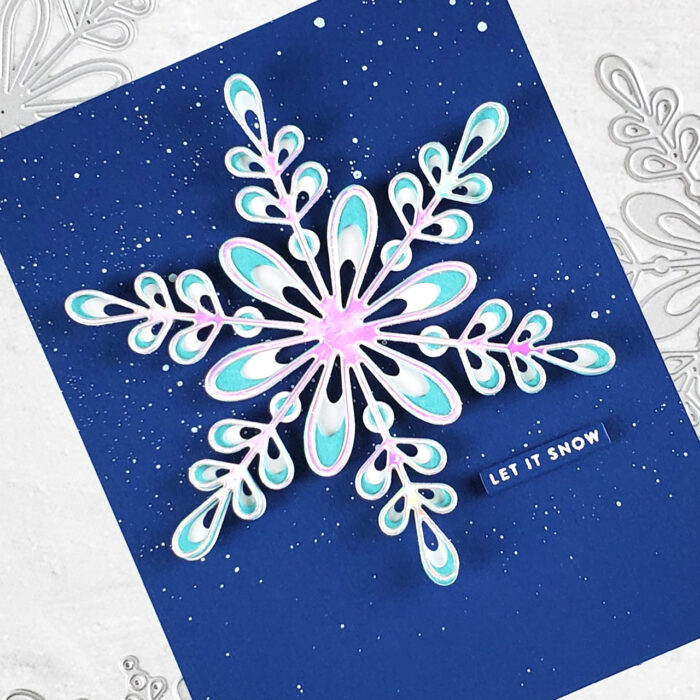
    Hello and welcome! Seeka here and today I’m sharing a quick and easy card featuring the Crochet Snowflake Layer die set.

    I cut the three beautiful layers of the snowflake from white, turquoise, and holographic cardstock and then glued the centers of the three layers together. I left the six tips of the snowflake unglued to let the layers separate and be more dimensional.

    Next, I splattered a 4.25″ x 5.5″ panel of navy blue cardstock with white acrylic paint. When the paint was dry, I used foam tape to adhere the snowflake and a small sentiment from my stash. To finish, I glued the card front to a card base.

    Thank you so much for visiting!


    Supplies


  • Just Add Sparkle | by Crystal Komara

    Just Add Sparkle | by Crystal Komara

    Hello friends and happy Monday! I hope you all had a wonderful Thanksgiving holiday filled with family, great friends and good food. This is design team member Crystal Komara here today. Now, I kind of a have a personal “No Christmas” policy until December 1 (I know, I know, feel free to snark!) so I have a snow themed card to share with you instead.

    Background details:

    Now, I’ll be completely honest, I took a gelli plate class recently and I created this background at the gelli plate class, so I can only describe how it was made in non-technical terms since I am no expert on gelli plates. In fact, I’m still terrified of them!

    Essentially I spread a magenta paint on the gelli plate and then took a skewer (or toothpick) and dragged it through (creating various lines) and created a bunch of scribble lines. I peeled it off the gelli plate and let it dry. That one was a simple one!

    Using the Frosty Flake snowflake dies, I die cut all three layers (A, B and C) from white cardstock. I adhered all three layers together with a fine tip liquid glue. Then I adhered the snowflake directly to the dried gelli plate background.

    Once the snowflake was adhered to the card I added clear rhinestones to point of the snowflakes for added sparkle. Next, I stamped the sentiment “just add sparkle” from the Contempo Christmas Greetings stamp set in Versamark ink on black cardstock. I heat embossed the sentiment with white embossing powder and then I used the coordinating die to die cut the sentiment out. I adhered the sentiment to the card using 3M foam adhesive for added dimension.

    Thanks for visiting and have a wonderfully creative day!

    Supplies
  • Glam Winter Birthday | by Toni M  Maddox

    Glam Winter Birthday | by Toni M Maddox

    Hello, Birch Press fans! Toni here with you today sharing a fun and ever so glittery winter birthday card.

    I have a lot of winter birthdays in my life so am always looking to build my stash.

    I cut out the card front from the Memory Box Majestic Hues 6×6 Glitter Pad. I wish the pictures did a better job of showing you just how amazing this paper is. AND, no glitter rubs off. That alone is a winner in my book!

    Next I cut out a few of the Adornment Snowflakes and adhered them to the glitter using Scor-tape. I cut the Sugar Script Birthday Wishes letters from white and the backer from the Memory Box Rainbow Reflections 6×6 Mirror Pad.

    I hope you enjoyed today’s card and have a great rest of your week!

    Supplies
  • Glittery Snowflake Hugs | By Natasha Vacca

    Hello Birch Press friends! I am excited to be up on the blog today! For today’s card I had a lot of fun creating a glittery snowflake card to share a hug this winter! So let’s get started!

    I started with Herbarium Plate die set. I dry embossed layer A onto a piece of white card stock. I then used several shades of Distress Oxide Ink to add color to the embossed background. Once I had the colors I was looking for, I trimmed the panel a little smaller than an A2 card base. I then set this aside.

    Next I die cut the Snowy Circle die set. I started with Layer C with white card stock, then Layer B using a blue from the Stormy Blue paper pad, and for Layer A I used the Festive Glitter Pad. Once all the layers were die cut, I adhered them together with liquid glue.

    I wanted to add a bit more dimension and interest to my snowflakes, so I chose to the use the leaves from the Dainty Rose and Leaves Contour Layers die set. I love using my dies in different ways and I encourage you to look through your stash too! I die cut the leaves using a blue from the Stormy Blue paper pad. I then added a bit more texture to each leaf using inks. I applied a bit of darker blue in the nooks and crannies of each leaf using a finger dauber. Once dry, I added a silver/white embossing powder for added texture.

    Once the leaves were complete, I used my finger to shape the leaves a bit to add more dimension. Next I glued down my Herbarium Plate embossed panel to an A2 card base using liquid glue. I then added foam tape to my Snowy Circle. Before adhering down the snowflake, I determined the placement of my leaves. I then adhered the Snowy Circle and leaves to my card front using a combination of liquid glue and foam adhesive.

    To complete my card I chose a sentiment from the Sugar Script Sentiments 1 Hot Foil Plate and die set. I foiled the Sending Hugs onto a piece of white card stock. I then used the coordinating die to die cut my sentiment. I die cut 2 more outlines and adhered them together with liquid glue for added dimension. I adhered my sentiment with foam tape and liquid glue.

    Thanks so much for stopping by today! I had a lot of fun and I will be back soon!


    Supplies

  • Sending Warm Wishes | by Toni  M Maddox

    Sending Warm Wishes | by Toni M Maddox

    Hello, Birch Press fans! Toni here with you today sharing a kind of card that I like to send when I think my card might be late to reach the recipient for the holidays or just for winter wishes.

    I sponged a panel with Distress Oxide Evergreen Bough and Cracked Pistachio then spattered that with water.

    While that was drying, I cut out the Felicity Snowflakes and Aurora Snowflake Layering Dies out of white then sponged with Distress Oxide Mustard Seed and Picked Raspberry.

    I love the unexpected colors for a winter/holiday card. Just yum. Notice how I didn’t stack the Aurora Snowflake layers atop each other but instead offset them for kicks.

    My final step was to emboss the Christmas Mandala sentiment in white.

    I hope you enjoyed today’s card and have a great rest of your week!

    Supplies