
Happy Saturday! With Christmas less than 10 days away, I think many of us are in full swing with holiday themed cards. I had a lot of fun creating a Santa card using the Adornment Santa die set. Read on to find out how I pulled this card together!
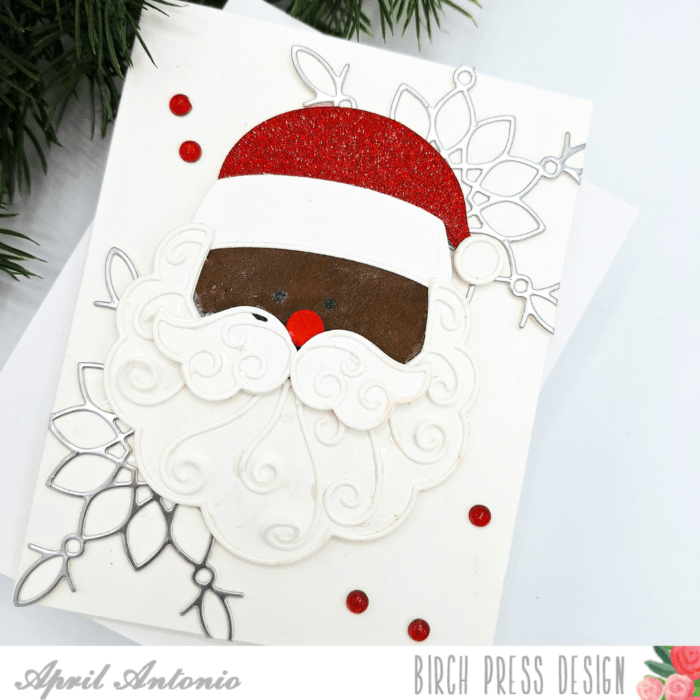
I started with the Santa Adornment die set and die cut each piece from white cardstock. I also cut the hat from a beautiful red glitter cardstock piece from the Memory Box Glitzy Glitter Pad.
I used ink and blending brushes to color my Santa brown, and used red on the circle shape for his nose.
Next I assembled Santa together, starting with his face and, beard, and hat pieces. Then I added his mustache and nose, and also made sure to layer the thin outline cut out pieces (I did leave the outline pieces off of his hat by choice). I used a shiny black gel pen to add eyes to his face 🙂

For the card base I cut the outline from the Adornment Snowflake out of silver cardstock I grabbed from the Vintage Pastel Mirror Pad (which is one of my favorites!). I cut the snowflake background from white cardstock and layered the white and silver pieces together. I then glued the assembled snowflakes to my A2 card background, and trimmed off the pieces that were hanging over.
I then glued my Santa on top of this background, and added red Christmas Fairy Crystals around him for some extra shine.
That is it! The Adornment Santa is super cute and perfect for the holidays!

Supplies


Supplies


