Category: Stamps

  • Thankful Mandala | by Crystal Komara

    Thankful Mandala | by Crystal Komara

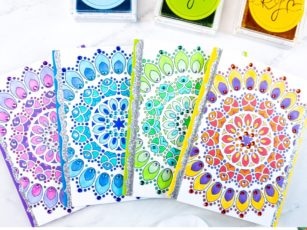
    Hello crafty friends! This is Crystal here today sharing two cards made using the beautiful Thankful Mandala background stamp. I chose to work with this stamp set because it was something very different for me, and I am so happy that I decided to challenge myself because I love how these cards turned out! In fact, I had so much fun experimenting with this stamp set that I’ll be sharing even more cards using it at the end of the month!

    The very first thing I did after receiving the stamp was to actually cut down the Mandala! Yes, this was equally as scary as it might sound! I knew this could go wonderfully right, or horribly wrong really quick and that I was taking a chance at potentially ruining a $25 stamp set! I didn’t particularly like the large square shape of the mandala, so I trimmed off the outermost layer to give it more of that peacock edge shape. Fortunately, it worked out just fine! Phew!

    Card details:

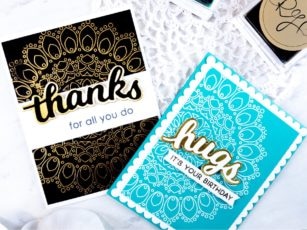
    The base of this A2 sized card is made from 80 lb. Neenah Solar White Smooth cardstock. I stamped the large mandala in Versamark ink on black cardstock and then heat embossed it with gold embossing powder. I cut the mandala in half in order to separate it on the card. I adhered each half to the top and bottom of the card base. I die cut the larger outline word “thanks” from gold foil paper and the smaller word outline from black cardstock. I mounted the two together using a Tombow tape runner and adhered both to the center of the card using 3M foam adhesive. Lastly, I stamped the sentiment “for all you do” in the middle of the card in Memento Tuxedo black ink.

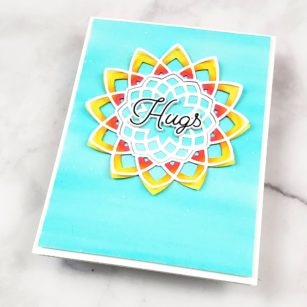
    For the second card, my card base is a sheet of turquoise cardstock. I stamped the mandala in Versamark ink on another sheet of turqoise cardstock and heat embossed it with white embossing powder. I trimmed the image down to 5″ x 3 3/4″ and mounted this stamped mandala onto a scalloped sheet of white cardstock. I adhered both sheets to the card base. I die cut the word “hugs” from both gold foil paper and white cardstock, layering the two together using a Tombow tape runner. I stamped the words “it’s your birthday” in Versamark ink on a thin strip of white cardstock and heat embossed it with gold embossing powder. I notched both ends before adhering it to the card below the word “hugs” using 3M foam adhesive.

    I hope you have enjoyed these cards featuring the Thankful Mandala stamp set. Thank you for visiting and have a wonderfully creative day!

    Supplies

  • Enchantment by Jeanne Jachna

    Enchantment by Jeanne Jachna

    Hi friends! I hope you’re all safe and well! Now more than ever I’m turning to crafting for a sweet escape and a way to deal with stress.

    Today I’m sharing a card made with the beautiful new Enchantment layered die set. The set includes three full size (A2 4.25 x 5.5″) cover plates with lots of versatility.

    Not only can you mix and match the three layers , you can also switch out the colors of the half circles on the left margin of the die. I cut the die from shades of red, yellow and orange and layered them over a glittery panel of card stock from the Memory Box Pastel Glitter Pad. TIP: When layering dies always complete the entire bottom layer first, then the entire middle layer etc. This allows you to fit the die cuts tightly together with no gaps.

    I die the the Thanks Honey Script word die from three shades of blue. I chose a contrasting color so the word die would contrast with the background.

    This die set has so much potential – imagine all the different shades and colors you can assemble the layers in!

    Finished Size 4.25 x 5.5″

    Supplies


  • Stenciled Color Bars | by Jennifer Svare

    Stenciled Color Bars | by Jennifer Svare

    Hi everyone! Today’s cards were made with graduation in mind, but could be used for anyone starting a new chapter in life! These are watercolored using Zig Clean Color Real Brush pens. The clownfish was created by stamping in a very light ink, and colored in using a no-line watercolor technique. The turtle was stamped and embossed with gold embossing powder.

    The Ocean Fantasy clear stamp set has so many great sea life stamps. I practiced a lot with the clownfish. No-line coloring is new to me and I really enjoy it. The turtle was super quick, because it was simply embossed and colored in with multiple colors. After the colors were scribbled in, I went in with a water brush and simply blended it together. Really fun! A few gems were placed on the turtle’s shell for a little sparkle, and I coated the white parts of the clownfish with a clear glitter brush pen for shimmery scales.

    The thin bars were created using distress oxide inks and the Midnight Mandela stencil. I simply masked off the area that I wanted to color with blue painter’s tape, laid down the stencil where I wanted it to be, and colored it in. The Follow Your Dreams sentiment is part of the Lovely Butterflies stamp set.

    I wanted to show how the stencil works with very thin as well as thicker lines – two very different looks.

    So many of the sea creatures would look great for this style of card, and all are easy and a lot of fun to color in!

    Thanks for checking in today! I hope you have a wonderful day!


    Supplies


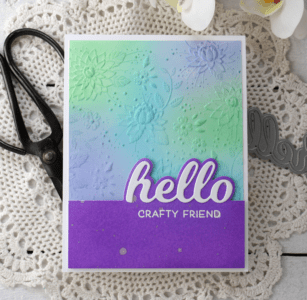
  • Hello Crafty Friend | By Seeka

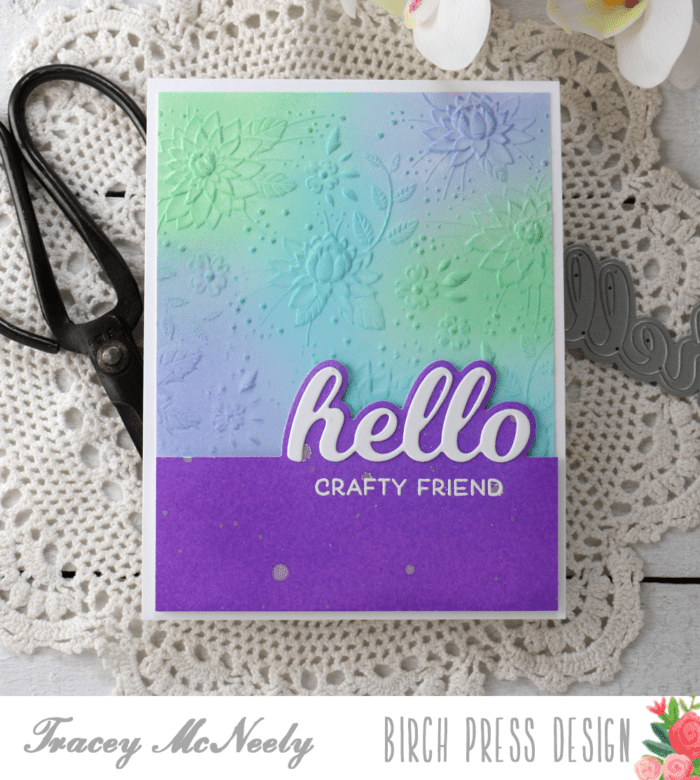
    Hello Crafty Friend | By Seeka

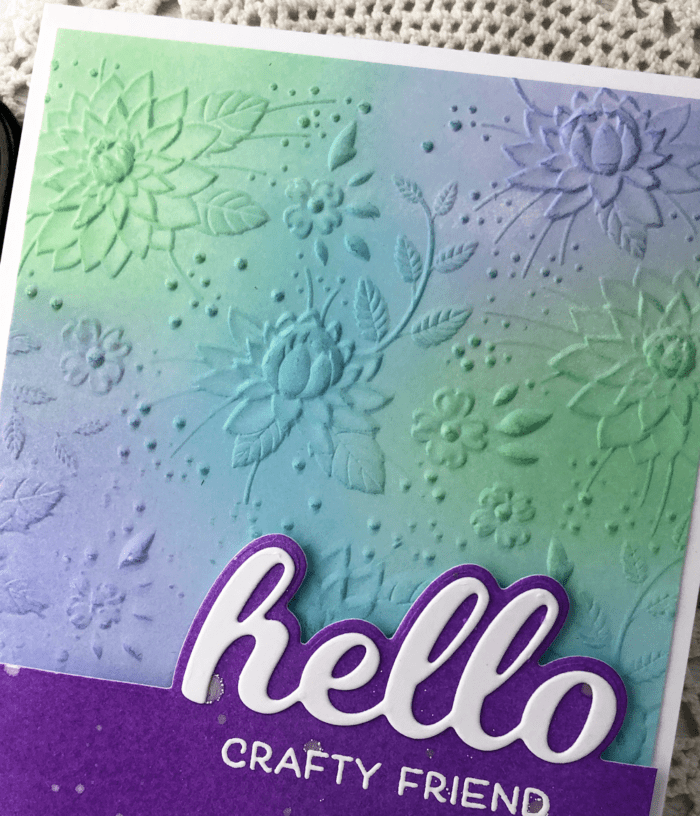
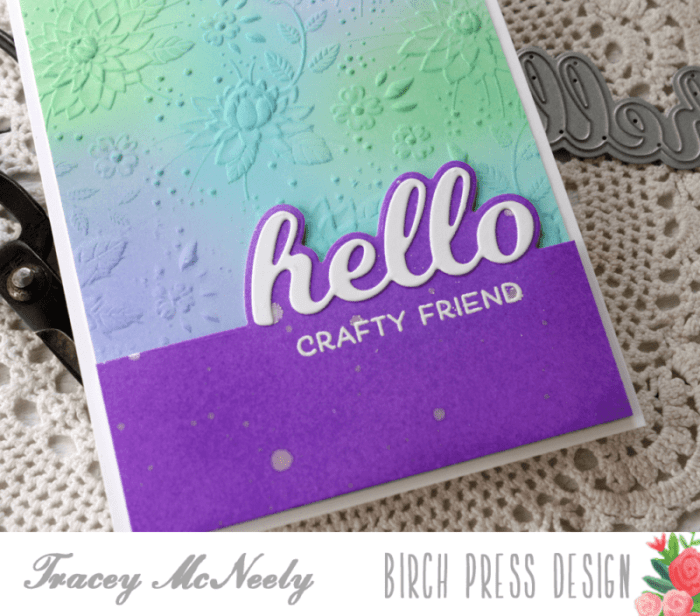
    Hello! Seeka here and today I’m sharing a quick and easy card featuring the Ring Tile stencil and the Hello Topper die.

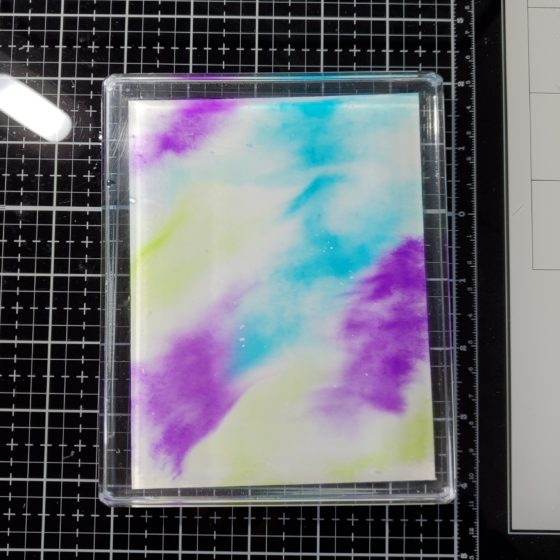
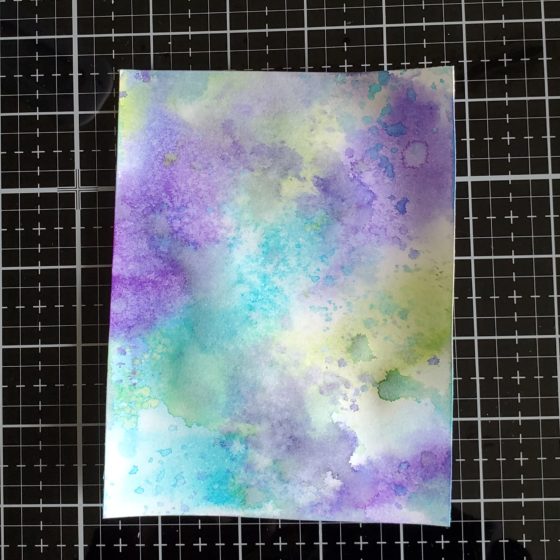
    I started off by using low-tack Purple Tape to tape an A2-sized piece of bristol smooth cardstock to the stencil. Then I used foam blending tools to blend Victorian Velvet, Seedless Preserves, and Wilted Violet Distress Oxide inks over the stencil, blending the colors where they met to create a gradient effect.

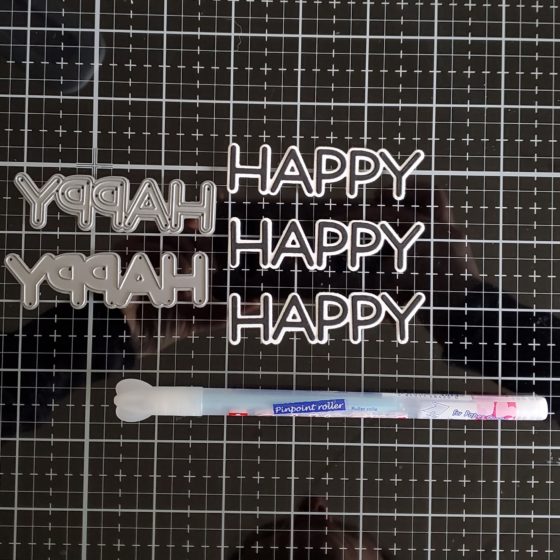
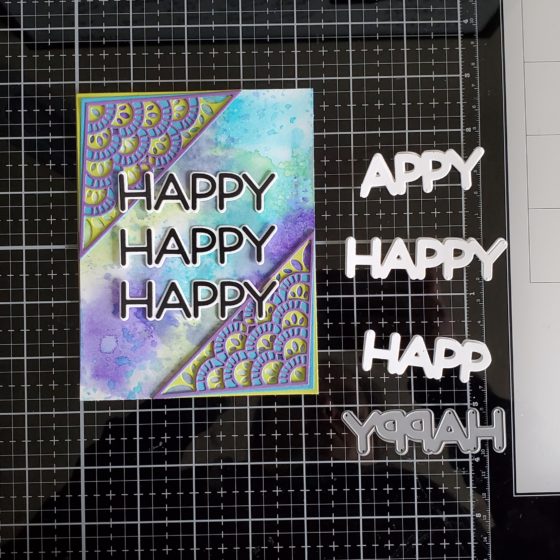
    Next, I die cut the Hello sentiment and shadow layers out of white cardstock. I cut the sentiment four times, and the shadow layer twice, so that I could stack and adhere them together for a bit of dimension. Using the negative space of a die cut to help hold the sentiment in place, I blended Seedless Preserves and Wilted Violet over one layer of “Hello” before adhering all of the pieces together.

    I trimmed the background to 4″ x 5.25″ and then adhered the sentiment’s shadow layer along the bottom, trimming off any excess that extended past the edges of the background. Then I stamped the “my crafty friend” sentiment in pigment ink. This sentiment is part of a stamp from the Just Because stamp set.

    To finish, I adhered the ink-blended sentiment onto the shadow layer, and then adhered the card front to an A2-sized card base.

    Thank you so much for visiting!


    Supplies


  • Glittered Hugs | by Tracey McNeely

    Glittered Hugs | by Tracey McNeely

    Hi there, it’s Tracey here today with a super glittery card and video using the String Art Frame die along with some other products from the recent Spring release.

    For full start to finish instructions see the video below.

    To create my background I started off by ink blending a panel of Bristol Smooth cardstock using three shades of Distress Oxide Inks–Cracked Pistachio, Peacock Feathers and Shaded Lilac. I used the Ring Tile Stencil to stencil over the panel using Nuvo Glimmer Paste in Moonstone.

    Once the stenciled design was dry I adhered it to the front of my card base with tape runner. The String Art Frame die was cut from heavyweight white cardstock and then glued it to the glitter stenciled, blended ink panel with liquid glue.

    TIP: Try dotting liquid glue around the outter edges and on any connection points when working with an intricate die cut for good coverage.

    The Honey Script Hugs word dies were cut with vellum for the base and white cardstock for the word and glued together also with liquid glue. It was adhered over the circle in the centre of the String Art Frame by adding a bit of glue to the left and right edges of the word.

    To add a sentiment on the inside of the card, I cut of panel of white cardstock to 5″ x 3 3/4″. Then I stamped ‘spread kindness this Easter’ using the Blooming Spring clear stamp set and attached the panel inside the card.

    The glittered stenciling with the die cuts on top add so much dimension and depth to the finished card.

    Thank you so much for stopping in and creating with me today. Wishing you and your family a Happy Easter and hope that we will all be able to celebrate once again with the people we love.

    Supplies

  • You are So Awesome: Glittered Stencil and Butterflies | by Kimberly Wiener

    You are So Awesome: Glittered Stencil and Butterflies | by Kimberly Wiener

    Hello Birch Press Design fans! I am sticking with the “Spring” theme in my creations today. This design is a total glitter-ful stunner that will please any receiver.

    I stamped and die cut the Lovely Butterflies clear stamp and die set in black versafine ink. The gorgeous wings were colored with blendable alcohol markers in bright pinks and lavender shades. Drops of Pansy and Topaz Gleam Glitter Glue were added to the body as well as the circle details on the wings.

    The Leafy Rows Stencil was blender brushed on a heavy weight white cardstock in a light citron green, a darker green shade, and a muddy yellow amber distress ink.

    A layer of clear glitter gel paste was stenciled over the ink layer. Once dry, the stenciled cardstock is trimmed to 5.5 x 4 to make two card front panels.

    The sentiments from the You are Awesome Clear Stamp Set stamped in black ink and a .25 inch strip of black card stock placed beneath the stencil layer.

    I just love this soft and very Spring ombre effect that shines through. You will love the results too if you are able to try this technique. Happy crafting!


    Supplies

  • Regal Peacock | by Crystal Komara

    Regal Peacock | by Crystal Komara

    Hello readers and happy Saturday to you! This is Crystal here with you today, and I hope that you are all enjoying your weekend thus far, and, more importantly, I hope that you are all happy, safe and healthy. We are fortunate to all share a common hobby that can be done from the comfort and sanctity of our homes. So keep on creating, but, don’t forget to also SEND those cards out to help brighten someone’s day! We could all use a little extra love right now.

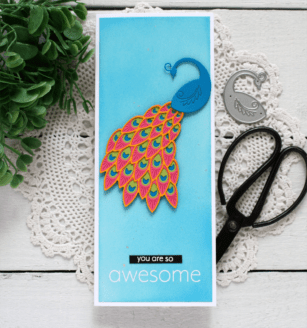
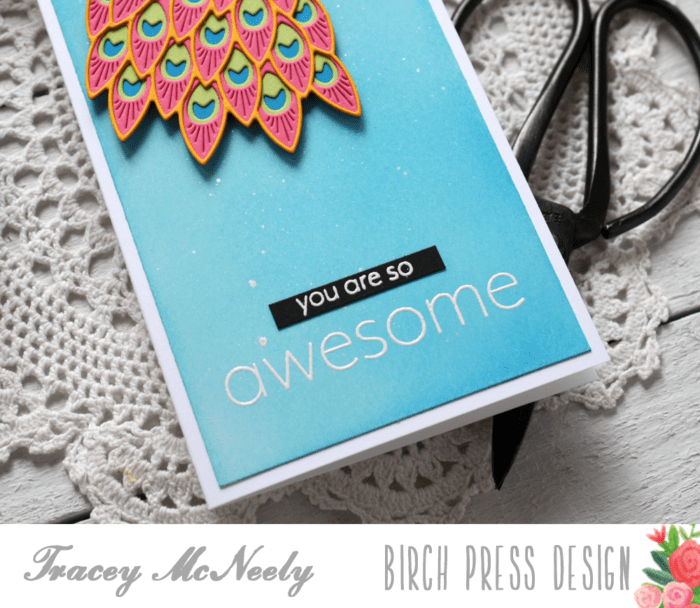
    Today I am sharing two different cards that I created using the beautiful Regal Peacock Layering Dies. These dies were the very first layering dies that I actually purchased from Birch Press Design and I have to say, now that I’ve actually assembled them into cards, they are every bit as beautiful, elegant and regal, as I thought they would be.

    I created the “traditional” teal colored peacock card first (seen below), but I was very curious to see if a non-traditional colored peacock (purple) would have the same WOW factor, and yes, as it turns out peacock’s are beautiful creatures in any color!

    I have created a step-by-step tutorial video for you showing how each of these cards was created. I hope you will find it helpful!

    Thanks for visiting and have a wonderfully crafty day!

    Supplies

  • Stained Glass Dahlia | By Seeka

    Stained Glass Dahlia | By Seeka

    Hi crafty friends, thanks for coming by! Today I’m sharing a clean and simple card with an unexpected detail, a faux stained glass effect. This card features the Dahlia Mini Frame Layer A die, and a sentiment from the You Are Awesome stamp set.

    I started by using the die to cut a piece of 80# white cardstock. Instead of letting all of the little pieces fall out, I kept all of the pieces together by adding several strips of paper tape across the back of the panel. Then, using Copic markers V12, V15, V17, and Y18, I quickly and messily (!) colored in the petals and the center of the dahlia. I also stamped the sentiment in black pigment ink.

    Next, I used the die three more times on heavier 100# cardstock. I stacked and adhered the three layers together with a Zig 2-way Glue Pen and then adhered the stacked piece over my Copic-colored layer.

    For my background, I used a foam blending tool to blend Milled Lavender Distress Oxide ink around the edges of a 4-bar sized piece of bristol smooth cardstock. I adhered the dahlia frame to the background and adhered the card front to an 4-bar card base. For the last touch, I added Ranger Glossy Accents to each petal and the center of the dahlia, using a craft pick to help push the Glossy Accents into nooks and crannies.

    Thank you so much for visiting!


    Supplies

  • Honeycomb Bevel Plate & Giveaway | by Kimberly Wiener

    Honeycomb Bevel Plate & Giveaway | by Kimberly Wiener

    Hello there creative and awesome Birch Press Fans. We are still celebrating the newest release with a Giveaway!

    We will be having giveaways on our Instagram Account March 21-29, 2020. One comment will be chosen at random from each of the Instagram posts during the blog blitz. Only one prize per person per giveaway. We use a random number generator to select winners from comments. You have until midnight US EST April 1 to leave a comment on each and every Instagram post that you want to enter. Winners will be announced on the Instagram posts on April 3.

    For a chance to win the Honeycomb Bevel Layer Set…..

    1.) Follow Birch Press Design on Instagram
    2.) Double Tap (LIKE) the post with this giveaway
    3.) Tag A Friend in the comments
    Good luck! And thanks for joining us!  

    I have created two spring themed cards for you using the Honeycomb Bevel Plate Layer Dies.

    I have used the backdrop of a few of the lovely spring and floral papers in the new Memory Box Cottage Meadow Paper Pack.

    The Honeycomb Bevel Plate Layers Set can be used as a single card cover die as well as in layering. For the “Happiest Birthday” card you will die cut the “C” die twice and cut to piece across the entire A2 size card front.

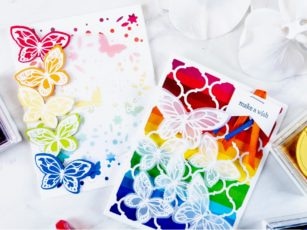
    Have you seen the new Fairy Sugar Glitter Glues? I have had some sparkly fun by adding some onto the Lovely Butterflies Clear Stamp Set.

    I really loved all the various sentiments from the Poppystamps Greetings Basics Clear Stamp Set and used one for each card.

    The butterflies were embossed and colored in bright colors matching the papers. Drops of glitter glue in Pansy, Strawberry Ice, and Goldenfinch were placed on the edges of the butterfly wings.
    The sentiments and butterflies were popped up on double sided foam tape for extra dimension.

    I hope you are enjoying the Spring paper colors, sparkle-licious glitter glue collections, clear stamps, and amazing dies, offered in this newest release!

    Supplies