Hello Everyone!
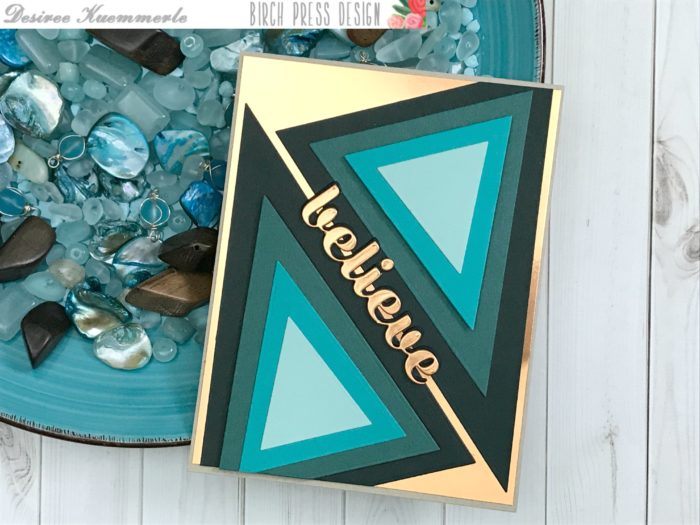
I am back with another project, this time using the Tall Triangle Set with the believe Sugar Script Sentiment Die!
Hard to image a die so simple in shape can have so many possibilities!
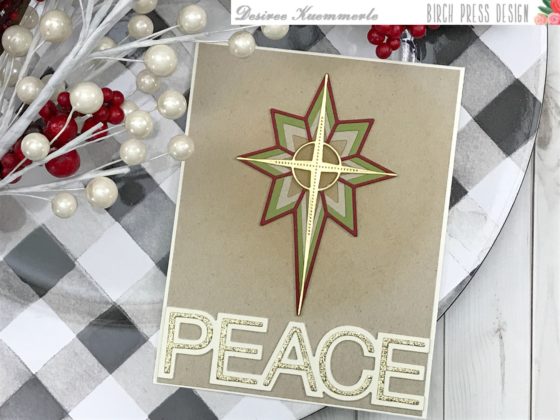
For this card I wanted a deco or modern feel. So I went with a strong copper metallic card stock and shades of green and teal for my triangle die cuts. I layered most directly on top of each other using liquid adhesive but chose one layer on each triangle set to be popped up using my foam squares.
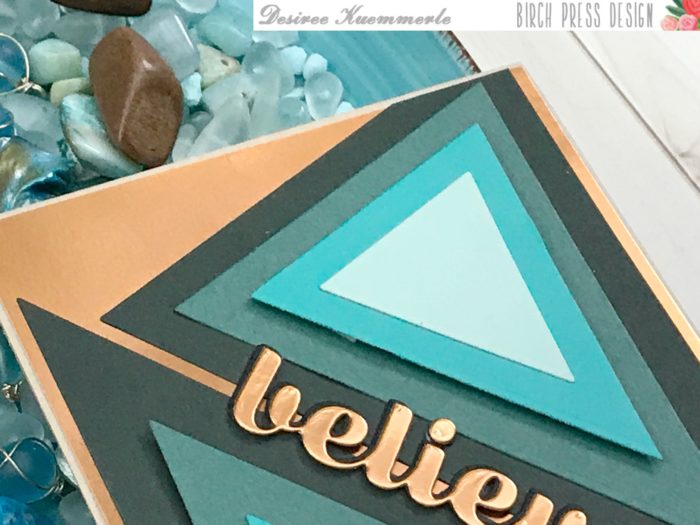
These were placed on my copper panel on an angel and trimmed of the edges even with my design base on the top and bottom.For my sentiment I used the Believe Sugar Script die. I cut multiple sentiments from black card stock and one from copper mirror to match the background.
Once these were set, I placed my sentiment between my two triangles.

I used my liquid adhesive to secure my panel to my standard A2 size top folding card base (4 1/4 inch x 5 1/2 inch).
If you want to see more details just click on the video below and see our project come together step by step!
I hope you enjoyed today’s project… Make sure you stay tuned for more wonderful projects coming soon! Have a great day and always remember… Be Creative!

Supplies


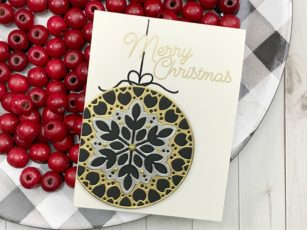
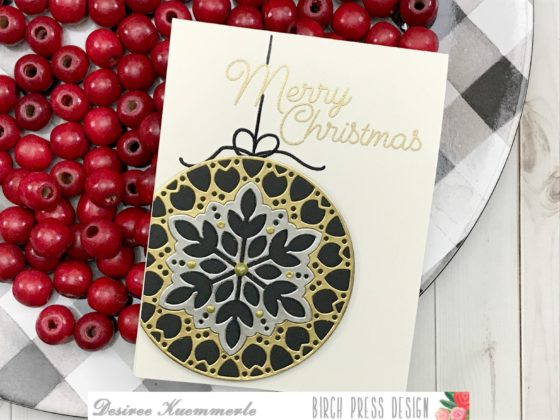
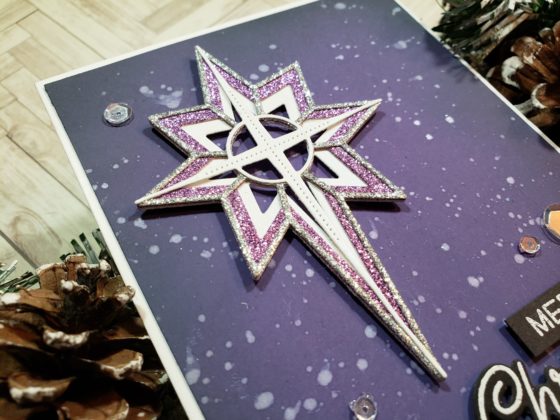
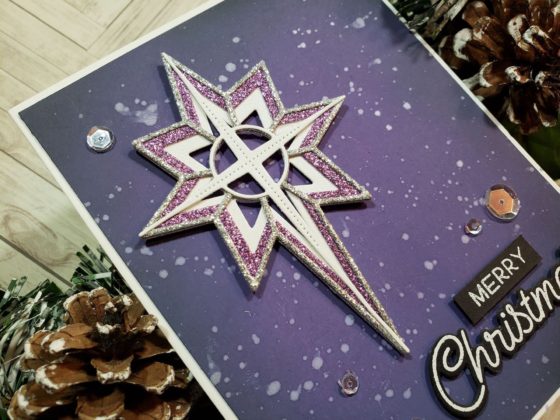
 Hi there, it’s Tracey back today with some more inspiration using Birch Press Design craft dies. There is something magical about snowflakes and even more magical when you combine them with some sparkle.
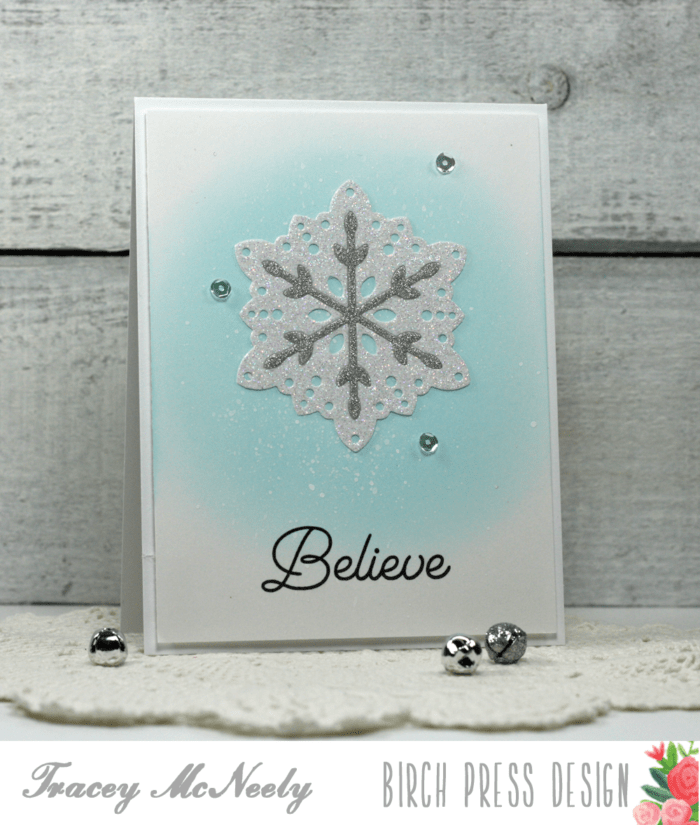 To create this card I die cut the
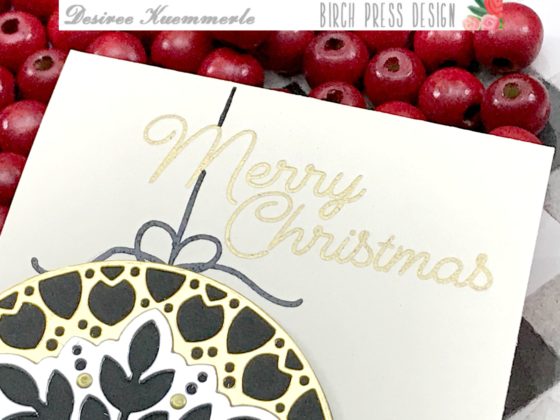
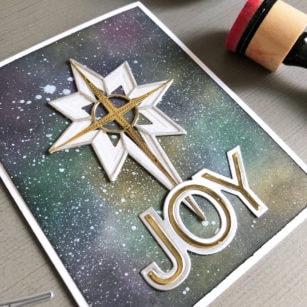
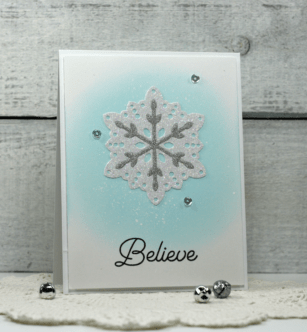
 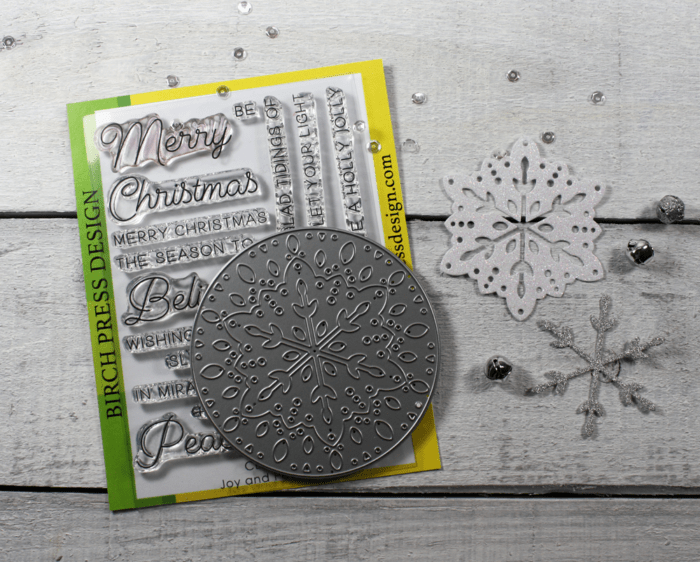 The background was created by blending some Tumbled Glass Distress Oxide ink on to a 5 1/4″ X 4″ piece of Bristol Smooth cardstock and then the panel was splattered with Copic Opaque White. Once it was dry I stamped the sentiment from the
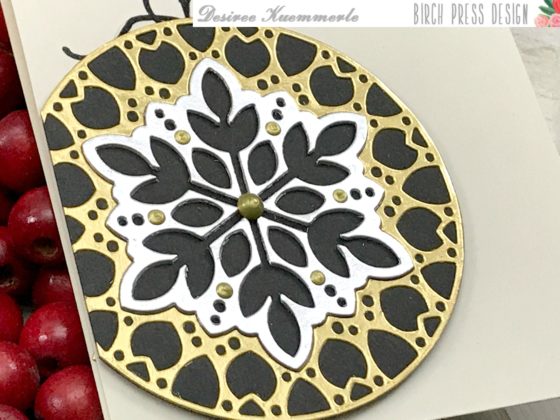
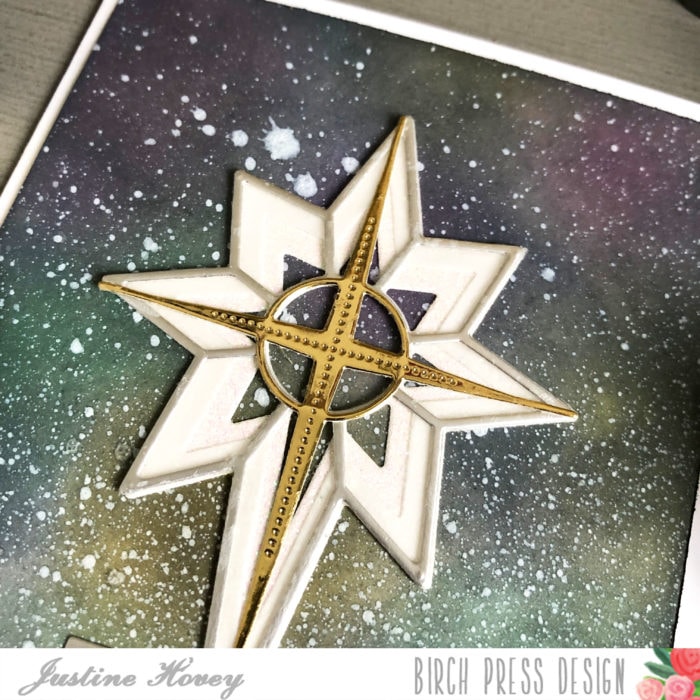
 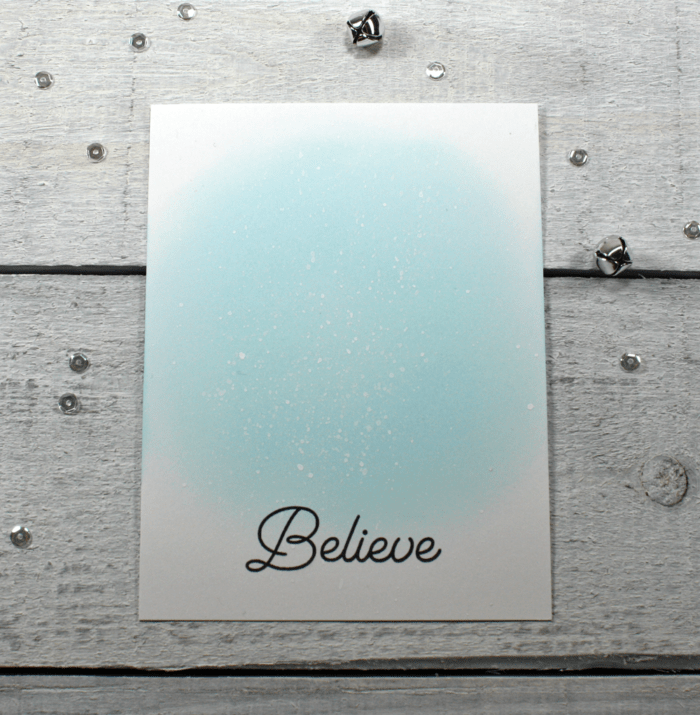 The snowflake was assembled right on the panel by first adhering the larger white snowflake to the centre over the sentiment and then the thin silver snowflake with inlaid into it. Lots of pretty sparkle and the blue ink blending behind it creates a very dreamy looking snowy scene.
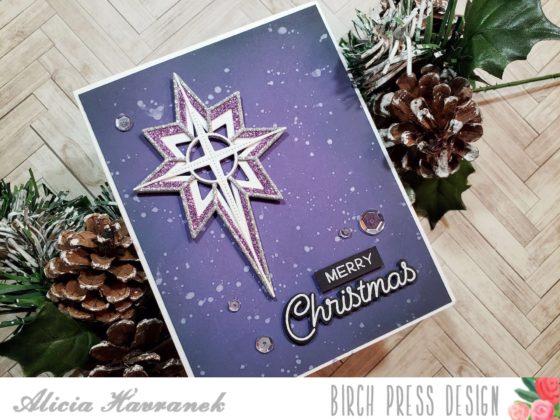
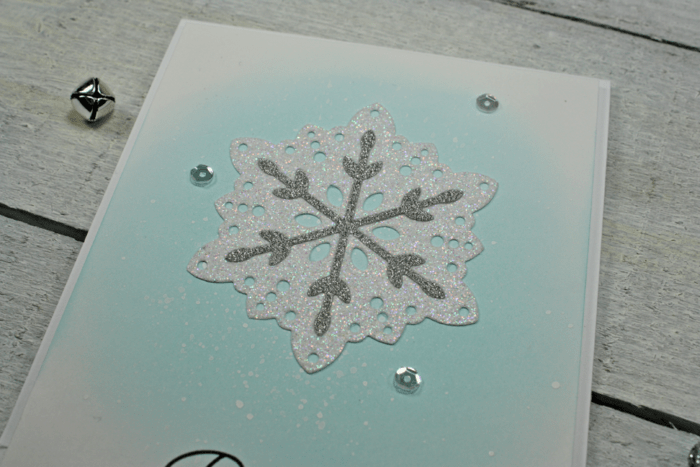 The panel was attached to the card base using some foam tape for dimension.
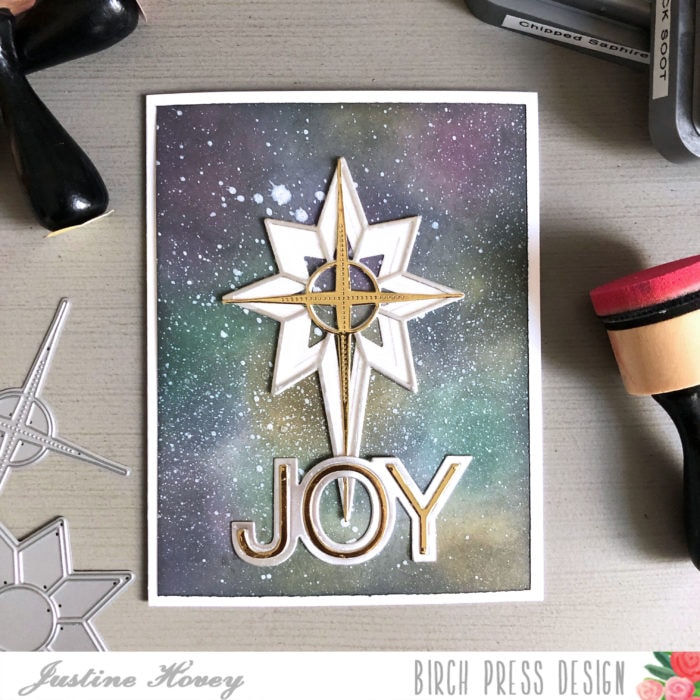
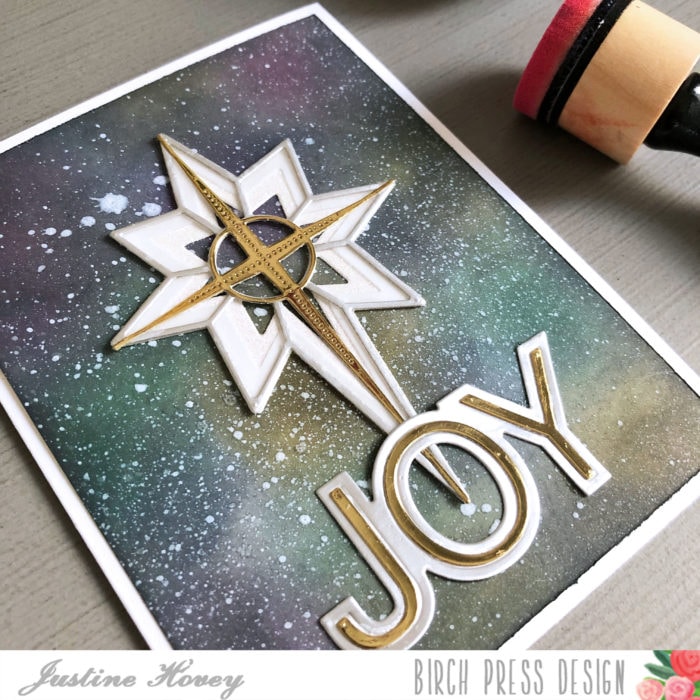
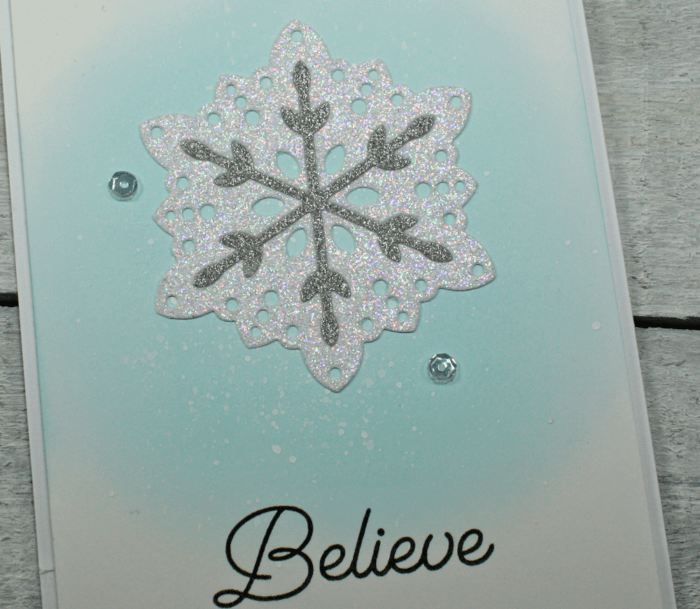
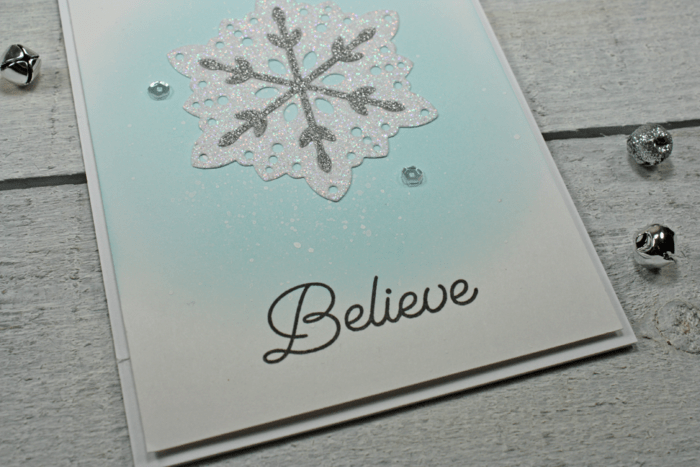 Using sparkle cardstock with any of the Birch Press Design craft dies adds a special touch to your cards. Look at how pretty the snowflake is with two shades of sparkle cardstock.
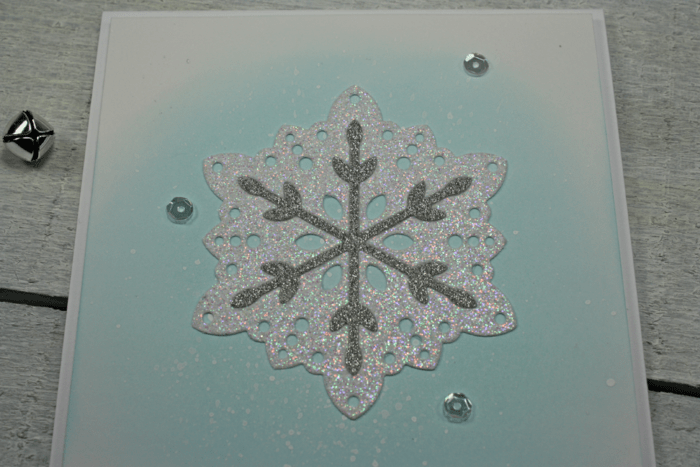 Have another look at how pretty the card is.
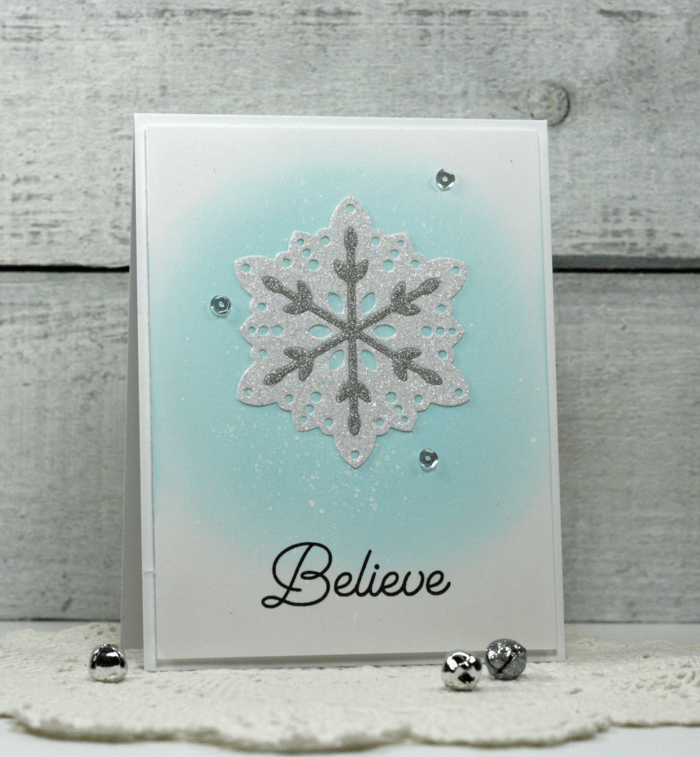 Thank you so much for creating with me today to create a pretty card. Dig out your dies and give this technique a try. Have a wonderful day.


 Hello Everyone!


 Welcome back for another day of Birch Press Inspiration. As the countdown to Christmas has already begun I still have a few cards to make. The
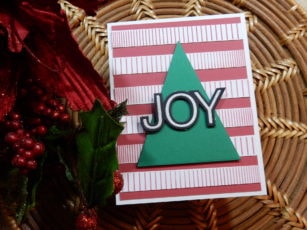
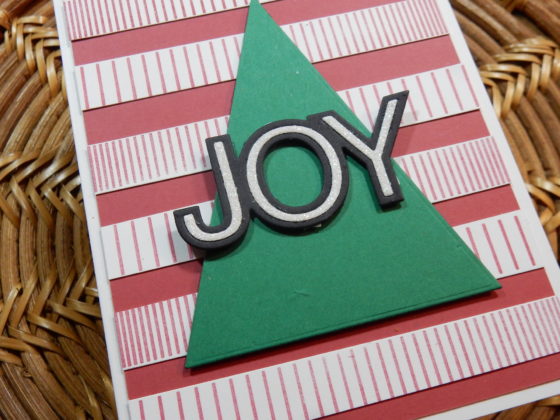
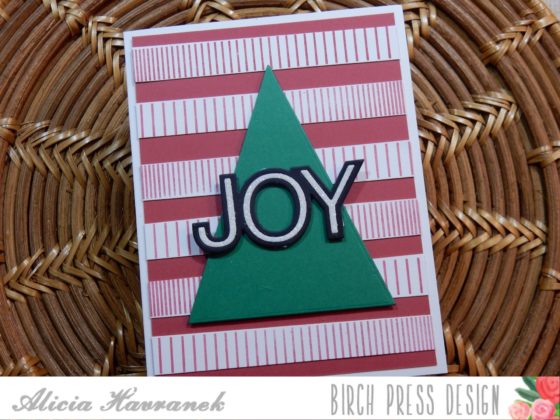
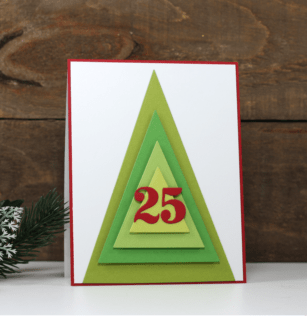
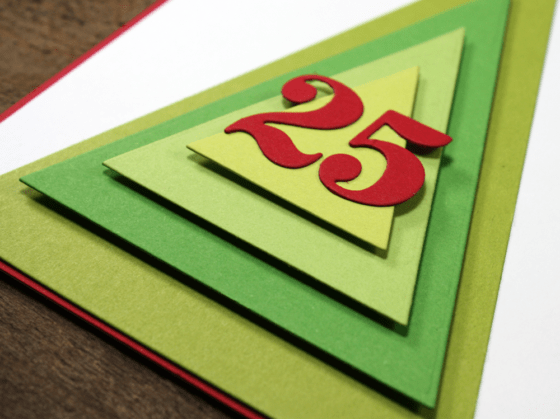
 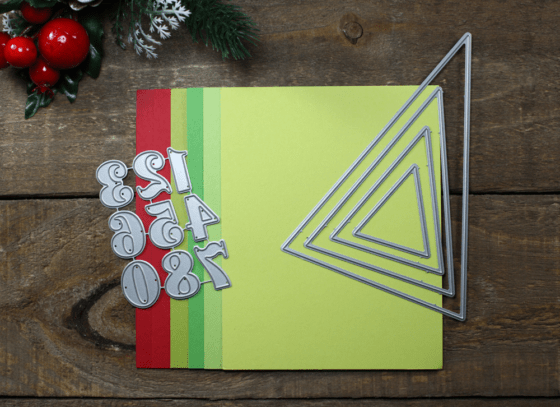 I simply chose three shades of green cardstock and cut them with the Tall Tree dies. I think I spent more time choosing which layer would be which colour than it took to actually create the tree!
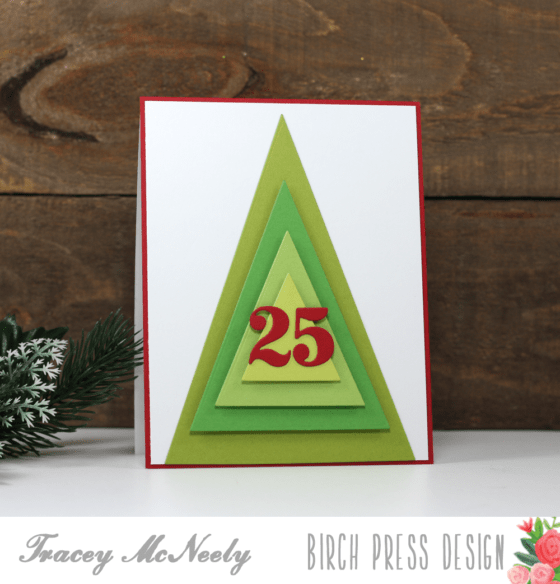 I created a red front for my card base and then added a white panel over it for my tree. The base was the largest die cut triangle, I adhered that to the card front directly. Then I adhered the remaining three layers using foam tape to give the completed tree dimension. The numbers were from the new
 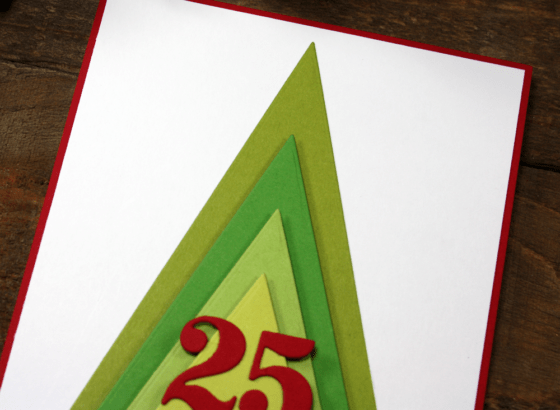 With the layers you can make multiple cards in no time.
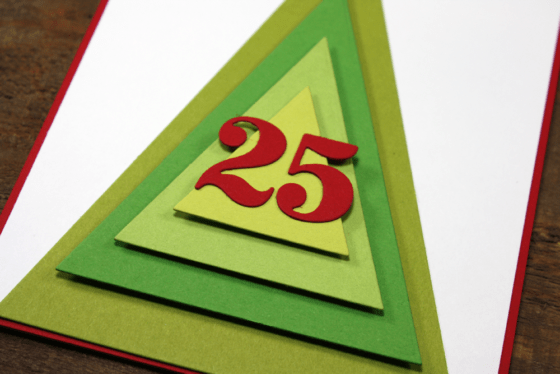 I stamped two sentiments from the
 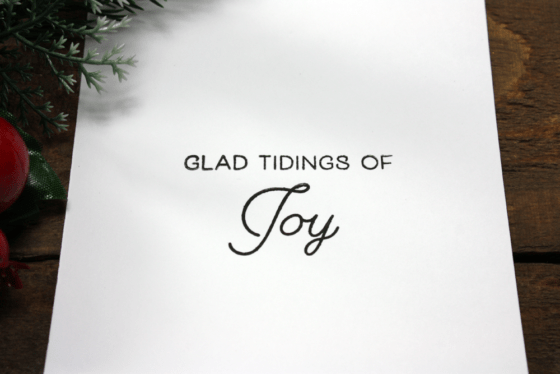 Just two craft die sets I as able to create today’s card. You can get creative with so many colours.
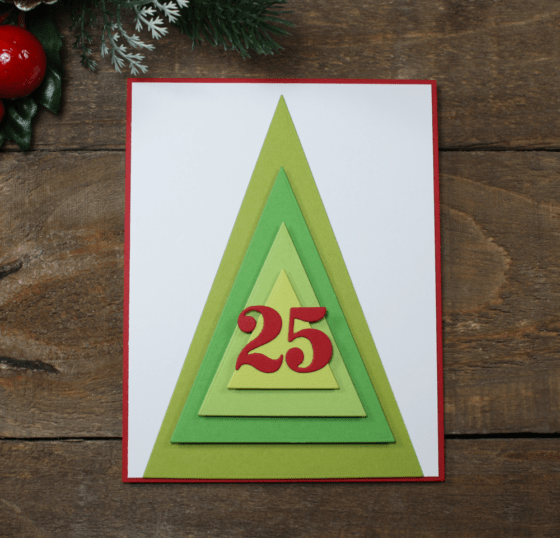 Thanks for stopping by today and I hope that I have inspired you to make some cards using just a couple set of craft dies! Have a wonderful day getting creative.

 Hi there, it’s Tracey and welcome back for another inspiration post. Today I have the pleasure of introducing the brand new Birch Press Design
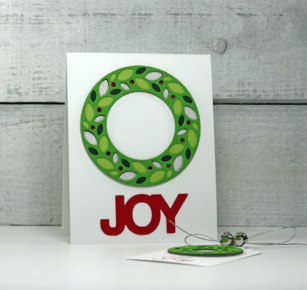
 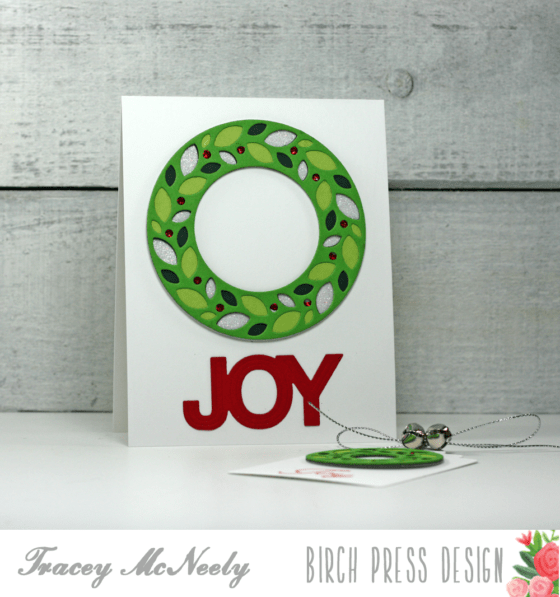 I created the beautiful wreath mandala using three shades of green cardstock and one sheet of sparkle cardstock. Once I die cut all the pieces I separated the inside from the wreath to use to make a second project. These are the supplies that I used…
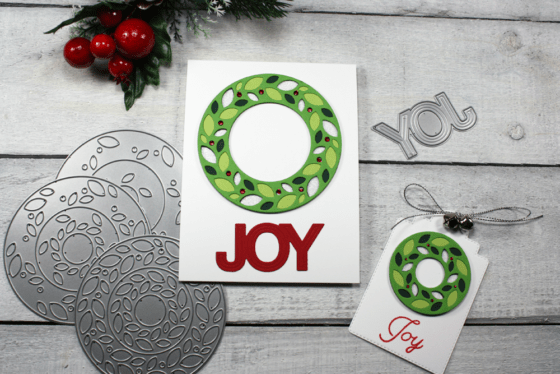 The wreath craft die set comes with four Layers (
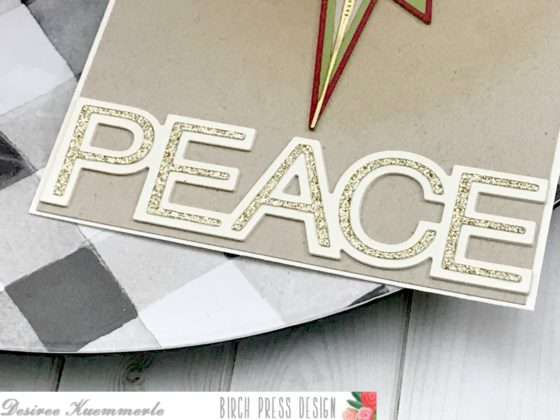
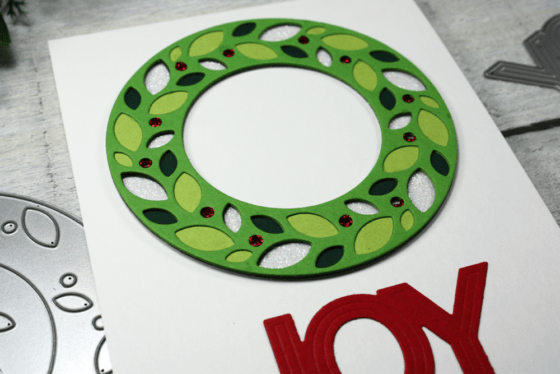 I die cut the joy sentiment from the new Simple Joy craft die set using red cardstock. Classic Christmas colours that really pop off the clean white cardbase.
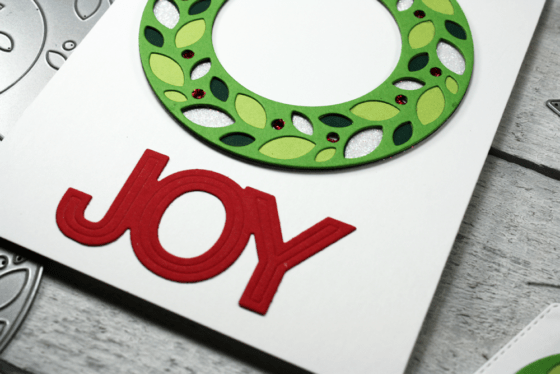 I set the assembled card aside and I glued the centers from layers A through D together, once again with liquid adhesive. I die cut a tag from the Poppystamps Stitched Main Street Tags and I adhered the tiny wreath on to the tag. Then I stamped Joy from the
 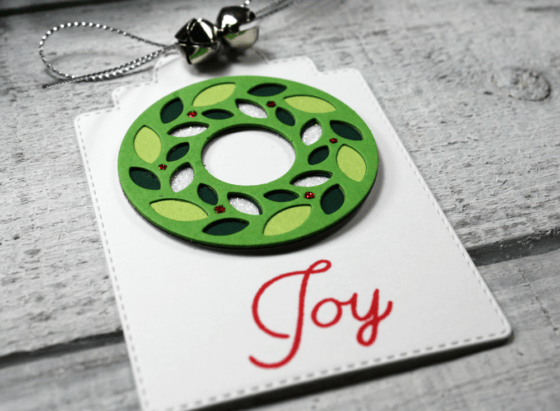 It is always fun to stretch your supplies and it was easy to create two projects at the same time. This would be a lovely duo for a Christmas present. A tag for the package and a card inside.
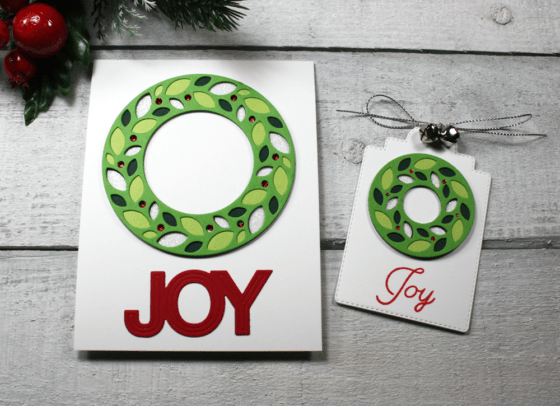 Thank you so much for joining me today! I am excited to share with you that I have a PRIZE for one lucky person on the