Category: Thank You

  • Just a Note | By Natasha Vacca

    Hello Birch Press Friends, I am super excited to be back up on the Birch Press Designs blog today! Today’s card features a few floral dies from the latest collection. I had a lot of fun creating today’s card, so let’s get started!

    For today’s card I started with 4 die collections and 2 pads of colored card stock from Memory Box. I am using the Phlox Blooms and Leaves Contour Layers, Mixed Berry Contour Layers, Delicate Floral Buds Contour Layers, and the Sylvan Berries and Leaves Contour Layers. I used 2 pads from Memory Box: Berry Red and Lush Green. I love these pads of paper! The colors are amazing and they die cut beautifully and they are super easy to add ink blending on top as well! From each of the die sets listed above I die cut the leaves and stems using 2 shades of green paper from the Lush Green pad. Then for the floral dies (shared above) I used 2 shades of pink from the Berry Red paper pad.

    After my leaves and florals were all die cut I laid them out on my ink blending mat. For the green die cuts I used a combination of a light and green dye ink. On the pink layers I used a combination of dark pink and a purple dye ink. Once all the inking was completed I added water droplets to add a bit more texture to each piece. I added the water droplets, then picked up the color with a paper towel.

    I set each piece aside and allowed them to dry. Once dry I adhered the leaves and floral layers together with liquid glue. I then added metallic gold splatters to the flowers. I allowed these to dry.

    Next I chose a background from my gelli print stash. I trimmed the gelli print panel down, then adhered this to a piece of cream colored cardstock and adhered this to an A2 card base. I then worked on the arrangement for the flowers, stems, and leaves. Once I was happy with the layout I adhered all the layers down using liquid glue and foam tape onto the gelli print background.

    To complete my card I chose to use the foiled sentiment Just a Note from the Sugar Scripts Sentiments 1 die set. I foiled the sentiment then adhered this to my card front using foam adhesive. Finally I added a few Fairy Drops to finish my card.

    I had a lot of fun creating today’s card! I hope you like it! I will be back soon to share more crafty inspiration!


    Supplies


    Supplies


  • Spring Green | by Rosemary Dennis

    Spring Green | by Rosemary Dennis

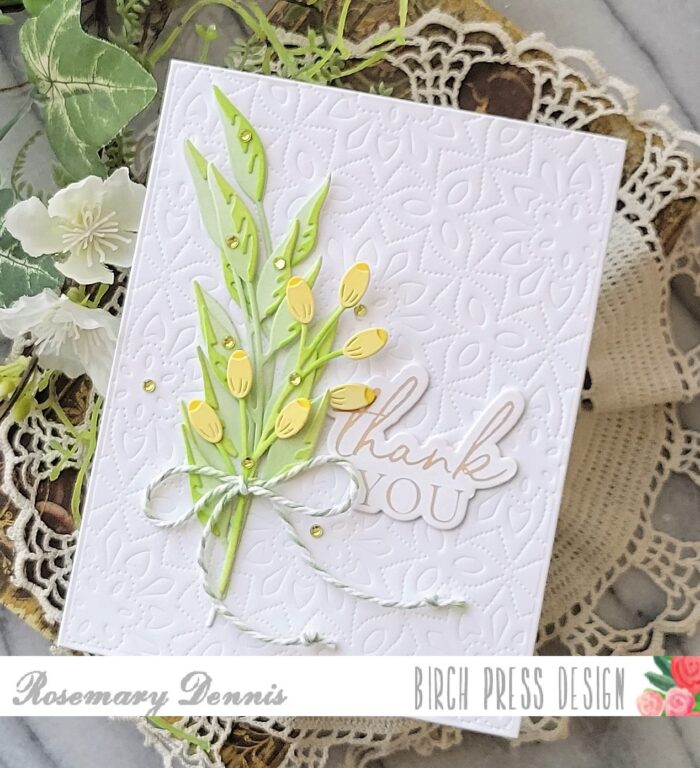
    Happy Spring everyone! Today I’m sharing a sweet card showcasing the new Slyvan Berries and Leaves Contour Layers dies and the Thank You Noted Script hot foil plate and die set.

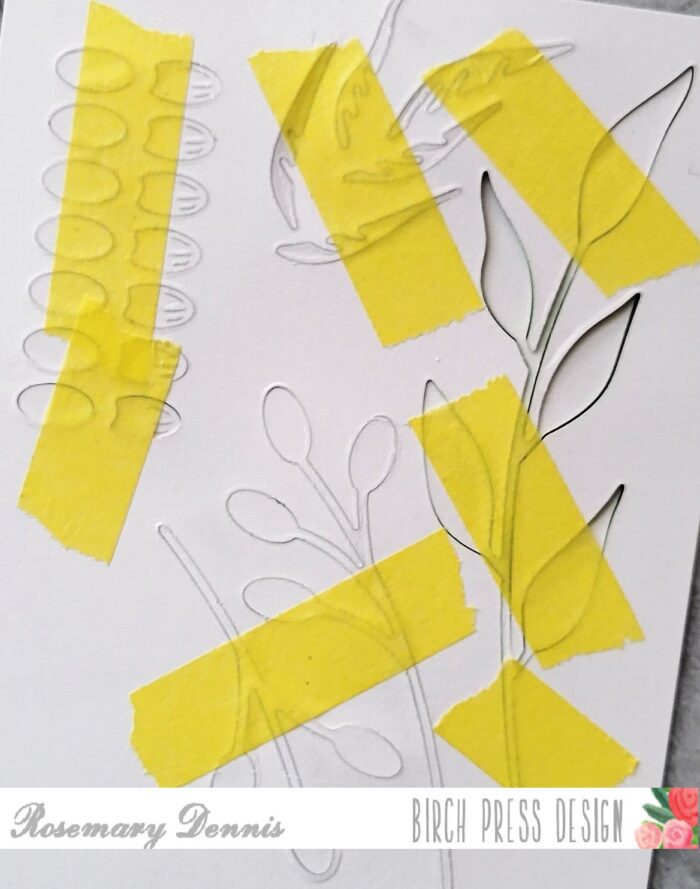
    Over my years of crafting I have learned a couple of things that help me when it comes to ink blending on small die cuts. One of those things is that when I die cut the pieces I do not remove them, but flip my cardstock over and add some kind of low tack tape to the back to keep them in place.

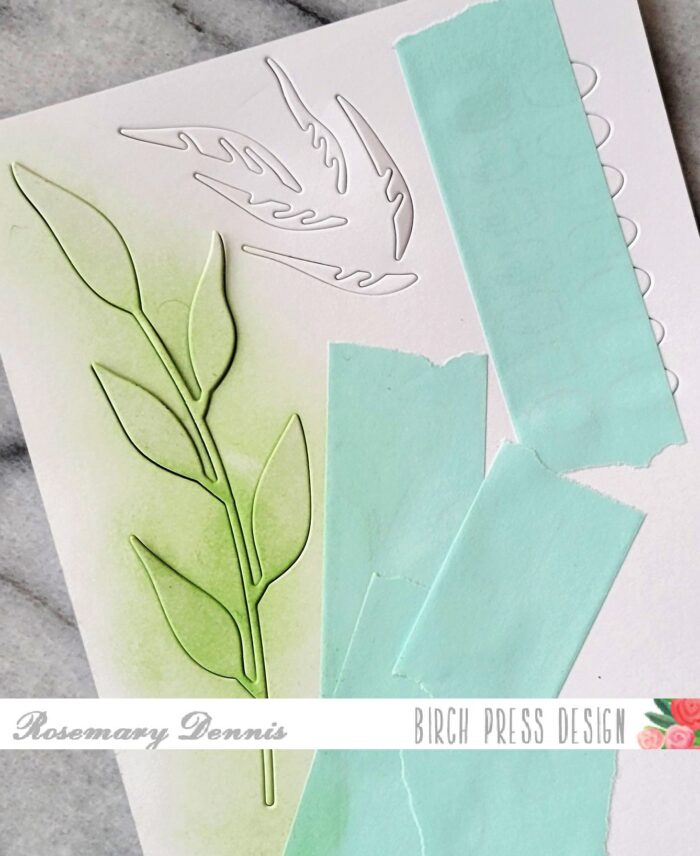
    As you can see from the above photo it isn’t very pretty looking, but it is so very helpful in allowing you to ink up those small pieces. The next photo shows some of the inking and masking that i did on the die cut cardstock.

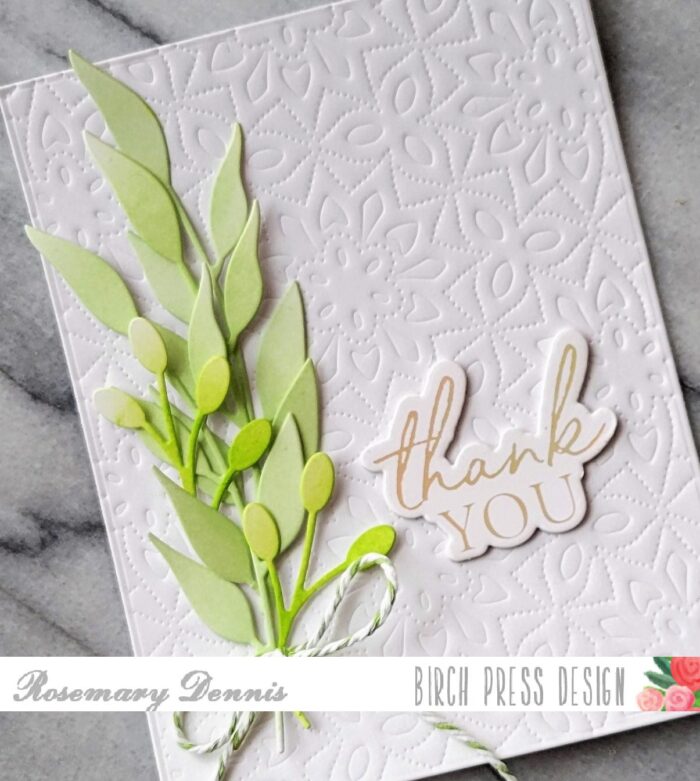
    Using this method also allows you to be able to add more ink in some areas and less in others. I wanted the very top leave on the sprig to not have alot of ink and I was able to do that by keeping the die cut in place. I used two shades of light green ink for the leaves and two shades of yellow for the berries. For a bit of contrast I used a brighter green for the stems of the berry sprigs. After I inked up all the pieces to my liking I removed them from the cardstock and got to working out the placement of all of the elements. As I was working this out I decided that I wanted to add some interest to the background. I pulled out the Viola Plate die set and die cut the top layer from white cardstock to use for the background, but didn’t like it. Then I looked at the bottom layer of the die set. Inspiration hit… emboss it! The bottom layer has piercing on it and once embossed created a lovely background. Don’t forget that when you are embossing with dies you need to use a flexible embossing mat and the embossing sandwich that works for your machine.

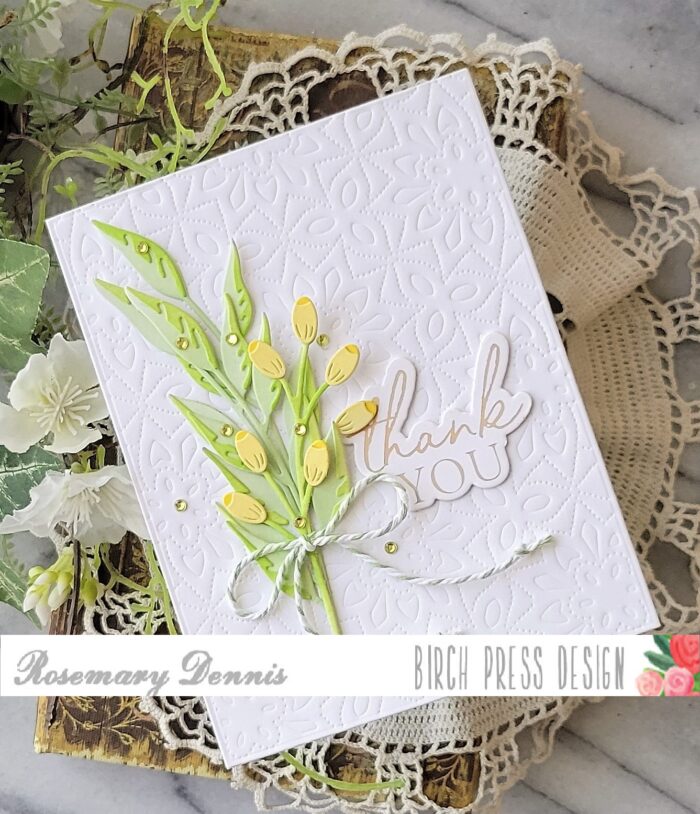
    Once the background was set I worked on determining the placement of all the elements. As you can see from the photo above I didn’t have the berries and leaves completed and the sprig arrangement is slightly different from the finished card. Doing the initial arrangement is just a good way to make sure that you are happy with your idea and you can take a photo of it for reference when you complete your card. I assembled the berries and leaves using liquid adhesive.

    I adhered all the stems and berries using liquid adhesive. I used the die that comes with the Thank you foil set to die cut two additional layers that I adhered to the foiled one. Liquid adhesive was also used to adhere the sentiment and the little bow tied with some spring green baker’s twine. I finished off the card with some tiny yellow-green Memory Box Fairy Jewels. I must say that I took my inspiration for this card from the cheerful yellow daffodils that are blooming everywhere here in western Washington. I hope I was able to inspire you today!

    Supplies

  • Hot Foil Background Using Sprays | By Natasha Vacca

    Hello Birch Press Design friends, I am excited to be back up on the blog today! For today’s card I am sharing ideas on how to use a foil background die with sprays in your collection! Today I am using 2 new dies from the latest Birch Press release, Gilded Petalpoint Hot Foil Plate and die set, as well as the Thank you Noted Script Hot Foil Plate and die set. Let’s get started!

    I started my card today using 5 colors of sprays and mixed media card stock. I added each color to mixed media card stock. I allowed the layer of color to dry, then spritzed the panel with water droplets. I picked up the color with a paper towel, then repeated the process again using the 5 colors. Once the panel was dry it was time to hot foil!

    I love the new Gilded Petalpoint hot foil plate and die set. I started with the large background foil plate and my glimmer machine. I chose a matte gold foil for the background. I foiled the background panel and then trimmed the panel using a die in my collection.

    Next I used the same matte gold foil for the center of the Gilded Petalpoint hot foil plate set. I foiled the center and then die cut the center using the included die. I added foam tape to the center die cut and set it aside.

    Next I hot foiled the Thank You Noted Script hot foil plate and die set. Once the thank you was foiled, I die cut the shadow layer of the thank you die 3 times, then adhered all the layers together. To complete my card I adhered the panel onto an A2 card base. I then adhered the center of the panel using foam tape, then adhered the thank you sentiment using liquid glue.

    I had so much fun creating today’s card! I hope it gives you some ideas on how to use your foil dies using sprays! I love the sparkle and texture these 2 products give you!

    I will be back soon with more crafty inspiration!


    Supplies


  • A Springtime Thank you | By Natasha Vacca

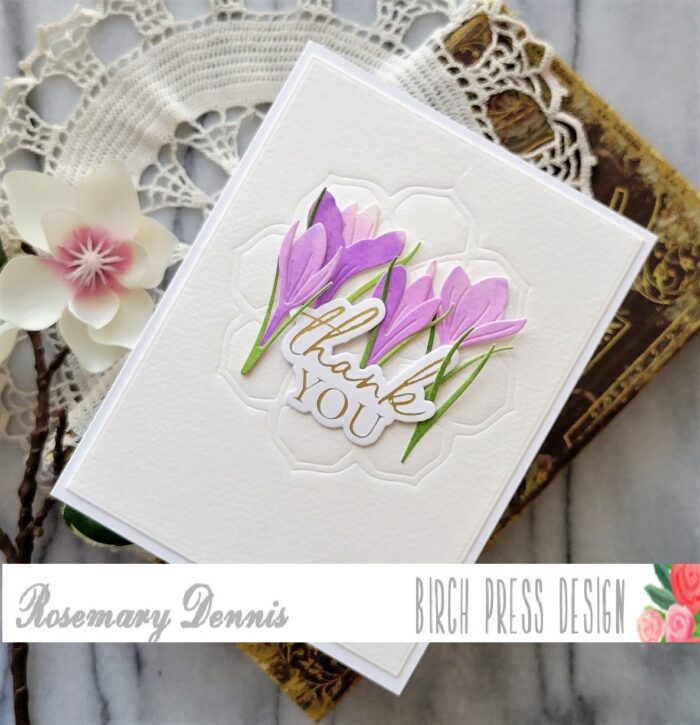
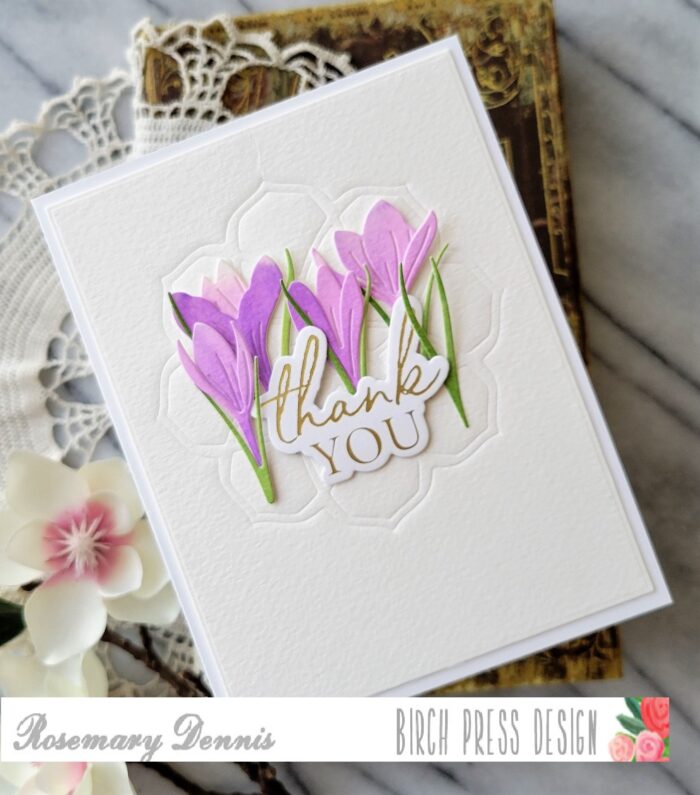
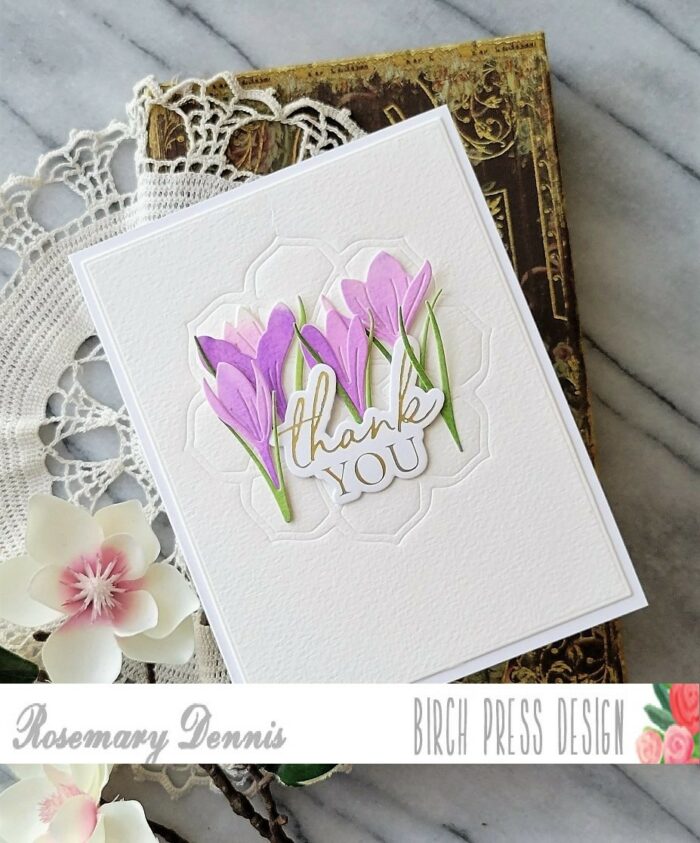
    Hello Birch Press Friends, it is Natasha here and I am excited to be back on the blog today! Today’s card features 2 of the new die sets in the latest release from Birch Press Designs. I am using the beautiful Sprouting Crocus Contour Layers die set and the Thank you Noted Script hot foil plate and die set. So let’s get started!

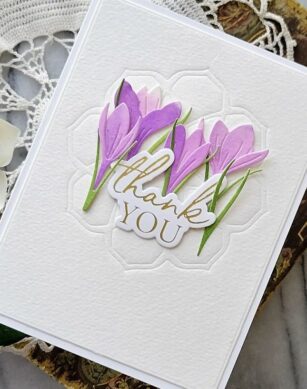
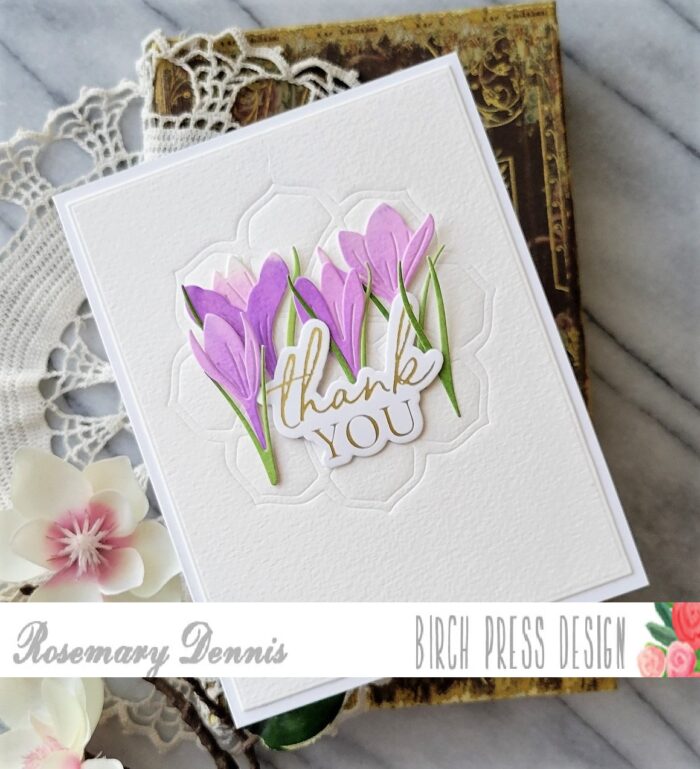
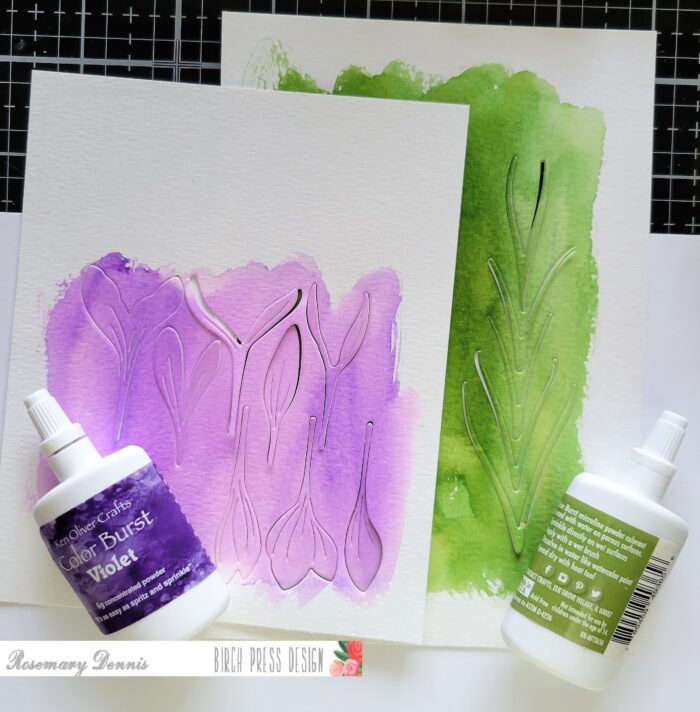
    I started today’s card by creating 2 backgrounds using sprays. One panel was made using shades of purple and the other panel was created using green spray inks. Once the panels were complete and dry, I die cut the Sprouting Crocus Contour Layers die set using both panels. The flowers in purple and the stems in green.

    Next I added a bit more ink to each layer of the blooms and the leaves. On the flowers I used purple and pink ink. On the leaves I used green and brown. I applied the inks using a sponge dauber. Next I adhered the Crocus flower layers together using liquid glue. I then set these aside.

    Next I chose a background from my stash. I ran the background through my die cutting machine with the Memory Box Ringadings 3D embossing folder. After one pass I removed the panel and added Distress Oxide in the shade Aged Mahogany to the raised areas of the folder. I added the ink directly to the embossing folder by gently swiping it onto the folder. I then lightly spritzed the folder with water and placed the card stock into the folder and ran it through my die cutting machine a 2nd time. I really like the texture this provides to the background.

    I then trimmed the panel using my paper trimmer. I roughed up the edges and added ink using a sponge dauber and distress ink. I added splatters to the panel using gold and white metallic water color. To complete my card, I adhered the panel to an A2 card base with a piece of pattern paper to frame the embossed panel. I then adhered the crocus flowers using foam tape and liquid glue to my dry embossed panel. I completed the card with the beautiful Thank you Noted Script sentiment. I love this hot foil sentiment! I adhered the sentiment using foam tape.

    Thank you so much for stopping by today! I will be back soon!


    Supplies


    Supplies


  • Elegant Sprouting Crocus | Dilay Nacar

    Elegant Sprouting Crocus | Dilay Nacar

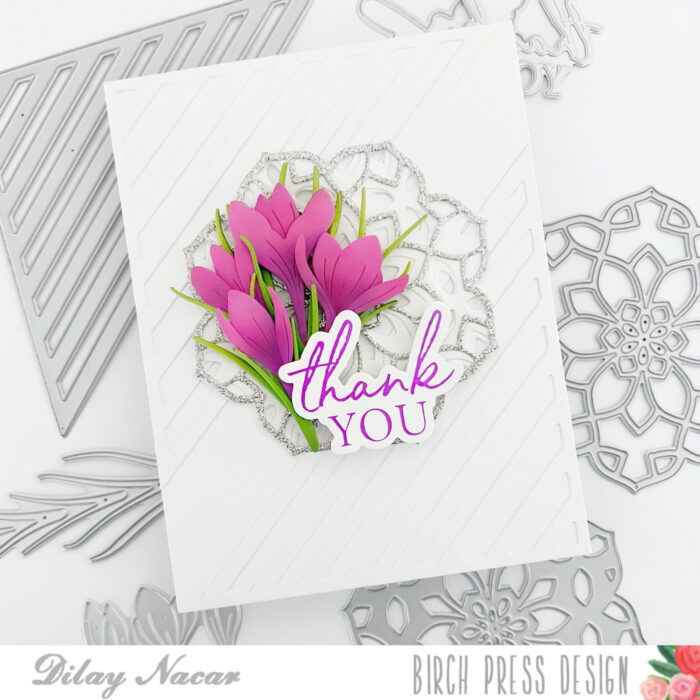
    Welcome, everyone! Dilay here sharing a clean and elegant floral card featuring the new Sprouting Crocus Contour Layer dies! 

    To begin, I die cut two Linear Triangles and adhered them to the top and bottom corners of an A2-sized card base. Next, I die cut the Kinsley Layers layer A in silver glitter cardstock and layers B land C in white, then adhered them together and onto the center of the card base, slightly overlapping the Linear Triangles. 

    Next, I die cut the Sprouting Crocus Contour Layers, ink blended the blooms in purple and pink and the stems in light and dark green, then adhered them together and onto the Kinsley Layers. 

    To finish, I foiled and die cut the Thank You Noted Script in purple foil and adhered it to the top of the card. I hope you enjoyed learning more about today’s card! Thank you so much for joining me!


    Supplies

  • Alcohol Inked Phlox | By Allison Frazier

    Alcohol Inked Phlox | By Allison Frazier

    Hello, Birch Press friends! Today, I am sharing this card that I made completely out of alcohol ink backgrounds. It features the beautiful new Phlox Blooms and Leaves Contour Layers set. I have been dreaming of spring lately, and the colors on this card really make me happy.

    I made a bunch of alcohol ink backgrounds a few weeks ago and put them in my stash to be used at a later time. It is so fun to be able to pull them out whenever I am feeling inspired. This particular background is one of my favorites – aren’t the colors dreamy? I trimmed it down with the Pinpoint Contour Plate and adhered it to an A2 card base.

    For my flowers, I used a background that I had made with some vivid pink alcohol inks. Yupo paper cuts great with dies. For the second layer of the flowers, I used vellum. I knew I would be covering the center of the flowers, so it was okay to glue the vellum right in the center. The small, top detail was cut from the yellow areas of the panel that I had cut the background from.

    I popped the flowers up on the background with foam dots. I then created my sentiment using the Handwritten Thanks and Outline set. I used two different alcohol ink backgrounds to cut the greenish outline layer and the turquoise detail layer out. Once I was done adhering the sentiment to the card base, I embellished the background with Clear Fairy Drops.

    Thank you so much for joining us today. I hope this card inspires you and brings a smile to your face! 

    Wishing you a crafty day,
    Allison


    Supplies


    Supplies


  • Floral Thank You | by Toni M  Maddox

    Floral Thank You | by Toni M Maddox

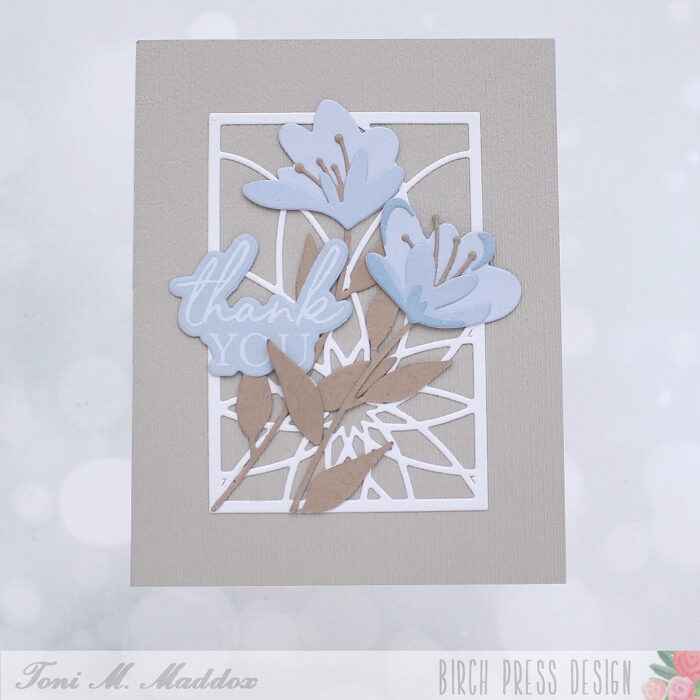
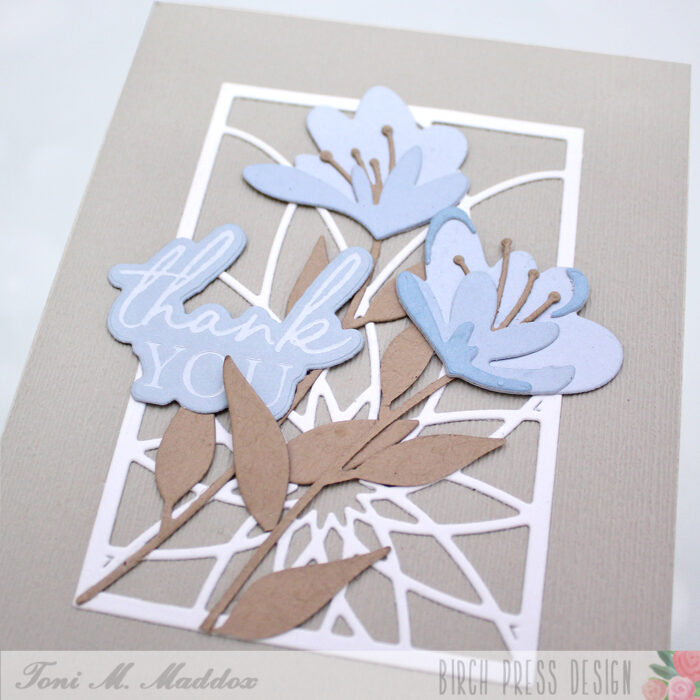
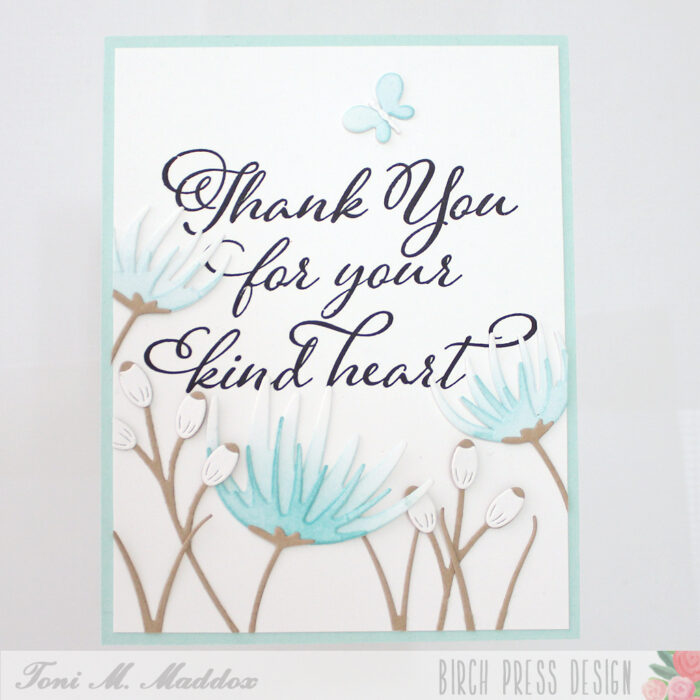
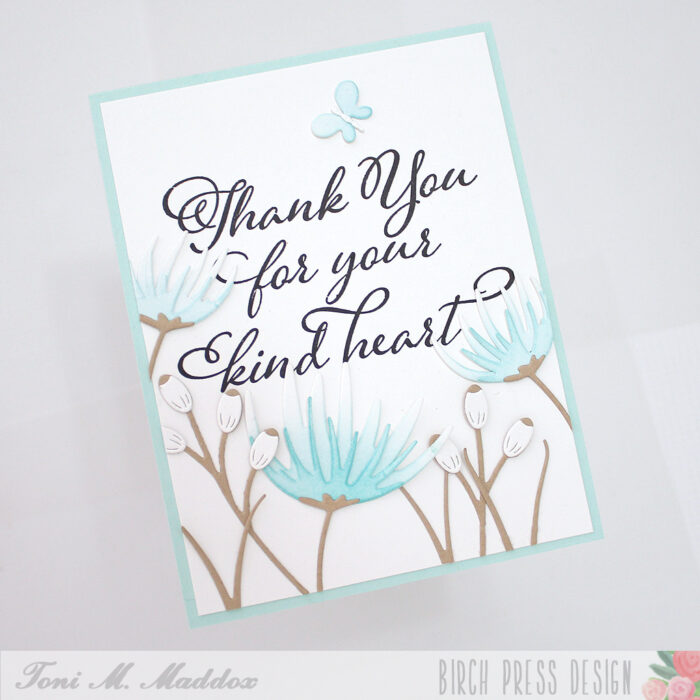
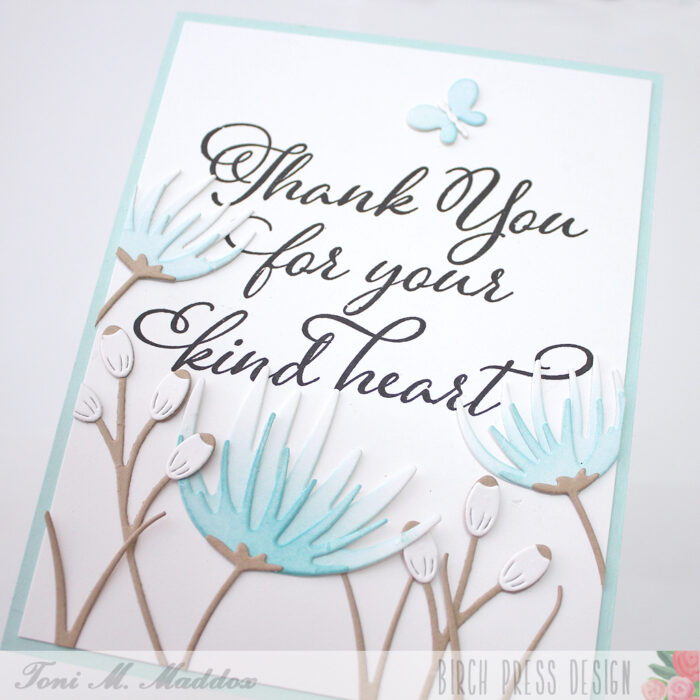
    Hello, Birch Press fans! Toni here with you today sharing a simple floral thank you card.

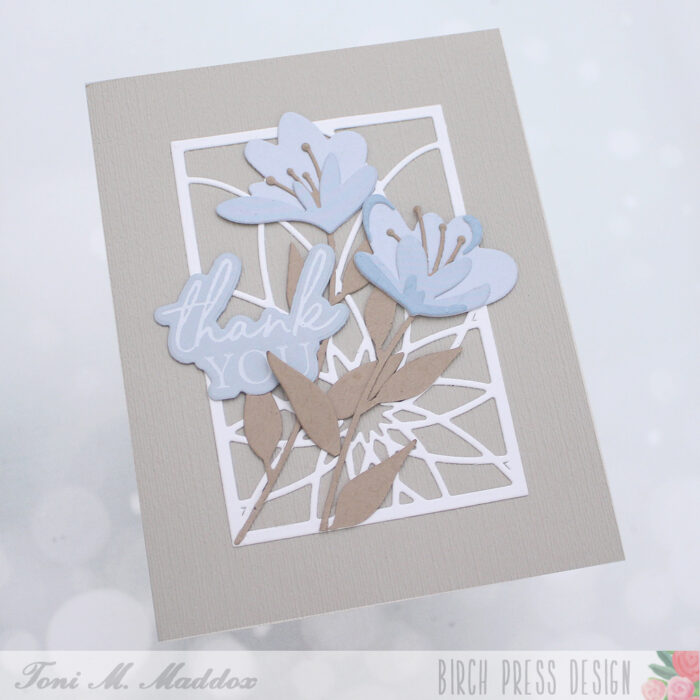
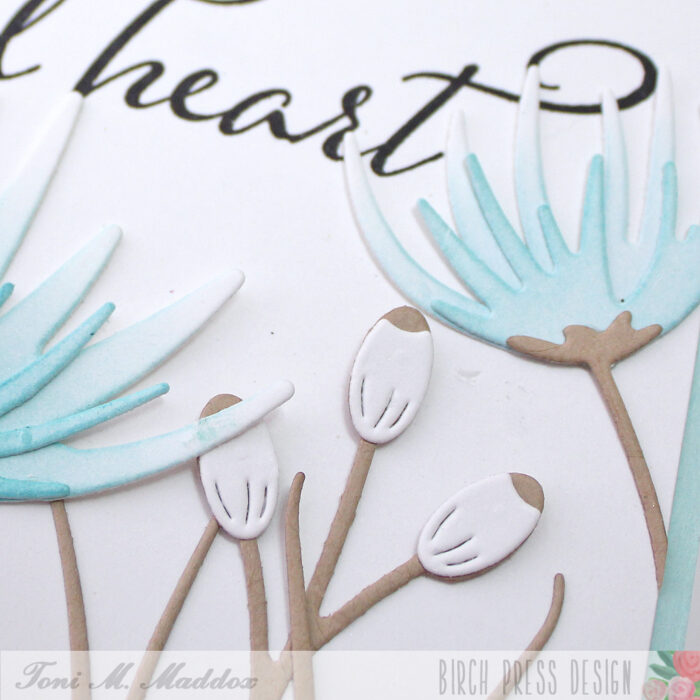
    I started the card by sponging a aqua card base with Distress Oxide Peacock Feathers. I adhered the Flora Plate Layer C on top of that. I didn’t bother picking out all the paper bits as I think it’s more interesting this way (plus who has time for that?!).

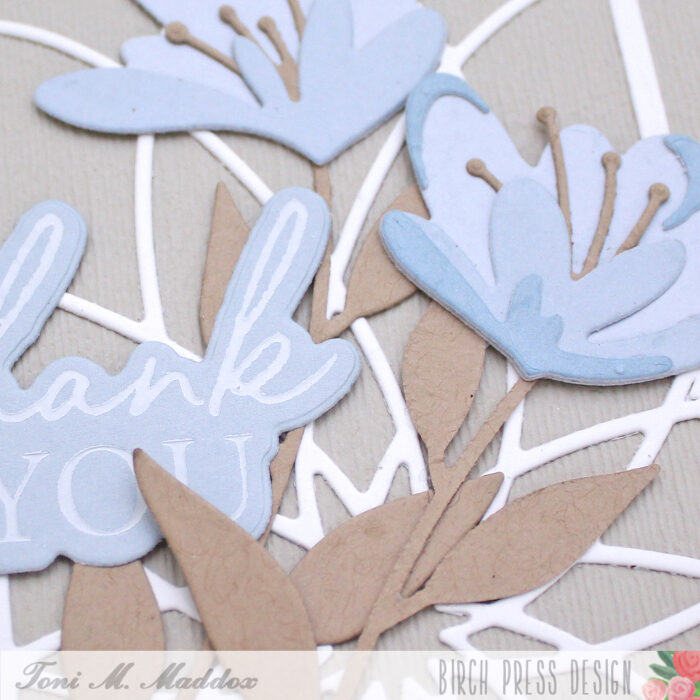
    I cut out the Jovial Blooms and Leaves Contour Layers using Memory Box Lush Green 6×6 Cardstock as well as cardstock I had colored with Lindy’s Magicals Hi Maintenance Magenta and Bling-y Blonde. The shimmer is just amazing in person.

    Finally, I used ThermoWeb Gold Hot foil with the Thank You Noted Script Hot Foil Plate & Die for the sentiment. Gotta love that shine.

    I hope you enjoyed today’s card and have a great rest of your week!

    Supplies
  • Rainbow Adornment Dove | By Allison Frazier

    Rainbow Adornment Dove | By Allison Frazier

    Hello, Birch Press friends! Today, I am showing how you can stretch the use out of your products that are typically only thought of as winter or holiday products. My card features the beautiful Adornment Dove die set.

    I love the cutouts in the wing of the detail layer in the Adornment Dove set, and I thought it would be fun to color them instead of discard them. I could have die cut all different colors of paper, but it’s much easier (and less wasteful) to color with markers. I die cut the layer out of white card stock and left the cutouts intact. To make sure they didn’t come loose, I just taped them in place on the back with scotch tape. I then colored each cutout piece with a different color Copic marker. This does look messy, as the colors bleed onto the white border between each cutout, but that’s okay because it will get covered by a clean detailed layer.

    When I was finished coloring the separate cutouts, I glued that layer onto a solid background layer that I had die cut from white card stock. I then glued a clean white detailed layer over the colored layer. For the solid wing and tail feather cutouts, I colored these white pieces by blending some pink, yellow, and light blue markers. After glueing those pieces in place, I added a final detail layer that I die cut from a Champaign colored mirror card stock.

    For my card base, I took a dark teal panel of card stock, embossed it with Layer A of the now-retired Fiori Plate Layer Set, and then splattered it with a light gold paint. I mounted that onto the same color A2 card base. For the sentiment, I cut the Handwritten Thanks Outline die out of the same teal card stock and the detail Thanks die out of the Champaign card stock that I used for the dove. I adhered the sentiment and the dove to the card base. Notice how I purposefully did not glue all of the layers of the tail feathers together. This creates some really great dimension. To finish the card, I added a small jewel as an eye.

    I think this card design can be used all year round, don’t you? Thank you so much for joining us today. I hope this card inspires you and brings a smile to your face! 


    Supplies


    Supplies


  • Winsome Rose and Leaves | By Natasha Vacca

    Hello Birch Press friends, it is Natasha here and I am super excited to be back on the blog today! For today’s card I had a lot of fun creating a mixed media inspired card using the beautiful Winsome Rose and Leaves Contour layers dies! So let’s get started!

    I started by creating 2 water color panels using Canson XL card stock. I added powders to the papers to create my own backgrounds. I created 2 panels, one in purple tones and another in green tones. Once my panels were dry, I die cut the Winsome Rose and Leaves using my watercolor panels. I also die cut a set of roses using the Twilight Purple paper pad from Memory Box. I wanted to create dimension for my roses and once die cut adhered these to my watercolored rose die cuts. I adhered each layer using liquid glue. Once the roses were adhered, I set these aside.

    Next I die cut the leaves using the dies included in this set. Once they were die cut I added more texture to each leaf using dye inks from my stash. I applied the ink with an ink dauber to the edges of the leaves. On the top layer I added embossing powder for added texture. I then adhered the leaves together using liquid glue. I also embossed the center of the roses using a gold embossing powder.

    Next I started to work on my background. I looked through my gelli print stash and chose a print to coordinate with my flowers. I wanted to add a bit of texture to my gelli print using the Flora Plate die set. I chose to use layer C. Following the instructions with my die cutting machine I used the plate to dry emboss the background die onto my gelli print. Next I added a bit of distressing to the panel. I used my distress tool to “rip” the edges, applied distress ink, as well as some embossing powder to various sections of the panel. I added a gelli print strip to the center of the panel following the same distressing pattern. I then adhered the card panel to an A2 card base.

    Next I adhered the leaves and roses to the card front using both liquid glue and foam adhesive. I then chose a sentiment to to complete my card. I chose the Handwritten Thanks and Outline die set. I die cut the shadow layer using a piece of the same gelli print background. I then die cut the script thanks 3 times. For the top layer I added tape to the paper prior to die cutting, as I wanted to use a glitter powder on the top layer of the word die cut. I then adhered all the layers together using liquid glue. I adhered the sentiment using foam tape.

    I had so much fun creating today’s card! I hope it inspires you to create today!


    Supplies


  • Fall Classic Sentimental Wreath | by Crystal Komara

    Fall Classic Sentimental Wreath | by Crystal Komara

    Hello Birch Press Design fans! This is DT member Crystal Komara here with you today sharing some fall themed cards using the Classic Sentimental Wreath stamp set and coordinating dies.

    I created all three of these A2 sized cards the exact same way, I simply alternated some of the background papers and ink colors. All of the beautiful plaid background papers are from the Madras Plaid Coral 6″ x 6″ paper pack from Memory Box Co, a sister-organization of Birch Press Design.

    The base of each A2 sized card was made from 80 lb. Neenah Solar White Smooth cardstock. I then cut a 5 1/4″ x 4″ piece of the plaid paper and adhered it directly to the card base. I die cut a rectangular piece of white cardstock and stamped my sentiment at the bottom in orange, brown or olive ink. All of the sentiments came from the same Classic Sentimental Wreath stamp set.

    I heat embossed the leaves of the wreath with gold embossing powder and then used the coordinating die to cut the wreath out. I adhered the wreath to the card using Scotch 3M adhesive for added dimension. I tied a little bit of gold baker’s twine to the corner of each wreath for added texture. Lastly, I added a couple clear rhinestones for sparkle.

    I hope you have enjoyed these cards and are inspired to create some of your own using this Classic Sentimental Wreath stamp set, or any of the other wonderful products from Birch Press Design!

    Thanks for visiting and have a wonderfully creative day!

    Supplies