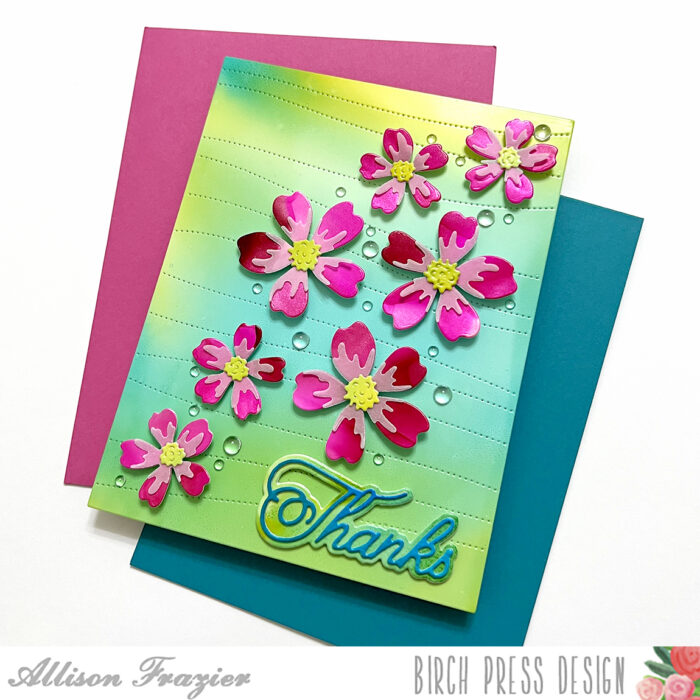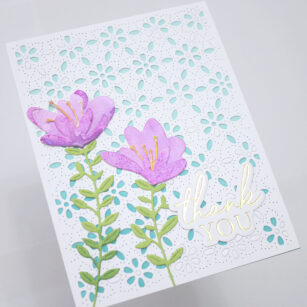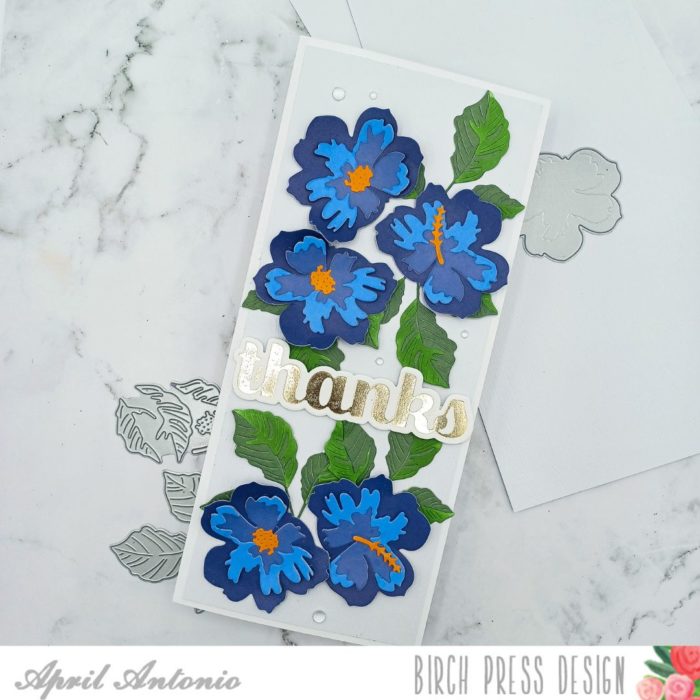
Welcome, everyone! Dilay here sharing a clean and elegant floral card featuring the new Sprouting Crocus Contour Layer dies!

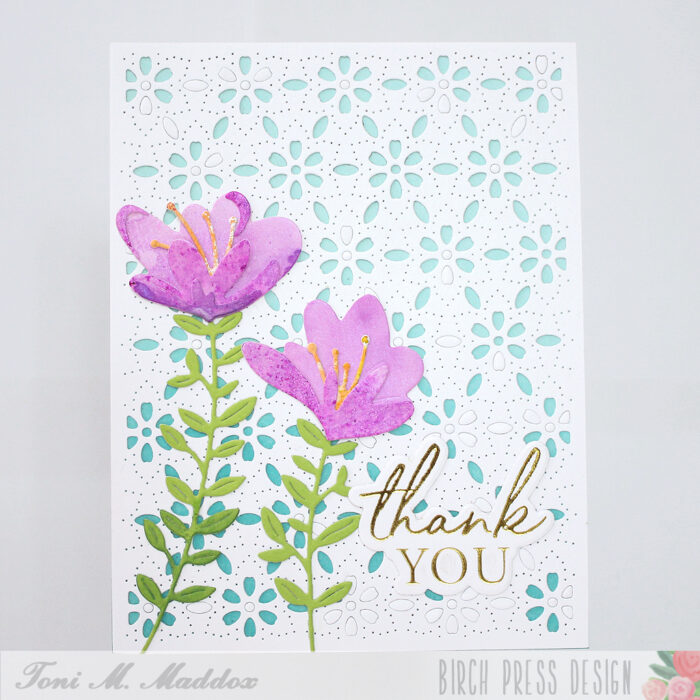
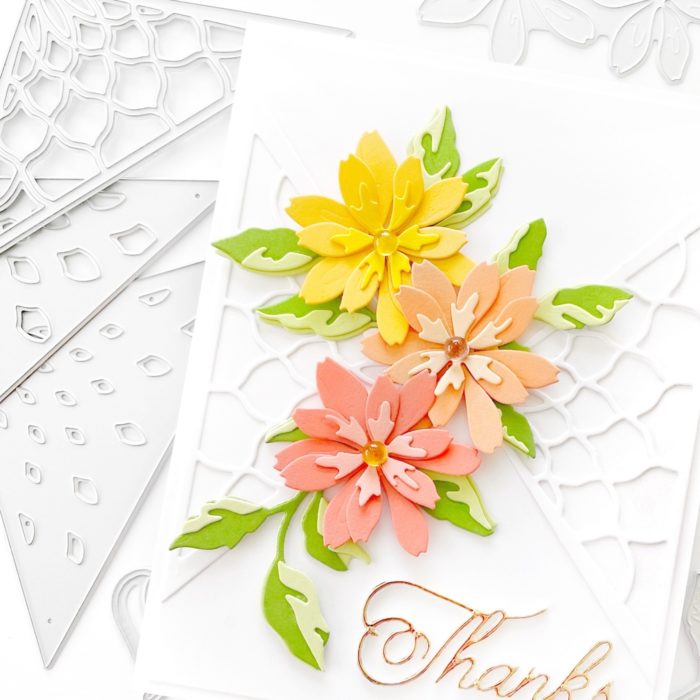
To begin, I die cut two Linear Triangles and adhered them to the top and bottom corners of an A2-sized card base. Next, I die cut the Kinsley Layers layer A in silver glitter cardstock and layers B land C in white, then adhered them together and onto the center of the card base, slightly overlapping the Linear Triangles.

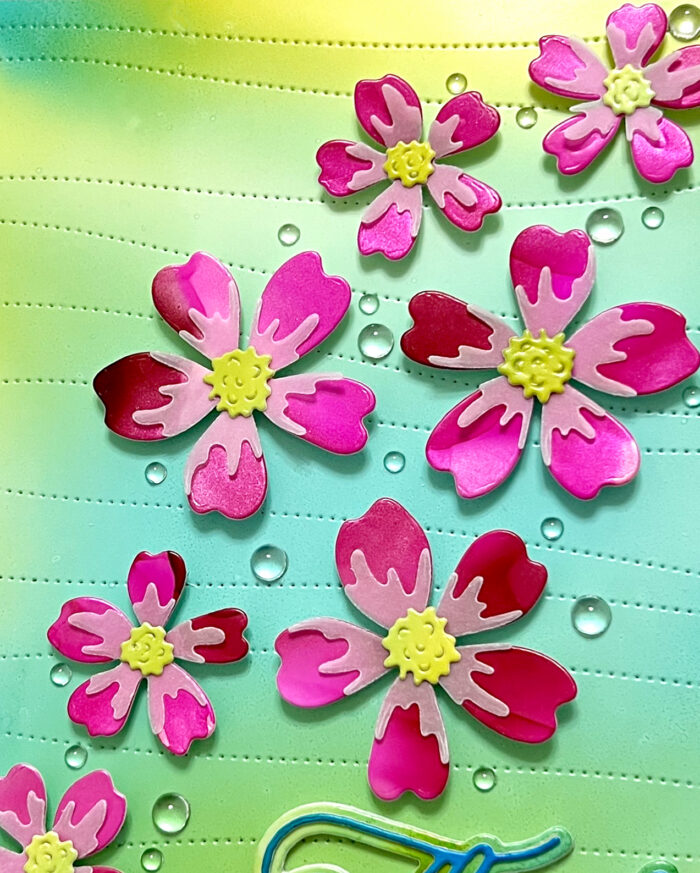
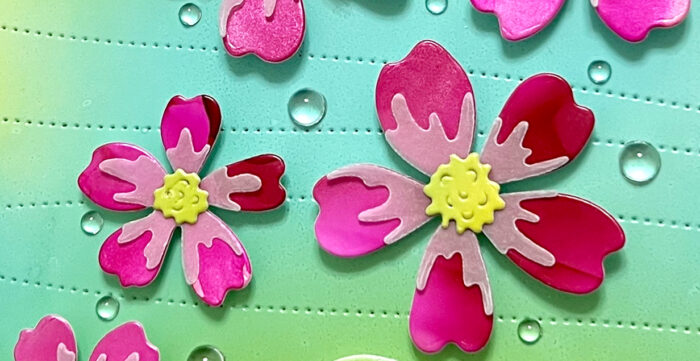
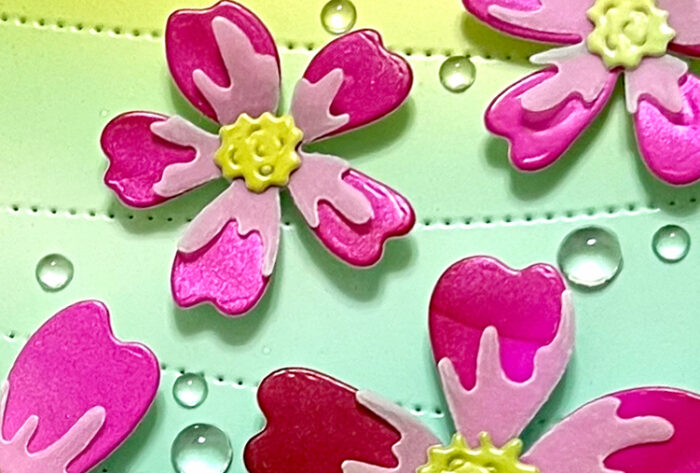
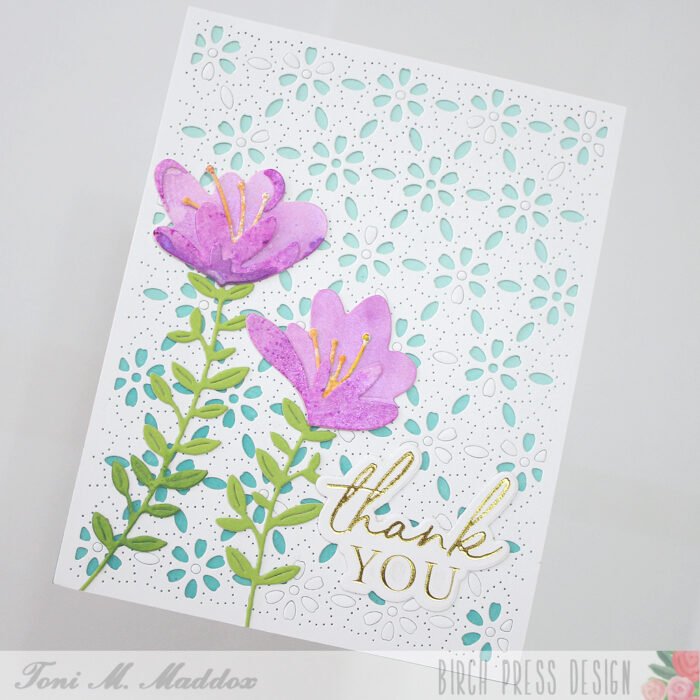
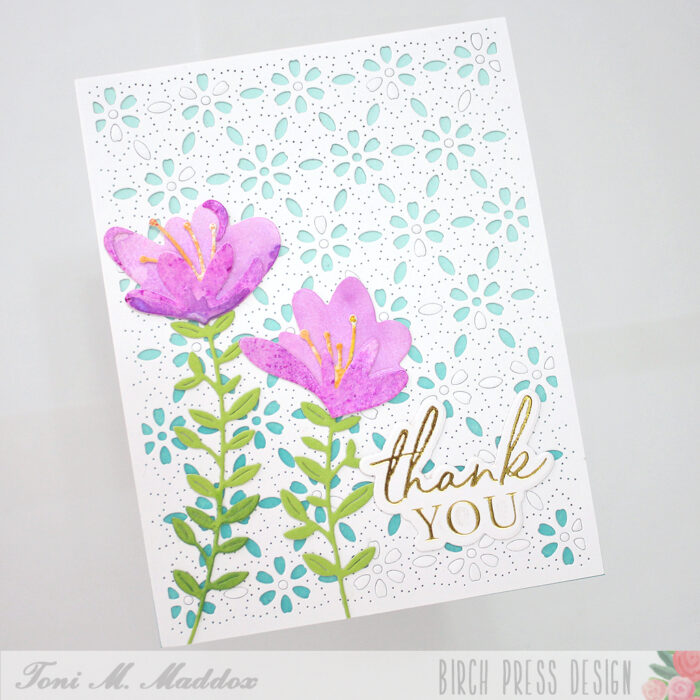
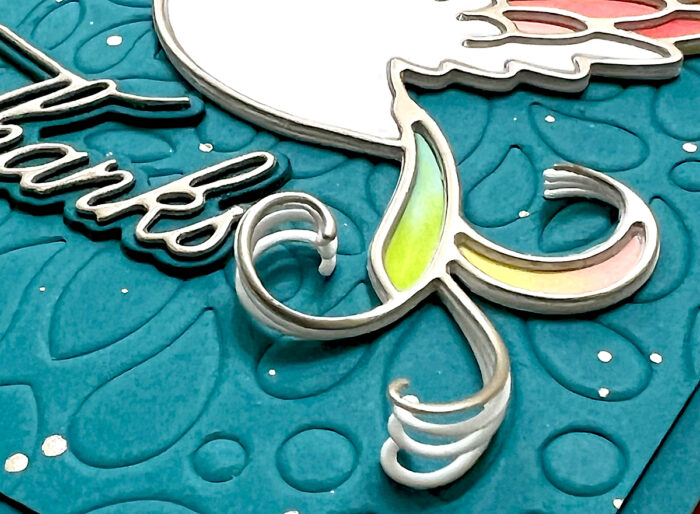
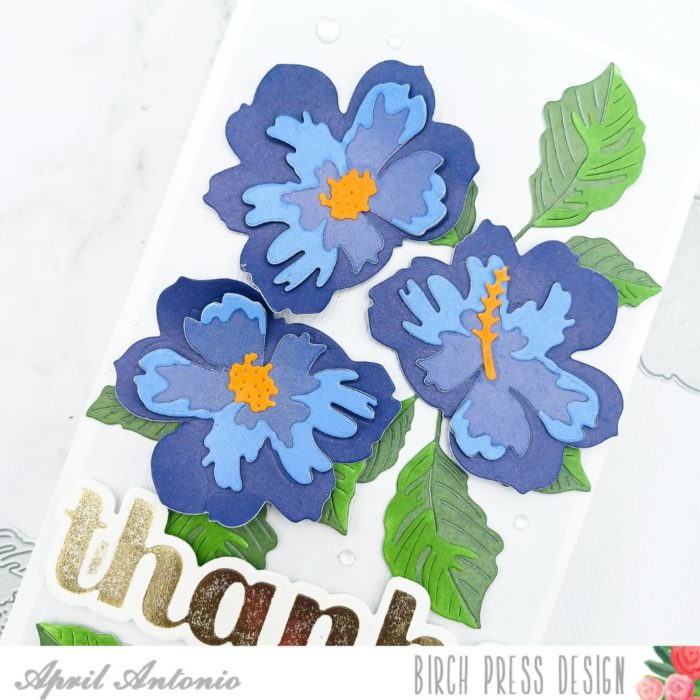
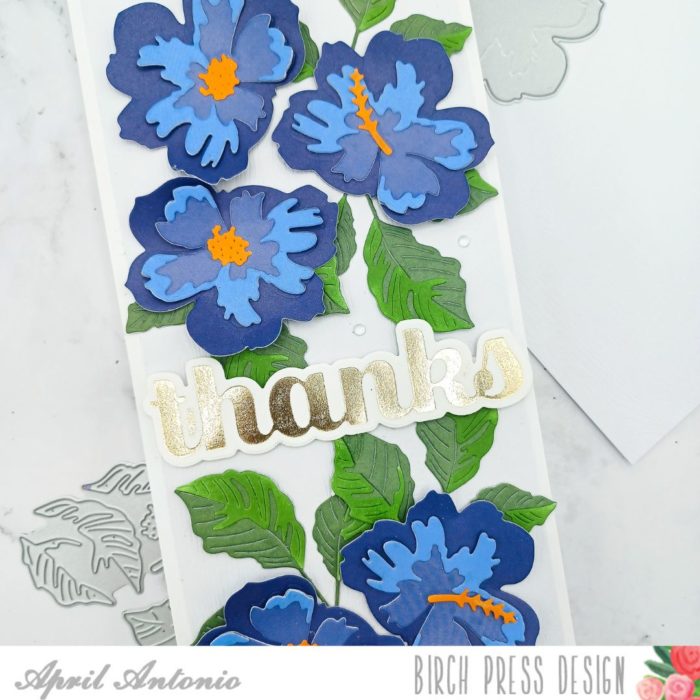
Next, I die cut the Sprouting Crocus Contour Layers, ink blended the blooms in purple and pink and the stems in light and dark green, then adhered them together and onto the Kinsley Layers.

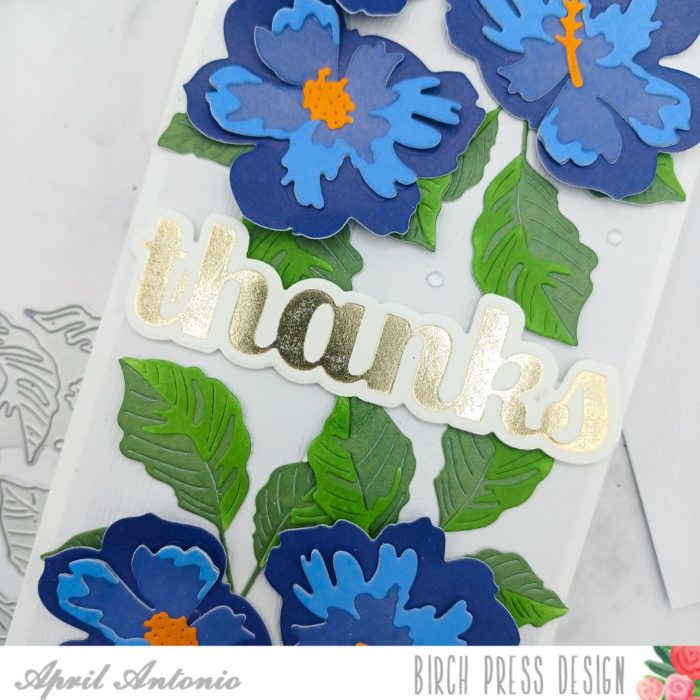
To finish, I foiled and die cut the Thank You Noted Script in purple foil and adhered it to the top of the card. I hope you enjoyed learning more about today’s card! Thank you so much for joining me!

Supplies