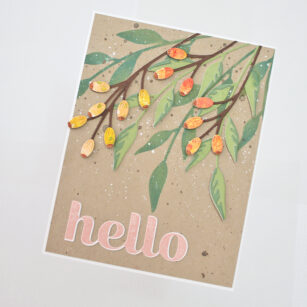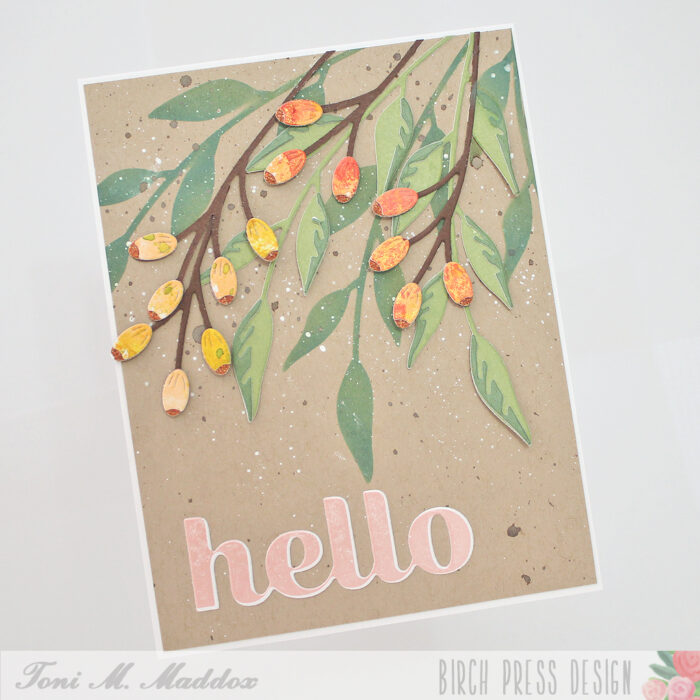

Hello, Birch Press fans! Toni here with you today sharing a card that just makes me happy–I love the colors and the blossoms. So pretty!
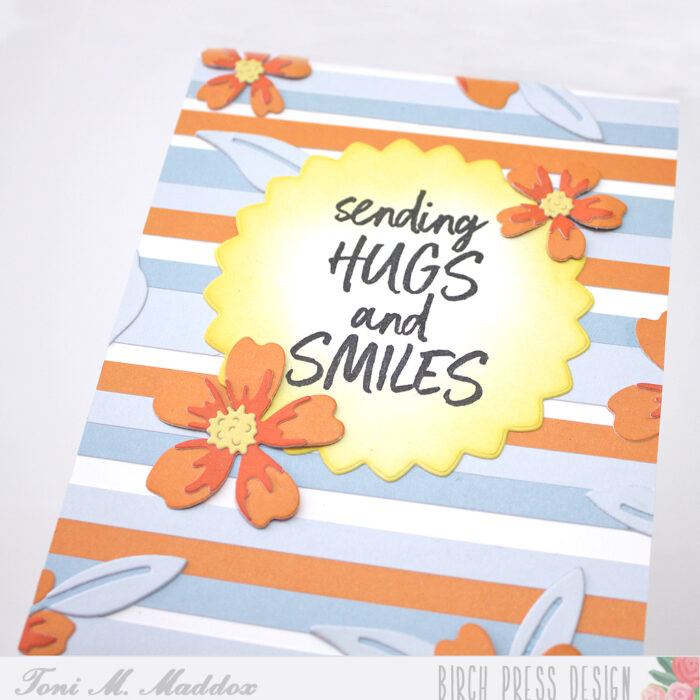
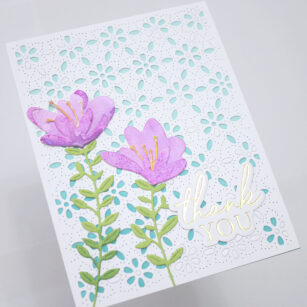
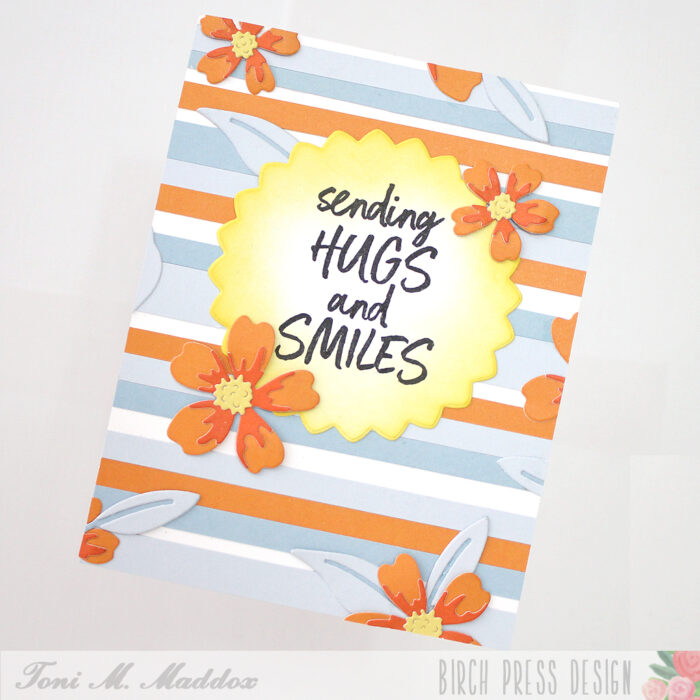
I cut out randomly size strips of Memory Box Sunny Orange and Stormy Blue 6×6 cardstock which I adhered to the card base, leaving empty areas so the white base acted as another color strip.
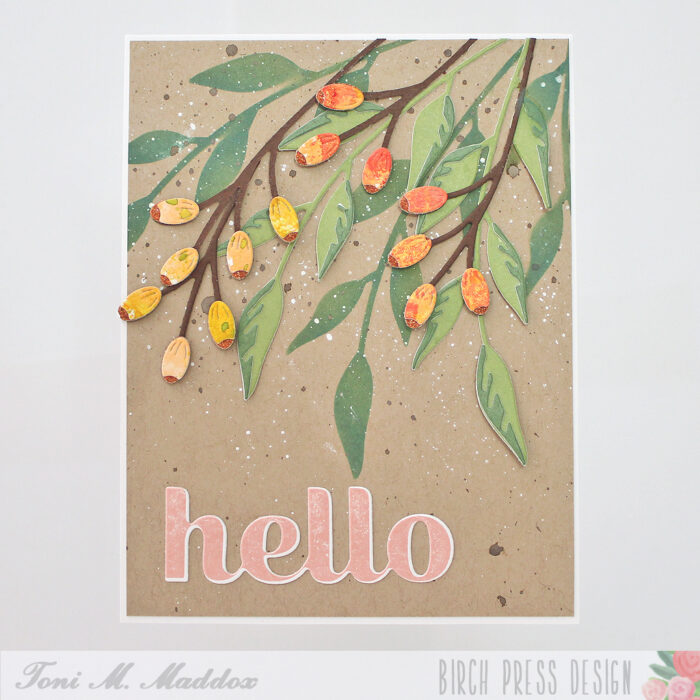
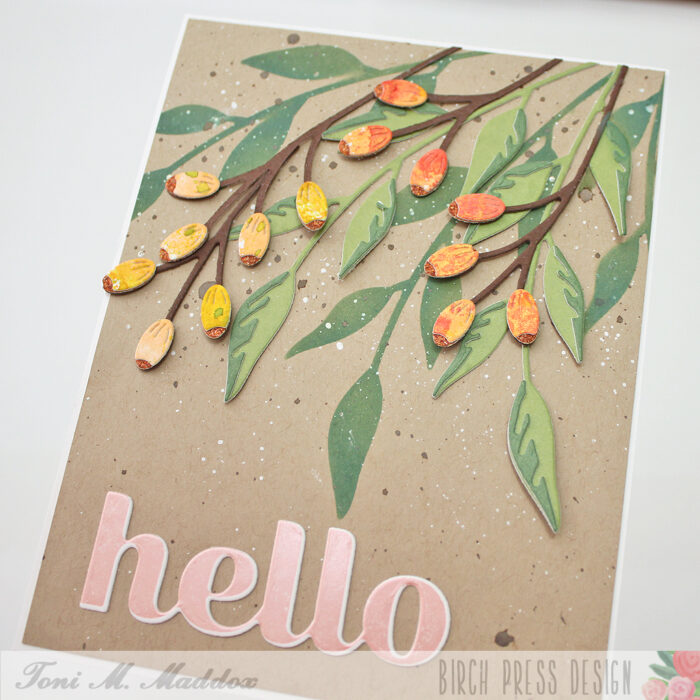
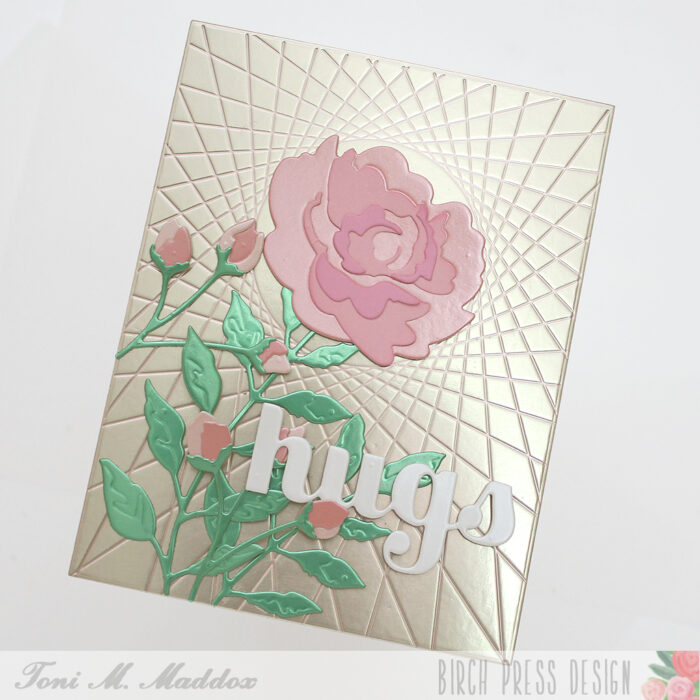
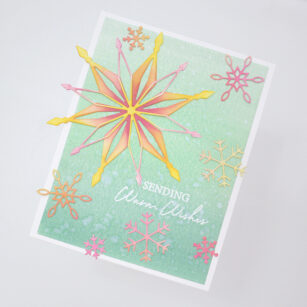
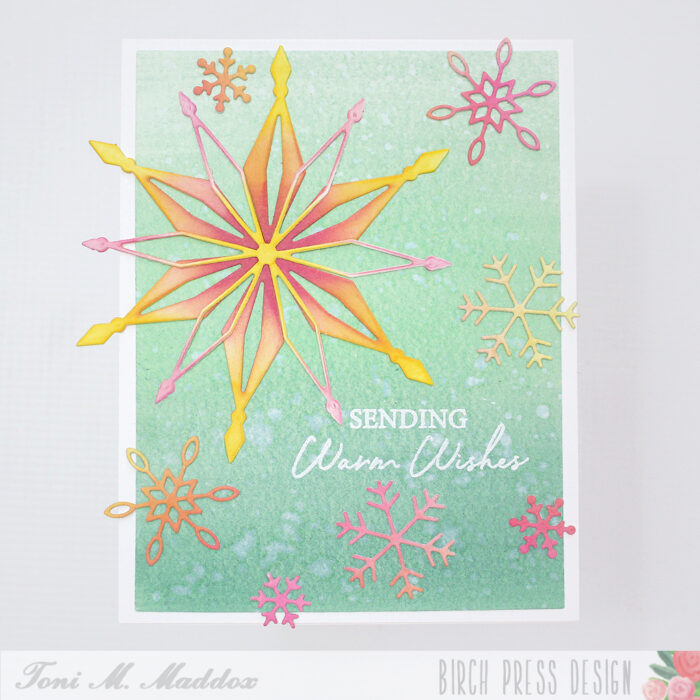
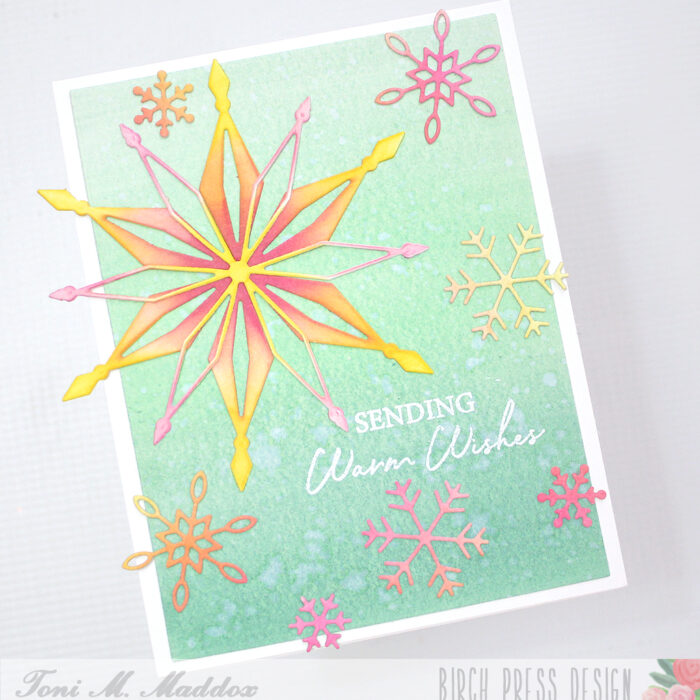
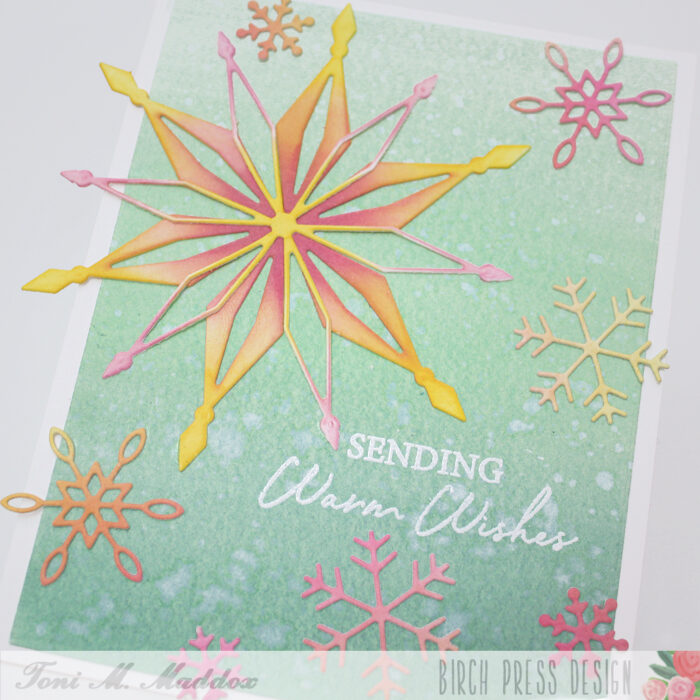
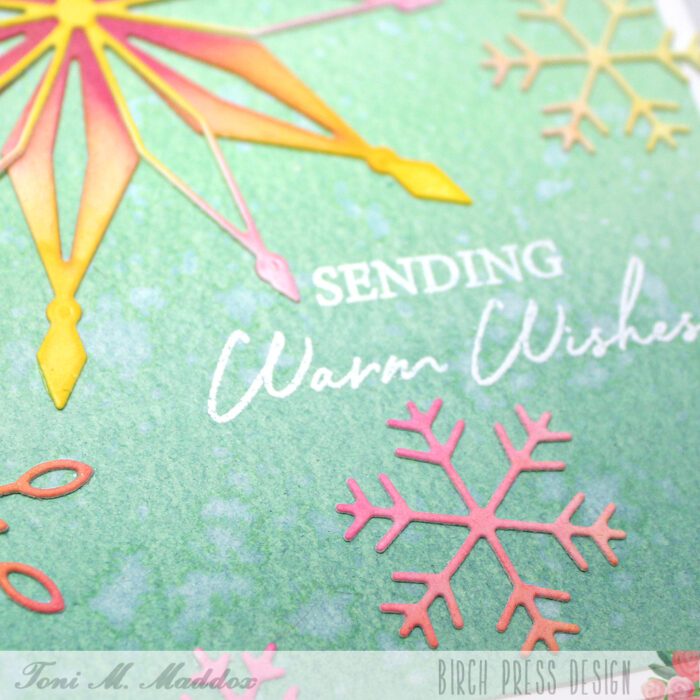
I used the die that comes with the Gilded Petalpoint Hot Foil Plate to cut out a “sun” which I sponged with Distress Oxide Mustard Seed. I stamped one of the Brush Sentiments on top of that in Versafine Clair Nocturne.
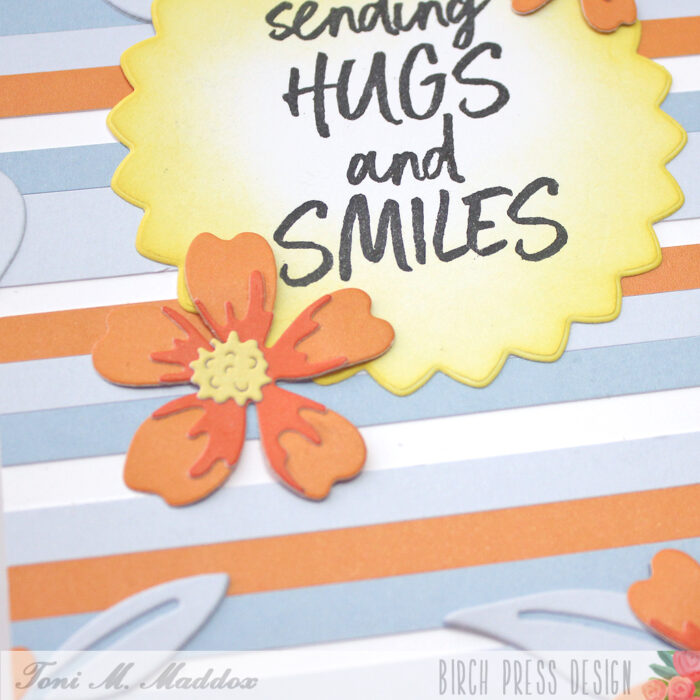
I cut out the Phlox Blooms and Leaves Contour Layers using the same cardstock, then adhered them randomly over the card front, nestling them in and around the sun. Easy, peasy!
I hope you enjoyed today’s card and have a great rest of your week!

Supplies