Hello Everyone and Welcome Back!
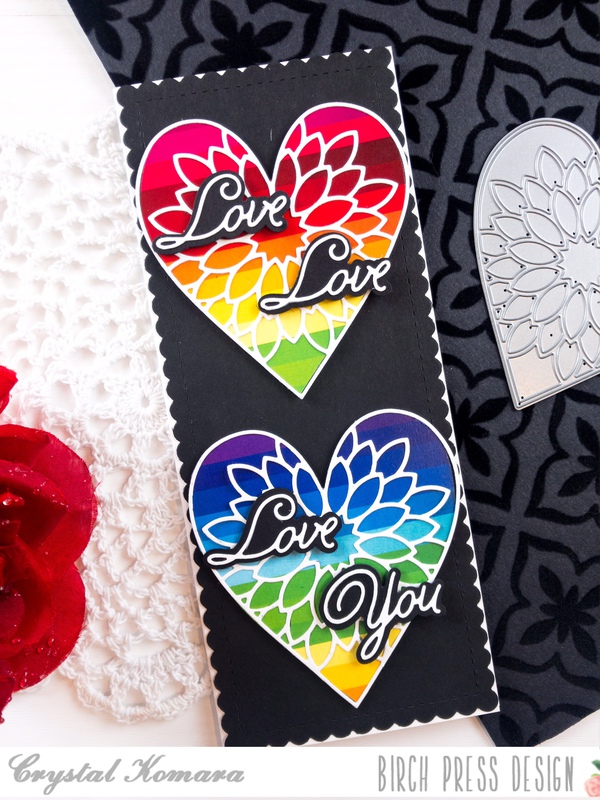
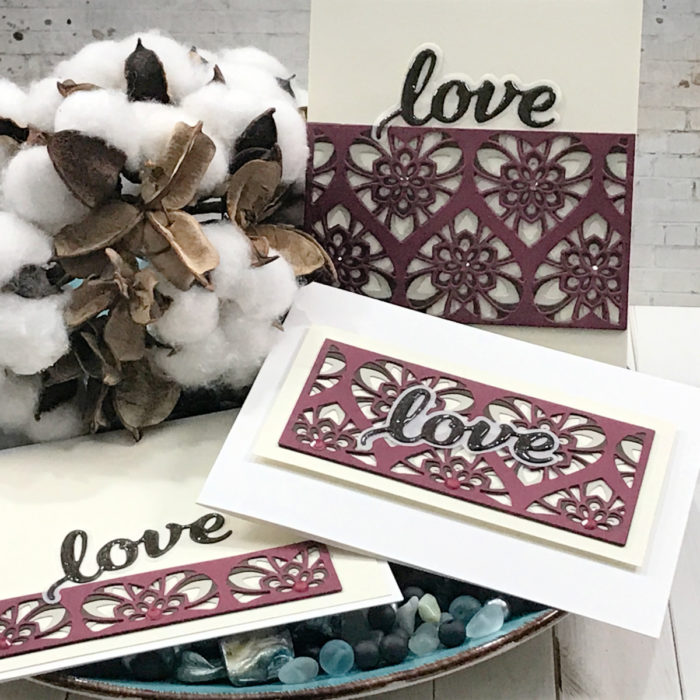
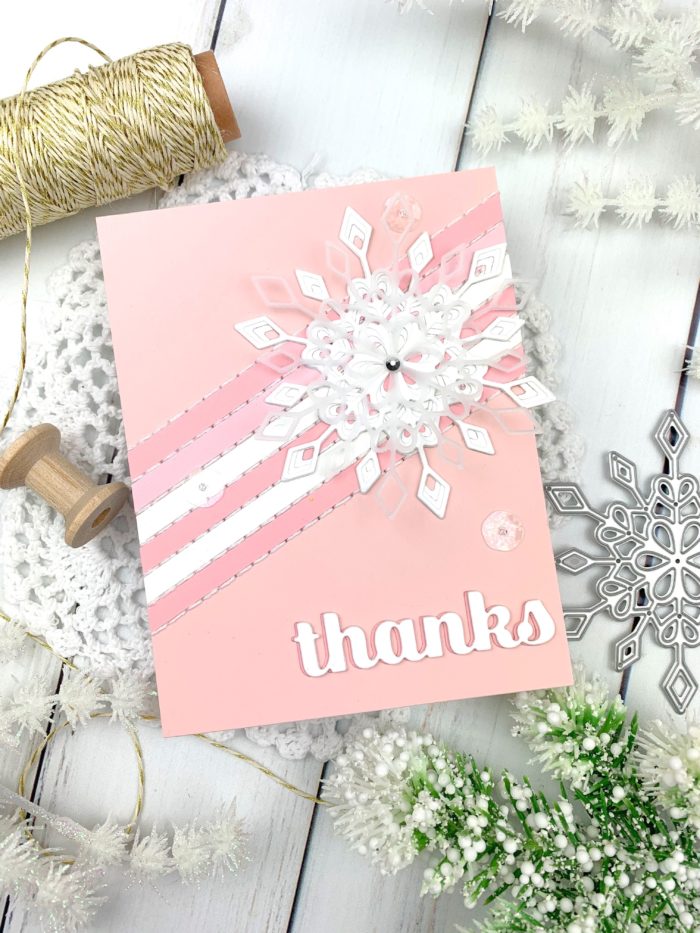
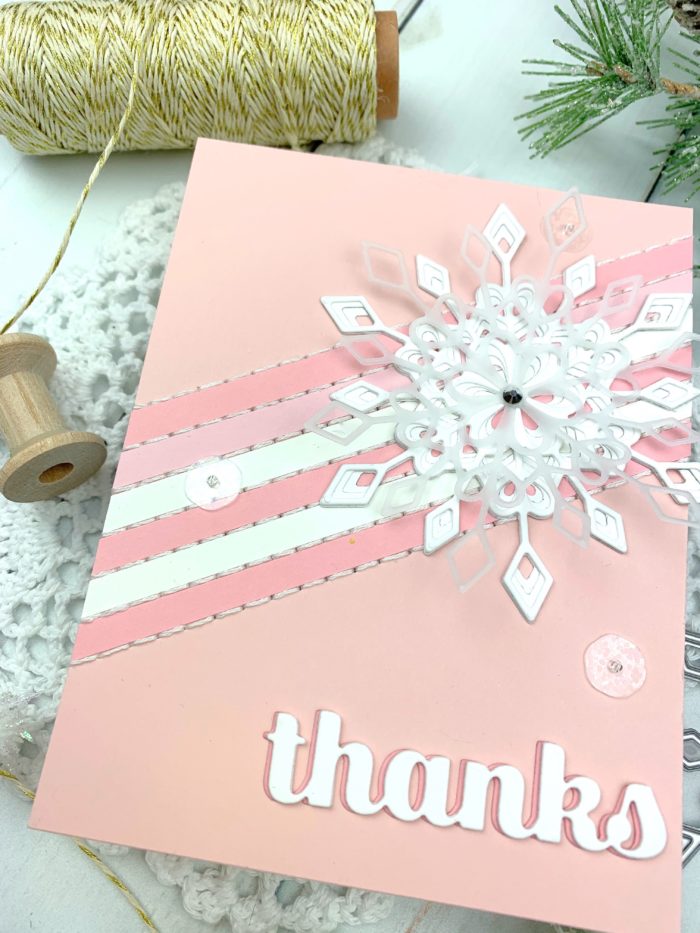
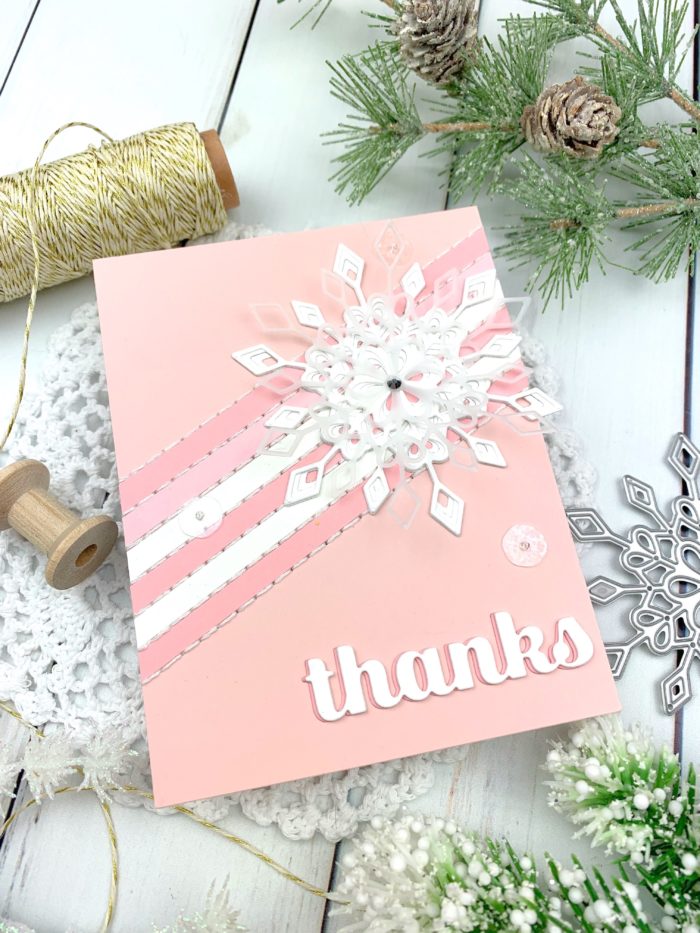
Let’s find even more ways to stretch our supplies in our stash! Today let’s focus on other ways we can use our layering dies. I will be using many layering die sets for today’s projects.
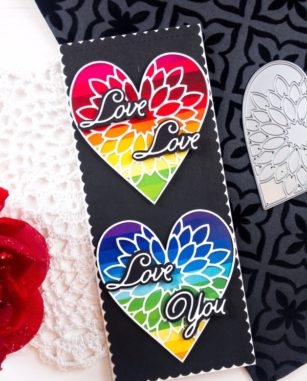
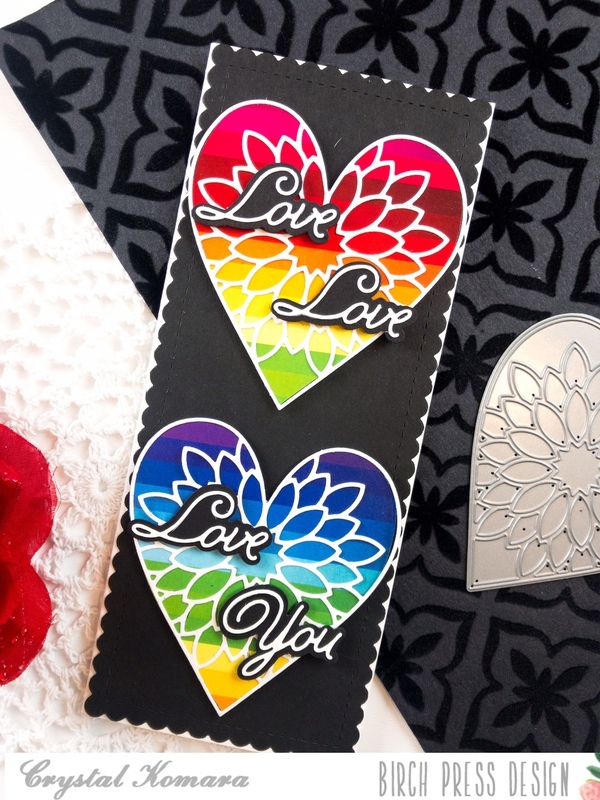
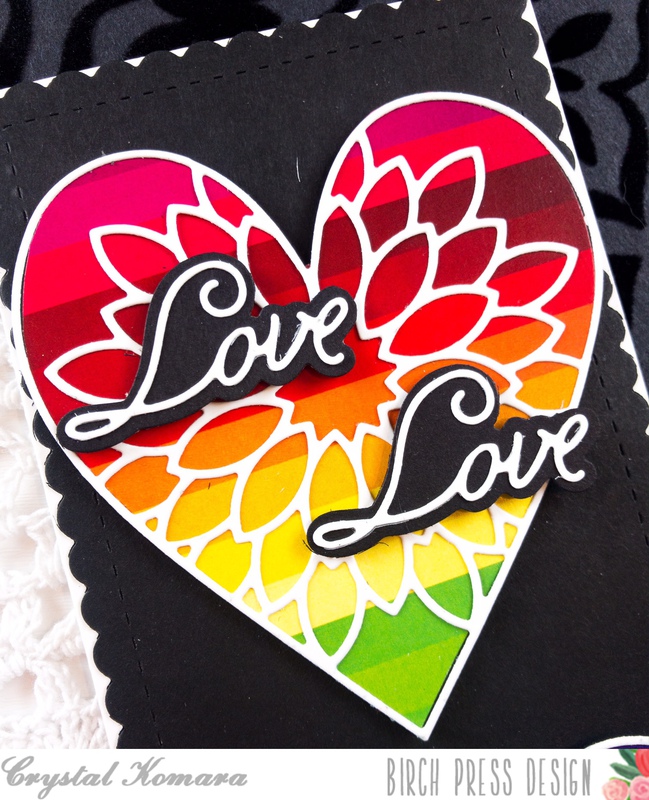
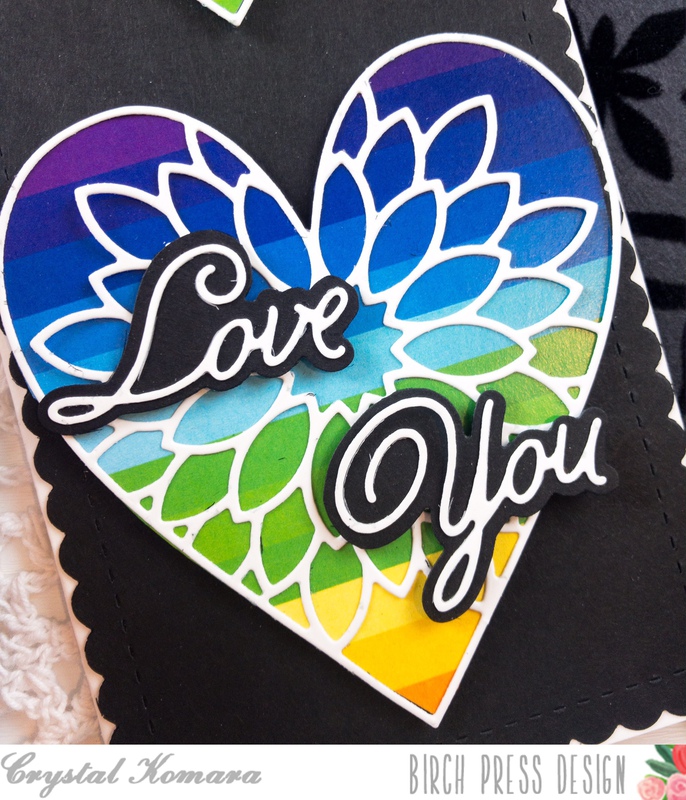
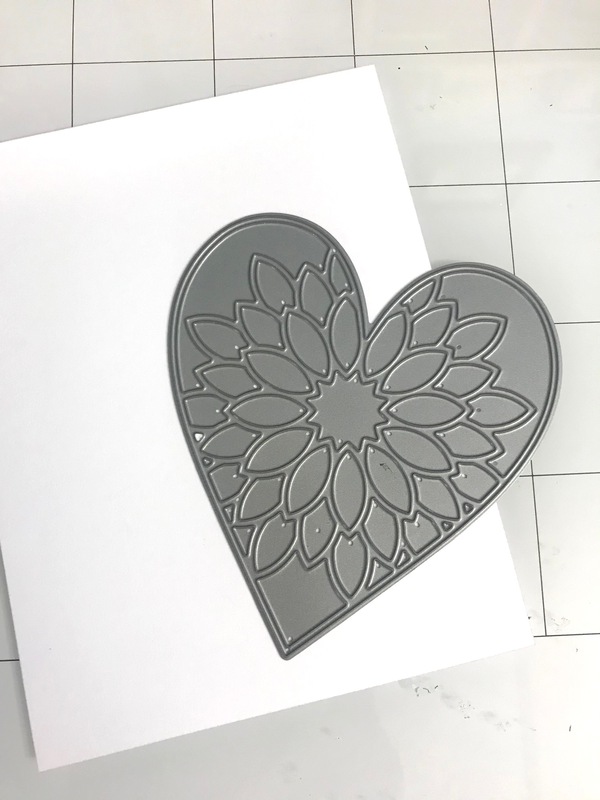
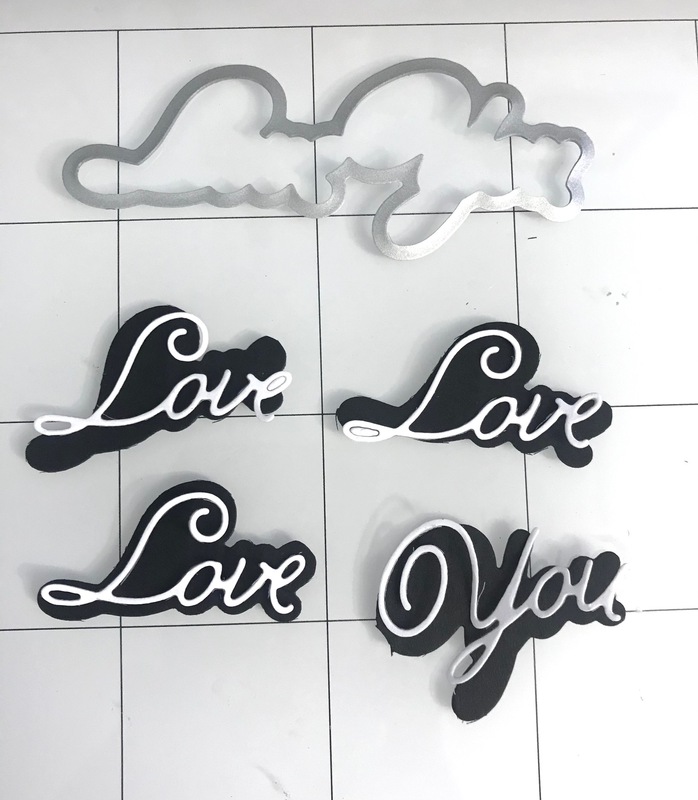
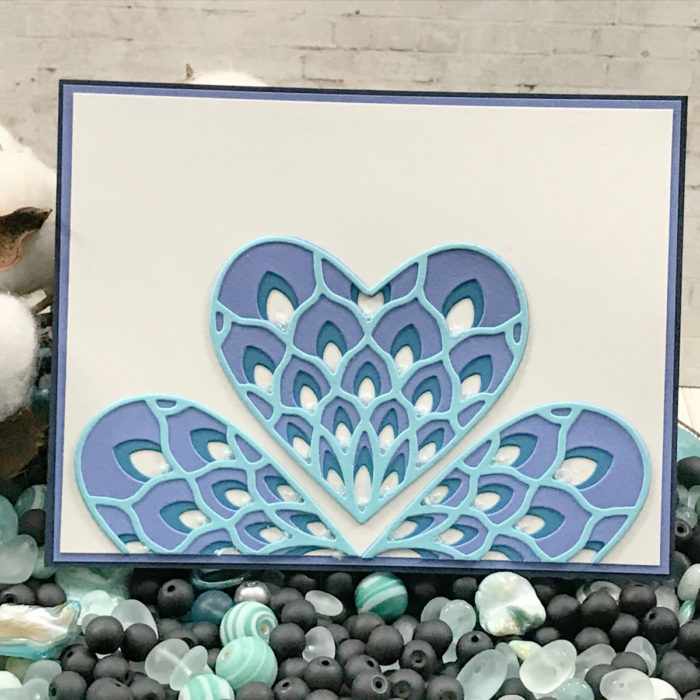
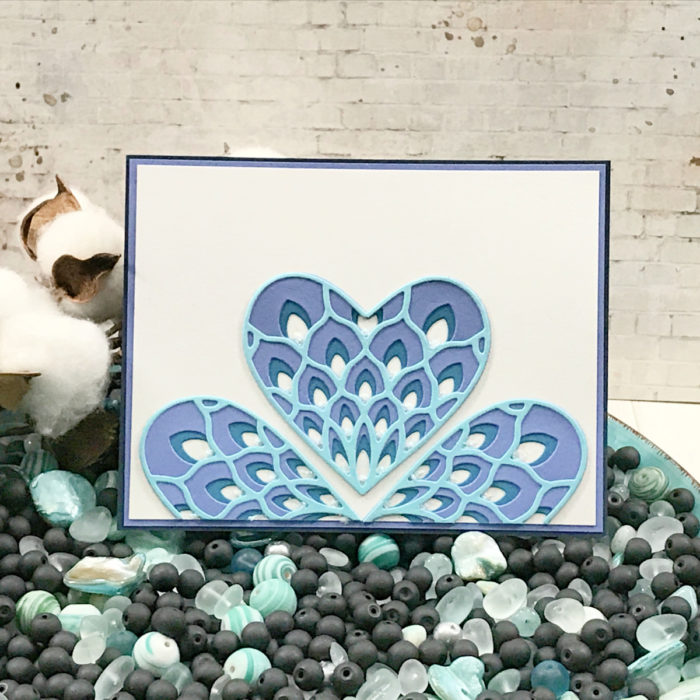
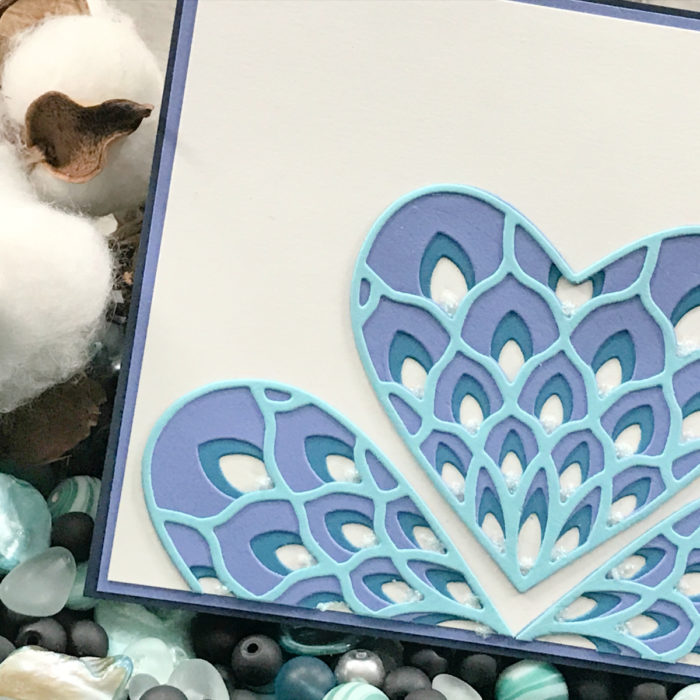
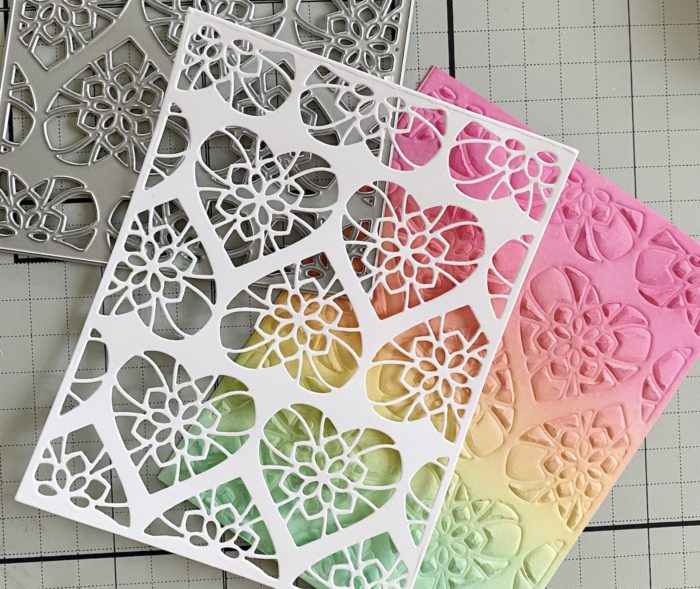
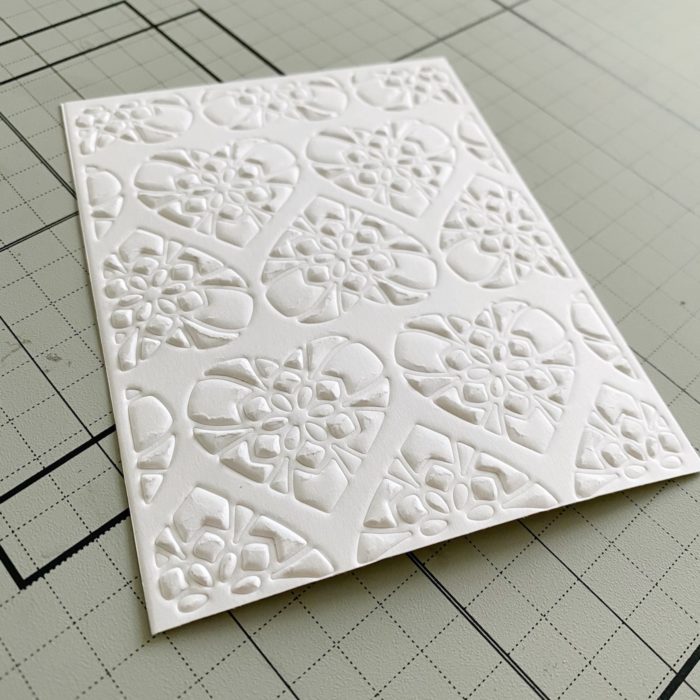
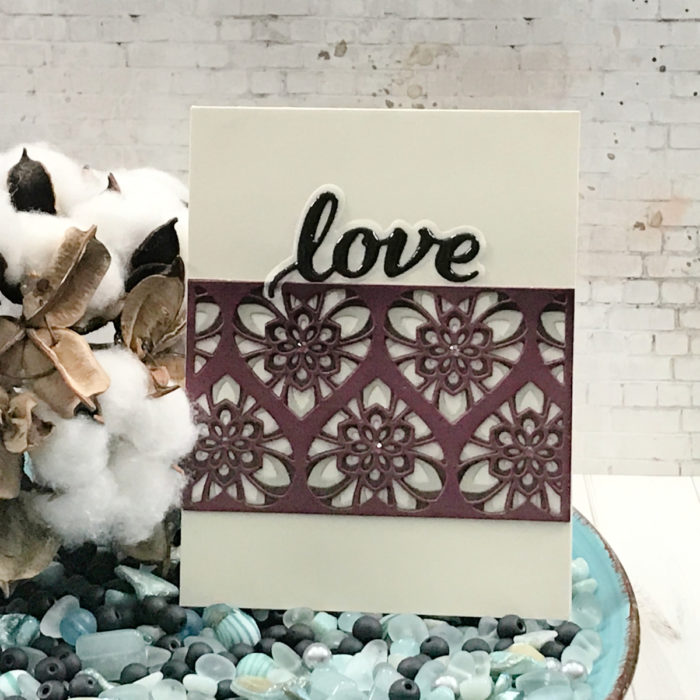
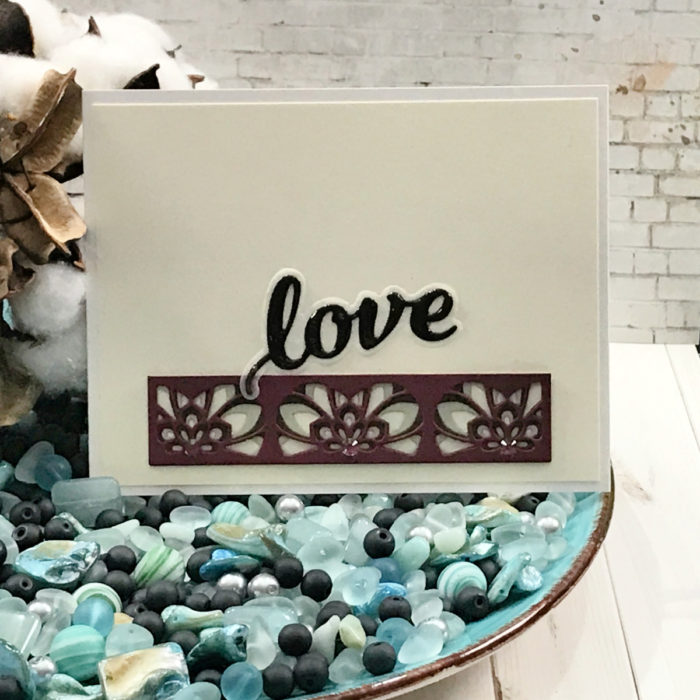
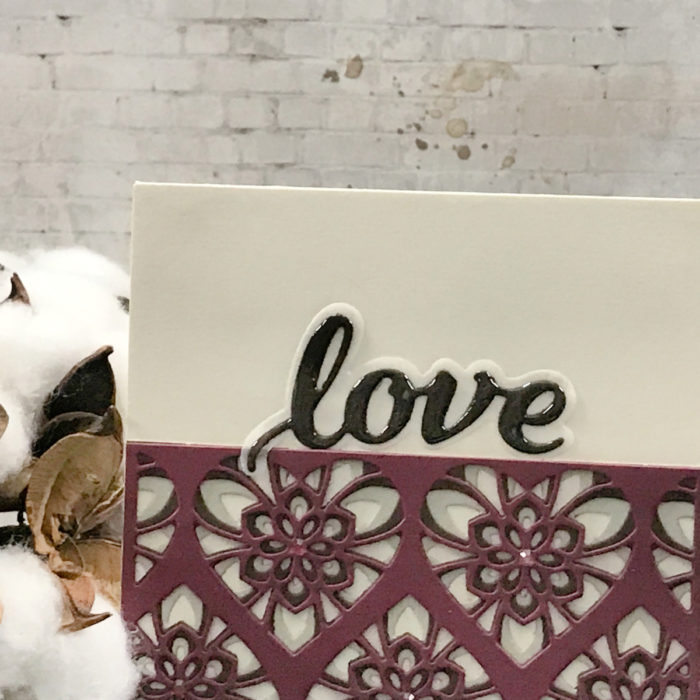
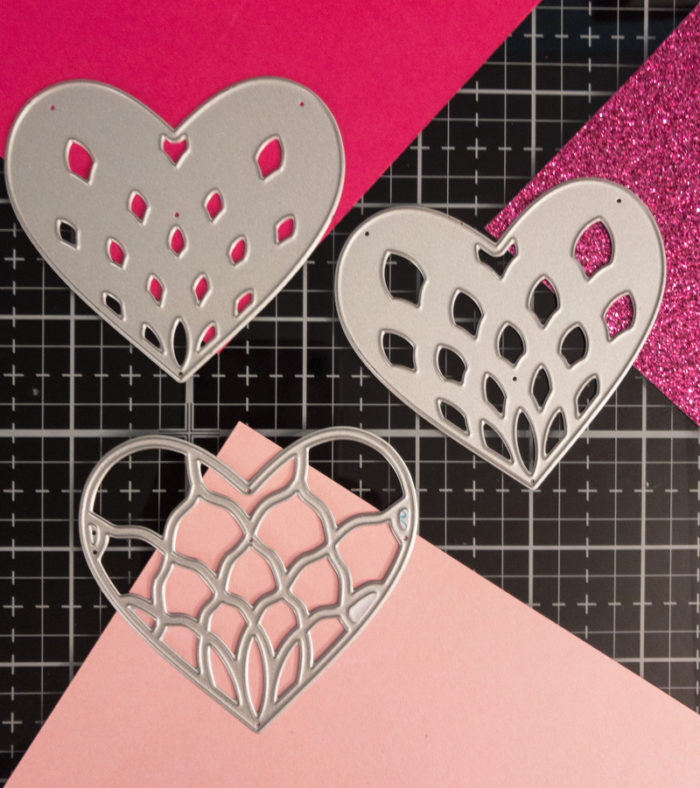
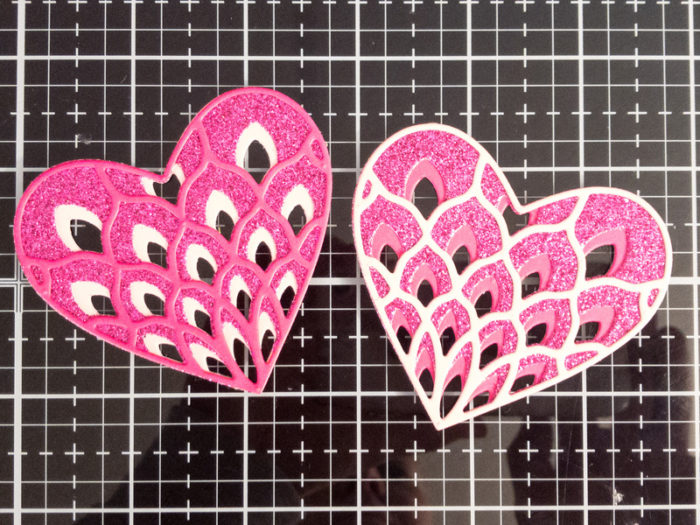
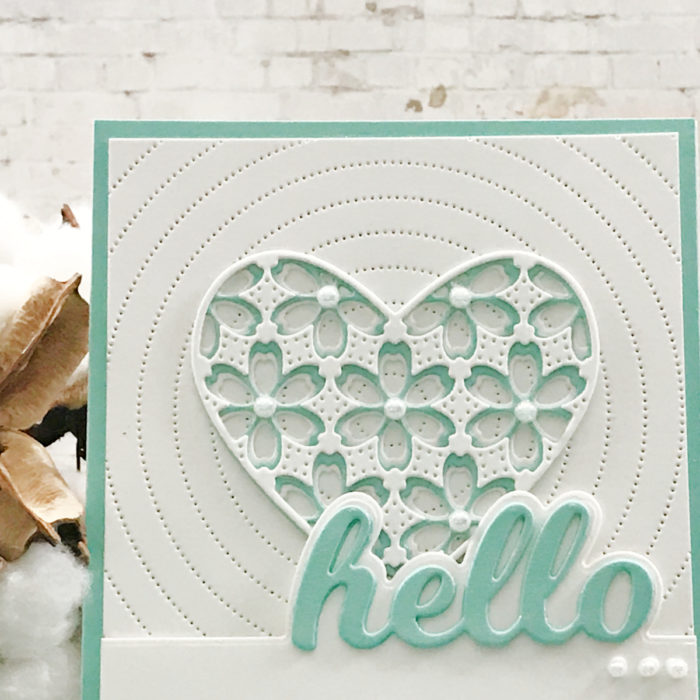
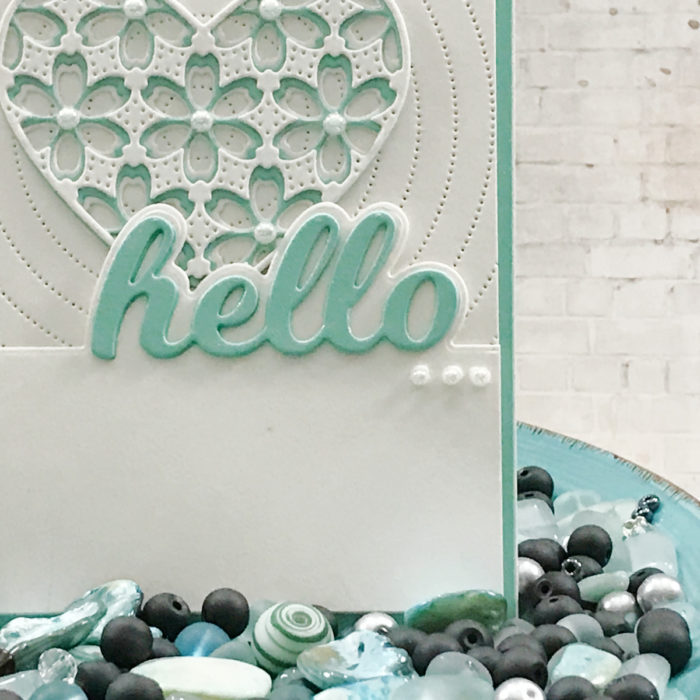
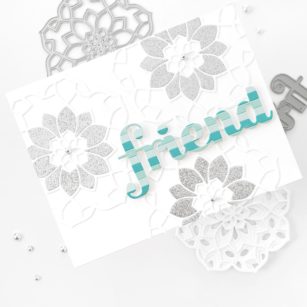
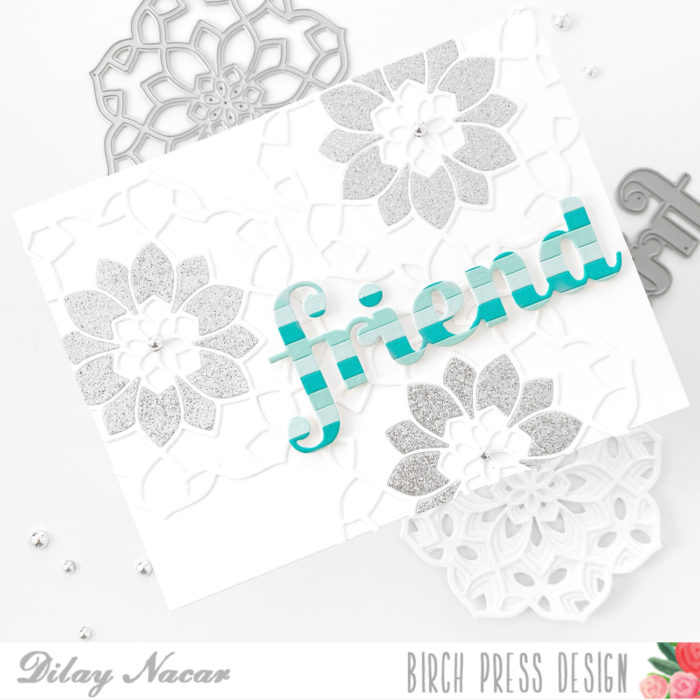
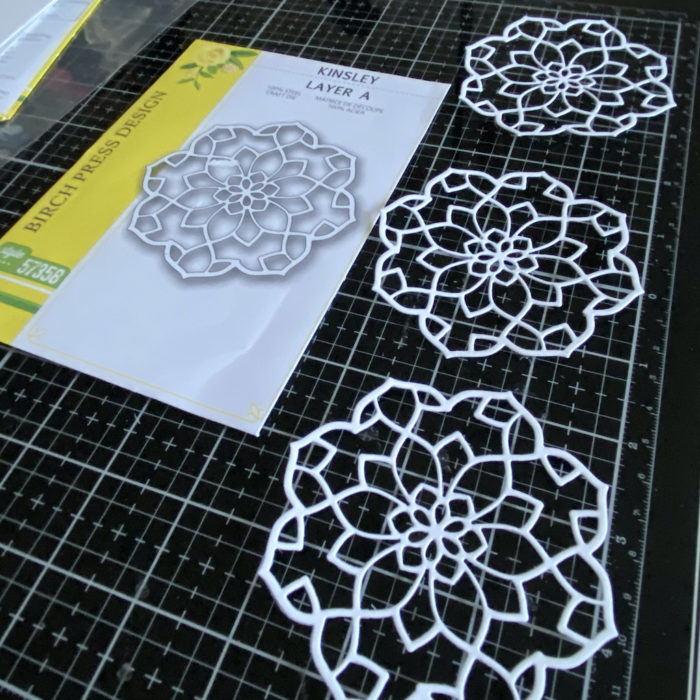
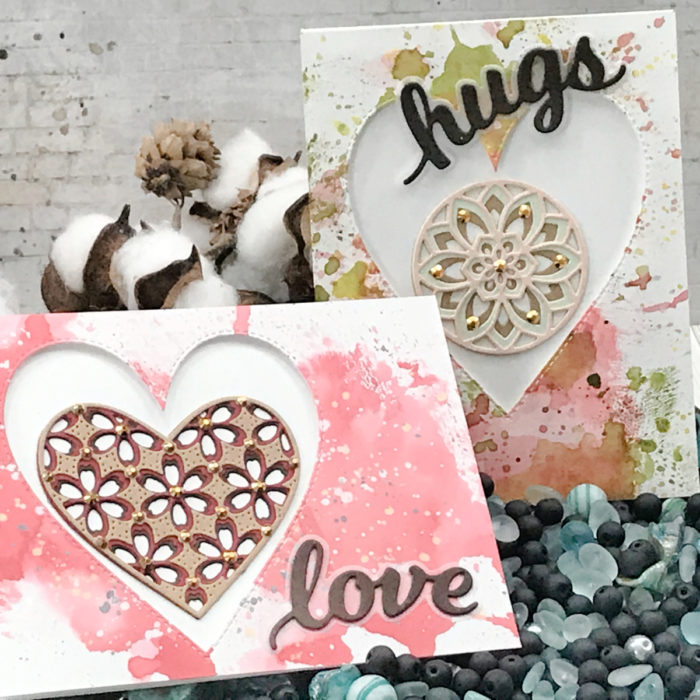
One of the features in some of the layering die sets is there are separate sections that can be die cut individually! Let’s focus on them…
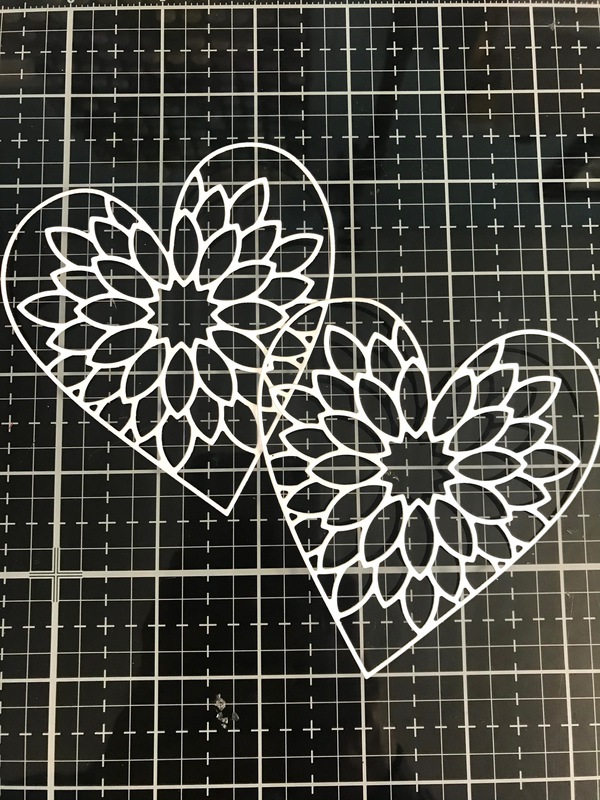
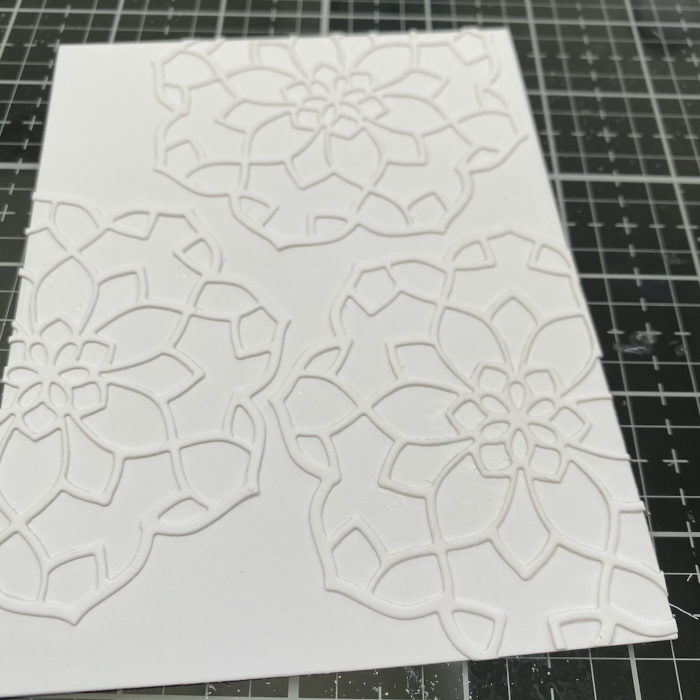
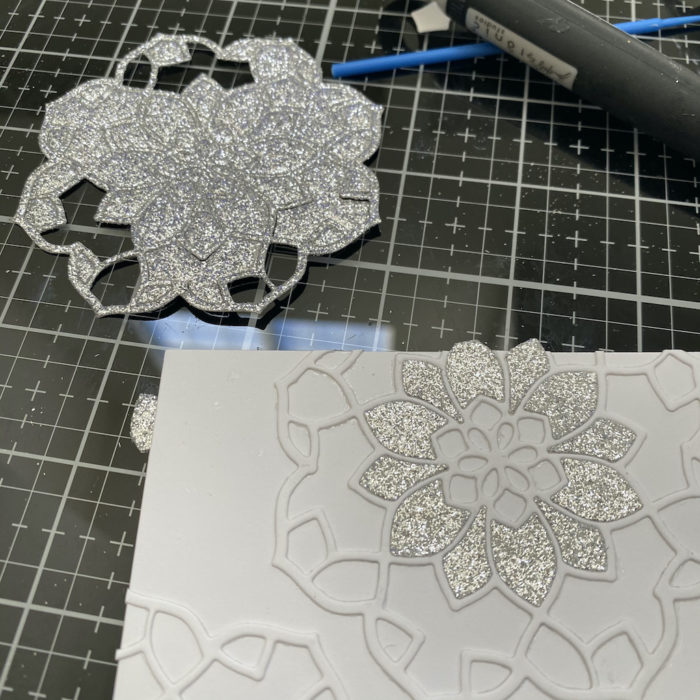
I went through my dies, made my choices for my focal points and completed all my die cuts.
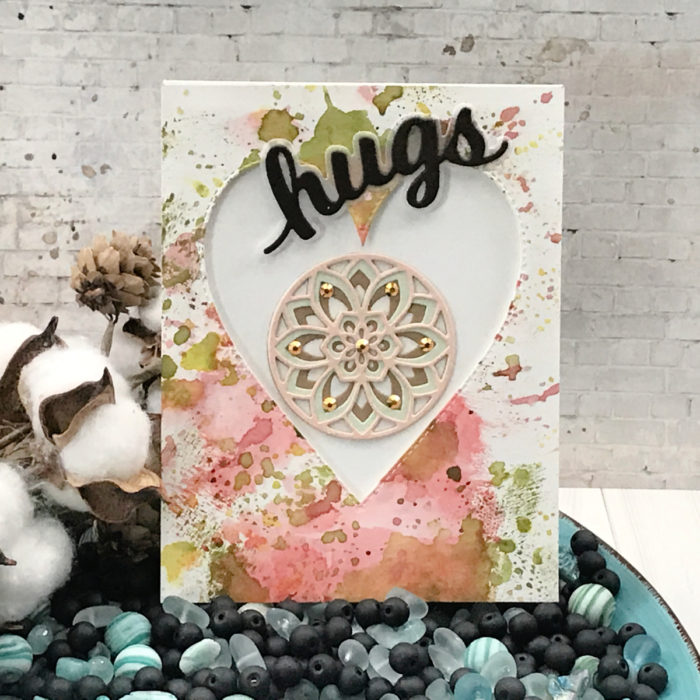
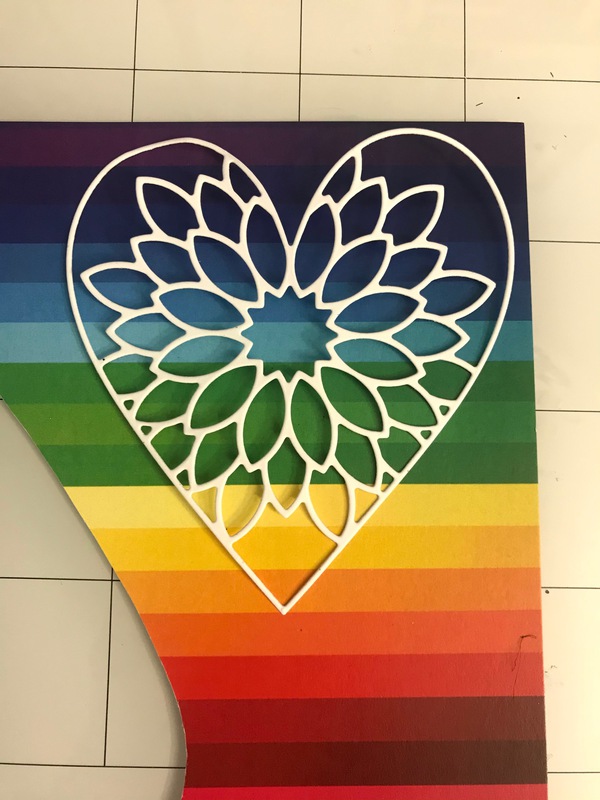
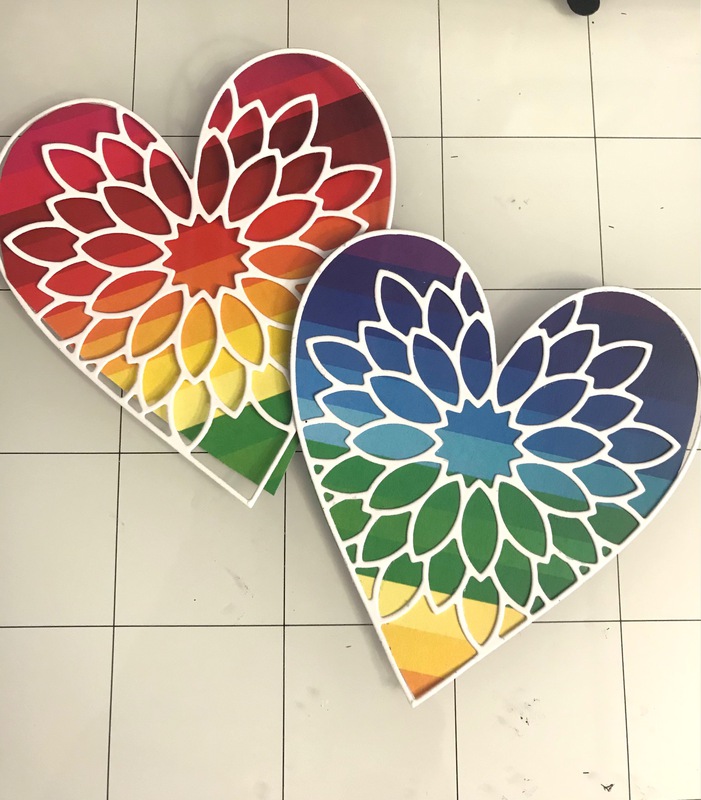
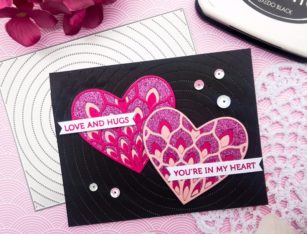
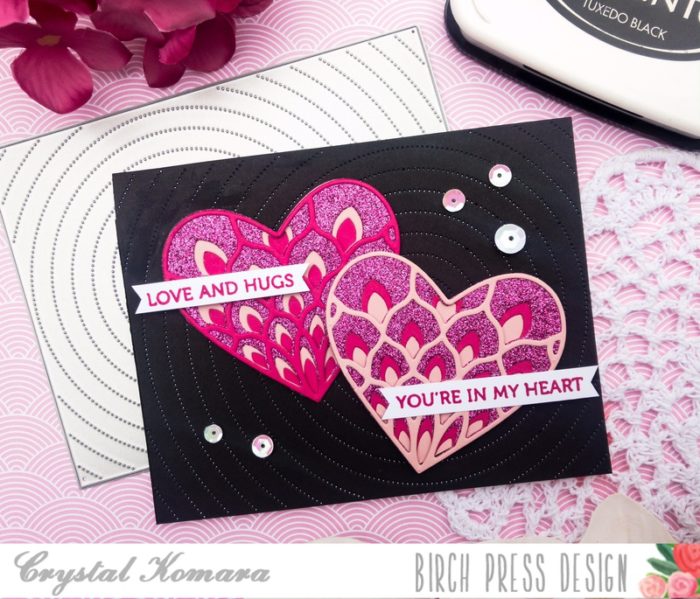
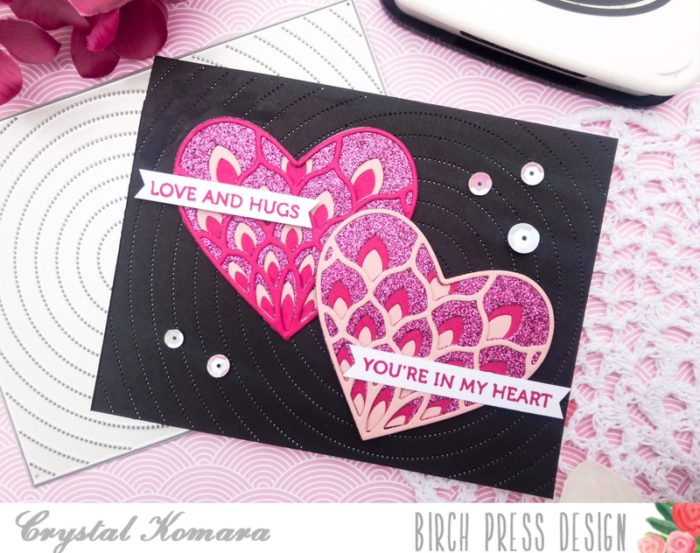
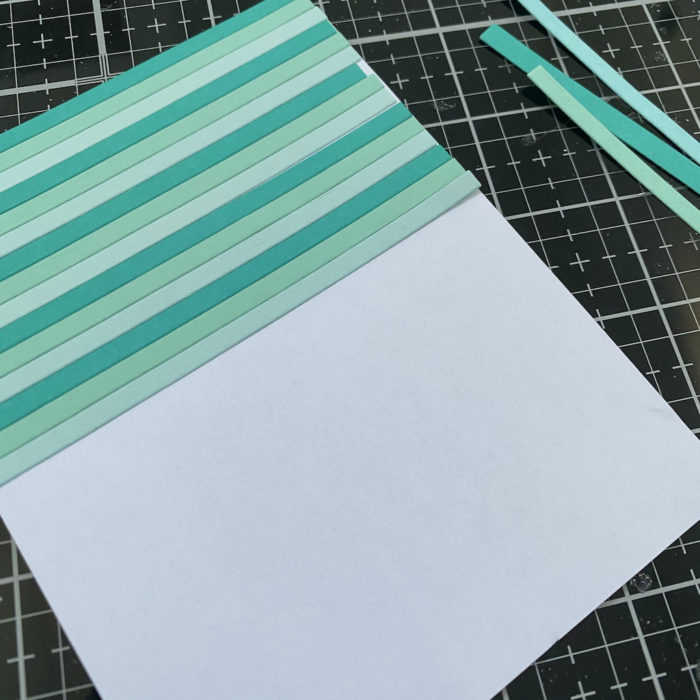
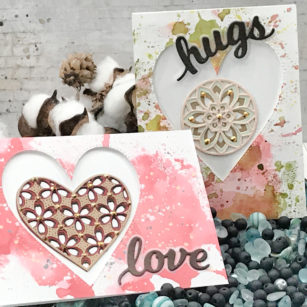
Even though we are making Valentine’s Day Cards I chose neutral colors, Reds, blacks, browns and even a few pastels.
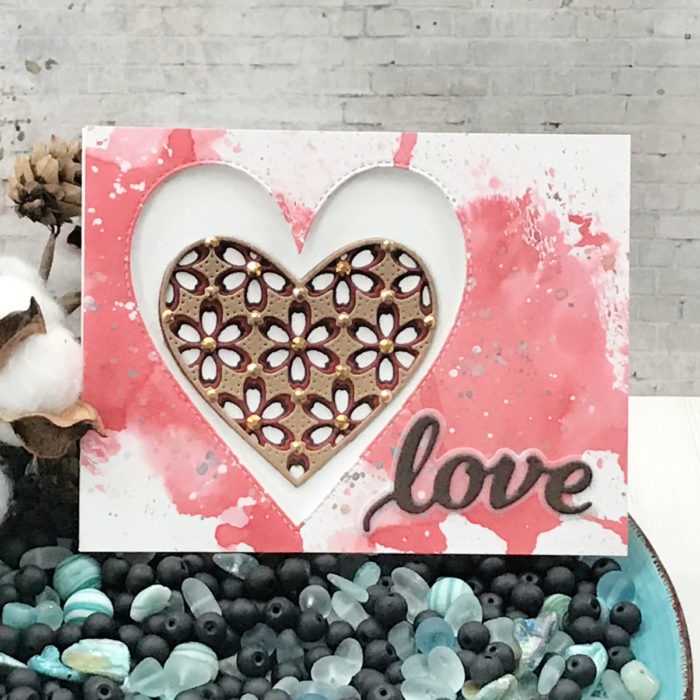
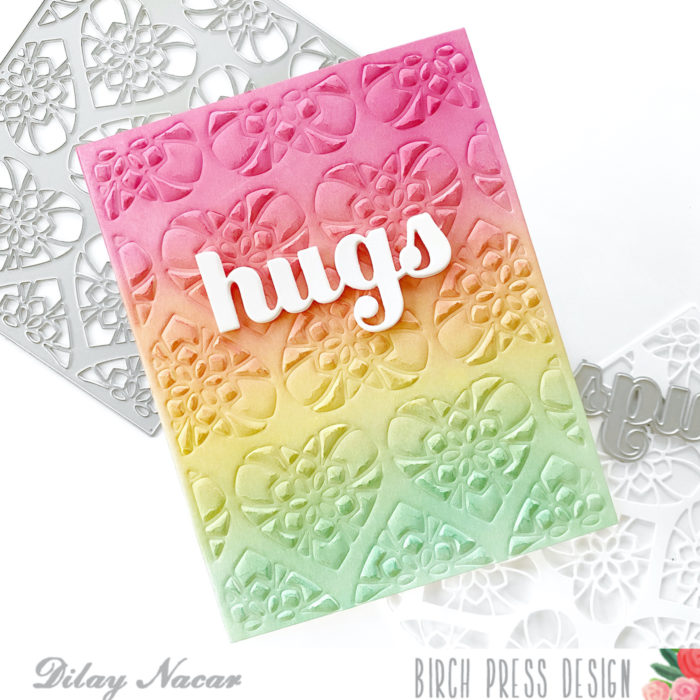
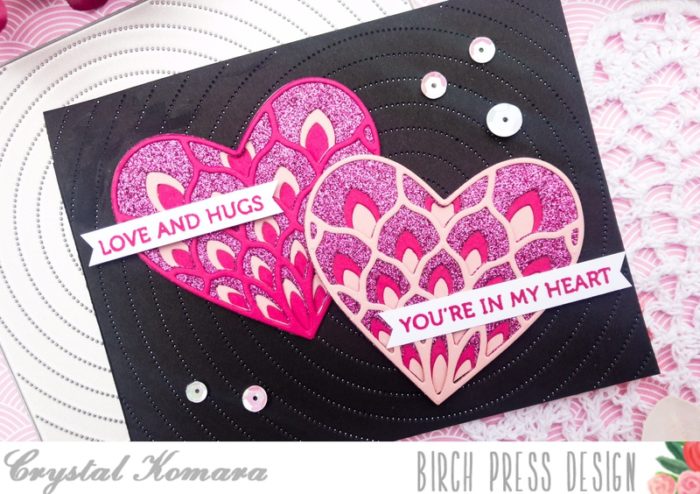
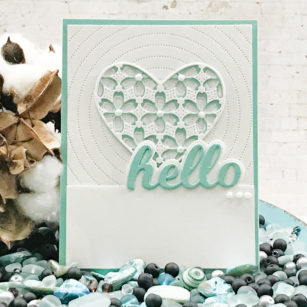
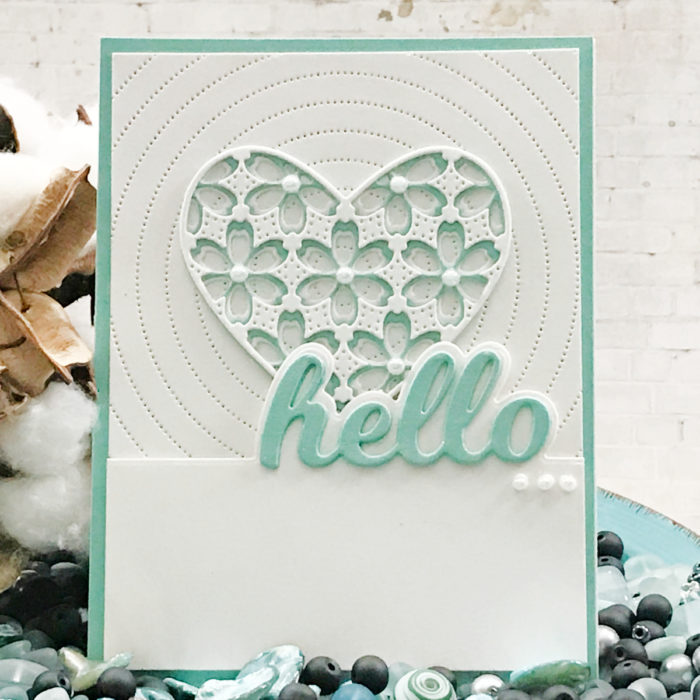
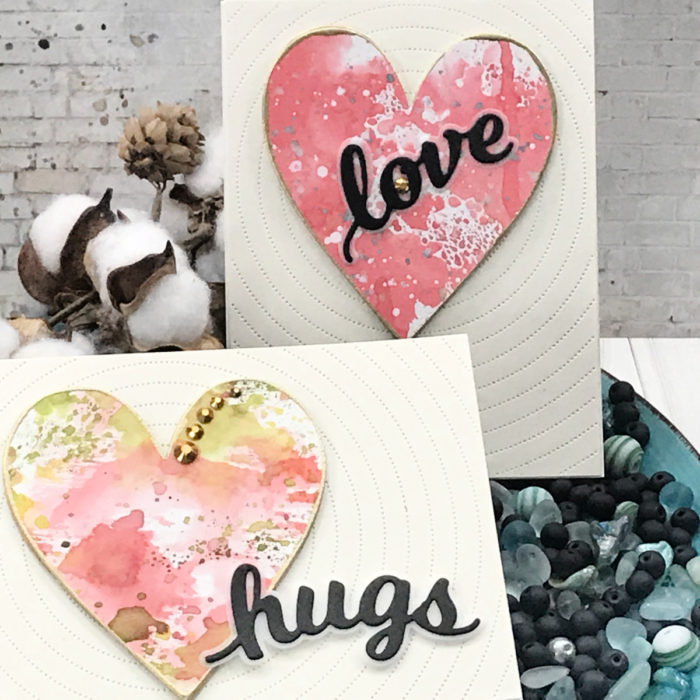
Once all my die cuts were completed and glued together, I grabbed the Stitched Heart die to create my frame for my layering dies.
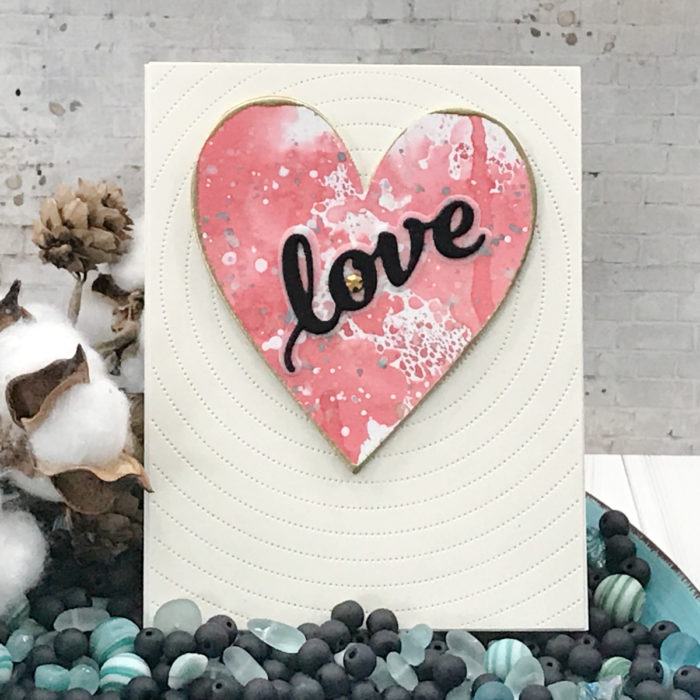
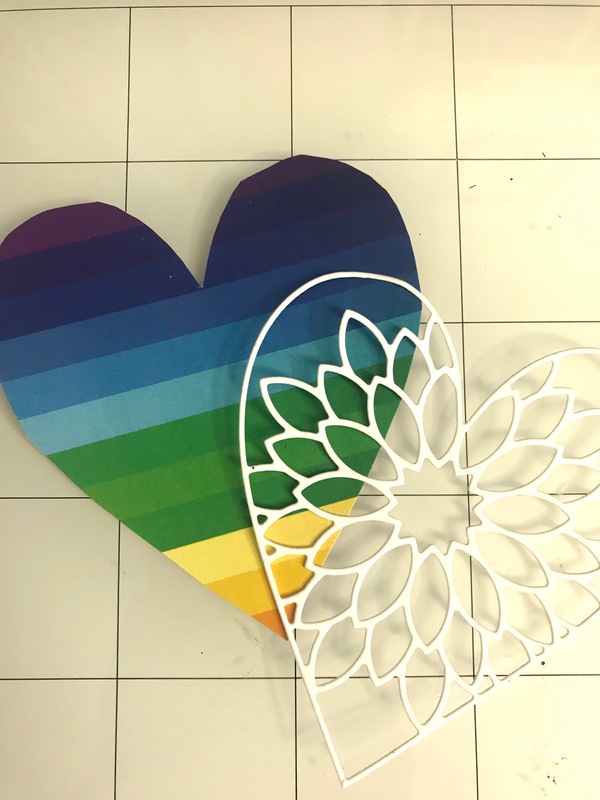
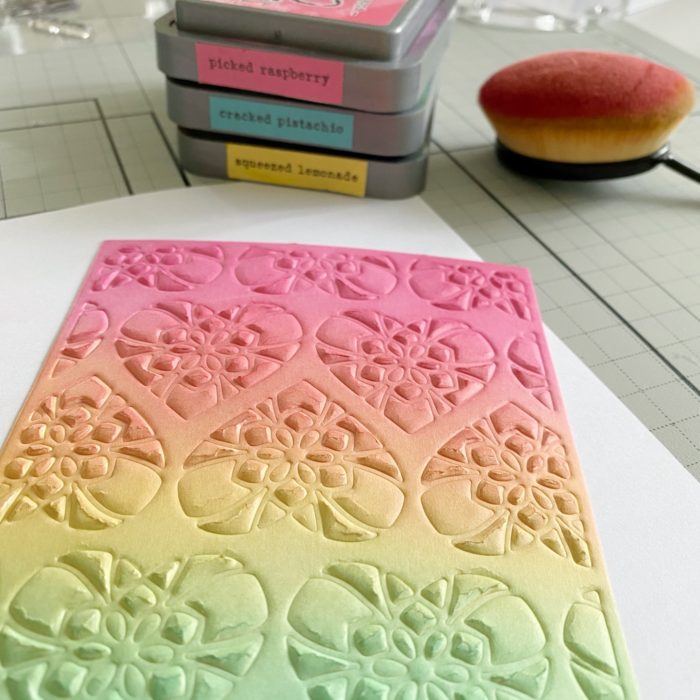
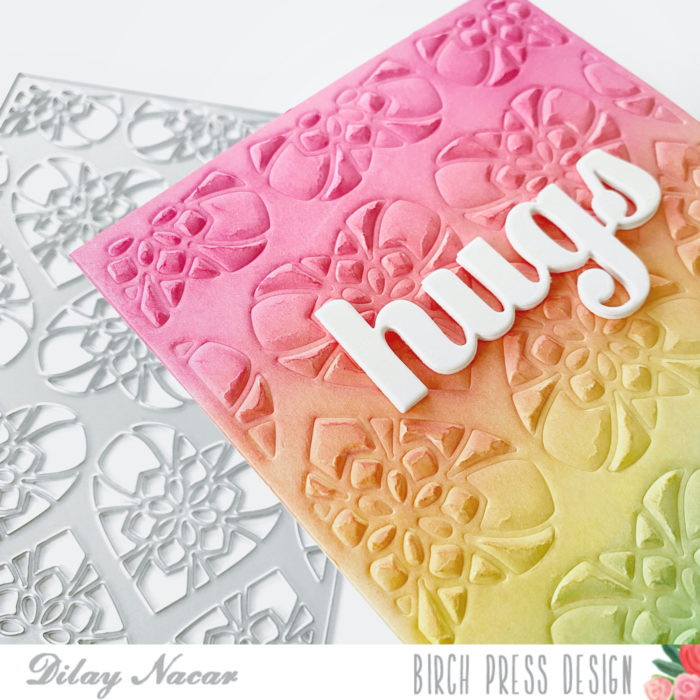
For my cardstock, I grabbed for my stash of ink smooshed backgrounds. The best part when you use a shape die to cut from a card stock panel you get two cards! …and that is what I did with those hearts!
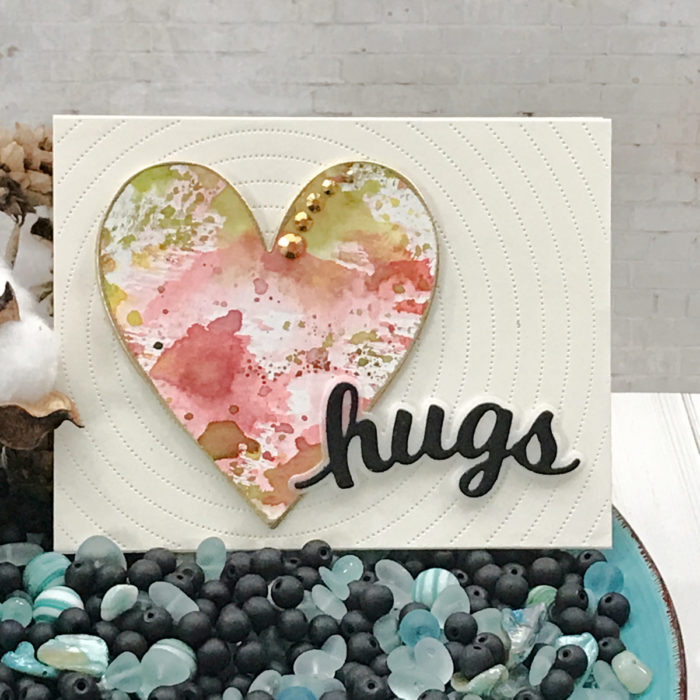
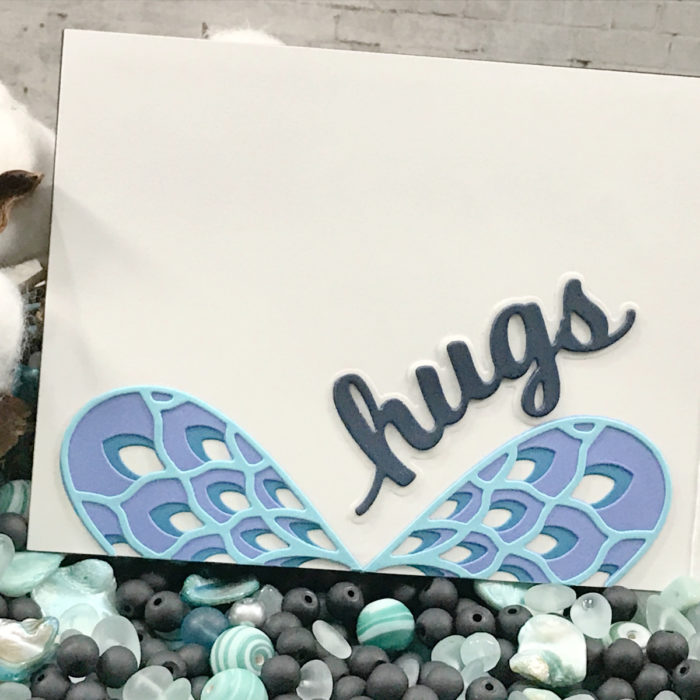
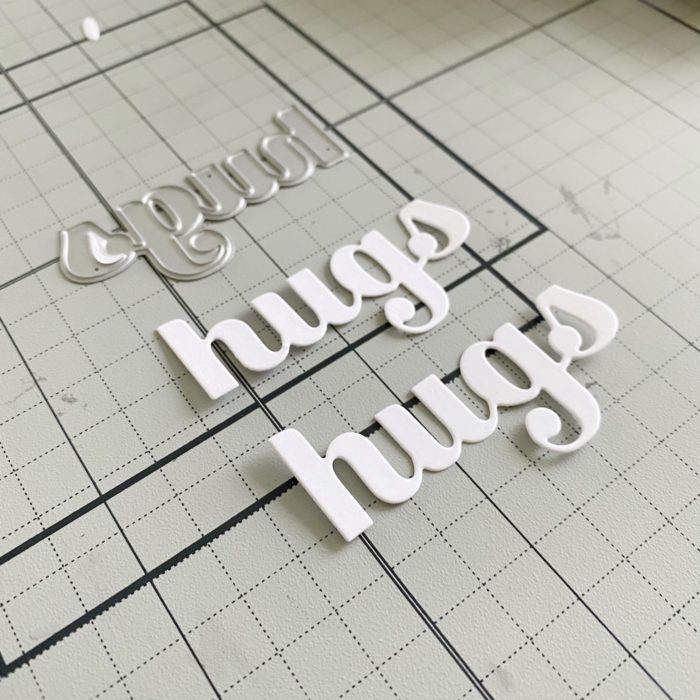
I added my sentiments to my cards and we are ready to show someone just how much we love them!
As always, I hope you enjoyed today’s project… and if you want to see more details just click on the video below and see how these projects come together step by step!
Make sure you stay tuned for more wonderful projects coming soon! Have a great day and always remember… Be Creative!

Supplies