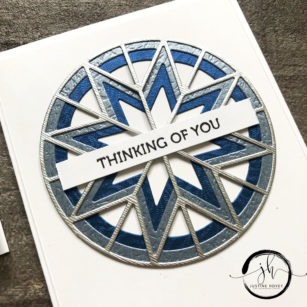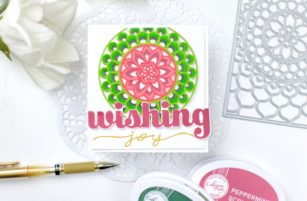
Hello again everyone! Ashlea here and I’m thrilled to be back with some tips using one of the newest die sets available from Birch Press. The Epiphany Layer set reminded me so much of the holidays, specifically a wreath, so I wanted to bring in festive colors that would help remind others of that as well! To do this, I customized my colors for each layer by creating my own colored card stock. I used Catherine Pooler inks for this and used a “pad to paper” technique that I’ve used here before, but it’s so useful that I thought it warranted another mentioned.
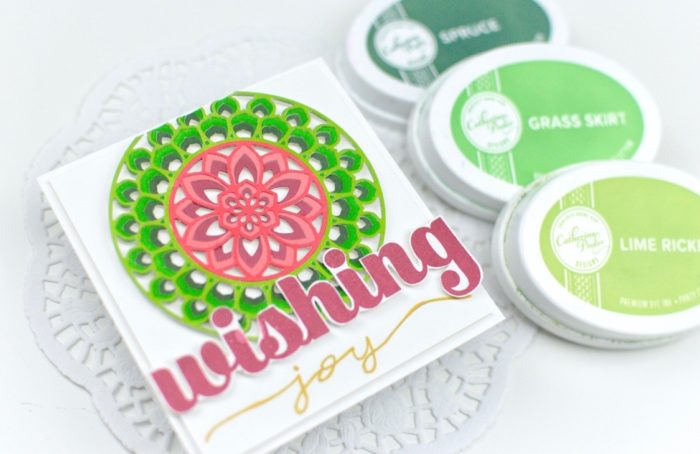
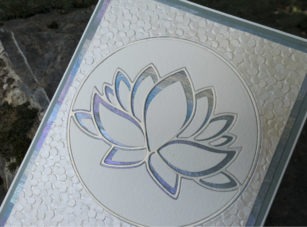
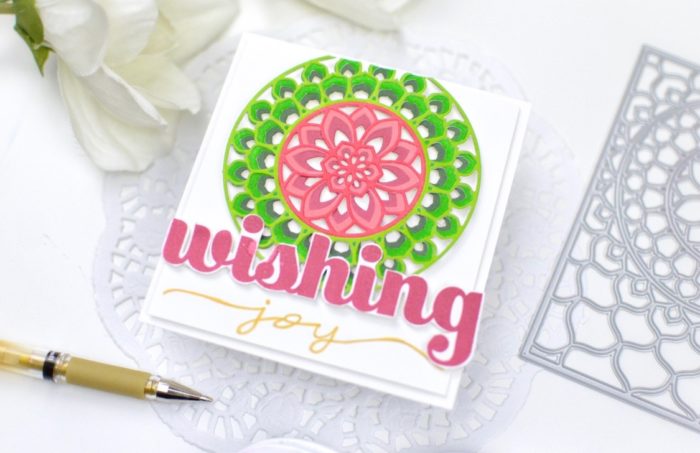
To create the wreath part of the image, I used Lime Rickey on white card stock for Layer A, Grass Skirt on white card stock for Layer B, and finally Spruce on white card stock for layer C. I love the dimension these colors give to my “wreath” and that they work so well to get the point of the wreath across.
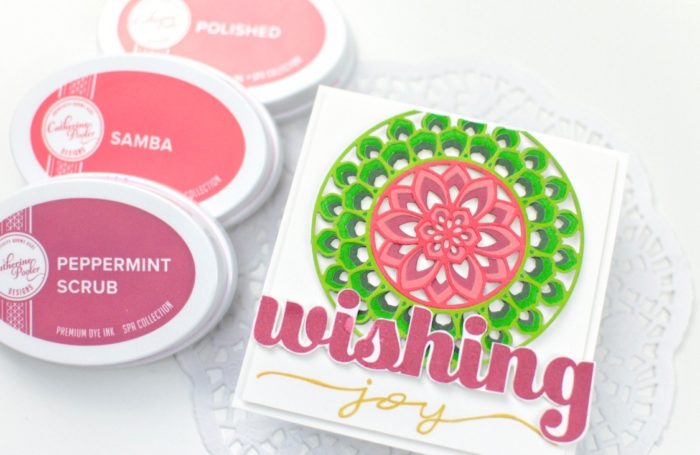
For the center of the wreath I thought I’d bring in the reds to complete my holiday palette. I used Samba for Layer A, Polished for Layer B, and Peppermint Scrub for Layer C. Again the choice to darken the tones on the descending layers gives a great deal of shadow and depth to the collections of die cuts.

As you can see from the die in the photo above, there is even one more piece to the die that I have omitted for this card but saved for another time. I love these types of cover dies that can be used together or separately to create so many looks and types of designs for cards.
I hope that you’ve enjoyed learning a bit about how I created this look using the new Epiphany Layer set!
GIVEAWAY ALERT!! We are celebrating the new release at Birch Press Design, and are giving away the Epiphany Layer A die that I used on today’s card! For your chance to win leave a comment for me on today’s post. I love to read your comments.
2) For a second chance to win one for YOU and a FRIEND, follow us on Instagram @birchpressdesign Like the Instagram post for this card and TAG YOUR FRIENDS. One tag per comment please–the more friends you tag, the more chances you have to win. Both you are your friend must follow @birchpressdesign to be eligible to win. One comment will be selected and you and your friend will both receive this stamp set.
You must comment by midnight EST August 23. Winners will be announced August 26.