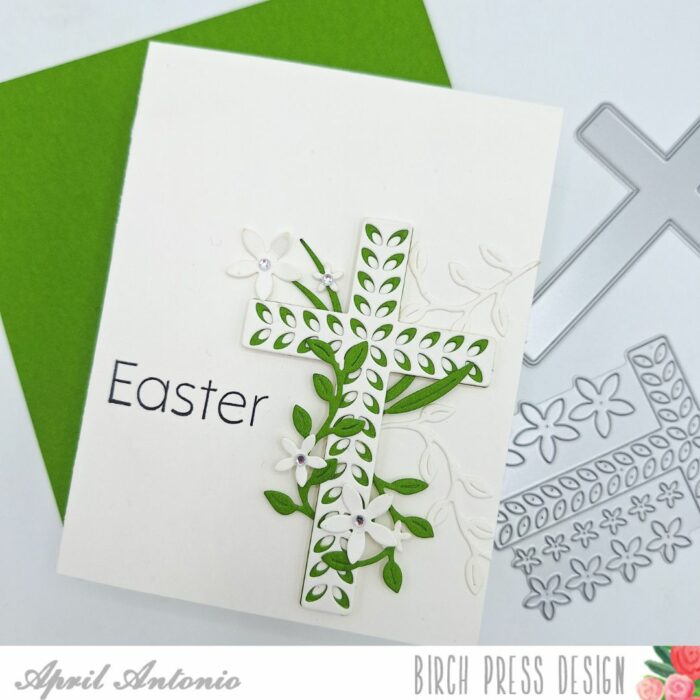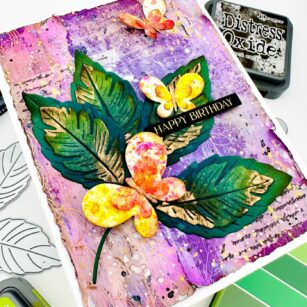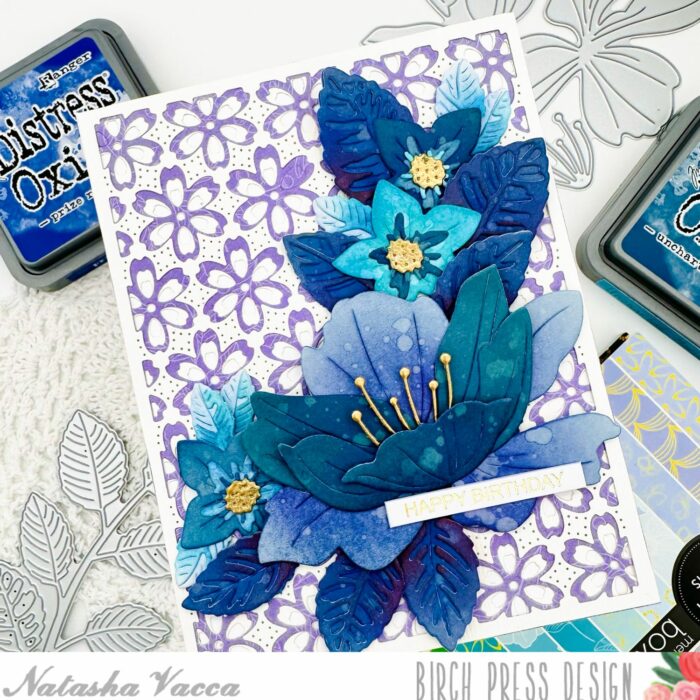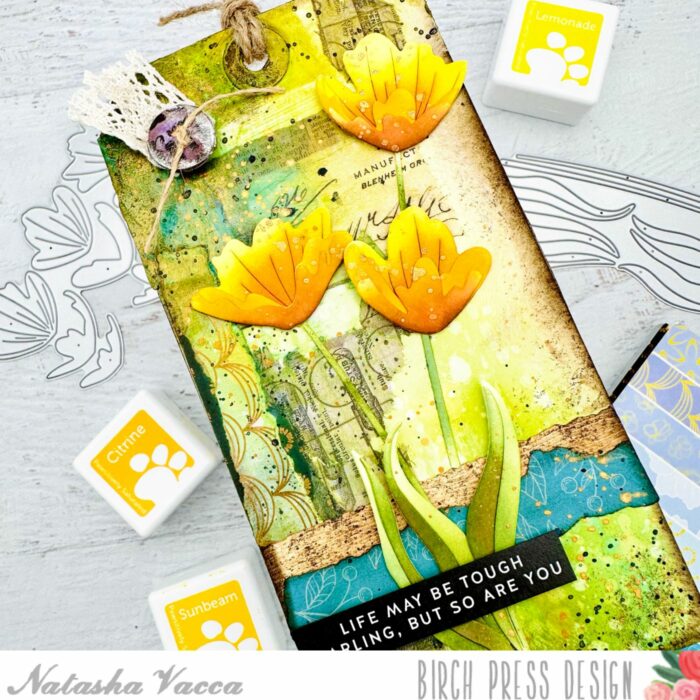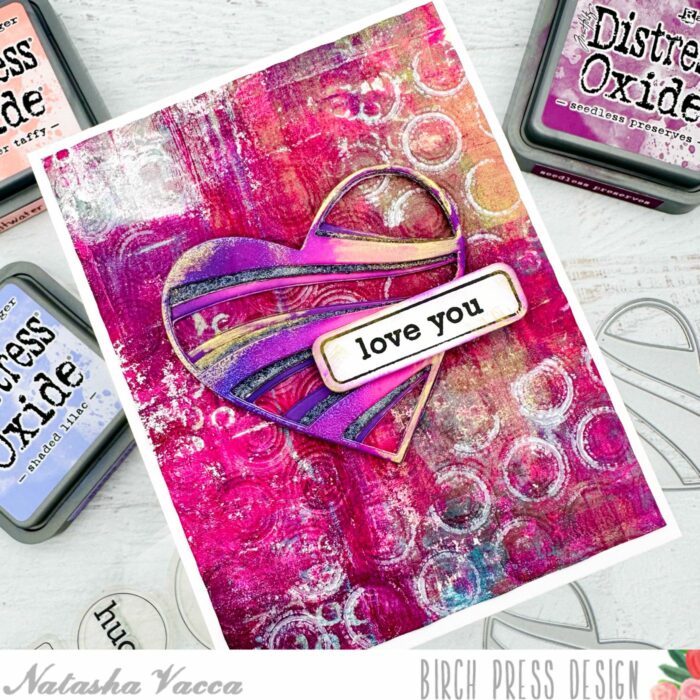
Happy Saturday! I was feeling the need to bring some spring, brightness into my life when I created today’s card, and with a busy Spring travel schedule, desired something beautiful, yet simple to pull together. Read on to find out which supplies I used to create this lovely card.
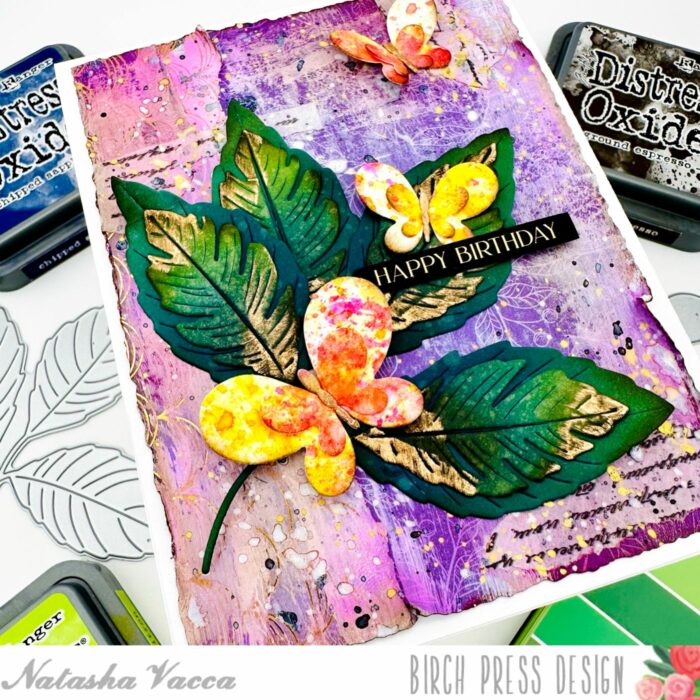
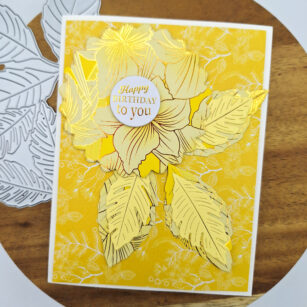
I was inspired by the Memory Box Glimmering Gladiola 6×6 patterned paper pack. Each of the pages has a foiled side and a printed non-foiled side. I took one of the yellow pages and cut it down to a mat size for an A2 card front, leaving a 1/8 border all around. I glued this down, non-foiled side, to my white A2 card front.
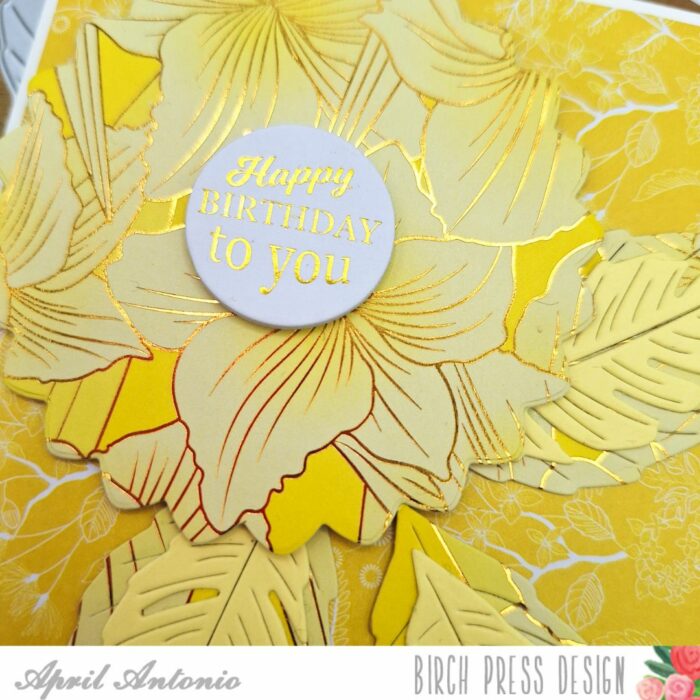
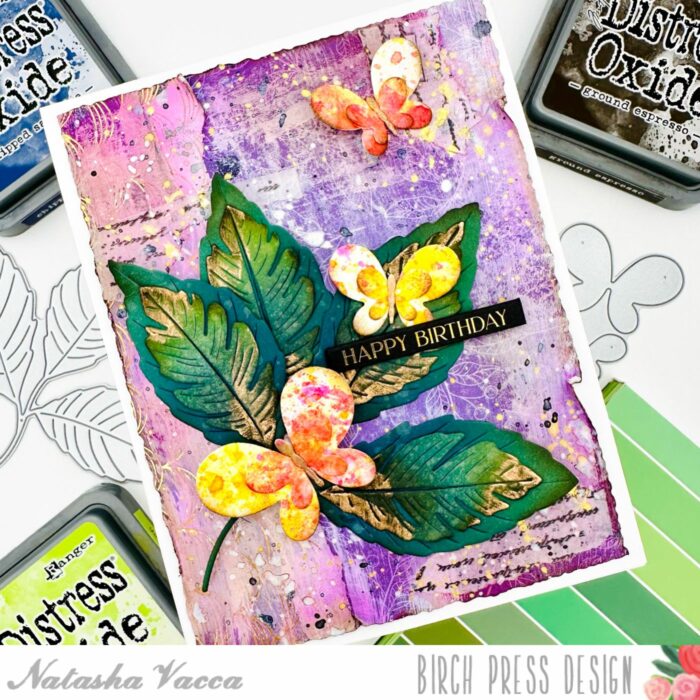
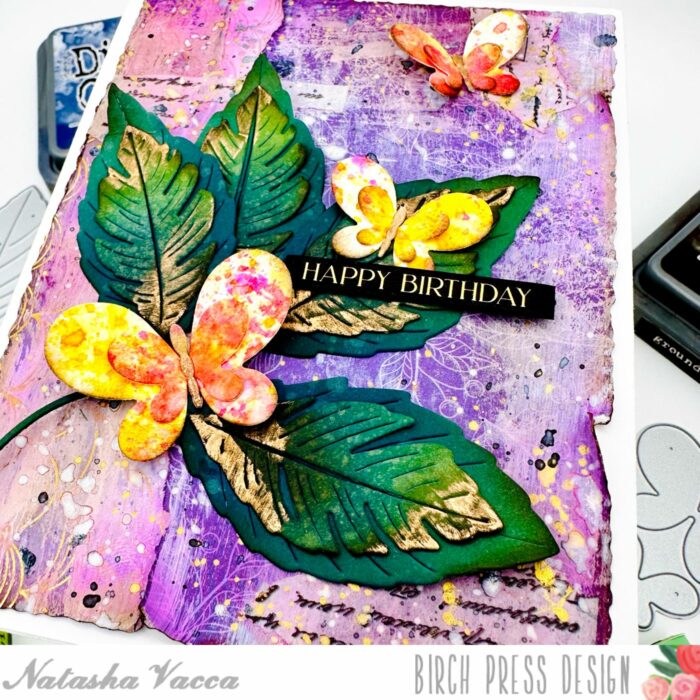
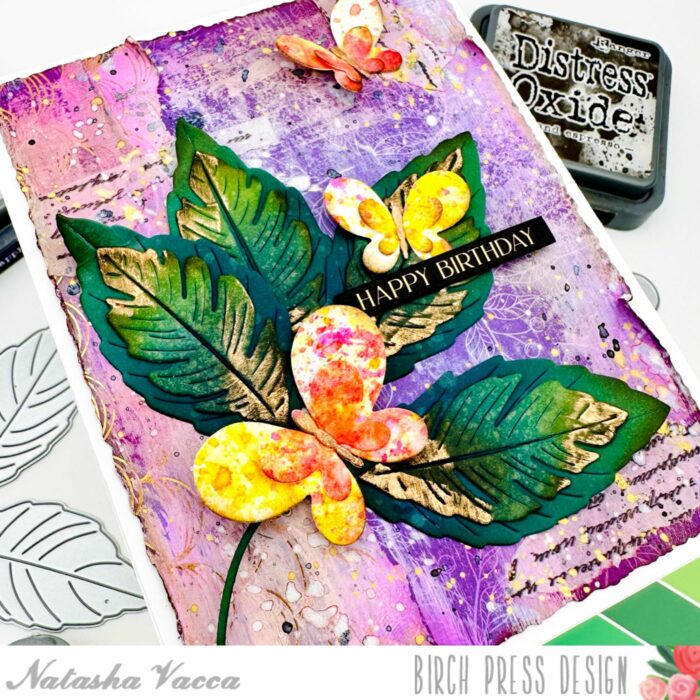
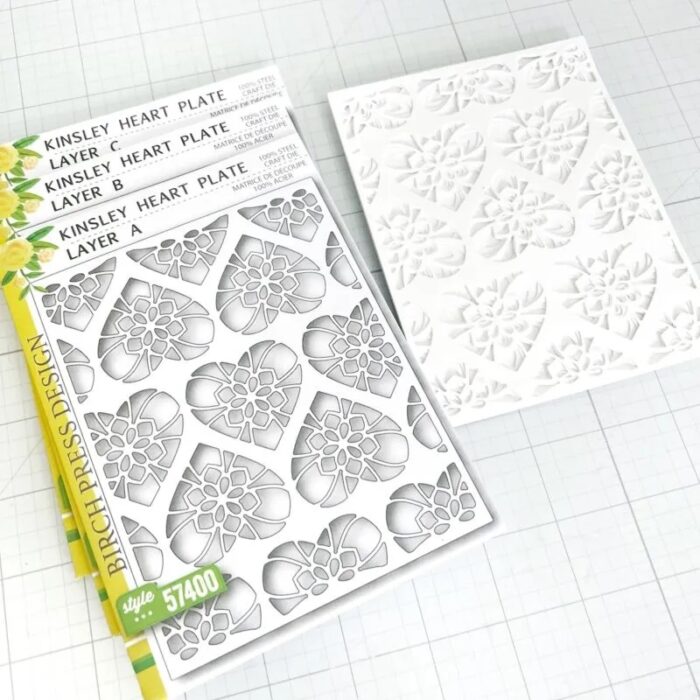
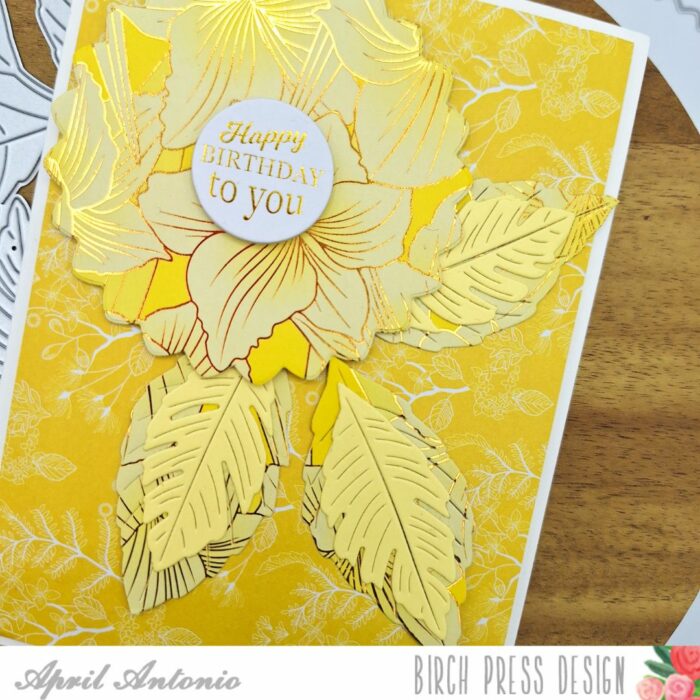
Next I took the geometric outline die from the Gilded Petalpoint hot foil set, and cut a piece of the yellow cardstock from it, foiled side up. I also cut leaves from the foiled paper using the Wiegela Leaf Contour Layers die set. The inside of the leaves I cut using a light yellow from the Memory Box Sunrise solid core cardstock pack.
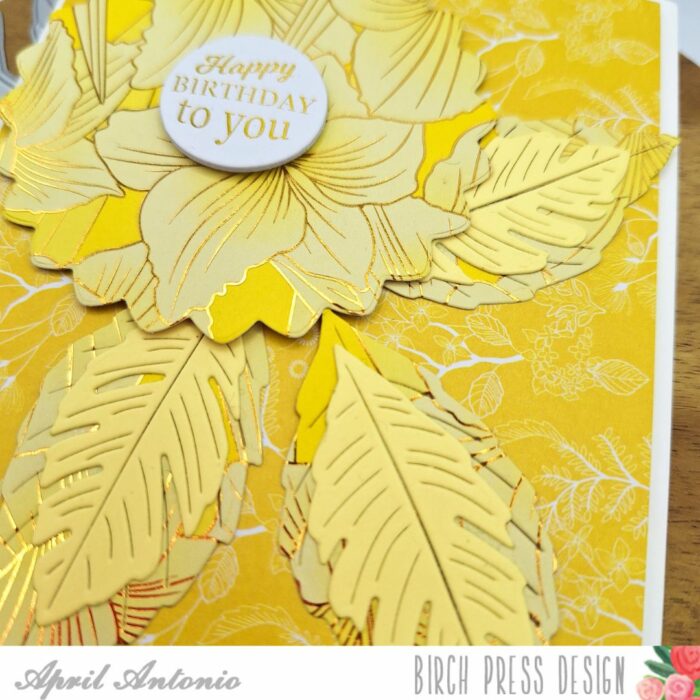
Next, I glued the contour leaves together, and glued the geometric piece and leaves all to the upper left of the card base.

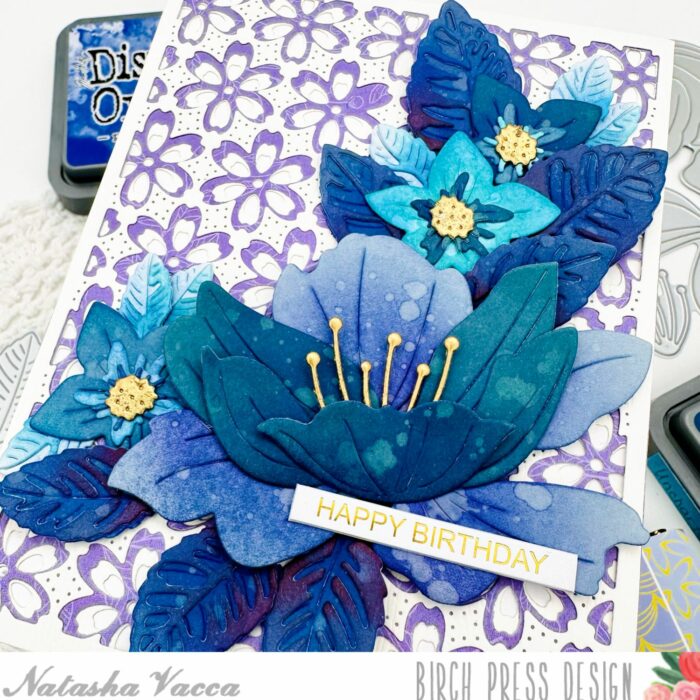
To finish off the card, I chose one of the beautiful Happy Birthday sentiments from the Open Studio Circle Foil Greeting Tabs, and glued it to the center of the geometric piece creating a sort of flower.
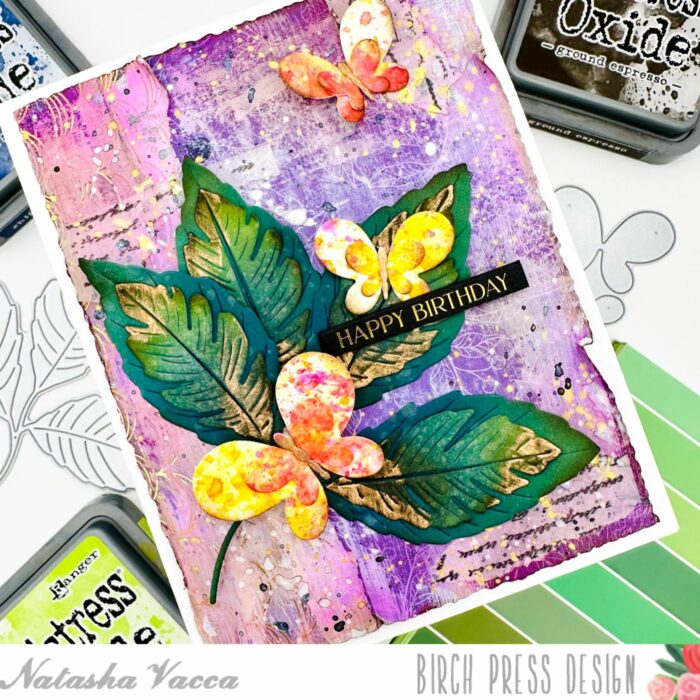
This card was super simple to pull together, and using the greeting tabs and pre-printed paper really helped. I hope you are inspired to get in your craft stash and play this weekend!

Supplies


Supplies