Happy Friday Birch Press friends, and Happy New Year!
It’s a new year so I figures it’s time to try some new things. Anyone struggle with a certain color? Have a complicated relationship with it? Well, that’s me and the color purple..no not the movie at all, the actual color. Me and purple just never seem to connect —- so, I decided to try it for today’s project.
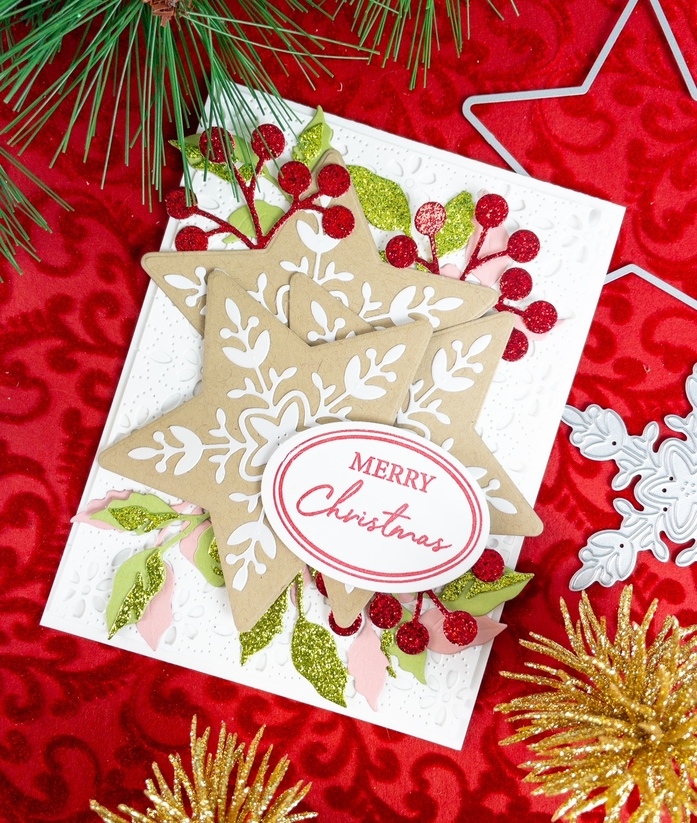
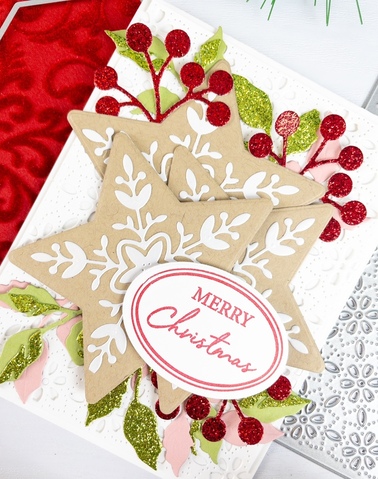
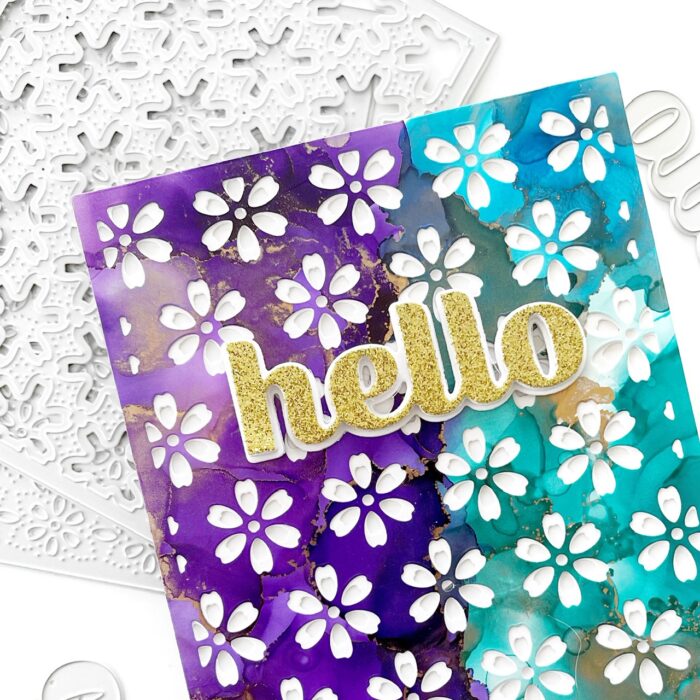
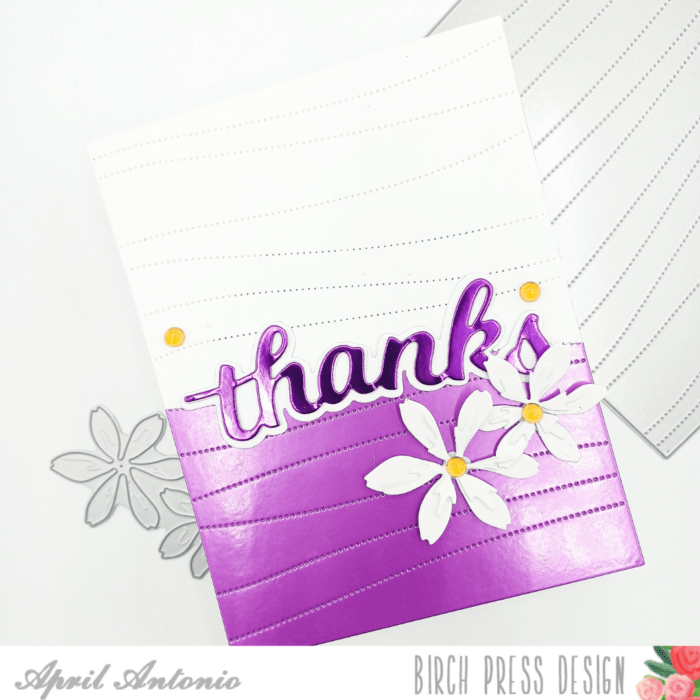
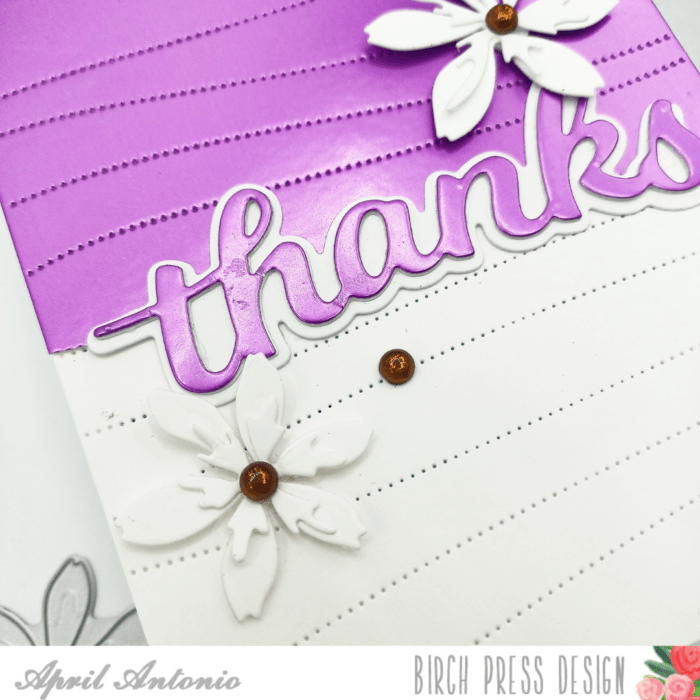
I grabbed the new Pinpoint Contour cover plate which I am personally in love with, and cut it out three times: twice from heavy weight cardstock, and once from the creamy purple found in the Rainbow Reflections Mirror Pad. (Flashes of Prince are dancing in my head!).
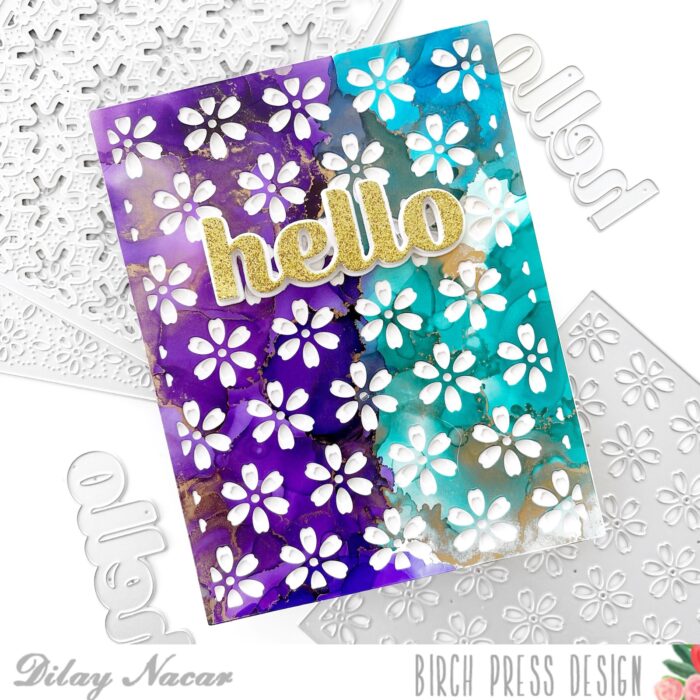
As a lot of us in this post-holiday season, I have a lot of thank you cards to send to friends and family, so I thought I could make two cards today from one cover sheet. I took the coversheet I cut from the purple cardstock and chose a point about 3/4 down the sheet and cut right along one of the pinpoint perforations — which helped it cut very easily.

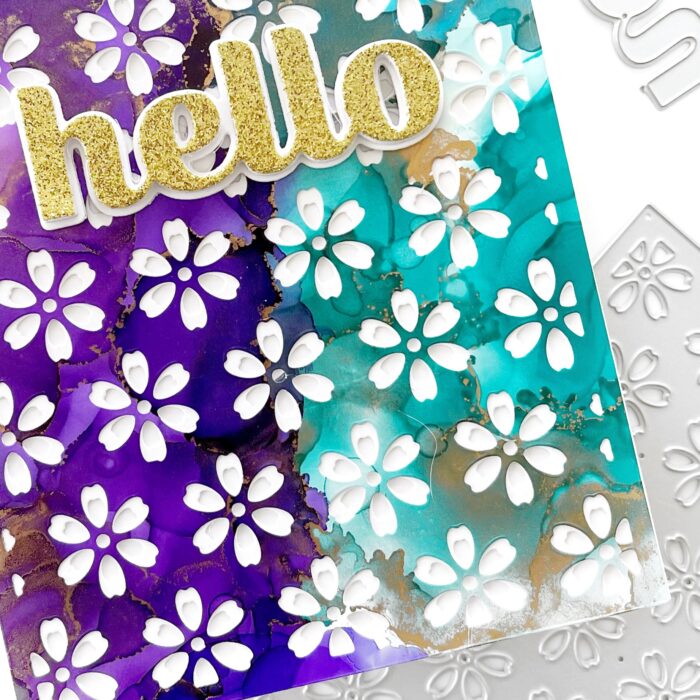
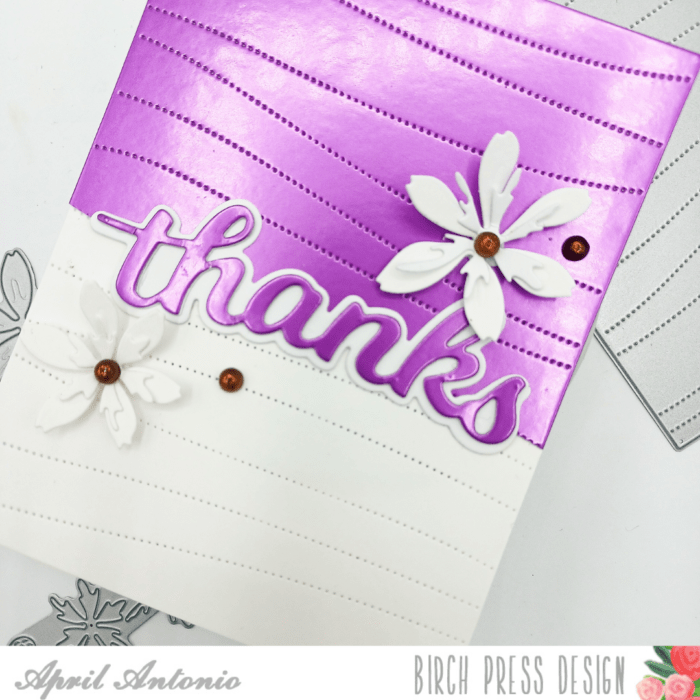
I then lined these two halves up on top of my white cover sheets to exactly the spot where I had cut it. You’ll notice on one panel I have the purple at the top, and the other it’s on the bottom.
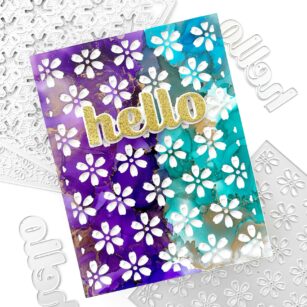
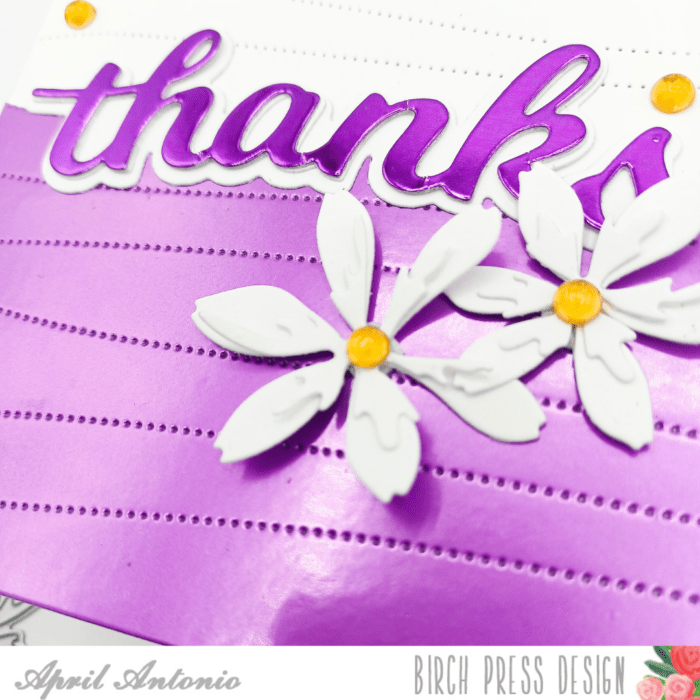
Next, I saved some time by cutting the all of my flowers using the Star Flowers die from white cardstock, and assembled the flowers, making sure to leave the center (or the stamen) piece untouched for later.
I also need a title and I really like using the chunky, Thanks Honey Script word and shadow die set. I cut this from white cardstock a few times, and then once from the creamy purple and once from the shiny, metallic purple that is in the same mirror pad.
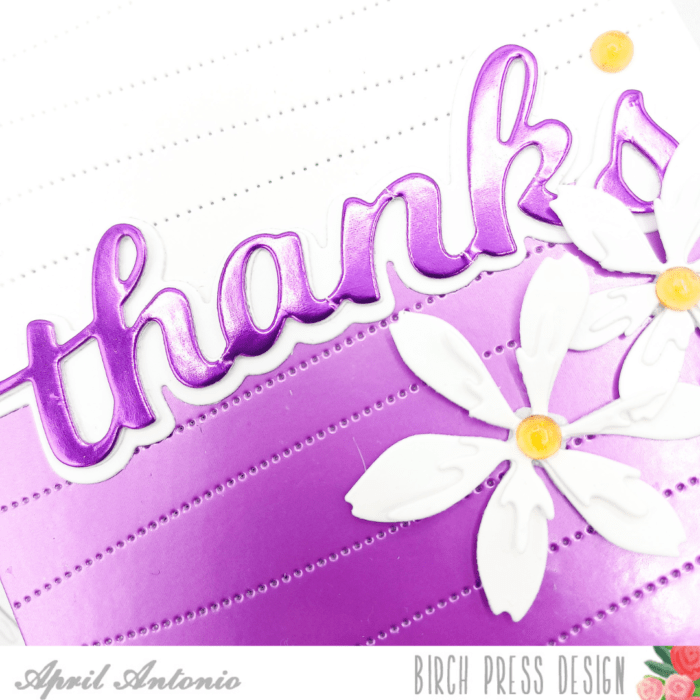
For my assembly, I placed the ‘thanks’ along the seam where the white and purple met, and arranged my flowers around this section. Lastly, I can’t resist some level of bling, so I used the Autumn Fairy Crystals to add centers to each flower.
Thank you for joining me today! I hope you enjoyed this exercise in color exploration with me and that you are encouraged to carve some time from your weekend to get crafty!

Supplies


Supplies