Tag: Birch press design

  • A Watercolor Floral Card | By Sandhya Iyer

    A Watercolor Floral Card | By Sandhya Iyer

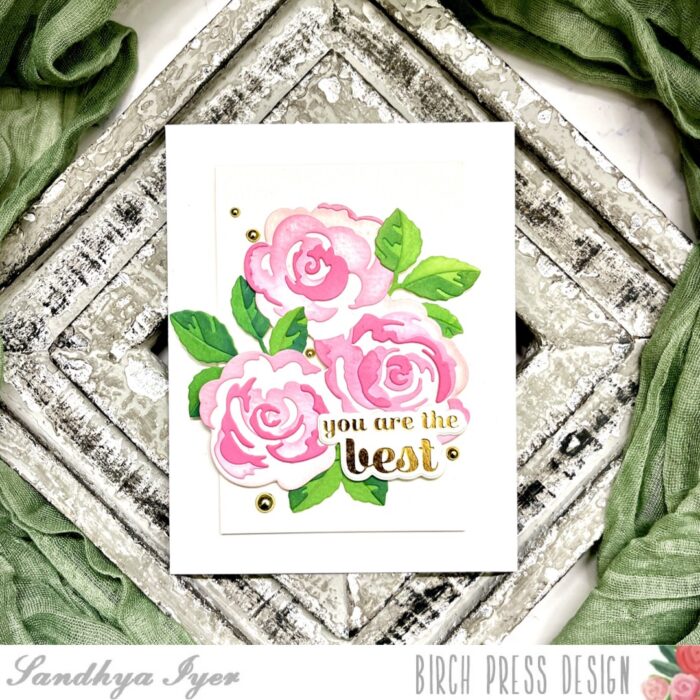
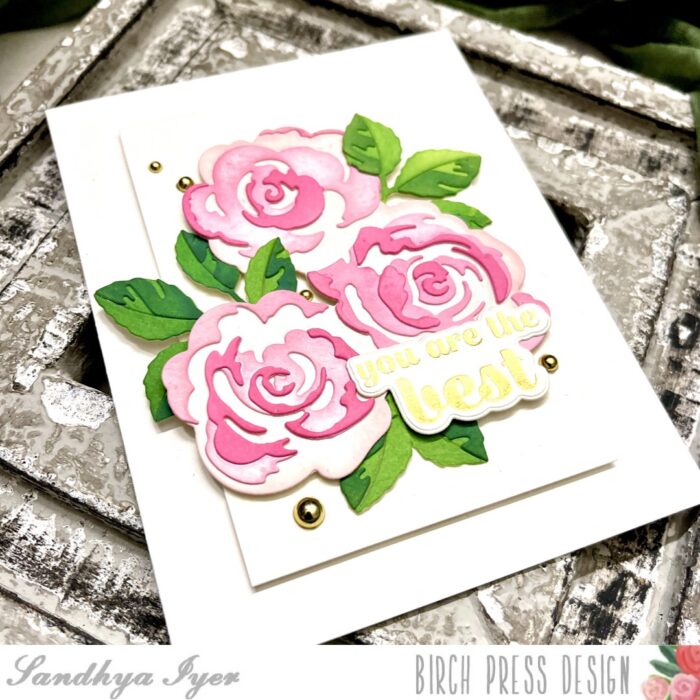
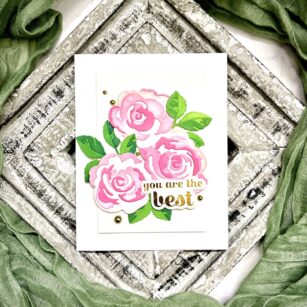
    Hello, friends! This is Design Team member Sandhya Iyer here today and I am sharing a floral notecard. I used the Early Blossom Contour Layers die set to create my watercolored florals. The sentiment is a gorgeous scripted hot foil plate and die set called Just a Note.

    I started by die-cutting the flowers and leaves out of Canson XL watercolor paper. Next, I used Rockwell Magic mineral watercolors to color the die-cut layers.

    I assembled the layers to create my flowers and leaves. Then, I created an ink-smooshed background using Worn Lipstick and Tattered Rose Distress Oxide Inks. Next, I used the foil plate to add the sentiment to a piece of Hammermill heavy cardstock and die-cut it out.

    Finally, I ink-blended using the same oxide ink combo on my card base and assembled the card. I also added gold splatters to add some glamour.

    This brings us to the end of today’s post. Thank you so much for stopping by and I hope you have fun crafting today!

    Supplies:

  • Early Blossom | By Natasha Vacca

    Early Blossom | By Natasha Vacca

    Hello Crafty Friends! I hope you had a great weekend! I am excited to be up on the blog today sharing a new release from Birch Press Designs with you – the beautiful Early Blossom Contour Layers die set! I love florals and these dies make it so easy to create with! So let’s get started!

    I started by die cutting the florals using Hammermill white card stock. I then ink blended each of the layers using a combination of dye inks. Once all the inking was complete, I adhered each of the layers together using liquid glue.

    Next I started to work on the background tag for my floral die cuts. I started with a pre-made tag then added papers and collage paper to the tag. I used the Anemone Grove Paper pad, as well as collage paper from my stash. I ripped pieces of paper for a distress look, then adhered them with collage medium. I allowed this to dry, then inked up the background using Distress Oxide Inks. I used: Antique Linen, Pumice Stone, Peacocks Feathers, Vintage Photo, Walnut Stain, and Mustard Seed. I layered these on, as well as splattered with water droplets for added texture.

    Next I added Translucent Crackle Paint to sections of the tag, allowed this to dry, then applied Distress Crayons over the top of the crackle paint. I also added some paper glaze to sections for added texture. I then added splatters to the tag using black and gold. I then adhered all the layers together using liquid glue and foam tape. The wood grain paper paper in the center of the tag is from Memory Box and it is in the color cream. I applied ink and sponging to the paper for added texture.

    I chose a pre-made sentiment from my stash and adhered this to my tag as well. I darkened the edges of the tag using Distress Ink in Ground Espresso using a blending tool, as well as additional texture using a sea sponge. The tag was completed with twine for the top, as well as lace and a button.

    I had a lot of fun putting this together! I encourage you to use your pattern paper in new ways to add texture to your card bases and backgrounds too! Thanks so much for stopping by today! I will be back soon!


    Supplies


    Supplies


  • Just a Note | By Sandhya Iyer

    Just a Note | By Sandhya Iyer

    Hello, friends! This is Design Team member Sandhya Iyer here today and I’m excited to share a card along the Valentine’s Day theme. I used the Banner Heart Layering die set to create my focal point and added leaves from the Dainty Rose and Leaves Contour Layers. The sentiment is a gorgeous hot foil plate and die set called Just a Note noted script.

    I started by die-cutting multiples of all 3 layers of the Banner Heart Die set out of Arteza watercolor paper. Next, I trimmed a watercolor panel using a deckled edge trimmer and watercolored my background. I let it dry and added pink and white gouache splatters.

    Then, I die cut the leaves and assembled the layers. I watercolored the leaves with pinks and also added the same ombre painting to a piece of watercolor paper. Next, I used the foil plate to add the sentiment to the watercolored watercolor paper. I die-cut the foiled sentiment and assembled the card panel with the heart, leaves and the sentiment.

    Finally, I added the panel to a watercolor card base to complete my card. This brings us to the end of today’s post. Thank you so much for stopping by and I hope you have fun crafting today!

    Supplies:

  • Sending Love | By Natasha Vacca

    Sending Love | By Natasha Vacca

    Hello Birch Press friends, I am excited to be back up on the blog today sharing a fun and easy card using the Banner Heart Layering die set! So let’s get started!

    For today’s card I started with the Banner Heart Layering die set. I die cut layer A and C using white card stock. I then die cut layer B using the Festive Glitter paper pad. For the glitter layer I chose a dark blue shade from the paper pad. I then ink blended layer A and C using Distress Oxides. I used a combination of Distress Oxides: Saltwater Taffy, Picked Raspberry, Seedless Preserves, Shaded Lilac, and Villainous Potion. Once the layers were ink blended I set these aside to dry.

    Next on layer B, I wanted to add a bit more texture to the glitter paper pad. I used a combination of paper glaze, as well as embossing powder! I love the texture this provides. Once the other heart layers were completely dry, I added Gilded Foundry wax to sections of the heart. I then adhered all the heart layers together using liquid glue.

    Next I chose a gelli print from my background stash and dry embossed the background using the Ringadings embossing folder from Memory Box. I then applied white pigment ink to sections of the folder and ran it through one more time. I like this effect and the random texture this provides the dry embossed background. I allowed the ink to dry, then trimmed the panel using my paper trimmer for my card base.

    I completed my card by stamping a sentiment from the Contempo Greetings stamp and die set. I stamped the sentiment in purple, trimmed using the coordinating die, then applied foundry wax and ink on the edges as well. I then adhered the card panel, heart, and sentiment to my card base.

    Thank you so much for stopping by today! I will be back soon!


    Supplies


    Supplies


  • Banner Heart Love | by Crystal Komara

    Banner Heart Love | by Crystal Komara

    Hello readers and happy Monday! This is Birch Press Design Team member Crystal Komara here today continuing all with all the love-themed cards I seemed to have made in January. And, yes we’re still two weeks away from Valentine’s Day! Today’s card might be one of my favorites because of the ink splattered black background. A black background really allows for the colors to pop!

    Card details:

    The base of this A2 sized card is made from 80 lb. Neenah Solar White smooth cardstock. I cut a piece of black cardstock measuring 5″ x 3 3/4″ for the first base layer. I splattered this sheet of cardstock with white acrylic paint to add some dimension.

    Next, I created the two hearts that became the focal piece of this card. Using the Banner Heart Layering dies, I die cut Layer A from white cardstock, Layer B from baby pink cardstock and Layer C from a bolder magenta pink cardstock. I layered all three layers of each heart together with a fine-tip liquid glue.

    Lastly, I stamped the sentiment in Versamark ink on a thin strip of magenta cardstock. I heat embossed the sentiment with white embossing powder. I notched the left edge of the sentiment strip and adhered it to the card using 3M foam adhesive for added dimension.

    With a black background you could make those hearts in ANY color combination and I think it would still make for a beautiful Valentine’s Day (or love) themed card.

    Thanks for visiting and have a wonderfully creative day!

    Supplies

  • ATC Duo | By Sandhya Iyer

    ATC Duo | By Sandhya Iyer

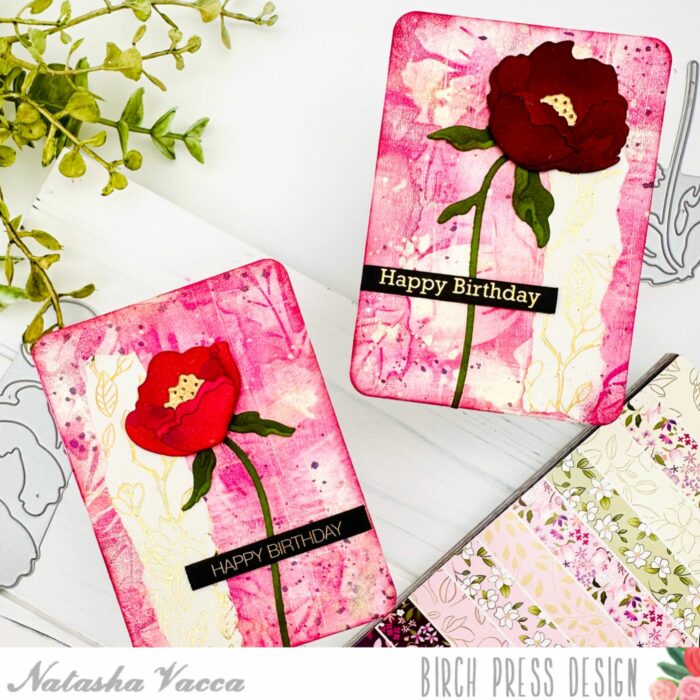
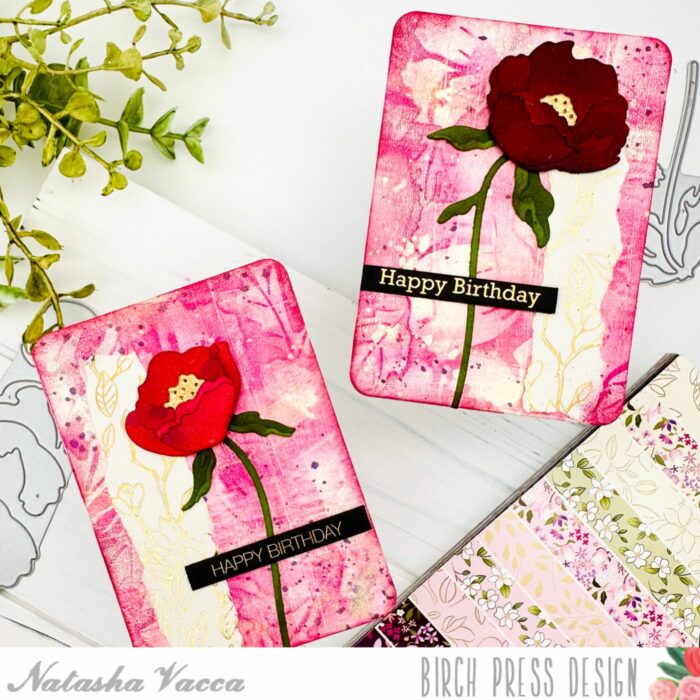
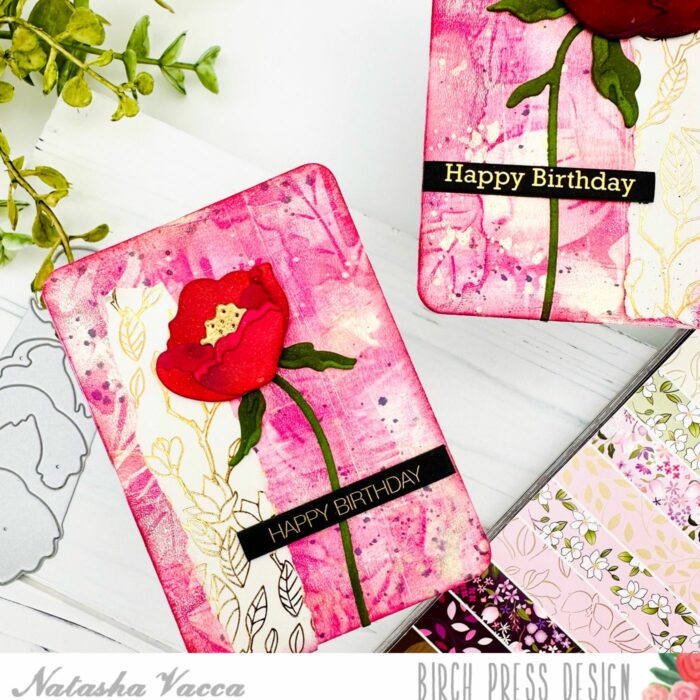
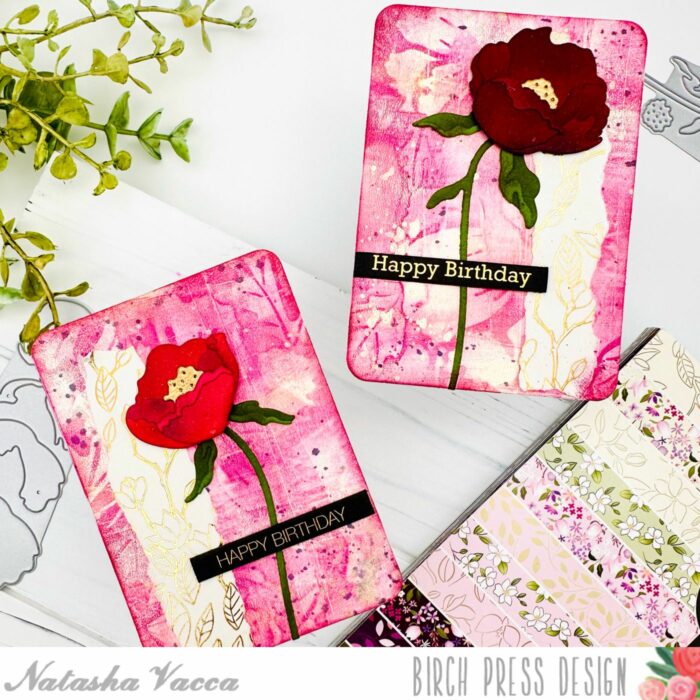
    Hello, BP friends! Sandhya here. Today, I am sharing an ATC duo I created featuring the Peeking Flower and Leaves Contour Layers die set from Birch Press Designs. I also used the Anemone Grove 6×6 pattern paper pack from Memory Box. In case you don’t already know, ATC is an acronym for artist trading cards, which are typically small cards measuring 2.5″X 3.5″. It is a tiny canvas to express any form of art (stamping, painting, mixed media, etc) to share with fellow artists and collectors. However, it is totally up to an artist to make them in different shapes and sizes of their choosing.

    So when I first my hands on the adorable little peeking flowers, I was inspired to make it the focal point of an ATC. I derived color inspiration from the Anemone Grove pattern paper pack. I started by creating a few shimmery inky backgrounds on watercolor paper using Distress Mica Stains. Then, I die-cut the flowers and leaves and assembled them.

    Next, I trimmed down some white cardstock to create 2 ATC bases a smidge smaller than the standard 2.5″ X 3.5″. I ink blended over these with Villanous Potion Distress Ink and splattered with a few water drops. Next, I picked out a few pattern papers from the pack and ripped them into strips with jagged edges. I layered the strips on the ATC base and adhered them down. Then, I trimmed down to size and inked around the edges.

    I matted the base with black cardstock and trimmed down a couple of pre-printed words to add to the ATC. Then, I adhered the die-cut flower and words to the base using foam tape. I also added some gold thread on one ATC and a piece of snow gauze on the other for added interest.

    Finally, I added few black enamel dots to one of the ATCs for added interest. This brings us to the end of today’s post. Thank you so much for stopping by and I hope you have fun crafting today!
    Supplies:

  • Eloquent Butterfly Layered tag | By Natasha Vacca

    Eloquent Butterfly Layered tag | By Natasha Vacca

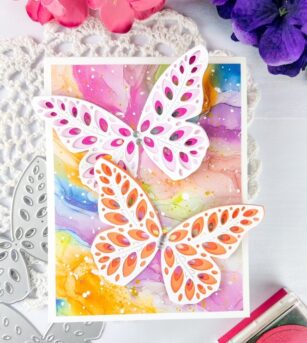
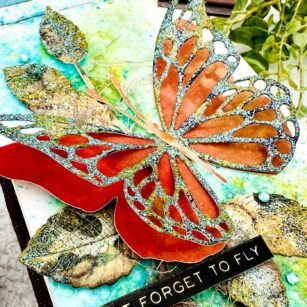
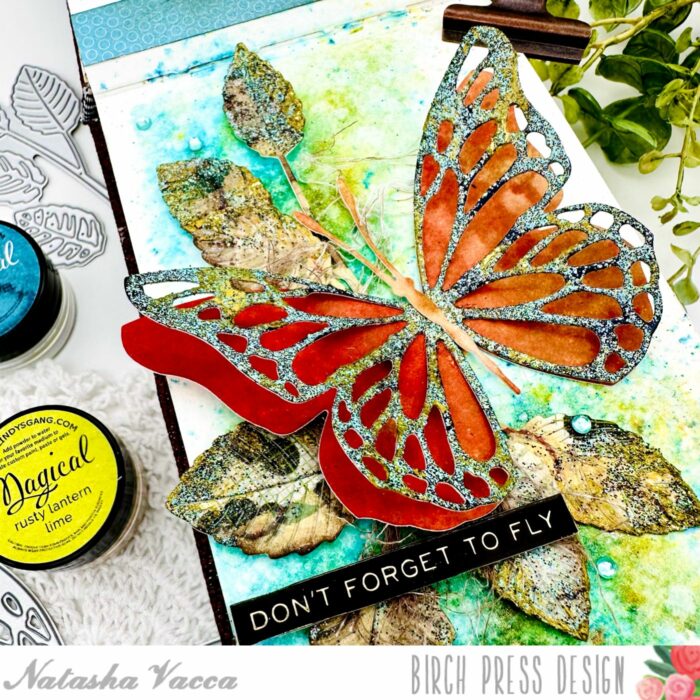
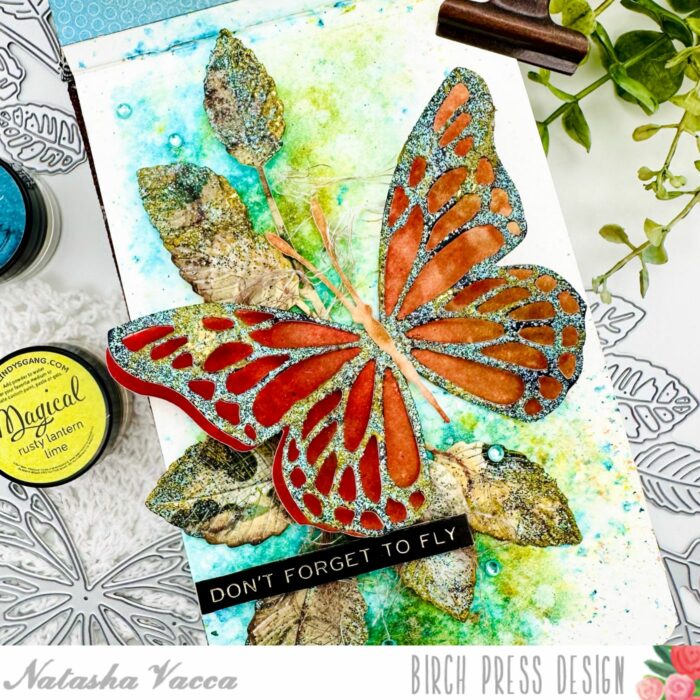
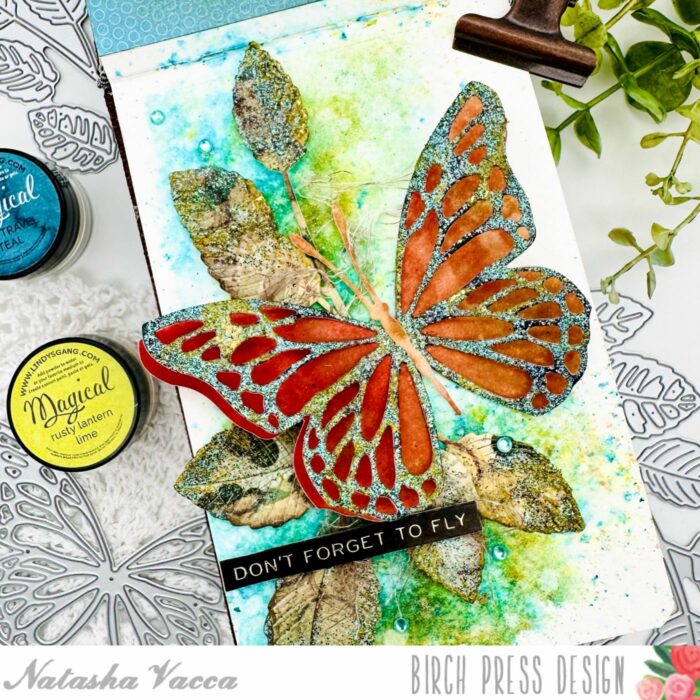
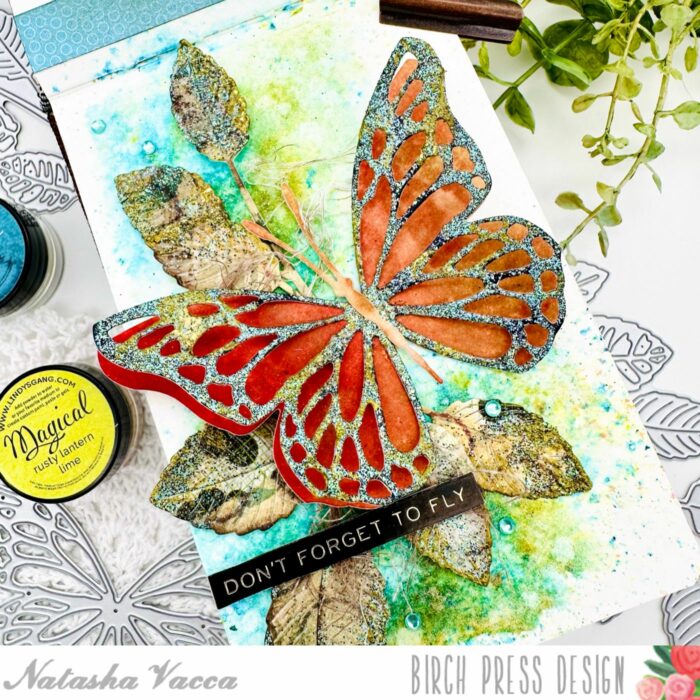
    Hello crafty friends, It is Natasha and I am excited to be up on the blog with you today! Today’s project combines the beautiful Eloquent Butterfly layered set, paired with beautiful papers from Memory Box! So let’s get started!

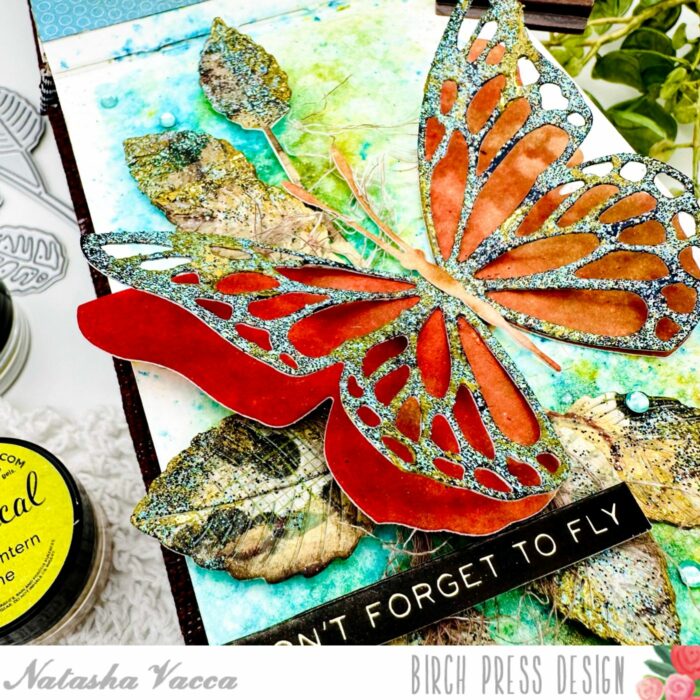
    I started by die cutting each layer (A and C) from the Eloquent Butterfly onto white cardstock. Once it was die cut, I added Distress Oxide Ink (Brushed Corduroy and Walnut Stain) to layer A and C. For layer B I die cut the butterfly using the Memory Box Glitzy Glitter pad using a piece of blue glitter paper. Then on layer B I added a couple colors of embossing powder. I do one color at a time, adding layers and not fully covering the butterfly with one color of powder. I also added a bit of embossing powder to layer A to add more interest and texture. I then adhered the butterfly together using liquid glue and set it aside.

    Next I started to work on my tag background using a pre-made tag from my stash. I then chose a few pieces of beautiful pattern paper from the Memory Box Magnolia Grove paper pad. I love these papers, they are so beautiful! I adhered the layers onto my tag, then dry embossed one of the papers using the Memory Box Ringadings embossing folder. Once this was dry embossed I tore the pattern paper to give a distressed look. I then added the same distress oxide inks to the paper. I added a bit more texture by applying an iridescent embossing powder to sections of the dry embossed paper. I then adhred the layer onto my tag,

    Next I added splatters to the tag panel using a brown spray from my stash. I allowed the panel to dry, then distressed the edges using my distress ink pad. I chose a sentiment from my stash and adhered this with foam tape, then adhered the butterfly to the tag using liquid glue.

    I completed the project with a twine at the top of the tag and a few gems from the Christmas Fairy Drops collection!

    Thank you so much for stopping by today! I will be back soon!


    Supplies


    Supplies


  • You’re in My Heart | by Crystal Komara

    You’re in My Heart | by Crystal Komara

    Hello crafty readers! This is Design Team member Crystal Komara here today and I’m excited to start making some Valentine’s Day cards. It seemed like this holiday season I had started Christmas cards back in October, so I’m really for a change! And who doesn’t love love themed cards?

    Card details:

    The base of this A2 sized card is made from 80 lb. Neenah Solar White smooth cardstock. I cut a 5 1/4″ x 4″ piece of magenta cardstock to use as the base layer, adhering it directly to the white card base. Using the Viola Layering Plates, I die cut Layer B from white cardstock. I layered this over the magenta pink cardstock, so the pink shows through the die cut layer.

    Next using the Banner Heart Layering dies, I die cut three hearts from dark pink, light pink and white cardstock. I only die cut Layer A from the Banner Heart dies and layered it onto a solid piece of the corresponding cardstock. I adhered the three hearts to the card using foam adhesive for added dimension.

    Lastly, I stamped the sentiment “you’re in my heart” in pink ink on a thin strip of white cardstock. I notched the left side of this sentiment strip before adhering it to the top right of the card using 3M foam adhesive. This sentiment is from the Lingo Thanks stamp set.

    I wish you all a season filled with love and happiness! Thanks for visiting and have a wonderfully creative day!

    Supplies

  • Warm Wishes | By Sandhya Iyer

    Warm Wishes | By Sandhya Iyer

    Hello, BP friends! Happy New Year and warm wishes from me, Sandhya. I decided to switch things up a little and made a slim long tag. The Cielo Snowflake Layer Set is my focal point. I used the Warm Wishes Vintage Sentiment die set as a sentiment.

    First, I die-cut 2 snowflakes out of white glitter cardstock using just Layer B of the Cielo Snowflake Layer Set. Next, I die cut the warm whishes sentiment out of left overs from the same white glitter cardstock.

    Then, I trimmed a slim long rectangle out of dark blue cardstock from my stash. I used a corner chomper to create rounded edges on one set of diagonal corners. Next, I added a generous splatter of white gouache. I punched a hole towards the top, added a white brad and added some shimmery white laces through it.

    Finally, I added my snowflakes and sentiment to complete my tag. This brings us to the end of today’s post. Thank you so much for stopping by and I hope you have fun crafting today!

    Supplies:

  • Merry Patina(mas) } by Crystal Komara

    Merry Patina(mas) } by Crystal Komara

    Hello Birch Press Design fans and followers! This is design team member Crystal Komara here today with some non-traditional and rustic holiday inspiration using the Twinkle Ornament Layer Set.

    Now before we get to the card details, I know you’re going to first inquire about that background! So, in full disclosure, I recently attended a gelli plate class and this was one of the backgrounds I created from that class. I’m no expert and I couldn’t tell you all the professional gelli plate terms, but I’ll describe what we did as best I can.

    On the gelli plate we dropped acrylic inks in gold and amber and swirled it around the plate with a brayer. When it was almost dry, we took a patina blue paint and dotted it onto bubble wrap. Then we dipped the bubble wrap into the ink. Lastly, I took a 5 1/2″ x 4 1/4″ sheet of mixed media cardstock and smooshed it into the gelli plate. Easy peasy, right? Just kidding. And you know with gelli plates even if I tried to recreate this background, it would never look exactly the same!

    Card details:

    The base of this A2 sized card is made from 80 lb. kraft cardstock. I added the dried gelli plate background directly to the card base.

    Using the Twinkle Ornament Layer Set, I die cut Layer C (the bottom layer) from a teal cardstock. Layer B from a gold glitter cardstock and Layer A (the top layer) from the same teal cardstock. I layered the three together using a fine tip liquid glue. Then I adhered the ornament to the card using 3M foam adhesive for added dimension.

    I die cut the ornament topper from gold glitter cardstock. I die cut the “merry” sentiment from the Handwritten Merry Christmas and Outline die. I die cut the top thinner layer from the same teal cardstock and the bottom outline layer from gold glitter cardstock. I decided to cut off the “Christmas” portion of the die, so it just reads “merry.” I adhered the sentiment to the card using foam adhesive.

    This card is SOooo far outside of my comfort zone, but I guess that’s why I like it. Sometimes taking a creative risk is worth it! Try it for yourself and you just might be surprised! Thanks for visiting and have a wonderfully creative day.


    Supplies