Tag: Butterflies

  • Hello Starlight Butterfly | by Crystal Komara

    Hello Starlight Butterfly | by Crystal Komara

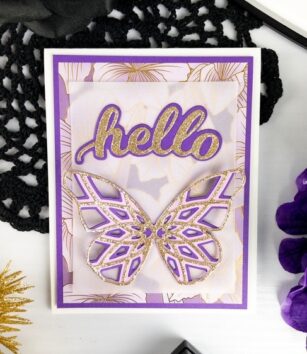
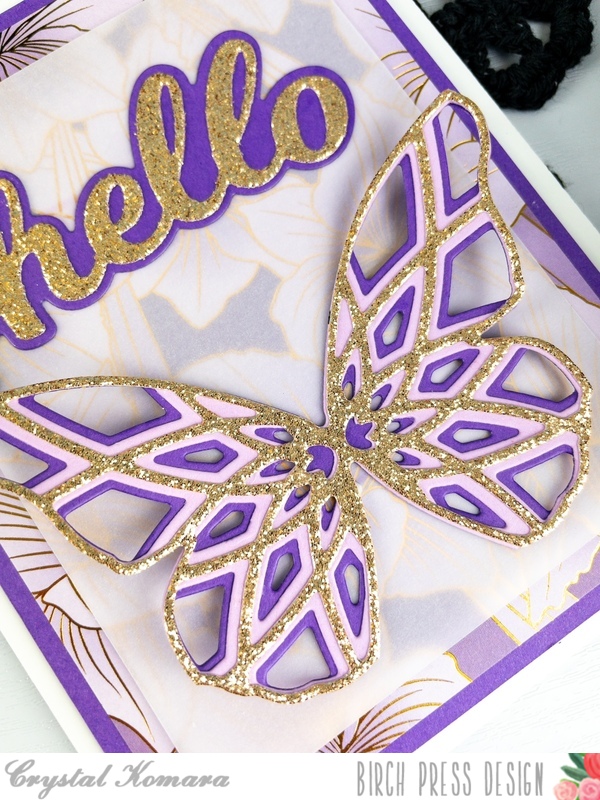
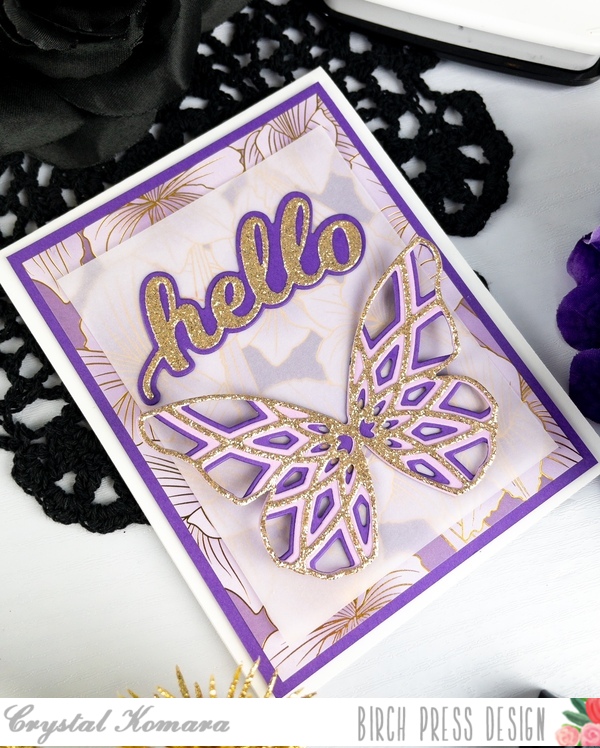
    Hello friends! I hope your summer is going well and you are enjoying some beautiful hot and sunny days and cool ice cream summer nights! This is Design Team member Crystal Komara here today sharing a monochomatic purple and gold card using the Starlight Butterfly Layering dies.

    Card details:

    The base of this A2 sized card is made from 80 lb. Neenah Solar White smooth cardstock. I cut a 5 1/4 x 4″ piece of purple carsdtock and mounted that behind a sheet of purple gold foil paper from the Glimmering Gladiola cardstock paper pack from Memory Box Co. (Memory Box is a sister-company of Birch Press Design).

    I placed a 4″ x 3″ piece of vellum directly over the gold foil paper to “tone down” the pattern in the center of the card where I planned on adding the butterfly and sentiment.

    Using the Starlight Butterfly Layering Dies, I die cut Layer A (the top layer) from gold glitter cardstock, Layer B from a light purple cardstock and Layer C from a dark purple cardstock. I adhered all there layers together with a fine-tip liquid glue before adhering the butterfly to the card.

    Using the Hello Honey Script die, I die cut the bottom layer from dark purple cardstock and the top layer from gold glitter cardstock. I adhered the two layers together with a fine-tip liquid glue before adhering the sentiment to the card.

    I hope you have enjoyed this glittery card. Thanks for visiting and have a wonderfully creative day!

    Supplies

    Supplies

    Supplies

  • Eloquent Alcohol Ink Butterflies | by Crystal Komara

    Eloquent Alcohol Ink Butterflies | by Crystal Komara

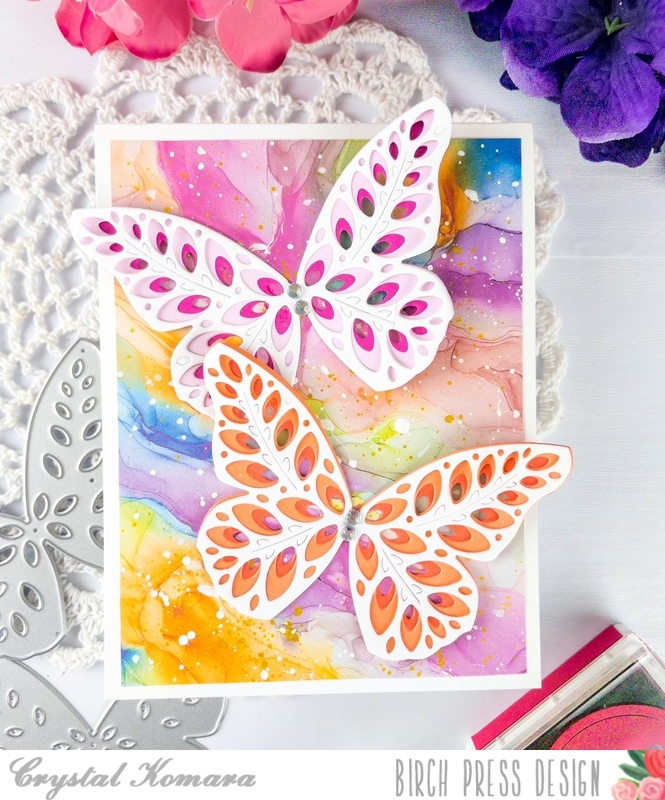
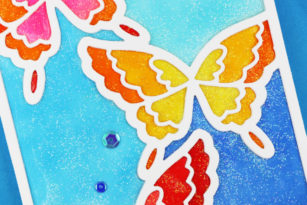
    Hello Birch Press Design readers! This is DT Member Crystal Komara here today and I’m so excited at how today’s card turned out. I’m going to kind of toot my own horn here, for just a second, but it currently is my absolute favorite card! I know, I know, this changes over time and with each new card that I make, but for today, I’m gonna let this card have its moment and shine as my “favorite!”

    I have long used alcohol inks in my card making. I think they make for beautiful background and accent pieces. If you’d like to see more examples, please click on any of the following descriptive links:

    ~Alcohol Ink Leaves

    ~ Alcohol Ink Easter Eggs

    ~Alcohol Ink Birthday Balloons

    ~Alcohol Inks Hearts and Butterflies

    ~Alcohol Ink String Art

    When I have the time, I sit down and make a ton of alcohol ink art pieces, I’m talking like anywhere between 50-100 pieces at a time and then I put them in a bin and tuck them away. When I need to make a “quick card,” I simply pull from the pre-made bin and finish my card. Many of the alcohol ink backgrounds I create often feature rainbow colors, similar to today’s.

    Card details:

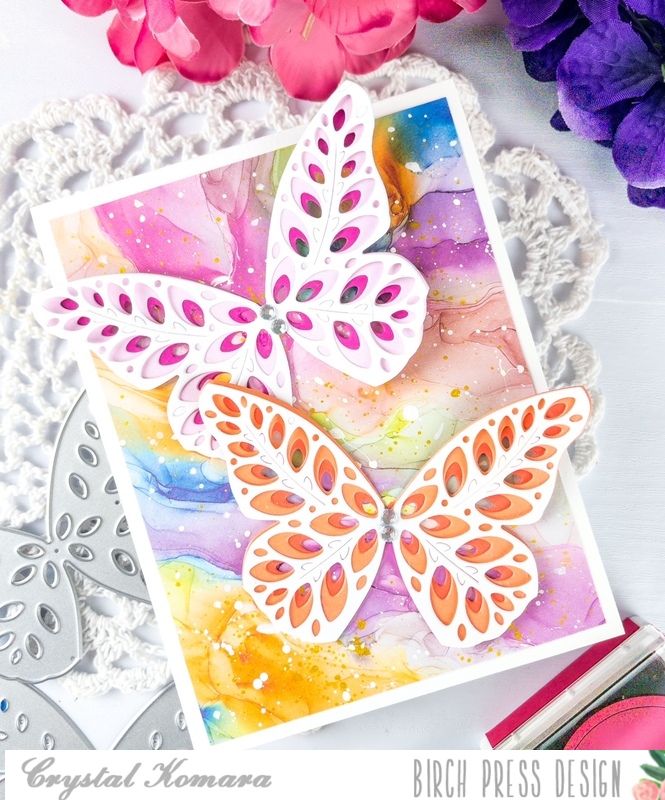
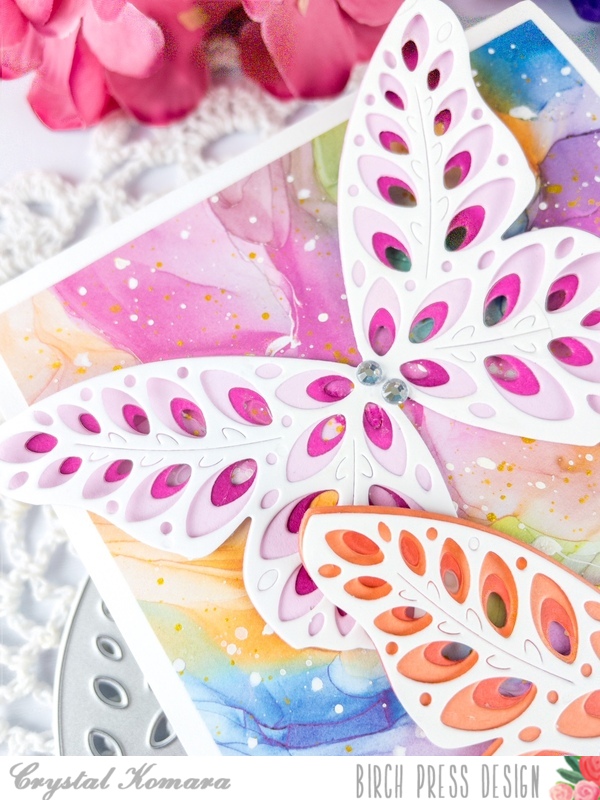
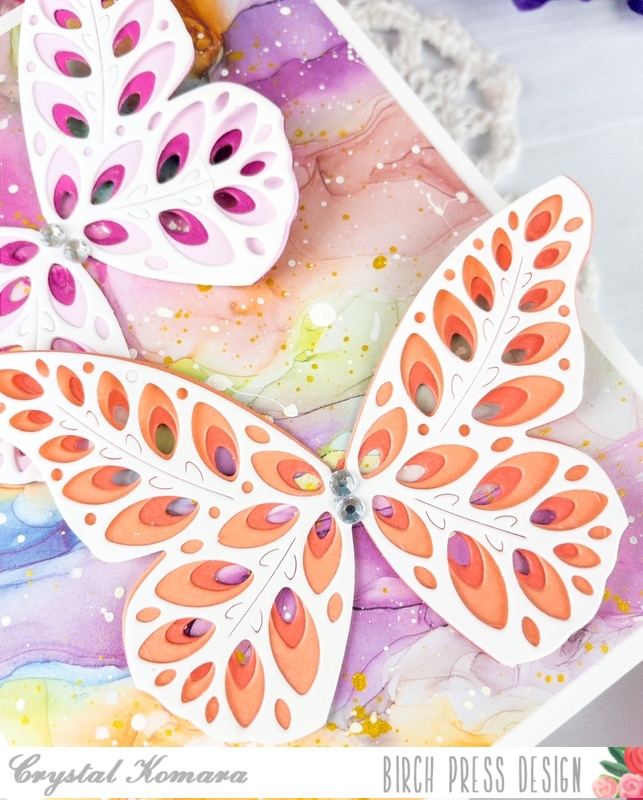
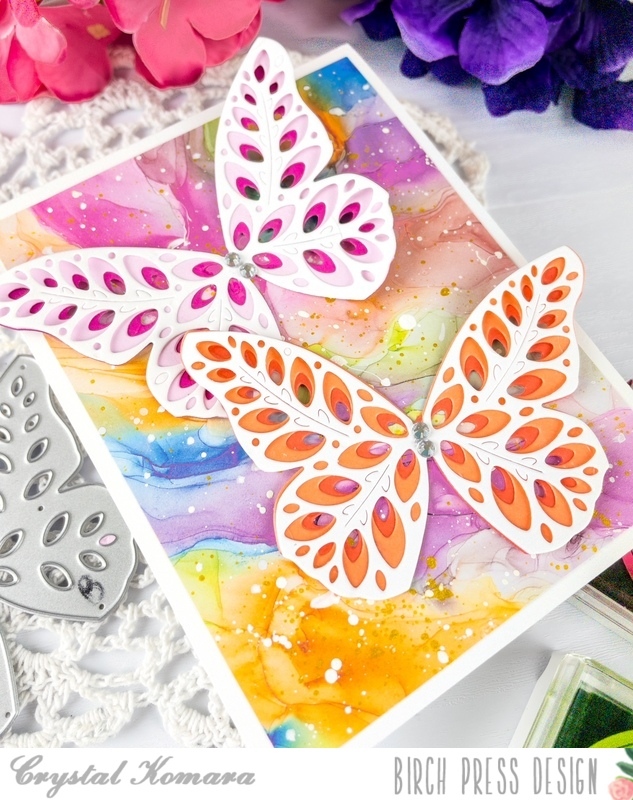
    The base of this A2 sized card is made from 80 lb. Neenah Solar White Smooth cardstock. I then cut one of the pre-made alcohol ink pieces down to 5 1/4″ x 4″ and adhered it directly to the card base. Next I created two butterflies using the Eloquent Butterfly Layering set. The first butterfly was made from pink cardstock and the second butterfly was made from orange/peach cardstock. For both of the butterflies, I die cut Layer A (the top layer) from white cardstock. I adhered the butterflies to the card using 3M foam adhesive for added dimension. Lastly I added a couple clear rhinestones on the body of the butterfly for even more sparkle.

    I hope you will enjoy this card as much as I do! Now excuse me while I go make twenty more of this one to send to friends!! Thanks for visiting and have a wonderfully creative day.

    Supplies

  • Pink Petal Egg | by Crystal Komara

    Pink Petal Egg | by Crystal Komara

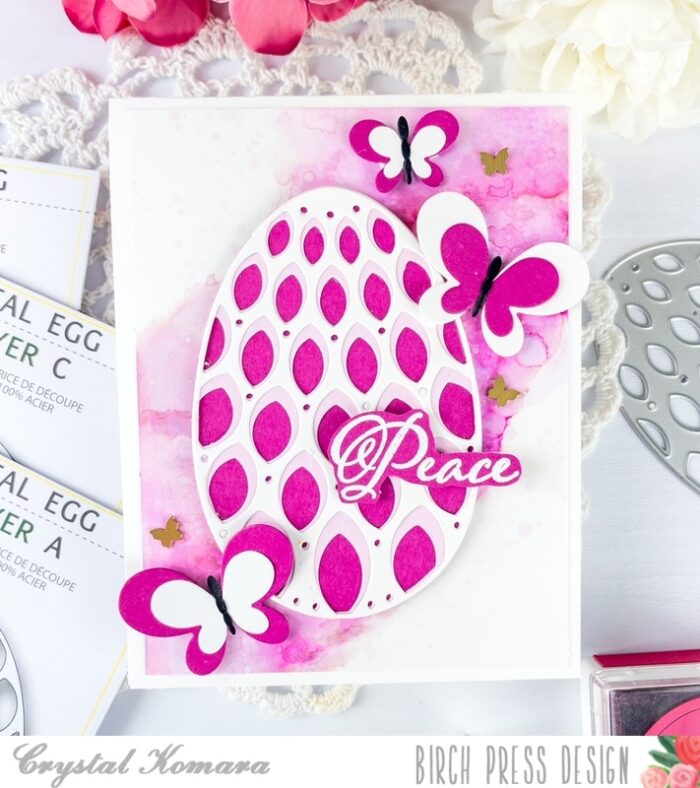
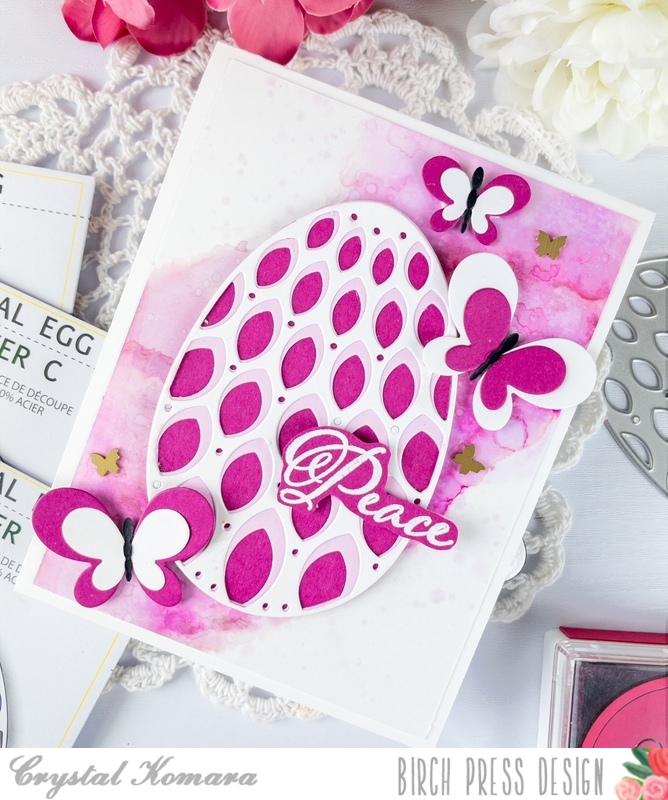
    Hello friends and happy Fri-YAY! I hope you have fun things planned for the weekend ahead. This is DT member Crystal Komara here with you sharing some Easter inspiration using the beautiful Petal Egg Layering set. This is one of my go-to dies for many spring themed cards. For other Easter inspiration using this same layering die set, please check out these ideas here and here. If you’re looking for more Easter inspiration using alcohol inks too (like today’s card) then you’ll love this pair of cards in purple too!

    Card details:

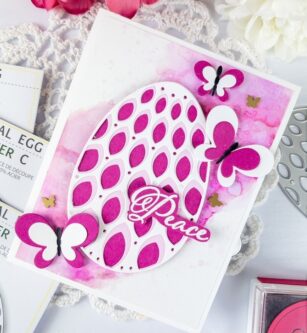
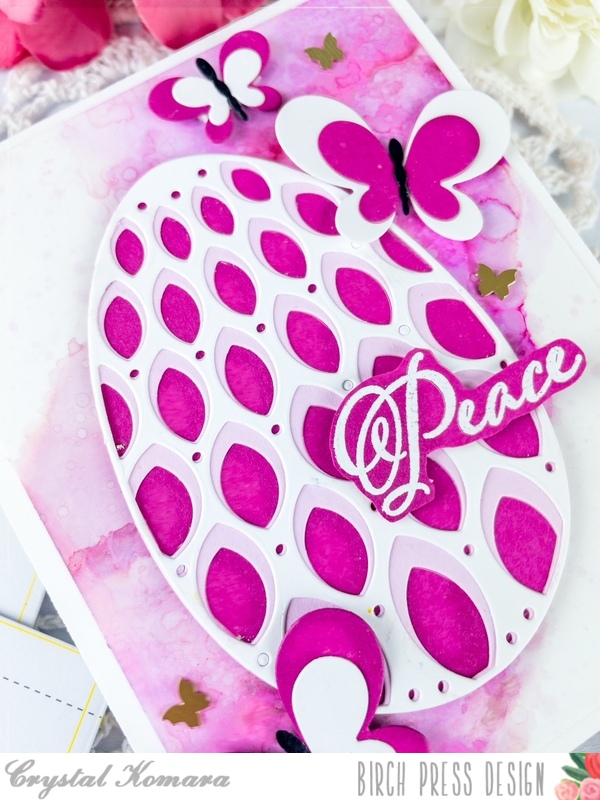
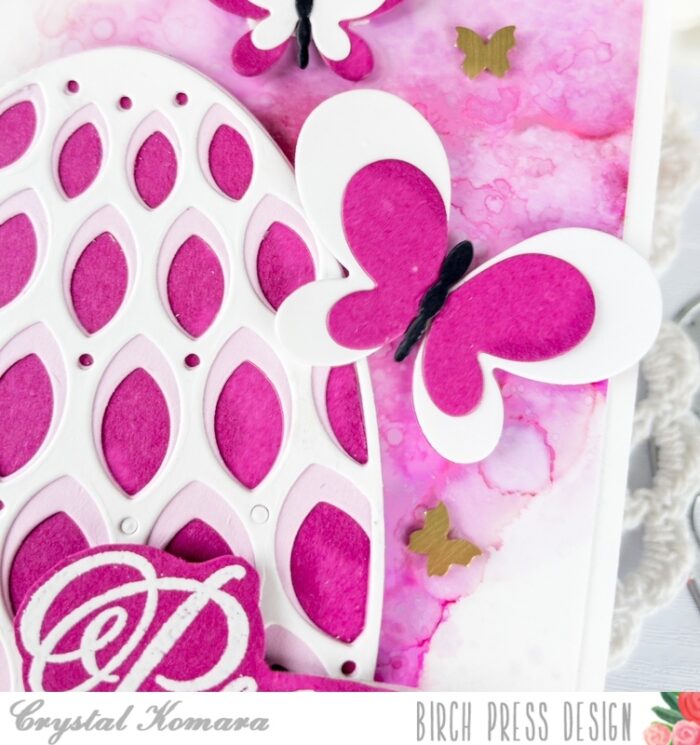
    The base of this A2 sized card is made from 80 lb. Neenah Solar White Smooth cardstock. On a 5 1/4″ x 4″ piece of Yupo polysynthetic paper, I created the background using magenta alcohol ink. Once that background dried, I adhered it directly to the card base. To create the egg, I die cut Layer A (the top layer) from white cardstock. I die cut Layer B (the middle layer) from a light pink cardstock. I die cut Layer C (the bottom layer) from a darker pink cardstock. I adhered all three layers together with a fine-tip liquid adhesive. Then I adhered the entire egg to the card using 3M foam adhesive.

    I stamped the sentiment “peace” in Versamark ink on dark pink cardstock. I heat embossed the sentiment with white embossing powder and then fussy cut the sentiment out. This sentiment is from the Glad Tidings stamp set. I also added butterflies surrounding the egg. The butterflies are from the Simple Butterflies Contour Layering dies. I die cut the butterflies from the same dark pink and white cardstock. The bodies/antenna of the butterflies was die cut from black cardstock.

    Easter falls really early this year on March 31st. I’ll be back later this month with more Easter inspiration to share! Thanks for visiting and have a wonderfully creative day!

    Supplies

  • Glitter Flutter Butterflies by Jeanne Jachna

    Glitter Flutter Butterflies
    by Jeanne Jachna

    Happy Saturday! I hope you’re having a great day and that the sun is shining so you can spend some time outdoors today! I am so happy the weather is warmer and I can feel the sun on my face!

    Today I’ve got a glittery card so share made with the Flutter Plate Layer B. Here’s how I made it sparkle!

    I applied packing tape to the back of a card stock panel before I die cut the panel. The tape prevents the panel from cutting all the way through providing an outline for me to color with markers.

    I colored the panel with Copic markers but any marker will work. Don’t worry about staying in the lines.. no one will see!

    I mixed Glossy Accents with micro find crystal glitter and then spread it over the colored panel with a spatula and then attached a panel cut from white card stock. When it was dry I attached another white die cut panel to add some depth and give a stained glass look.

    This card is so sparkly and glossy it’s like candy for the eyes.

    The simple sentiment is from the Best Friend stamp set.

    I hope you’ll give this technique a try!

    Finished Size 4.25 x 5.5″

    Supplies