Tag: crystal komara

  • Banner Heart Love | by Crystal Komara

    Banner Heart Love | by Crystal Komara

    Hello readers and happy Monday! This is Birch Press Design Team member Crystal Komara here today continuing all with all the love-themed cards I seemed to have made in January. And, yes we’re still two weeks away from Valentine’s Day! Today’s card might be one of my favorites because of the ink splattered black background. A black background really allows for the colors to pop!

    Card details:

    The base of this A2 sized card is made from 80 lb. Neenah Solar White smooth cardstock. I cut a piece of black cardstock measuring 5″ x 3 3/4″ for the first base layer. I splattered this sheet of cardstock with white acrylic paint to add some dimension.

    Next, I created the two hearts that became the focal piece of this card. Using the Banner Heart Layering dies, I die cut Layer A from white cardstock, Layer B from baby pink cardstock and Layer C from a bolder magenta pink cardstock. I layered all three layers of each heart together with a fine-tip liquid glue.

    Lastly, I stamped the sentiment in Versamark ink on a thin strip of magenta cardstock. I heat embossed the sentiment with white embossing powder. I notched the left edge of the sentiment strip and adhered it to the card using 3M foam adhesive for added dimension.

    With a black background you could make those hearts in ANY color combination and I think it would still make for a beautiful Valentine’s Day (or love) themed card.

    Thanks for visiting and have a wonderfully creative day!

    Supplies
  • You’re in My Heart | by Crystal Komara

    You’re in My Heart | by Crystal Komara

    Hello crafty readers! This is Design Team member Crystal Komara here today and I’m excited to start making some Valentine’s Day cards. It seemed like this holiday season I had started Christmas cards back in October, so I’m really for a change! And who doesn’t love love themed cards?

    Card details:

    The base of this A2 sized card is made from 80 lb. Neenah Solar White smooth cardstock. I cut a 5 1/4″ x 4″ piece of magenta cardstock to use as the base layer, adhering it directly to the white card base. Using the Viola Layering Plates, I die cut Layer B from white cardstock. I layered this over the magenta pink cardstock, so the pink shows through the die cut layer.

    Next using the Banner Heart Layering dies, I die cut three hearts from dark pink, light pink and white cardstock. I only die cut Layer A from the Banner Heart dies and layered it onto a solid piece of the corresponding cardstock. I adhered the three hearts to the card using foam adhesive for added dimension.

    Lastly, I stamped the sentiment “you’re in my heart” in pink ink on a thin strip of white cardstock. I notched the left side of this sentiment strip before adhering it to the top right of the card using 3M foam adhesive. This sentiment is from the Lingo Thanks stamp set.

    I wish you all a season filled with love and happiness! Thanks for visiting and have a wonderfully creative day!

    Supplies

  • Shaving Cream Banner Heart | by Crystal Komara

    Shaving Cream Banner Heart | by Crystal Komara

    Hello Birch Press Design fans and happy New Year! This is design team member Crystal Komara here today and I tried out a messy new technique over the holiday season! Shaving cream! Now, I’m not typically a “messy” technique kind of person, so this one scared me a bit, but in reality, it was not nearly as messy as I envisioned. My only tip would be to use unscented shaving cream, my card does have a bit of a medicinal smell!

    I found a whole variety of YouTube tutorials on how to make shaving cream backgrounds, but essentially I spread a 2″ layer of shaving cream into a 12″ x9″ jelly roll pan and dropped ink colors randomly over it and then used a toothpick to swirl or spread the ink around. Then I simply placed sheets of 5 1/4″ x 4″ Mixed Media paper into the shaving cream and let dry a little before wiping off the excess with a paper towel. I made about 30 backgrounds in under 30 minutes and each one has it’s own unique marbled look.

    Card details:

    The base of this A2 sized card is made from 80 lb. Neenah Solar White Smooth cardstock. This is my go-to cardstock for everything – die cutting, card bases, card inserts, Copic coloring, etc. It’s much easier to just keep one style of paper in my craft room than trying to figure out what paper works best for what.

    I cut the shaving cream background into a 5″ x 3 3/4″ rectangle and die cut the heart out of the center of the card using the Banner Heart Layer set. I placed a piece of acetate behind the shaving cream background to create a shaker card. Next I die cut Layer A of the same Banner Heart Layering dies from a magenta pink cardstock and adhered it to the front of the acetate. Using foam adhesive I lined the back of the shaving cream background end-to-end (so no sequins will fall out) and placed about a tablespoon of sequins on before sealing the ends.

    Lastly, I stamped the sentiment “love and hugs” in black ink on a thin white strip of cardstock and adhered the sentiment strip using 3M foam adhesive for added dimension. This sentiment came from the Lingo Thanks stamp set.

    I hope you’ll give this fun (and only slightly messy) technique a try! Shaving cream is usually something everyone has on hand quite readily at home. Thanks for visiting and have a wonderfully creative day!

    Supplies

  • Merry Patina(mas) } by Crystal Komara

    Merry Patina(mas) } by Crystal Komara

    Hello Birch Press Design fans and followers! This is design team member Crystal Komara here today with some non-traditional and rustic holiday inspiration using the Twinkle Ornament Layer Set.

    Now before we get to the card details, I know you’re going to first inquire about that background! So, in full disclosure, I recently attended a gelli plate class and this was one of the backgrounds I created from that class. I’m no expert and I couldn’t tell you all the professional gelli plate terms, but I’ll describe what we did as best I can.

    On the gelli plate we dropped acrylic inks in gold and amber and swirled it around the plate with a brayer. When it was almost dry, we took a patina blue paint and dotted it onto bubble wrap. Then we dipped the bubble wrap into the ink. Lastly, I took a 5 1/2″ x 4 1/4″ sheet of mixed media cardstock and smooshed it into the gelli plate. Easy peasy, right? Just kidding. And you know with gelli plates even if I tried to recreate this background, it would never look exactly the same!

    Card details:

    The base of this A2 sized card is made from 80 lb. kraft cardstock. I added the dried gelli plate background directly to the card base.

    Using the Twinkle Ornament Layer Set, I die cut Layer C (the bottom layer) from a teal cardstock. Layer B from a gold glitter cardstock and Layer A (the top layer) from the same teal cardstock. I layered the three together using a fine tip liquid glue. Then I adhered the ornament to the card using 3M foam adhesive for added dimension.

    I die cut the ornament topper from gold glitter cardstock. I die cut the “merry” sentiment from the Handwritten Merry Christmas and Outline die. I die cut the top thinner layer from the same teal cardstock and the bottom outline layer from gold glitter cardstock. I decided to cut off the “Christmas” portion of the die, so it just reads “merry.” I adhered the sentiment to the card using foam adhesive.

    This card is SOooo far outside of my comfort zone, but I guess that’s why I like it. Sometimes taking a creative risk is worth it! Try it for yourself and you just might be surprised! Thanks for visiting and have a wonderfully creative day.


    Supplies

  • Candy Corn Adornment Pumpkin | by Crystal Komara

    Candy Corn Adornment Pumpkin | by Crystal Komara

    Hello Birch Press Design readers, this is DT member Crystal Komara here to share a fun Halloween themed card with you. Hopefully it will remind you of candy corn, which are the colors that I was inspired to use on the pumpkin itself!

    Card details:

    The base of this A2 sized card is made from 80 lb. Neenah Solar White Smooth cardstock. I cut a 5 1/4″ x 4″ piece of black cardstock that I ran through my Big Shot with the 3D Blooming Embossing folder from Memory Box Company (a sister company to BPD).

    Using the Adornment Pumpkin dies, I die cut both the outer shadow and inner intricate frame from white cardstock. Then I ink blended Squeezed Lemonade and Dried Marigold Distress Oxide ink onto the pumpkin. I splattered black acrylic paint all over the pumpkin to “grunge it up”.

    I die cut the pumpkin stem from brown cardstock and the two leaves from an olive green cardstock. I adhered the pumpkin to the card using 3M foam adhesive for added dimension. Lastly, I added the “boo” sentiment also with 3M foam adhesive.

    I love how this card turned out with a candy corn colored pumpkin! It’s fun for Halloween without being terrifyingly spooky! Thanks for visiting and have a wonderfully creative day.

    Supplies

  • Thanks Oval Leaves | by Crystal   Komara

    Thanks Oval Leaves | by Crystal Komara

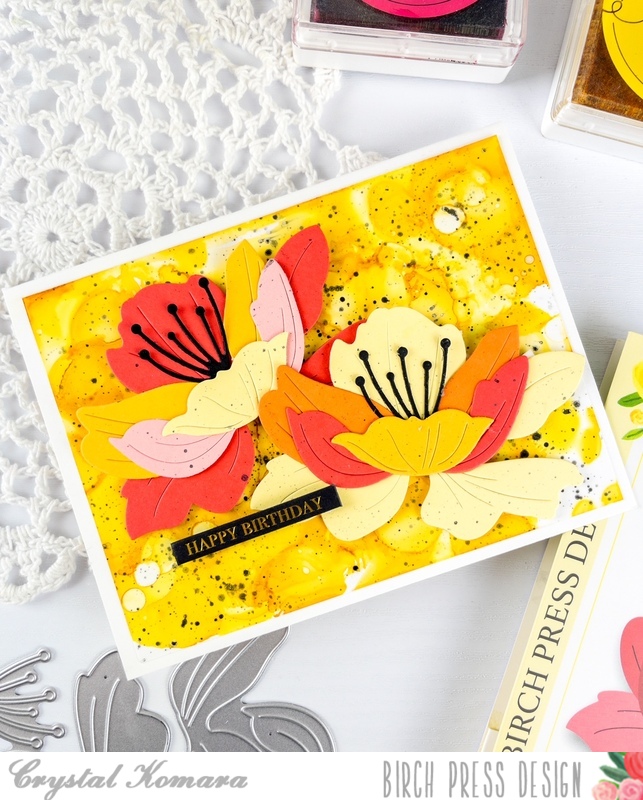
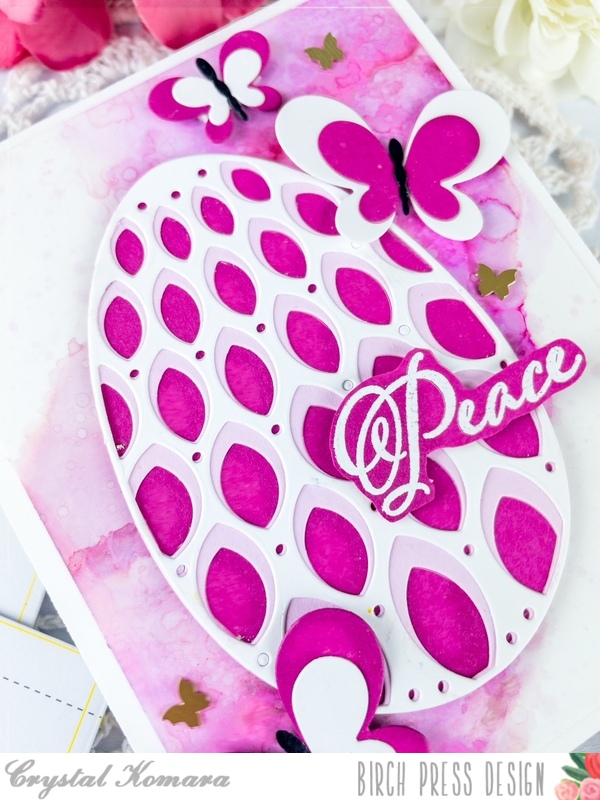
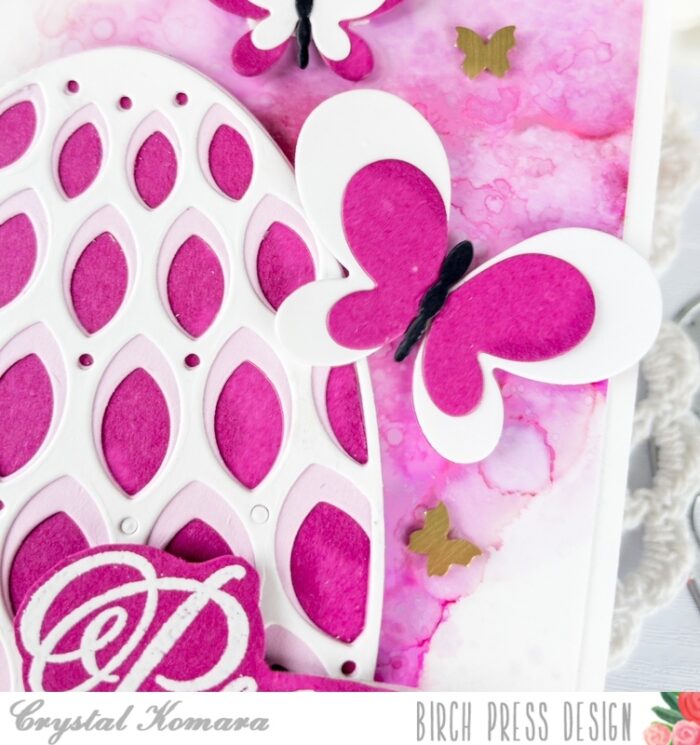
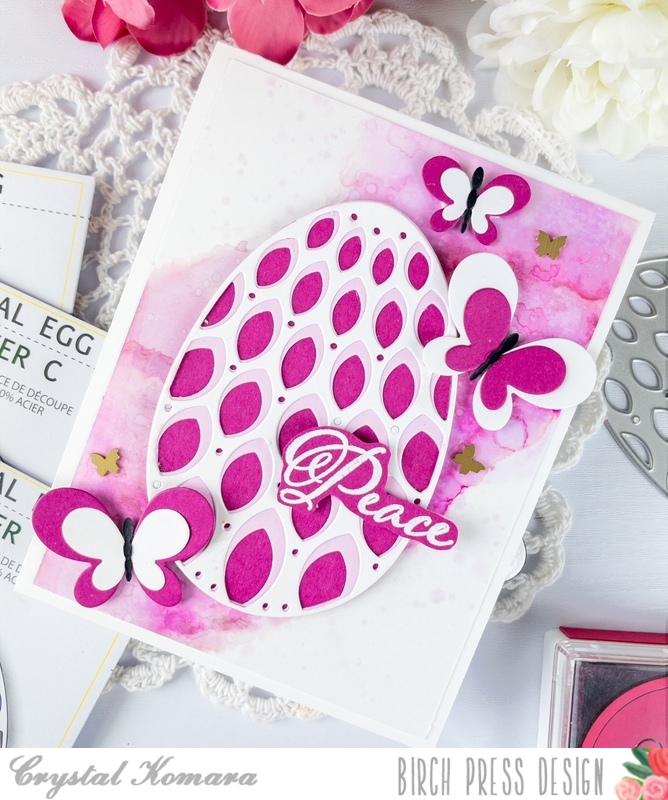
    Hello friends! This is DT member Crystal Komara here with you today with what just might be my new favorite card ever that I’ve designed for Birch Press Design. Now, I’ll admit, I was initially hesitant to use the contour dies, becuase oh-so-much die cutting, but I promise, the end result is always SOOooo worth the work!!

    Card details:

    The base of this A2 sized card is made from 80 lb. Neenah Solar White Smooth cardstock. I cu ta 5 1/4″ x 4″ piece of black cardstock and dry embossed it using the Blooming 3D Embossing Folder from Memory Box Co, a sister company of Birch Press Design. This is my go-to floral embossing folder, it’s so elegant.

    Then I just began die cutting lots and lots of the Oval Leaves contour dies in yellow, orange and gold cardstock. I mismatched up the layers, so that I layered yellow with orange and rust with gold. There was no method to this matching up madness.

    Lastly, I flicked some gold acrylic paint onto the entire image and I love how this effect came out! It added a bit of grunge, but also a bit of sparkle!

    I love this card so much that I want to try re-creating it in other color palettes too, so be sure to check back in regularly to see what myself and the rest of the Design Team are creating to inspire you!

    Supplies

  • Lots of Large Cosmos | by Crystal Komara

    Lots of Large Cosmos | by Crystal Komara

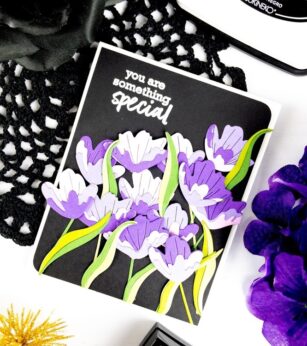
    Hello Birch Press readers, this is Design Team member Crystal Komara here with you today showing your a whole variety of ways to use the beautiful new Large Cosmos Contour Layering dies! Initially, I had only one slimline card in mind, but I ended up die cutting soooooo many cosmo flowers that I made four cards to show you a variety of ways to use them. So, sit back and enjoy the inspiration!

    The easiest way to begin making all of these cards, is to first create the large cosmos. For the flowers, I used a combination of purple colored cardstock. Then I just began assembling the flowers following the guided image. I ended up with almost 20 flowers by the time I was done. This truly was the hardest part of the entire process. Then I just took the flowers and designed multiple layouts.

    The first card is an 8 1/2 x 3 1/2″ slimline card. It is designed to fit inside a regular #10 business sized envelope. The white base is made from 80 lb. Neenah Smooth white cardstock. I adhered four of the large cosmo flowers down the center of the card. Behind a couple of the flowers, I tucked a few leaves, die cut from the Curved Leaf die from lush green cardstock.

    I heat foiled the sentiment in purple foil on white cardstock. The sentiment is from the Sugar Script Sentiments Hot Foil plates. I added the sentiment to the card using 3M foam adhesive for added dimension.

    My next card is an A2 sized card made from the same 80 lb. Neenah Solar White Smooth cardstock. I matted the base with a piece of plaid foiled cardstock from sister company Memory Box. This plaid foiled paper is 5 1/4″ x 4″. Next, I die cut a large scalloped oval from white cardstock. I adhered this to the center of the card. I adhered one of the large cosmos to the lower right side of the oval. I also added a few leaves behind the flower. I heat foiled the sentiment in purple foil on white cardstock. Again, this sentiment is from the Sugar Script Sentiments hot foil plates.

    My third card for today is also an A2 sized card made from a base of 80 lb. Neenah Solar White Smooth cardstock. I heat foiled a piece of white cardstock with the String Art Frame Hot Foil Plate. Once this hot foiled background cooled, I adhered it directly to the card base as my first layer. I adhered one large cosmo to the lower right side of the card and tucked one leaf under the flower. Using the Find Joy and Outline die, I die cut the sentiment from purple and white cardstock, adhering the two layers together before adhering both to the card with 3M foam adhesive.

    I hope you have enjoyed seeing a variety of cards all made in monochromatic purple and white with the new Large Cosmos die!

    Thank you for visiting and have a wonderfully creative day!

    Supplies
  • Patriotic Balloons | by Crystal Komara

    Patriotic Balloons | by Crystal Komara

    Happy 4th of July friends! This is Design Team member Crystal Komara sharing in the red, white and blue celebration with you today with this patriotic themed balloon easel card.

    Card details:

    The base of this A2 sized card was made with 80 lb. Neenah Solar White Smooth cardstock.

    Using all three layers (A, B, and C) of the Floral Balloon Layer Set, I die cut four of every balloon in red, light blue, dark blue, white and silver glitter cardstock. (I really didn’t know how many balloon pieces I would need, so this gave me plenty to mix and match!) I really could have made two cards with all the pieces I had leftover.

    I then began playing around with the balloons to see which colors I liked layered over each other, until I found an arrangement that was pleasing to my eye. I saved two balloons for the base of the card, to act as the “stopper” so the easel fold won’t collapse once it is standing.

    *To make the easel fold, simply look up a tutorial on YouTube, there are a wide range of ideas, but all you need is the basic cutting instructions which are super easy!

    I die cut the Let’s Party sentiment from both navy blue and white cardstock. I layered the two together with a fine-tip liquid glue and then adhered the sentiment to the card with 3M foam adhesive for added dimension.

    Have a wonderful, safe and happy 4th of July celebration friends! Thanks for visiting!

    Supplies

  • Blue Balloons | by Crystal Komara

    Blue Balloons | by Crystal Komara

    Hello crafty readers! This is Design Team member Crystal Komara here to inspire you today with a birthday card using a lot of texture from glitter paper to alcohol inks. It’s also in my favorite color – blue! And. . . it sparkles!

    The base of this A2 size card is made from 80 lb. Neenah Solar White Smooth cardstock. Using Plate A only from the Viola Layering Plates, I cut this background from white cardstock and adhered it directly to the card base. ( I actually cut two of these backgrounds, so that I could fussy cut some of the flowers to add to the balloons). Using Layer Plate C of the Floral Balloons I cut two balloons. The first was from silver glitter paper and the second was from a little scrap piece of an alcohol ink background that just happened to coordinate!

    I fussy cut two of the flowers from the Viola Layering Plate A and adhered them to each balloon. I adhered each balloon to the card using 3M foam adhesive for added dimension.

    I die cut the sentiment using the Make a Wish Sugar Script die. I die cut the bottom layer from blue glitter cardstock and the top layer from white cardstock. I adhered the two layers together with a fine-tip liquid adhesive. Lastly, I adhered the entire sentiment to the card using 3M foam adhesive for added dimension.

    I hope you like today’s card! Thanks for visiting and have a wonderfully creative day!

    Supplies
  • Forest Canopy Frames | by Crystal Komara

    Forest Canopy Frames | by Crystal Komara

    Hello crafty people! This is Design Team member Crystal Komara here with you today and I have made my first set of cards using the new Forest Canopy Layering dies. I am sooooo in love. These new dies are just beautiful and I think they will quickly become my new favorite.
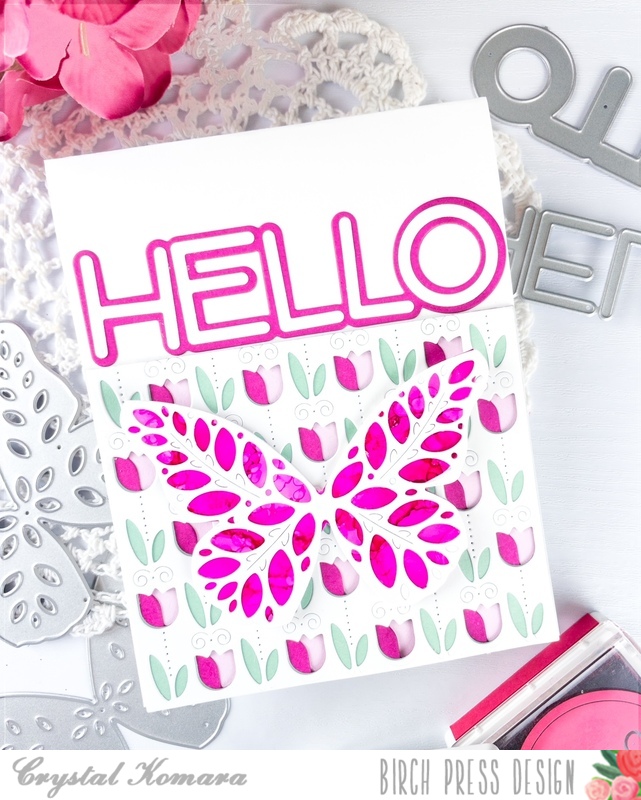
    Now all three of today’s cards were made using Layer C of the Forest Canopy Layering dies. What makes them most stunning are the alcohol ink backgrounds. Those vibrant colors are really what makes the white leaves pop! Add a sentiment of your choice and voila, easy peasy, but oh-so-pretty cards!
    Card details:

    All three of these A2 size cards were made from 80 lb. Neenah Solar White Smooth cardstock. Using Layer C of the Forest Canopy dies I cut three white leafy frame backgrounds. I have my alcohol ink backgrounds already pre-made, so I just pulled three from my stash and layered the leafy frames over. With alcohol inks, your color options are endless, so no matter what kind of background you add, your card will always look unique and different. Add a simple sentiment of your choosing and that’s it, you’re done!

    I hope you will enjoy this new layering die set as much I do! Thanks for visiting and have a wonderfully creative day!