Thanks for stopping by! I hope you’re having a beautiful day! Spring has sprung and I hope you’re seeing beautiful blooms and butterflies in your part of the world!
There is still a chance of frost in my area so I won’t be planting the garden for a little longer. Until then I will satisfy myself with gorgeous die cuts from Birch Press Design.
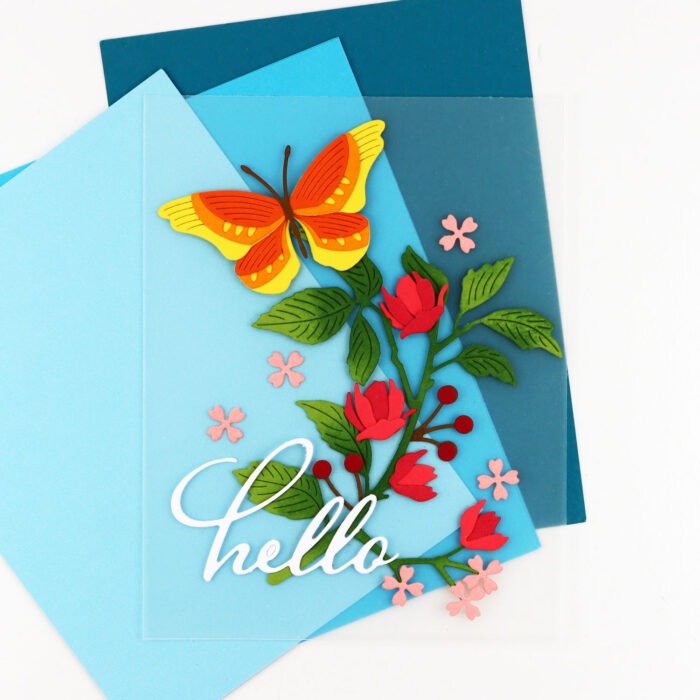
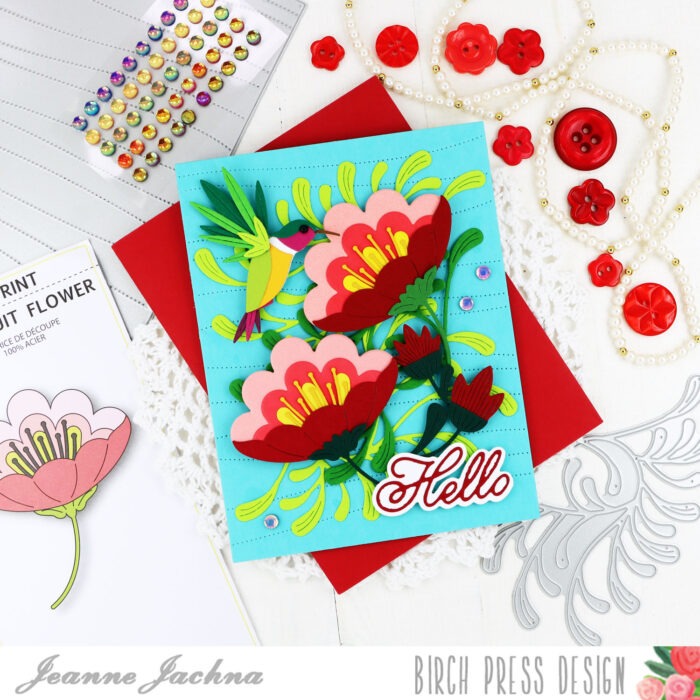
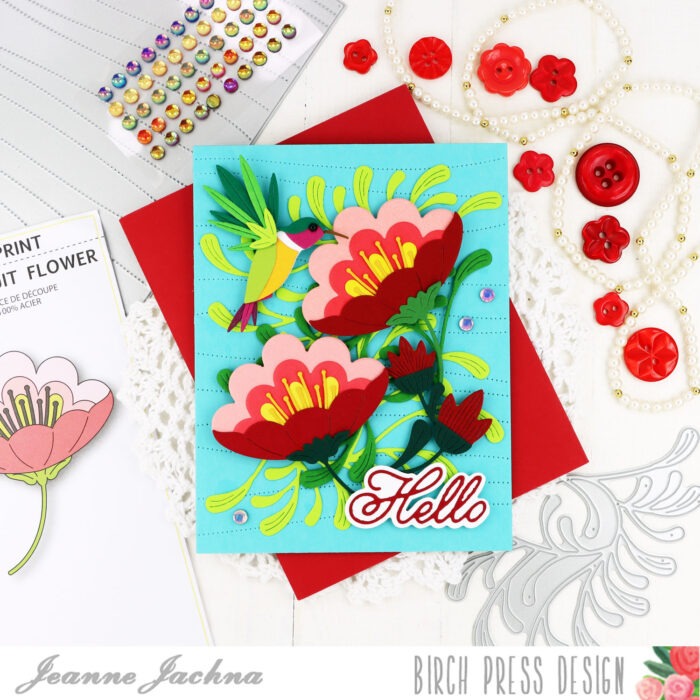
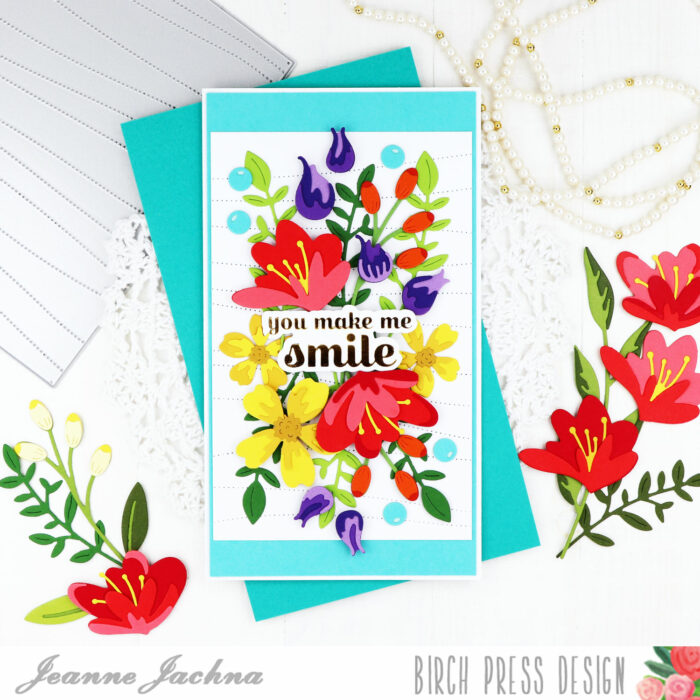
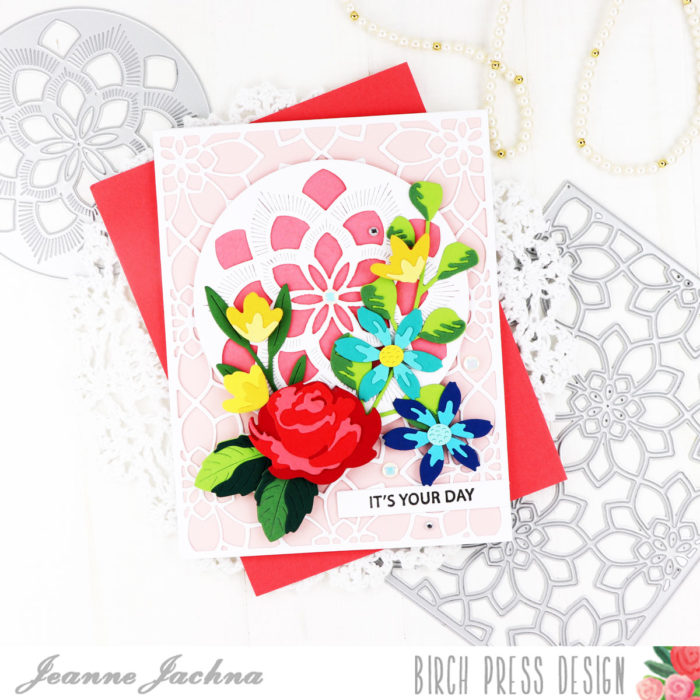
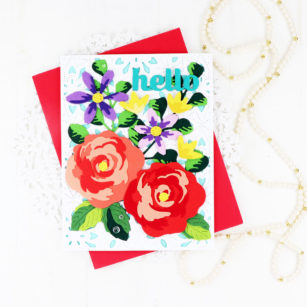
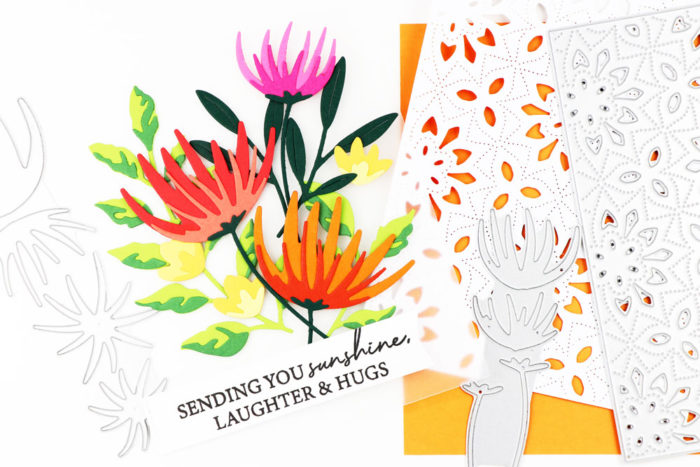
My cards usually start the same way. I arrange images on a piece of clear plastic the size of my card face. It helps me get a sneak peek of the design. I can even lift the entire arrangement and try different backgrounds underneath.
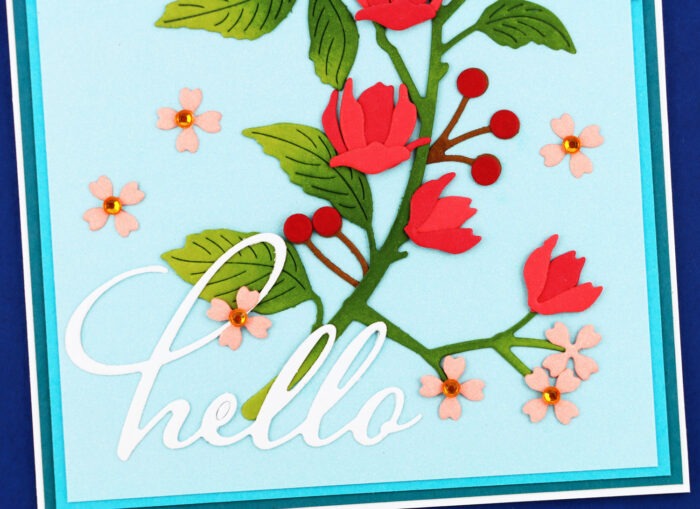
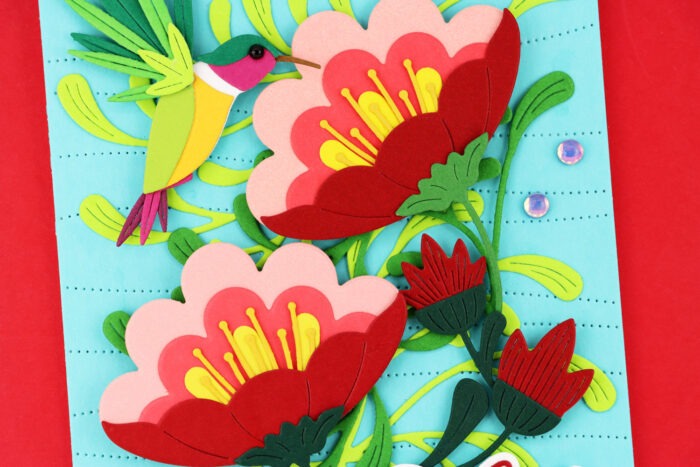
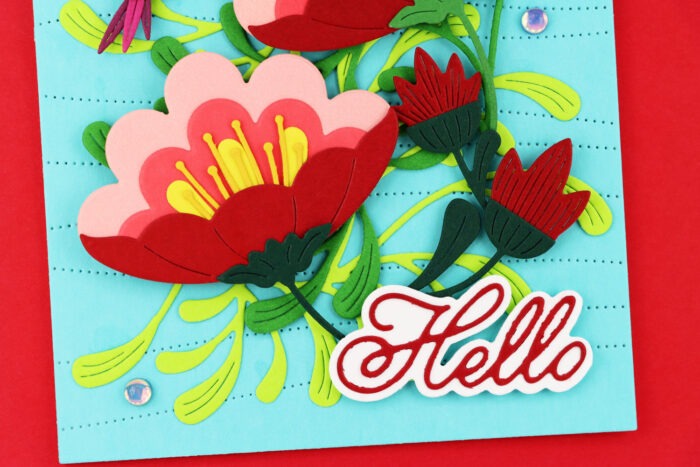
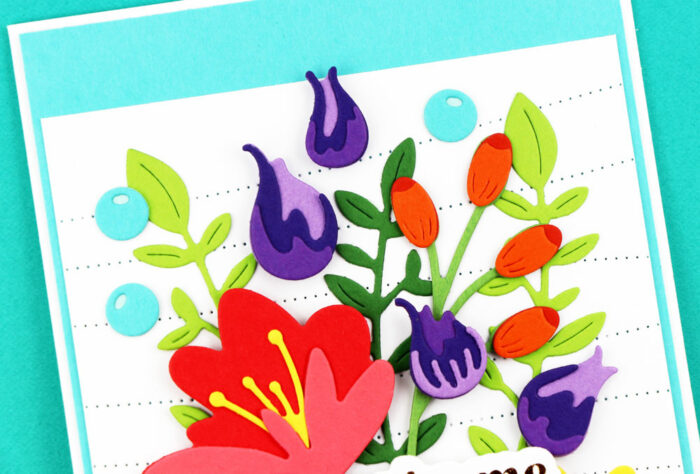
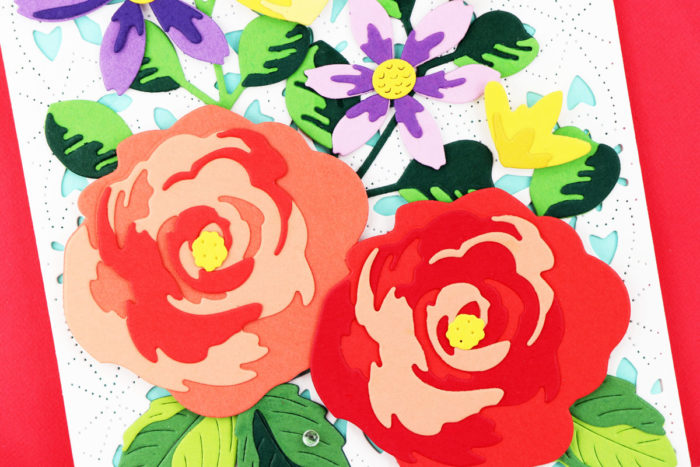
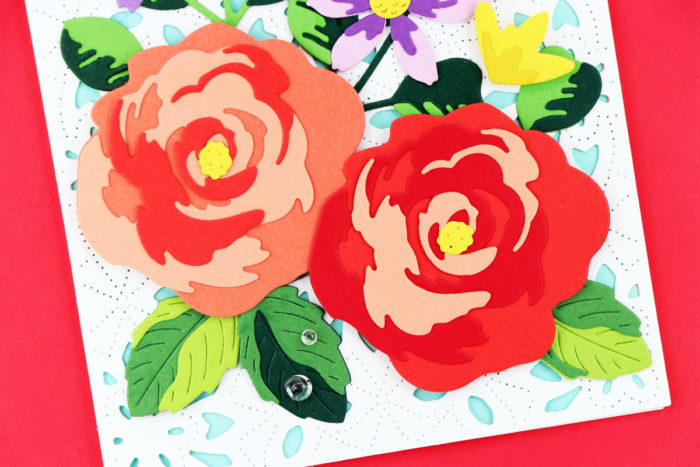
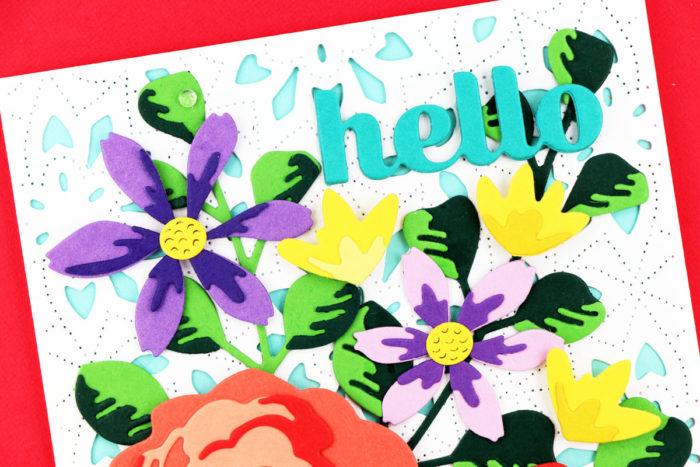
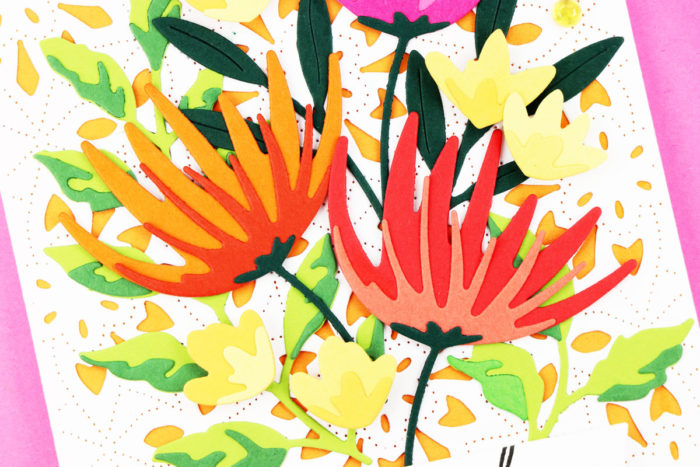
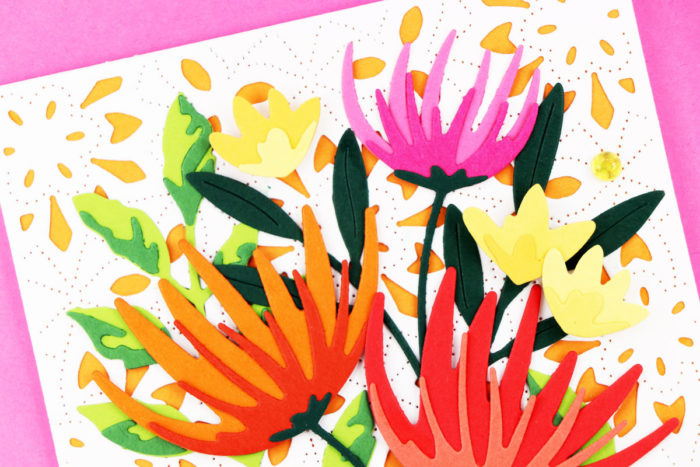
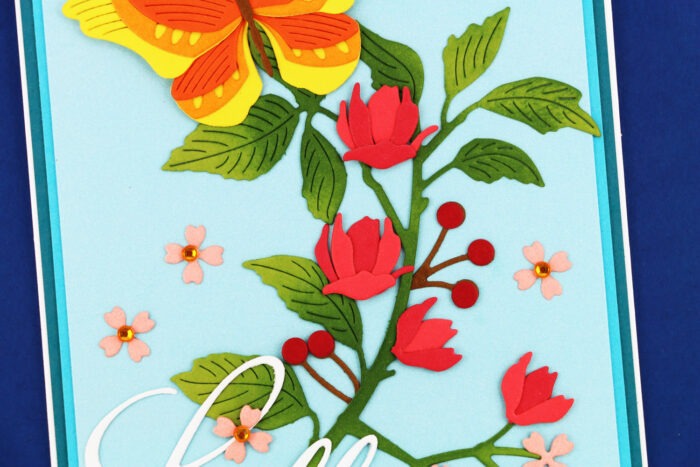
My card features the Abundant Branch die cut. I cut it from green cardstock and then inked the stem and leaf centers with Distress Ink to add some depth and contrast.
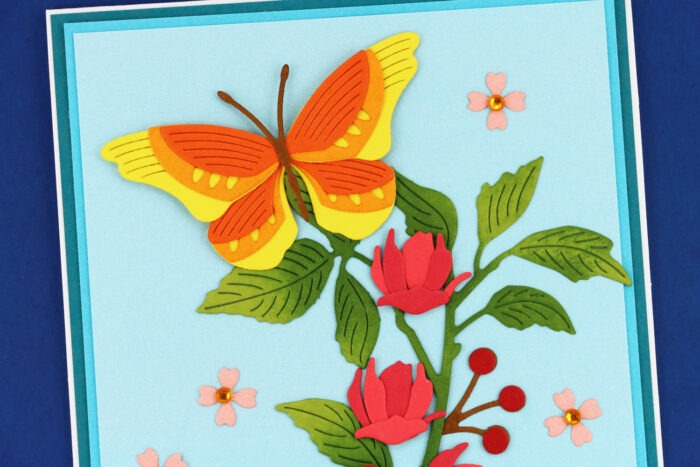
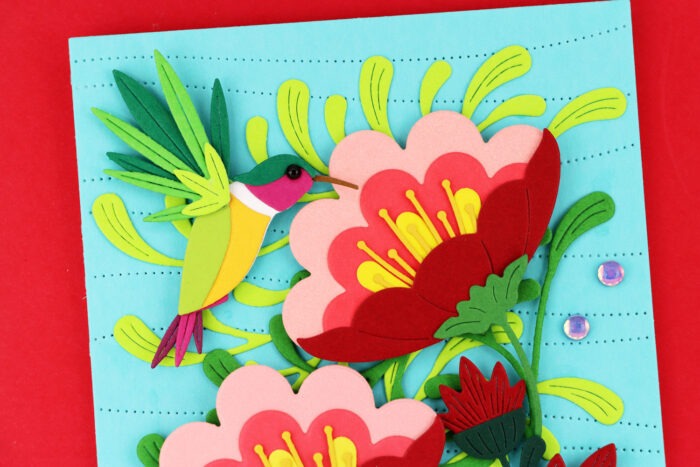
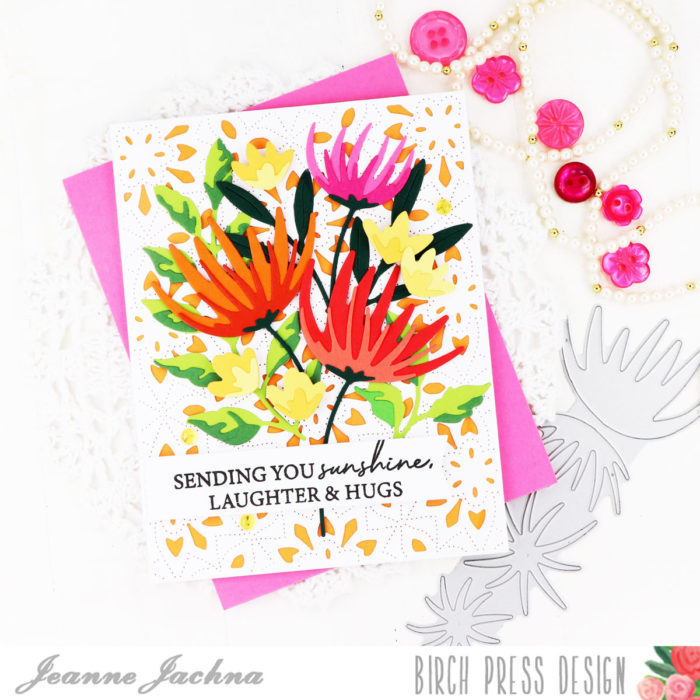
A Block Print Brilliant Butterfly can’t resist the pretty blooms. I love how the layers bring the butterfly to life. I used a yellow base and topped it with light and dark orange accents.
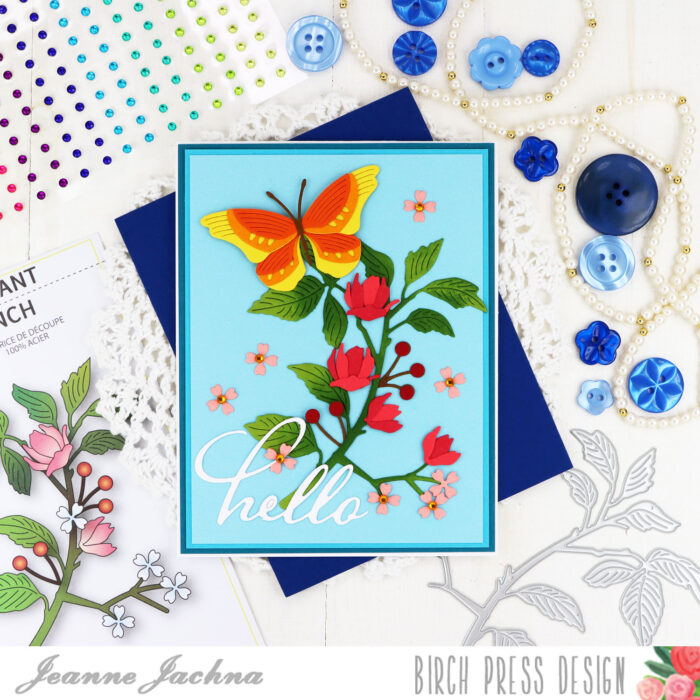
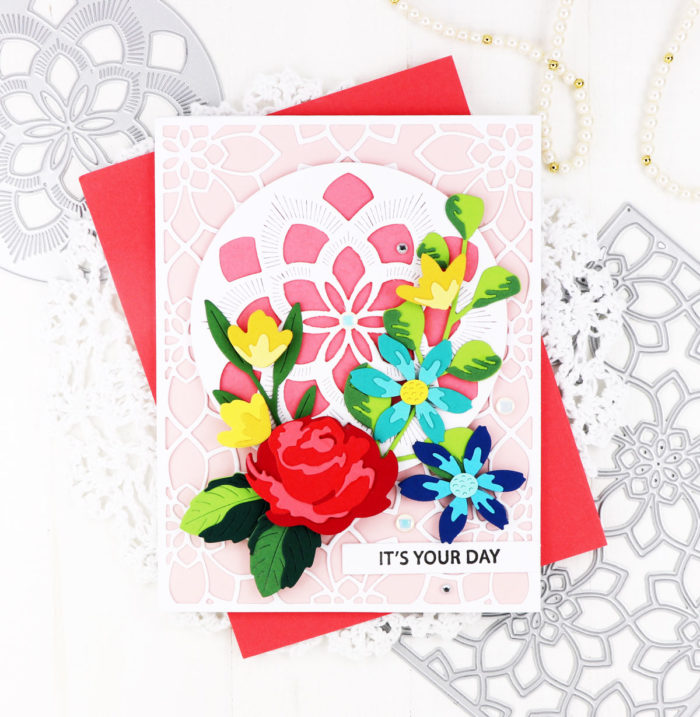
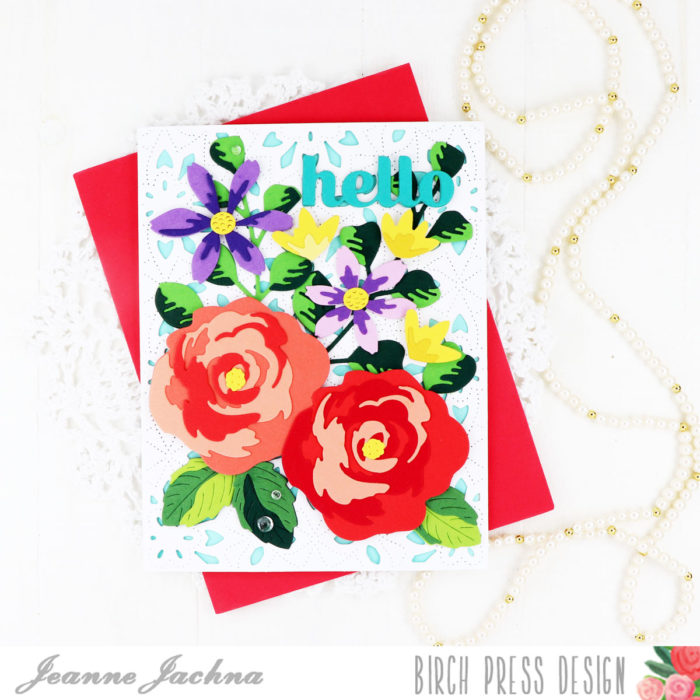
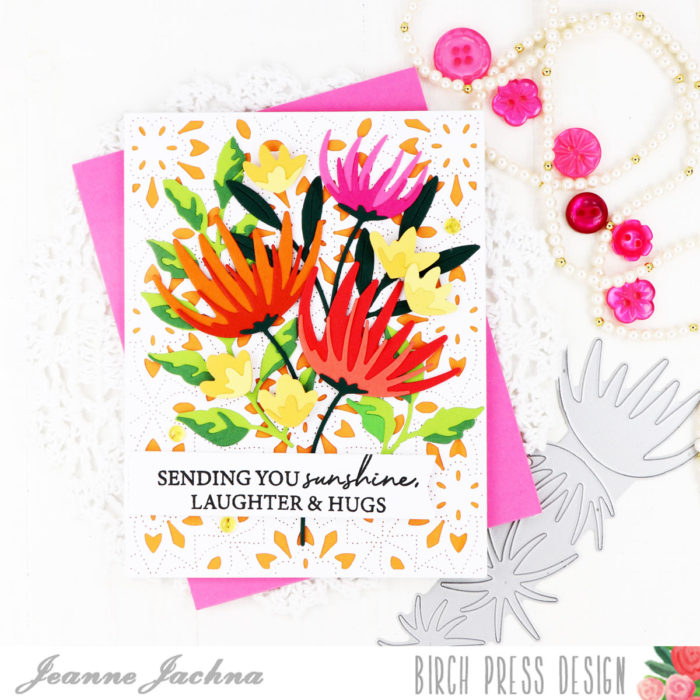
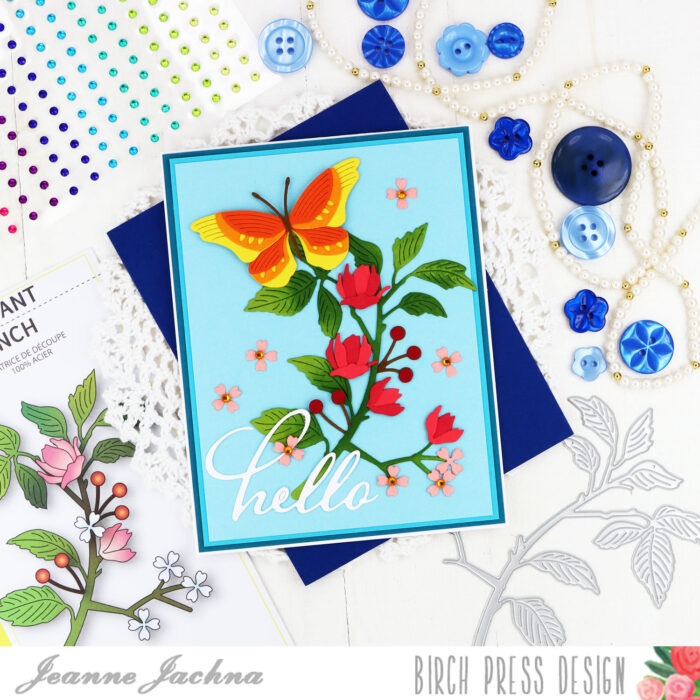
I love the look of this card. It reminds me of botanical field guide drawings. Have a beautiful day!

Supplies