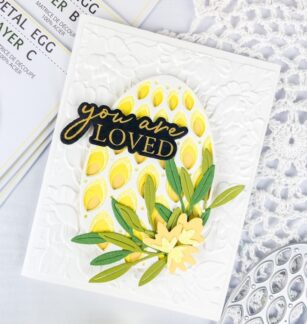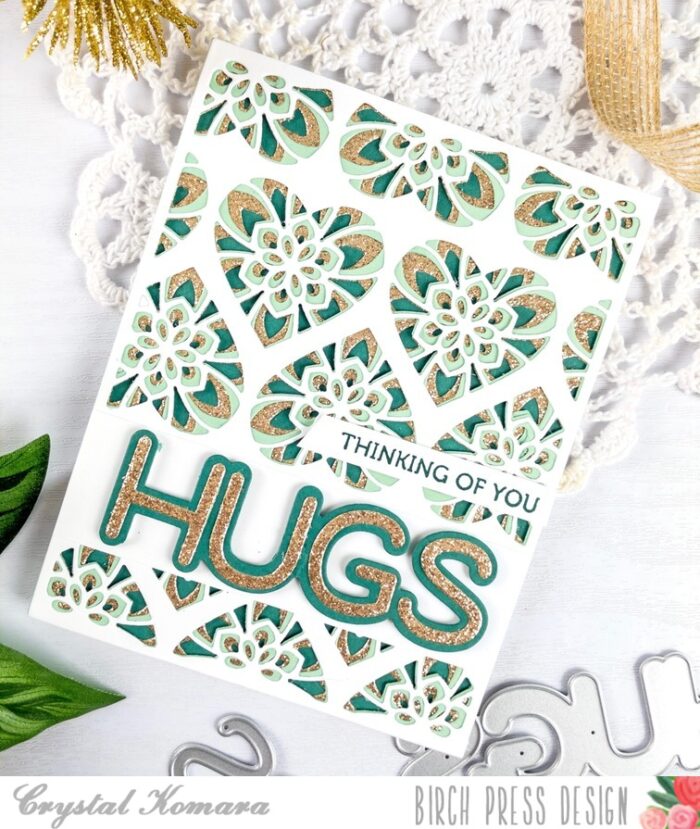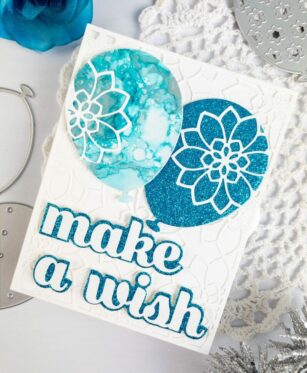
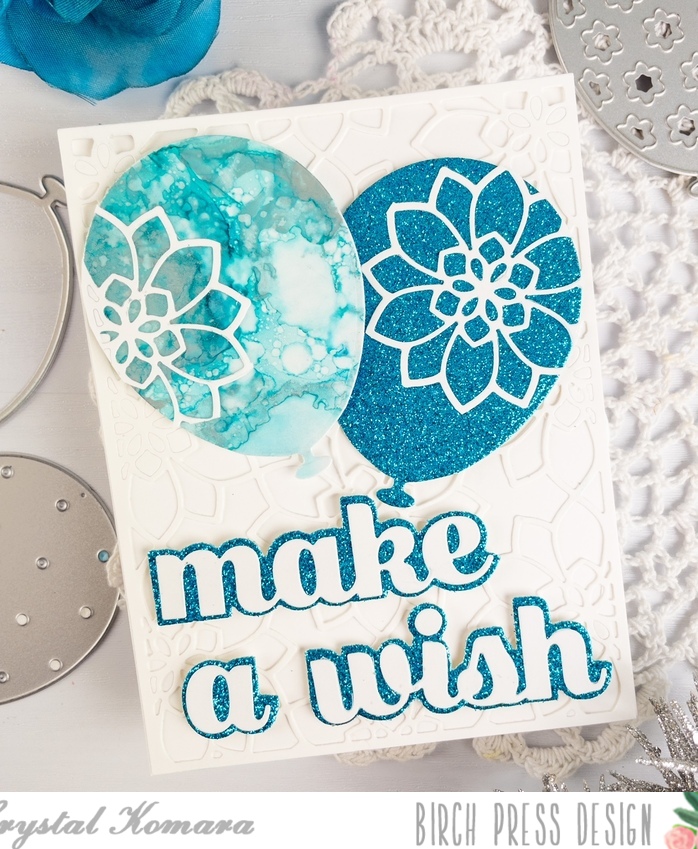
Hello crafty readers! This is Design Team member Crystal Komara here to inspire you today with a birthday card using a lot of texture from glitter paper to alcohol inks. It’s also in my favorite color – blue! And. . . it sparkles!
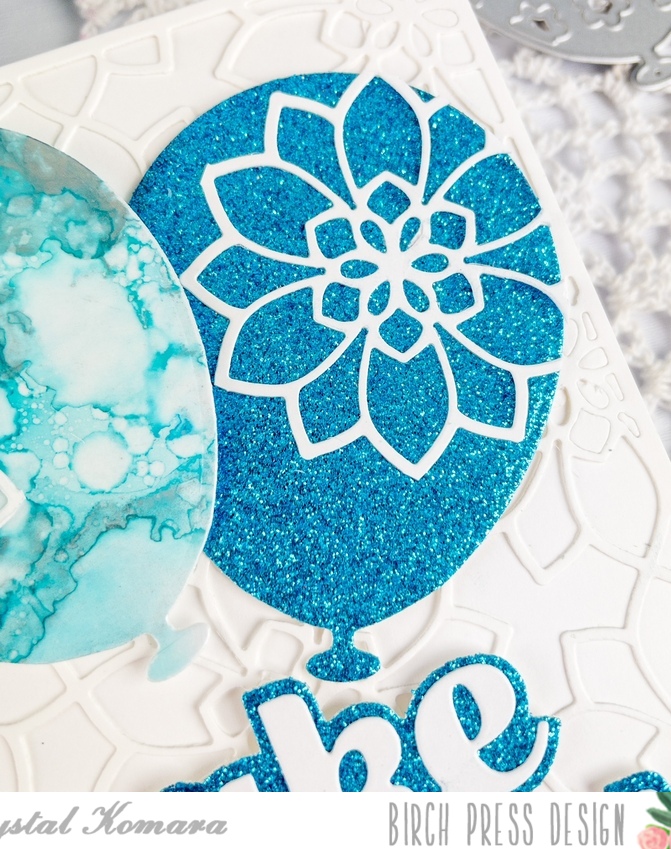
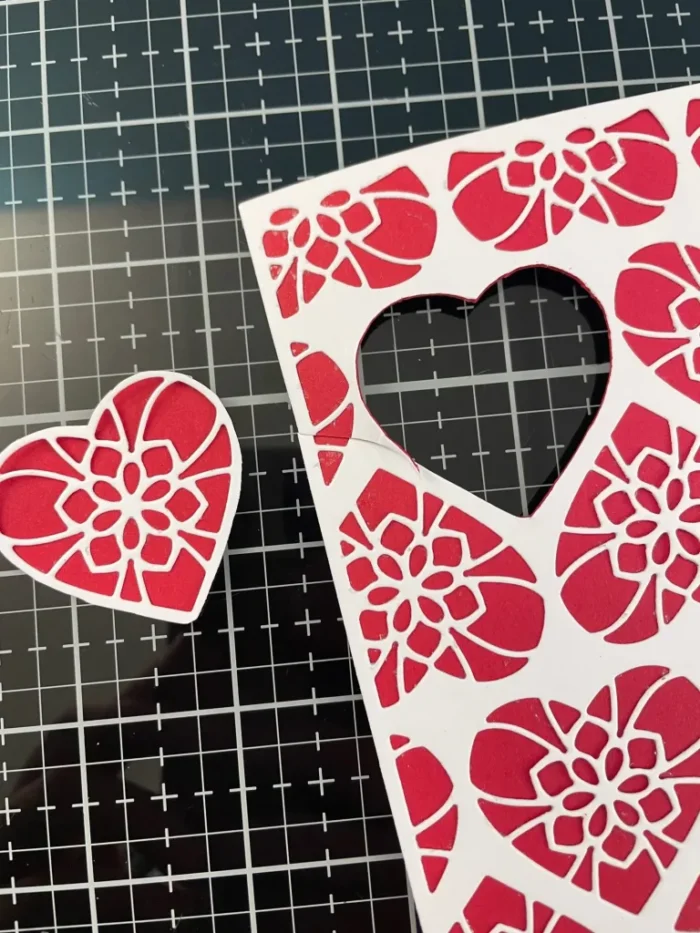
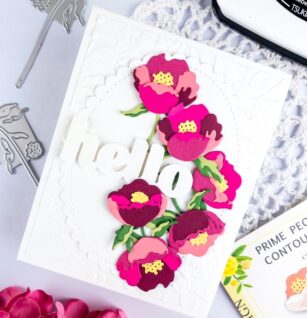
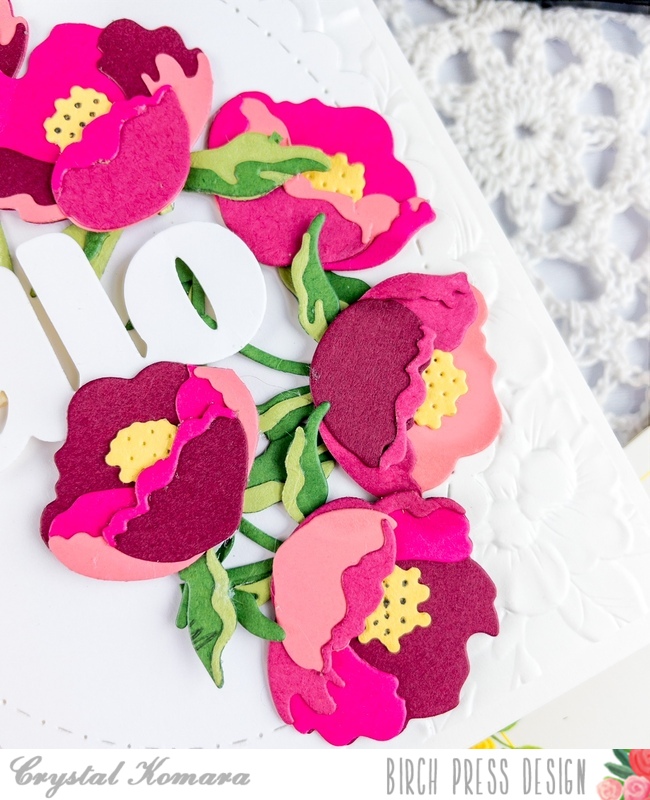
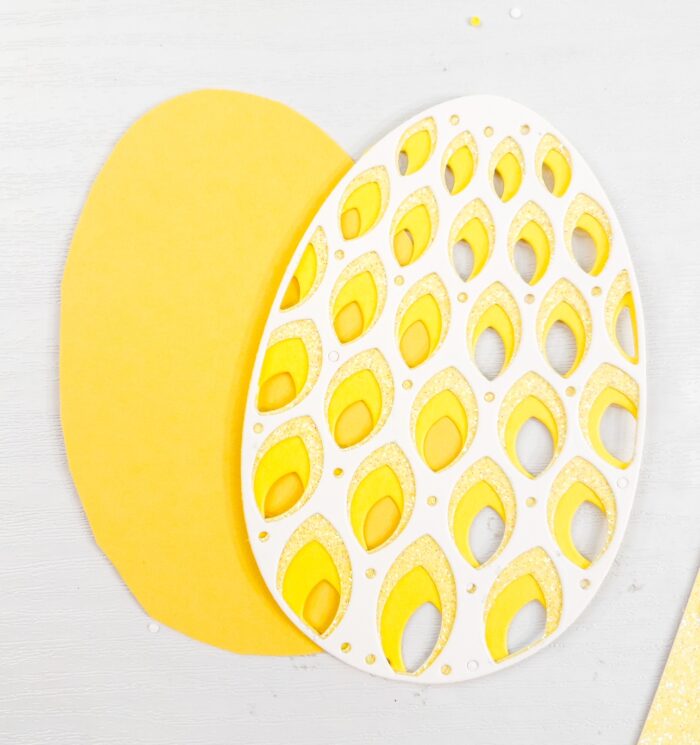
The base of this A2 size card is made from 80 lb. Neenah Solar White Smooth cardstock. Using Plate A only from the Viola Layering Plates, I cut this background from white cardstock and adhered it directly to the card base. ( I actually cut two of these backgrounds, so that I could fussy cut some of the flowers to add to the balloons). Using Layer Plate C of the Floral Balloons I cut two balloons. The first was from silver glitter paper and the second was from a little scrap piece of an alcohol ink background that just happened to coordinate!
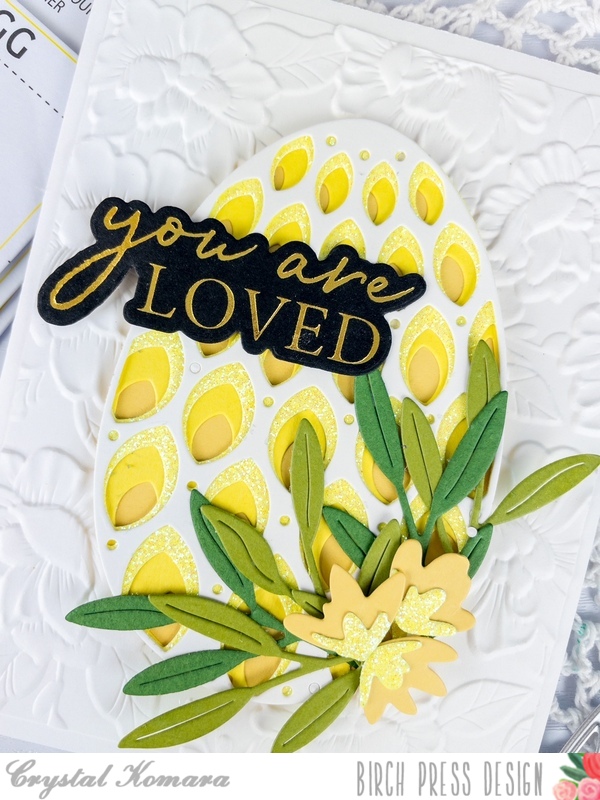
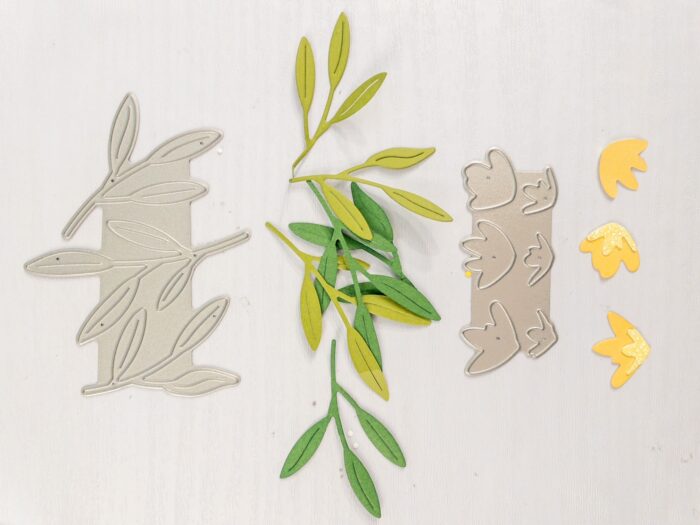
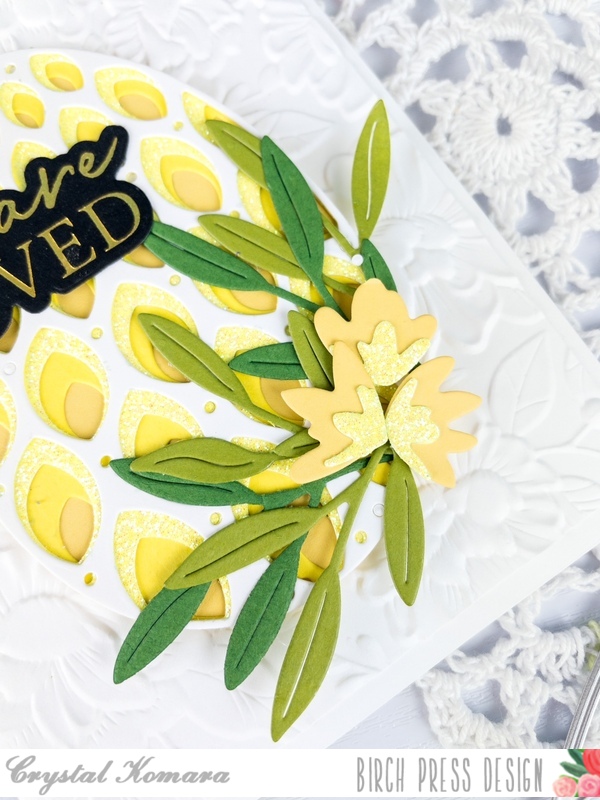
I fussy cut two of the flowers from the Viola Layering Plate A and adhered them to each balloon. I adhered each balloon to the card using 3M foam adhesive for added dimension.
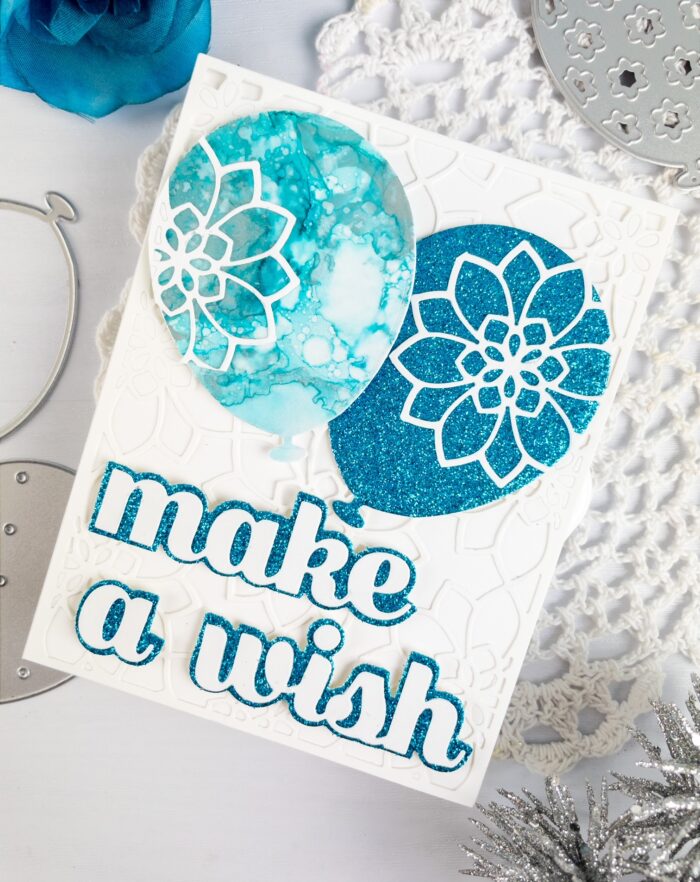
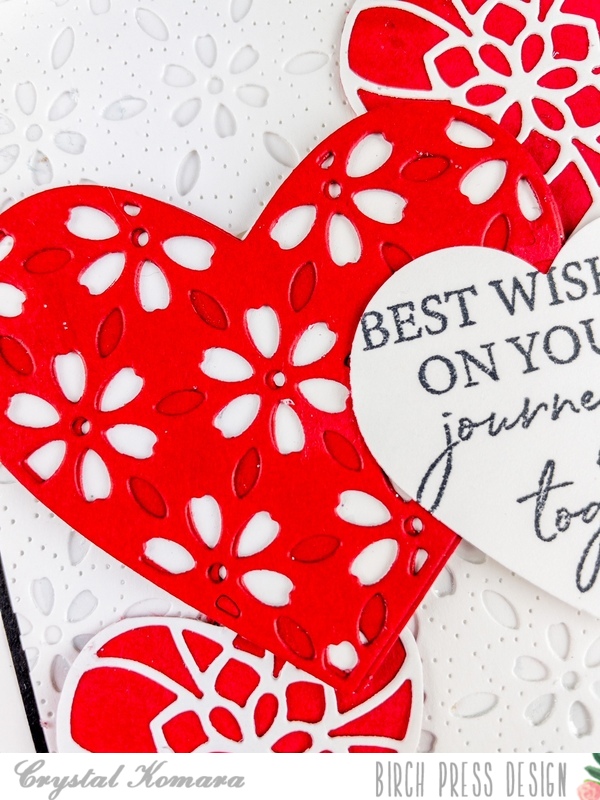
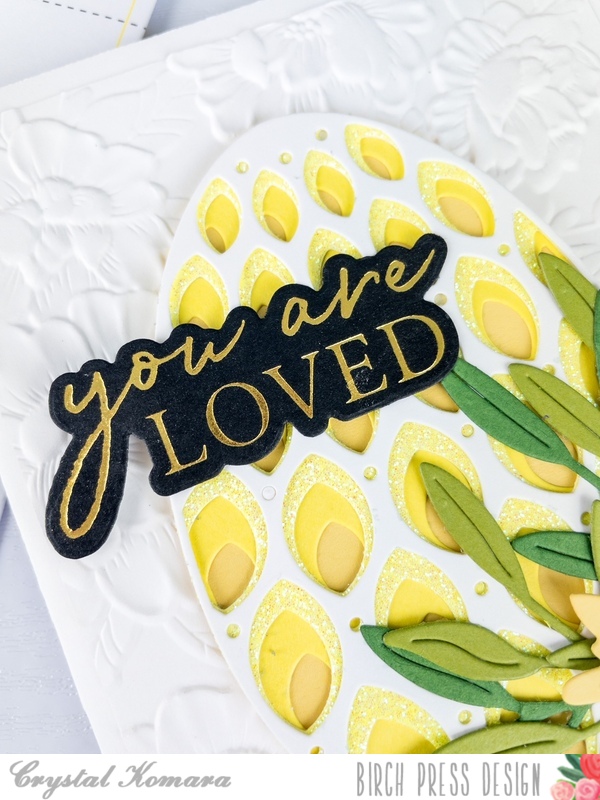
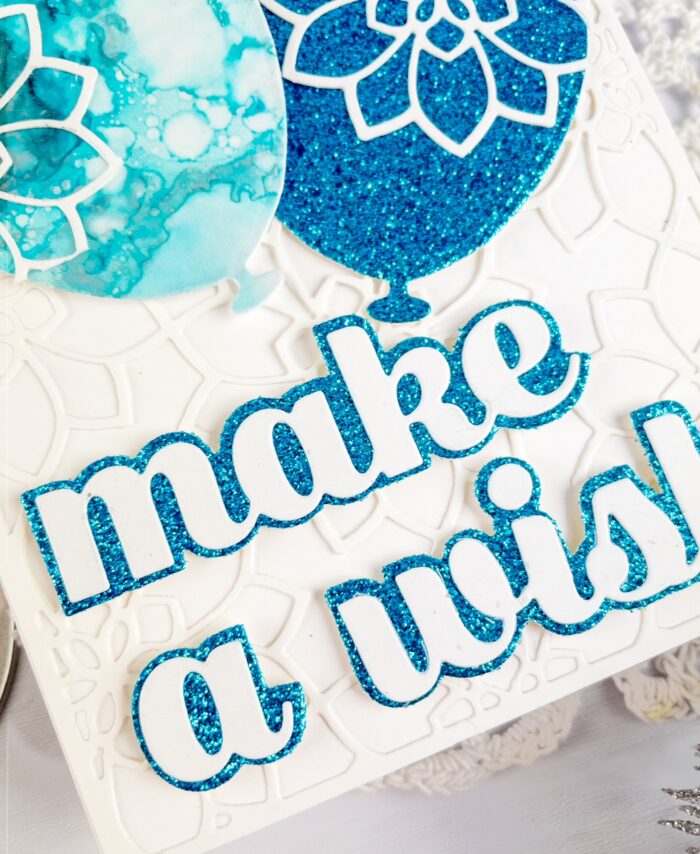
I die cut the sentiment using the Make a Wish Sugar Script die. I die cut the bottom layer from blue glitter cardstock and the top layer from white cardstock. I adhered the two layers together with a fine-tip liquid adhesive. Lastly, I adhered the entire sentiment to the card using 3M foam adhesive for added dimension.
I hope you like today’s card! Thanks for visiting and have a wonderfully creative day!
Supplies