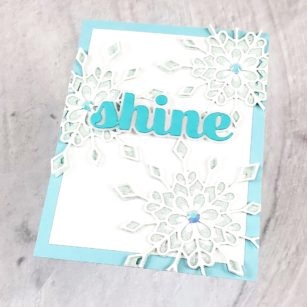
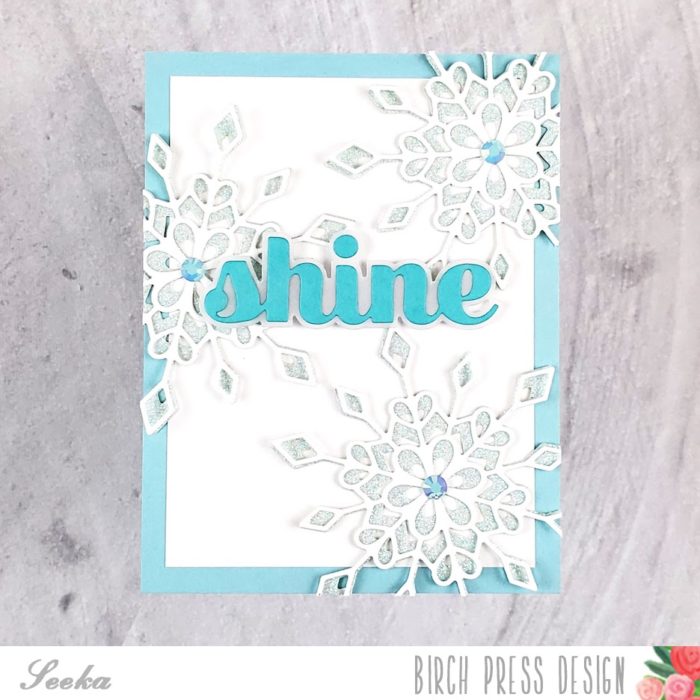
Hello there, I hope you’re having a nice day! It’s Seeka here and today I have a frosty and sparkly card to share with you. It features the Frosty Flake Layer set and the Big Shine Sugar Script sentiment.
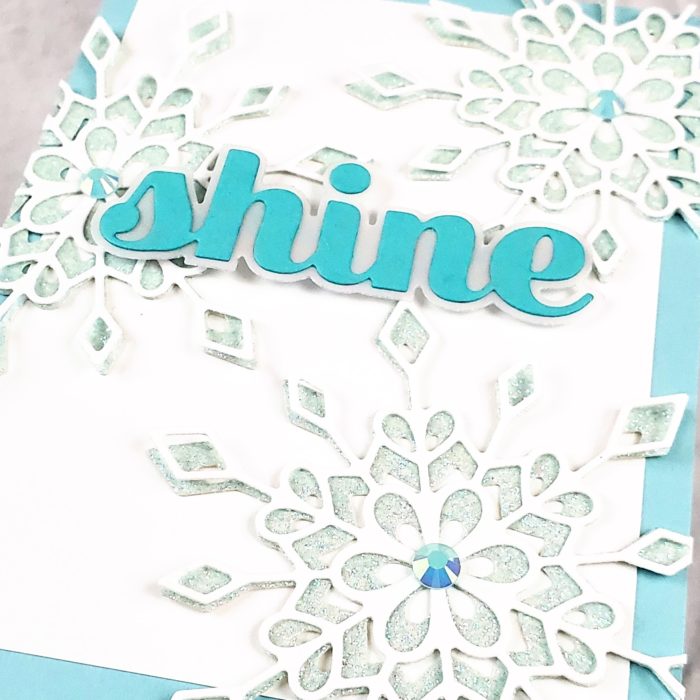
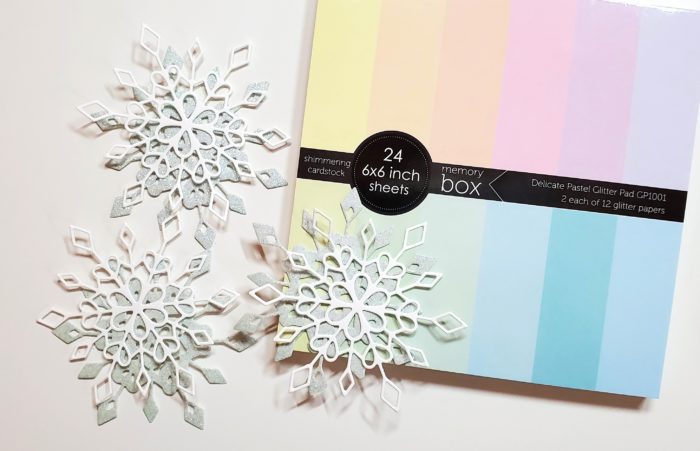
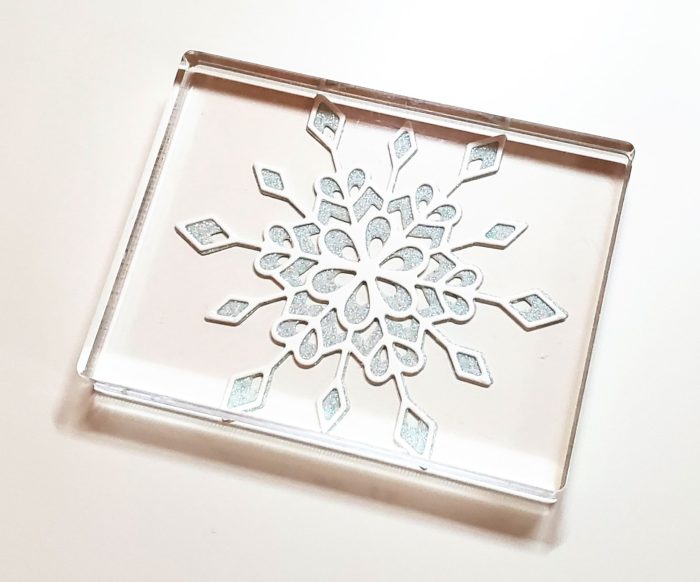
I began by creating three layered snowflakes. For the top layer, I used white cardstock and the Frosty Flake Layer A die. For the bottom layer, I used light blue shimmering cardstock from the Memory Box Delicate Pastel Glitter Pad and the Frosty Flake Layer C die.
To adhere the two layers together, I used a small adhesive dot at the center of the snowflake, and liquid adhesive behind the inner ring of the snowflake pattern. Because the glitter cardstock is textured, I weighed down each snowflake with an acrylic blog and let the adhesive fully set.
Next, I used the Big Shine Sugar Script dies to cut the sentiment from a teal cardstock, and the shadow layer from vellum. I adhered the layers together and backed the sentiment with foam tape.
To assemble the card, I created a background panel by adhering a 3.75″ x 5″ piece of white cardstock onto a 4.25″ x 5.5″ piece of light blue cardstock. Next, I adhered the snowflakes, trimming them where they hung off the panel. I added the sentiment and then I adhered the card front to a card base. As a finishing touch, I added a small light blue jewel to the center of each snowflake.
Thank you so much for visiting!

Supplies

