
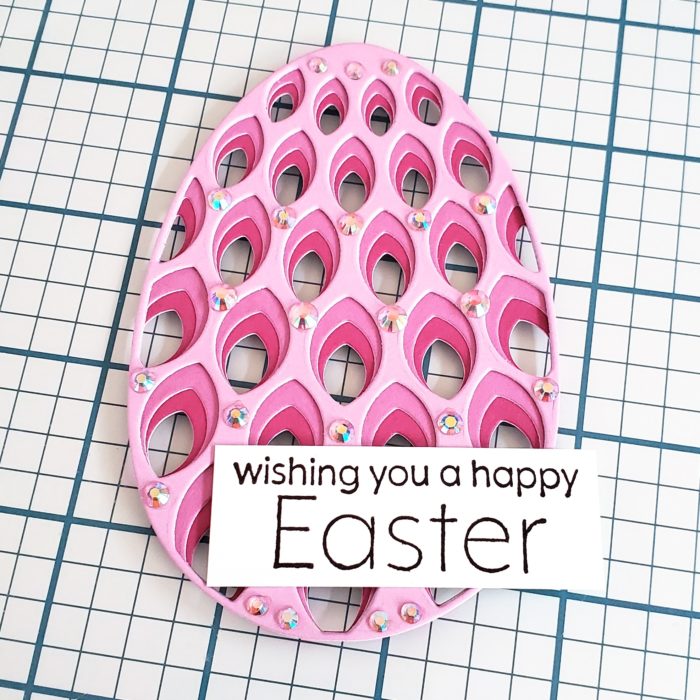
Hello! It’s Seeka here and today I’m sharing an Easter card featuring the Petal Egg Layer Die set.
I started off by cutting the three layers of the egg in shades of violet cardstock from the Memory Box Vibrant Violet 6×6 paper pack.

Next, I adhered the layers together and then adhered jewel embellishments over the pattern of small dots in the die-cut pattern. I also stamped sentiments from the Blooming Spring stamp set onto a strip of white cardstock and adhered it over the bottom right of the egg.
For the background, I trimmed a piece of teal cardstock from the Memory Box Fresh Aqua paper pack to about 4″ x 5.25″ inch. To add a bit of interest, I used a blending brush to blend on a bit of teal dye ink at the corners of the panel.
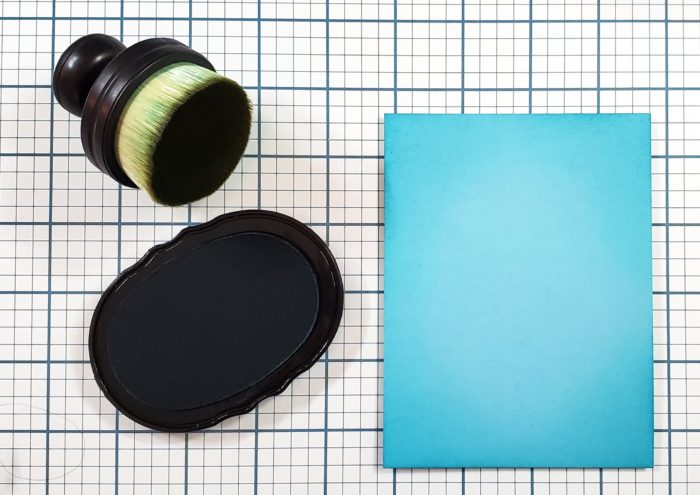
Next, I used a small round paint brush to splatter a bit of white Dina Wakley Media Gloss Spray over the panel.
To assemble the card, I adhered the egg and sentiment to the teal panel and then used foam tape to adhere the card front to an 4.25″ x 5.5″ card base.
Thank you so much for visiting!


Supplies


