Hello and happy Wednesday! Welcome back to the Birch Press Design blog — April here bringing you some waves of crafty goodness with a new project.
Today’s project features the new Curling Waves stencils, embossing folder and matching die set.
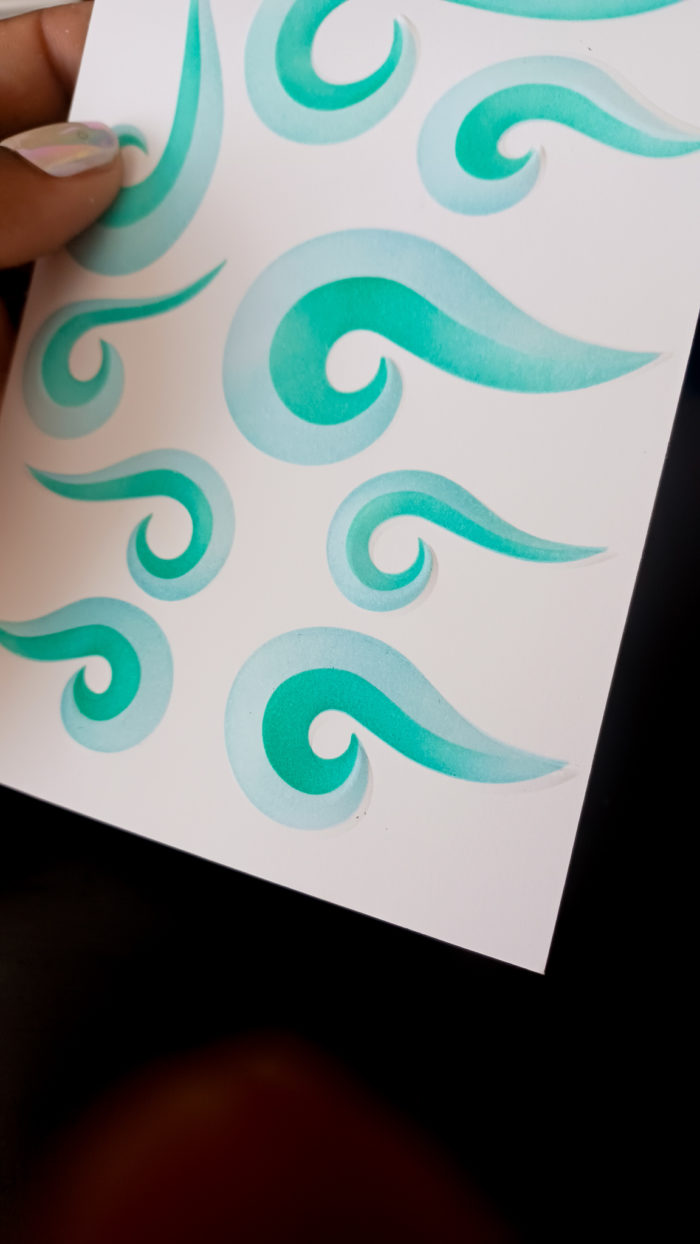
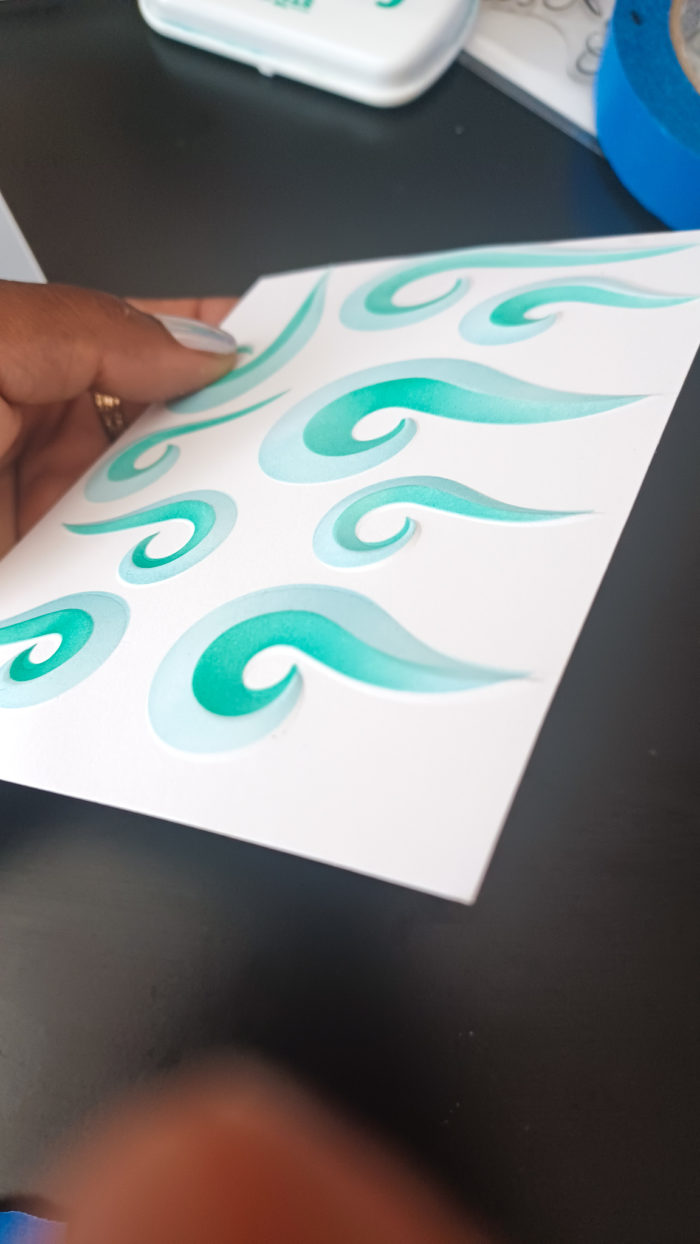
I started today’s project by really wanting to use the new Curling Waves stencils. This was my first time using the stencils and I was intrigued by the two-tone look that could be achieved by using both together. The set comes with two stencils; one has larger waves, and the other smaller waves that fit right on top to give that 3-D wave effect.
I aligned the first stencil with the larger waves over an A2 sized piece of white cardstock and ink blended using a light blue ink. Next I aligned the stencil with the smaller waves right on top, making sure to line up the waves, and ink blended using a dark teal color ink.
The next important step I did involved the embossing folder. The stencil design actually matches up to the embossing folder exactly. I took the A2 sized piece of cardstock, carefully aligned it with the embossing folder waves, and used a piece of painter’s tape to keep it in place. Then I ran it through my die cut machine.
Since this is a 3-D embossing folder, and is thicker than regular embossing folders, I used two plastic shims instead of two cutting plates to run this through. I am using Gemini die cut machine, and it worked beautifully.
Next, I took a piece of teal colored metallic paper from the Vintage Pastel Mirror Pad and also ran that through my die cut machine with the Curling Waves embossing folder — the results? Wow!
Now I have two A2 panels with the waves on them. I took the metallic A2 panel and used my paper trimmer to cut it at an angle starting at the bottom left edge. I took one of those pieces and cut a about 1.5″ off from the top.
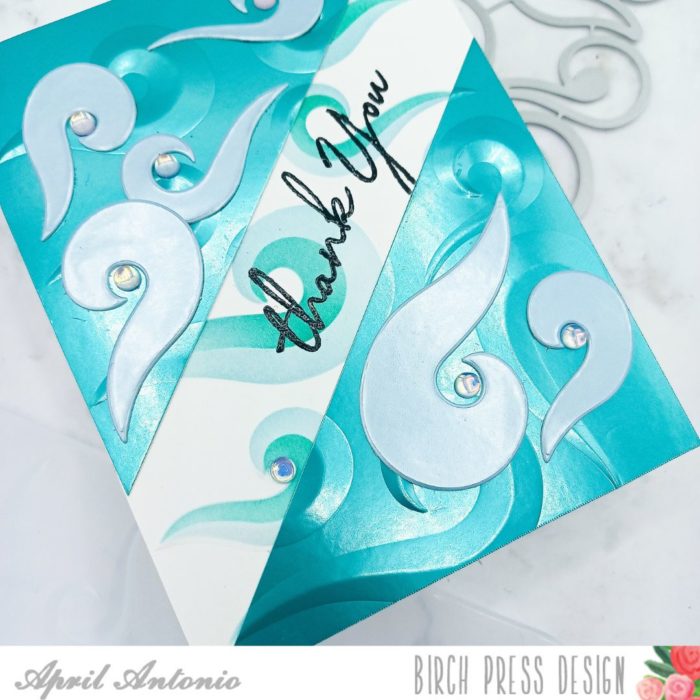
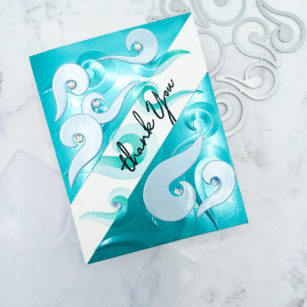
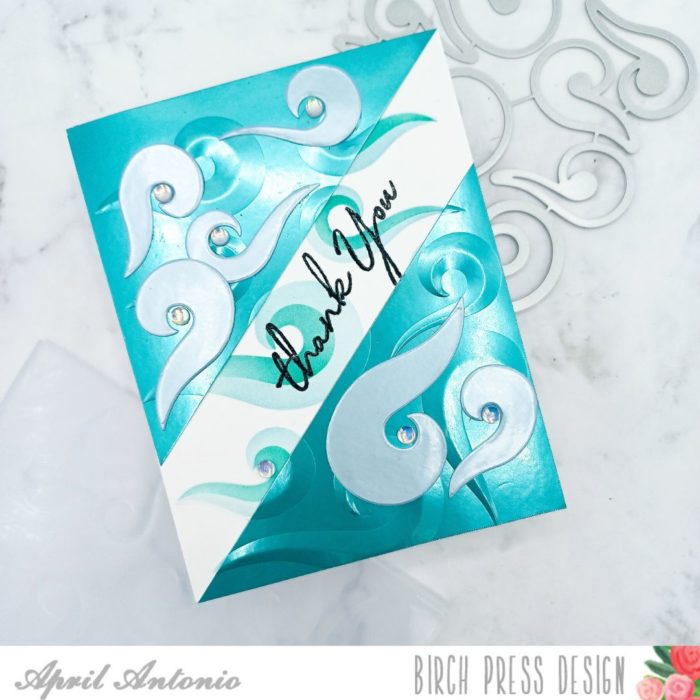
Now I had to metallic pieces with the exact same embossed pattern as my white A2 panel that I stenciled on. Using liquid glue, I lined up the metallic pieces in the top left and bottom right corners of the white panel, make sure to line up the curling waves embossed pattern so it would appear to continue on as one seamless pattern.
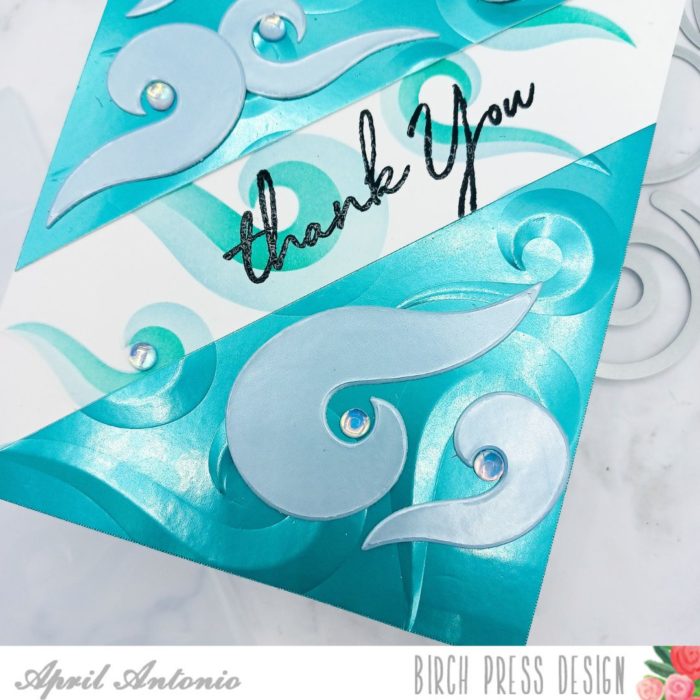
Next, I took a piece of light blue metallic cardstock from the same Vintage Pastel cardstock pack and used the matching Curling Waves die cuts to cut out the individual waves. I glued these to the front of the card using liquid glue.
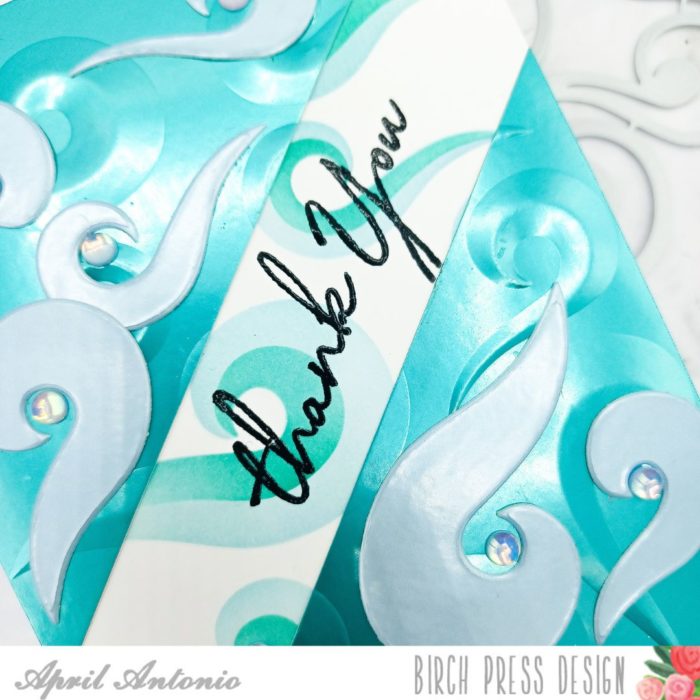
Next, I adhered the entire panel to an A2 card base and used the ‘thank you’ from the Kind Hearts stamp set to heat emboss the sentiment to the middle portion of the card. In hindsight, I should have stamped the sentiment before dry embossing the white panel, but it worked out okay.
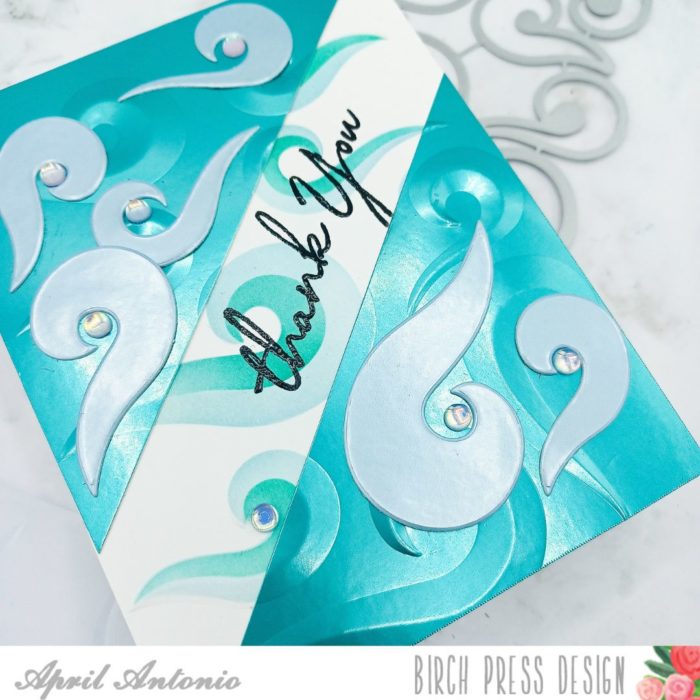
My final touches were to add some gemstones from the Winter Fantasy Fairy set to the center of the curls.
This card took a little bit more time, but it turned out great. I’m especially excited about using these new Birch Press 3-D embossing folders. I hope this has inspired you to get out there and craft. Have a great day!

Supplies


Supplies


Comments
One response to “Swirling Waves of Thanks | by April Antonio”
April,
I absolutely love your card. What a fabulous use of the curling waves products. Your ideas are so ingenious and beautiful. I am AMAZED at the beauty and originality of your design.
Your text and photos are wonderful and easy to follow.
Gail