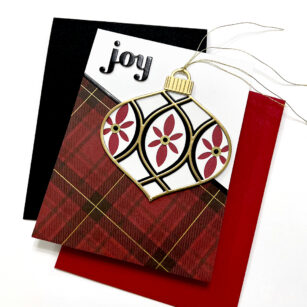
Hello, Birch Press friends! This card has been in my head for awhile now, and I finally made it. I love plaid for the holidays, so I really wanted to incorporate some of this beautiful paper from the Christmas Jolly paper pad.
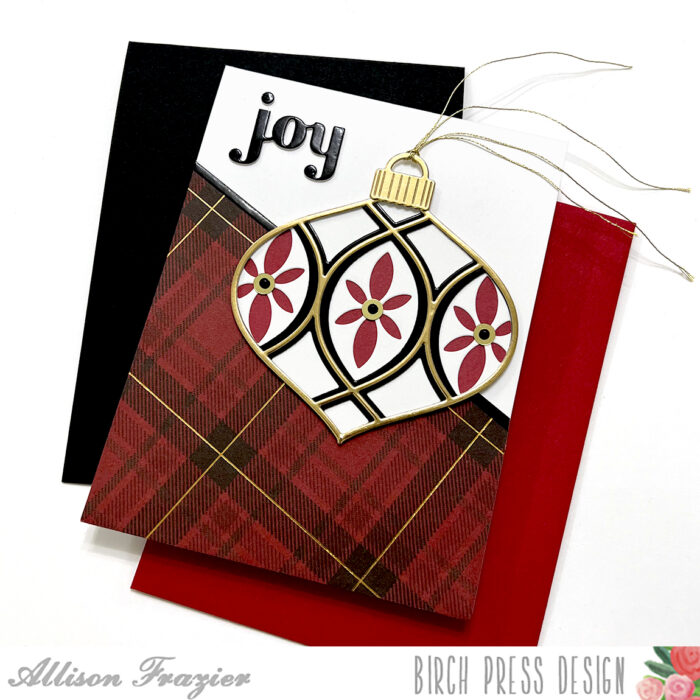
I started by choosing which paper from the Christmas Jolly pad to use. I knew that I wanted to angle the paper on my card base, so I found a pattern that worked perfectly for that. I made sure to carefully trim it at the top so that it was even with the angled lines in the design. I then adhered it to a white A2 card base and added a thin strip of glossy black card stock to divide it from the white space.
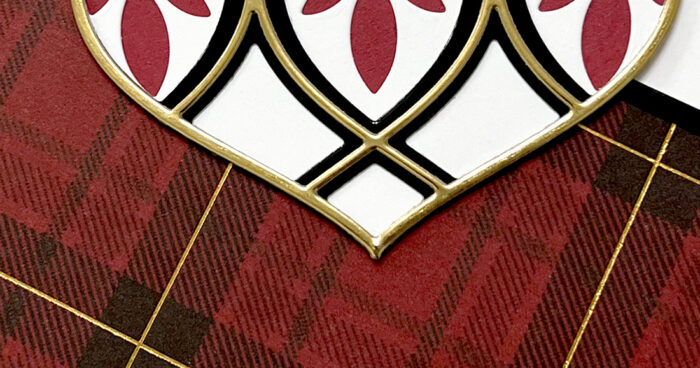
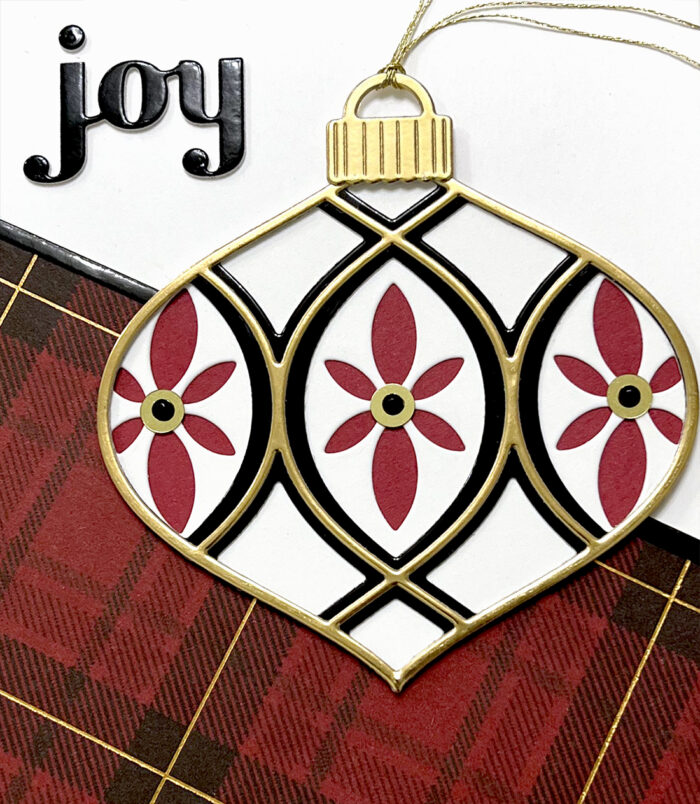
Next, I die cut the layers for the Meridian Ornament. I used white card stock for Layer C, black glossy card stock for Layer B, and Gold for Layer A. I also traced the shape of the ornament onto a piece of red card stock, fussy cut that out, and adhered it to the back of the ornament so that it showed through the cutouts in the white layer. I love how the gold layer enhances and pulls your eye to the thin, shiny lines of gold foil in the plaid paper.
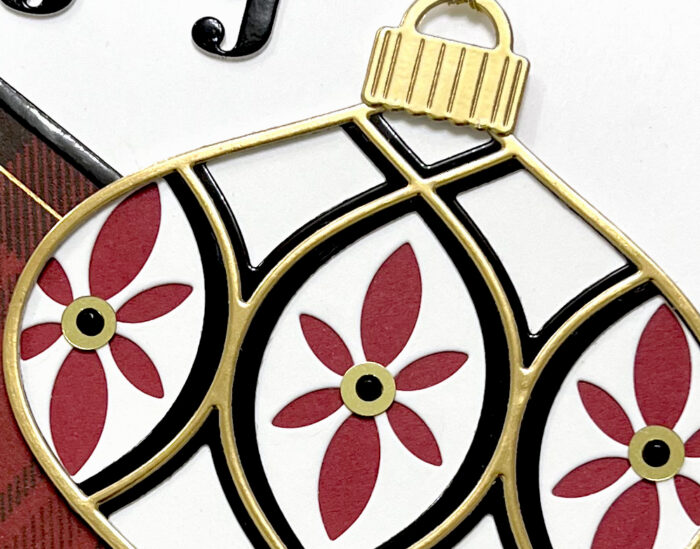
For the ornament topper, I used the die from Set A of the Radiant Ornament Layer Set. For the sentiment, I used the “joy” from the Find Joy and Outline set. The words are connected in this die set, but I simply cut them apart and made the “j” into a lower case j. I used a tiny round die from my stash for the “tittle” (dot) over the j. Don’t be afraid to alter your die cuts to fit your designs!
To finish my card, I added some flat gold discs to the centers of the red floral design in the ornament and then added black gems on top of those. I also added some gold thread through the ornament topper.
Thank you so much for joining us today. I hope this card inspires you and brings a smile to your face!
Wishing you a crafty day,
Allison

Supplies
Supplies
