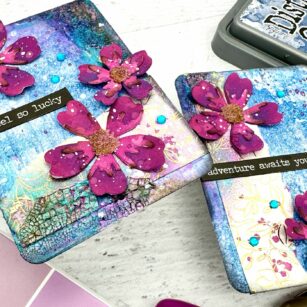
Hello Crafty friends! I am excited to be back on the blog today sharing a couple of mixed media ATC’s using the Phlox Blooms and Leaves Contour Layers die set. So let’s get started!
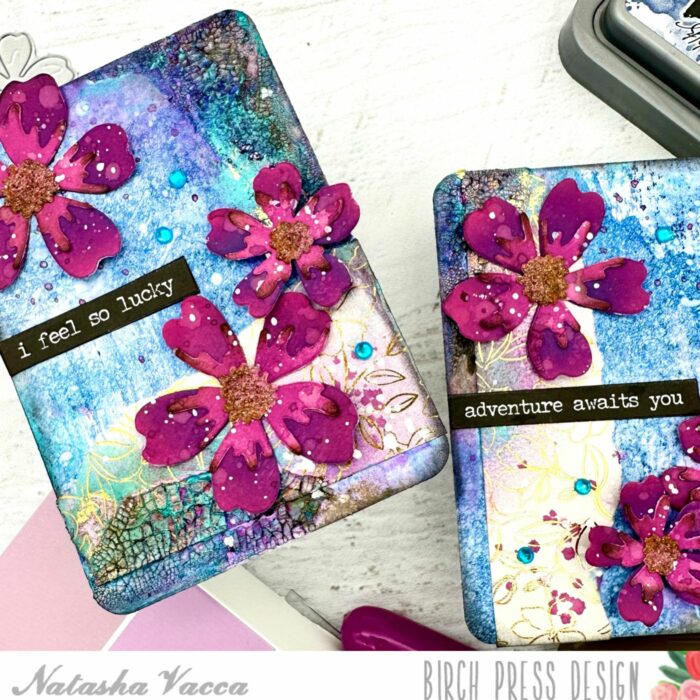
I started by die cut the floral images from the Phlox Blooms and Leaves Contour Layers die set. I cut enough for 3 florals per ATC. I die cut the flowers using the Vibrant Violet paper pad from Memory Box. I chose 2 shades of pink for the flowers and the center of the flower. Once everything was die cut, I used several shades of Distress Oxide ink to add more depth and texture to the flower images.
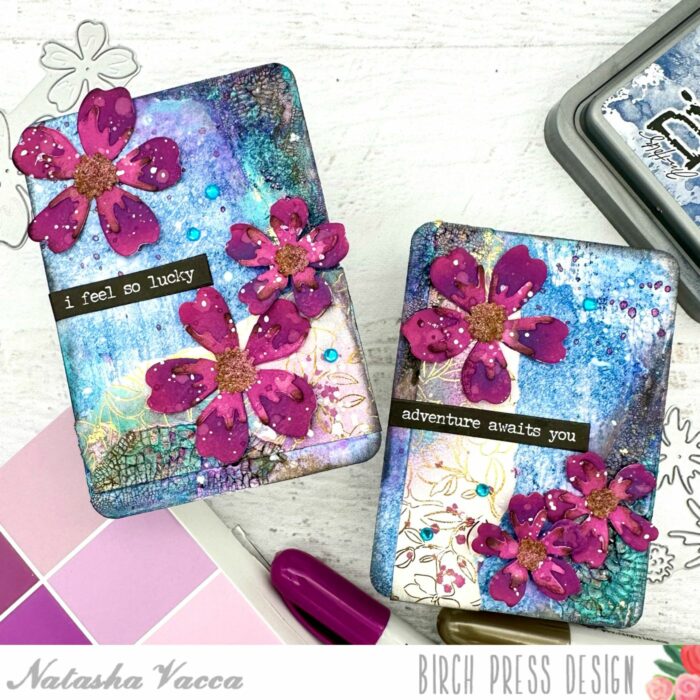
Once the flowers were all inked up I adhered the flowers together using liquid blue. Next I heat embossed the center of the flower using a gold embossing powder and then adhered the center to the flowers. I also added a few splatters to each flower. I then set the flowers aside to work on my backgrounds.
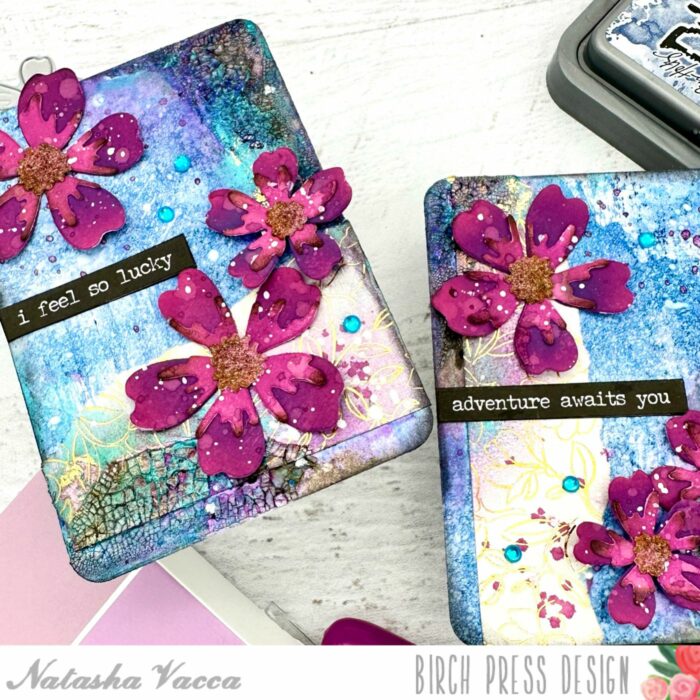
For the background I chose a blue panel from my stash of pre-made backgrounds. I trimmed the panel into 2 ATC’s (Artist Trading Cards). Next I chose a piece of pattern paper from the Magnolia Grove paper pad from Memory Box. I tore the paper and then adhered this to each ATC using liquid glue.
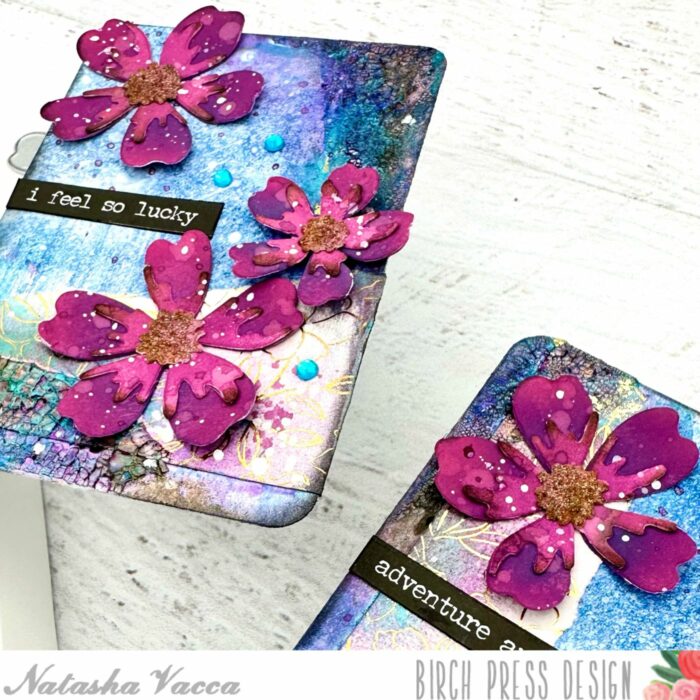
I then added a clear crackle paste to each ATC in a couple of places. I allowed the paste to dry and when it was completely dry I added a bit of distressing using distress crayons, as well as paper glaze for added shine and texture. Next I inked up the edges of each ATC using black distress ink.
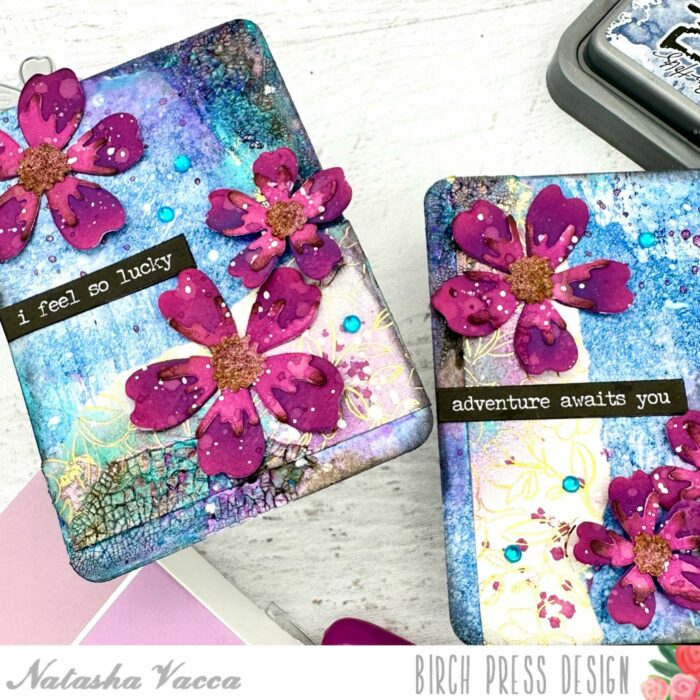
I then added white and purple splatters to each of the backgrounds. Once the splatters were dry, I adhered the flowers using liquid glue and foam tape. I completed my ATC’s with a couple of sentiment strips and a few gems from the Fairy Jewels – Brights collection!
Thank you for stopping by today! I will be back soon!
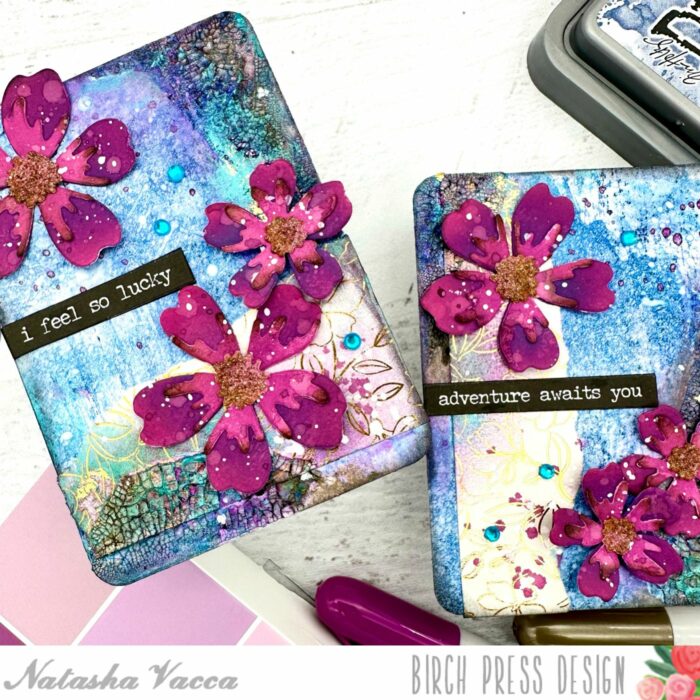

Supplies
Supplies
