
Hello Birch Press Friends, I am excited to be back on the blog today sharing a mixed media tag using 2 new dies from the latest collection: Oval Leaf Branches Contour Layers and Budding Twigs Contour Layers. So let’s get started!
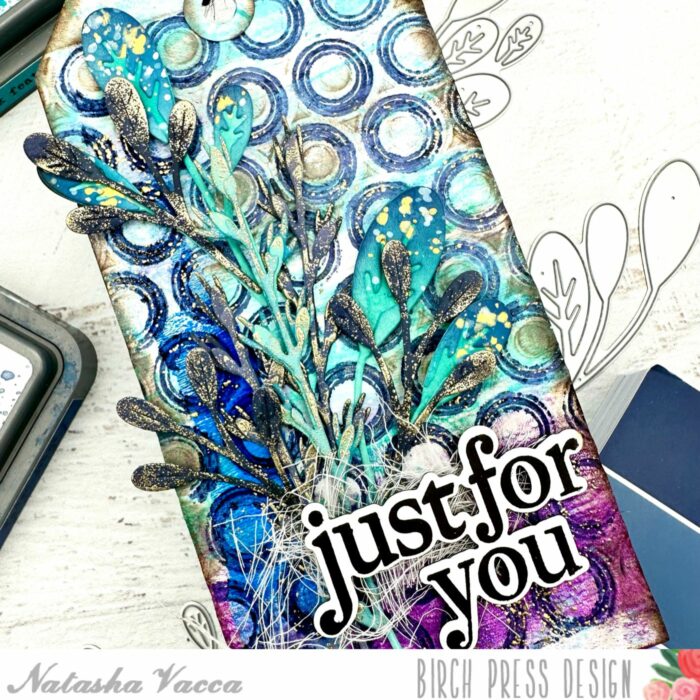
I started by die cutting the branches and twigs from the Oval Leaf Branches Contour Layers and Budding Twigs Contour Layers die sets. I die cut them from 2 shades of cardstock from the Stormy Blue and Fresh Aqua collection from the Memory Box paper pads. Once all the layers were die cut I added a bit of color to each layer using distress oxides. I then spritzed them with water and used a paper towel to pick up some of the color.

Next I added embossing powder to all the die cuts. I applied embossing ink, then powder, and heat set them with my heat tool. I did wipe off some of the powder before heat setting them for a distressed look. I set the die cuts aside to work on my background.
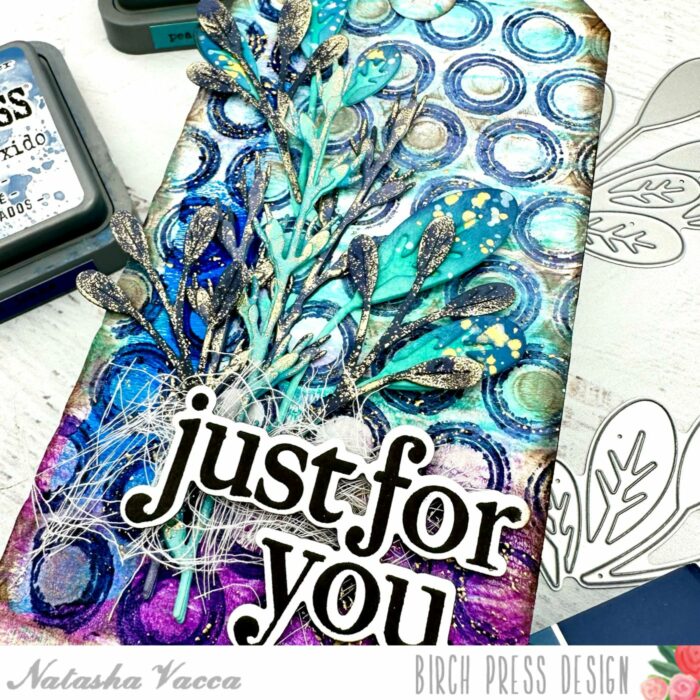
For the background I chose a gelli print from my stash and trimmed it into a tag. Next I ran the tag through my die cutting machine with the Ringadings 3D embossing folder. I then applied dye ink to one side of the folder and ran it through the machine again. Next I added embossing ink to the folder and ran it through one more time. I then added a gold embossing powder to some sections of the background and heat set it with my heat tool.

Next I inked up the edges of the tag as well as some areas on the top of the tag with distress ink. I then determined the placement for the branches and the twigs. I adhered them with liquid glue and foam tape.
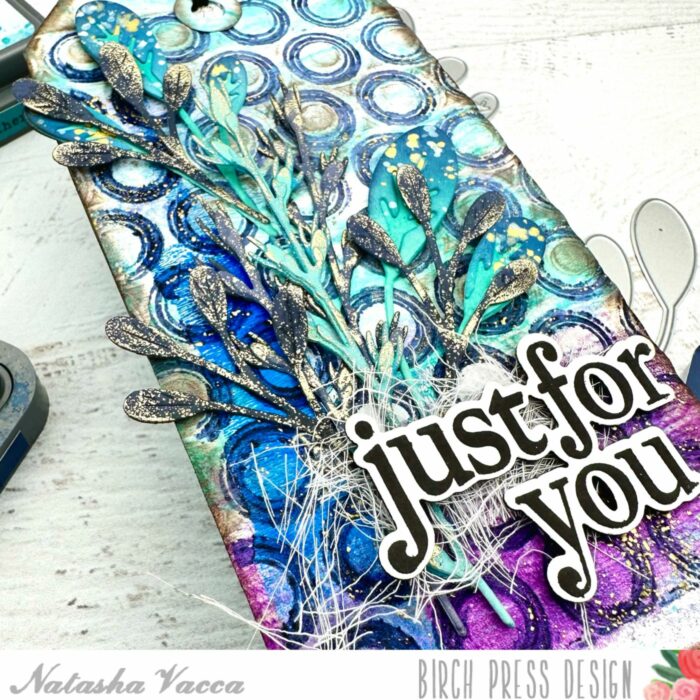
Next I stamped the sentiment from the Gracious Floral stamp and die set. I completed the tag with a bit of cheesecloth and twine at the top of the tag. I adhered the sentiment with foam tape to complete the tag.
Thank you so much for stopping by today! I will be back soon!

Supplies


Supplies


