
Hello Crafty friends! I am excited to be back on the blog today sharing a card using the beautiful Splendid Poinsettia Contour Layers die set! I love this large floral die and the amazing details, so let’s get started!
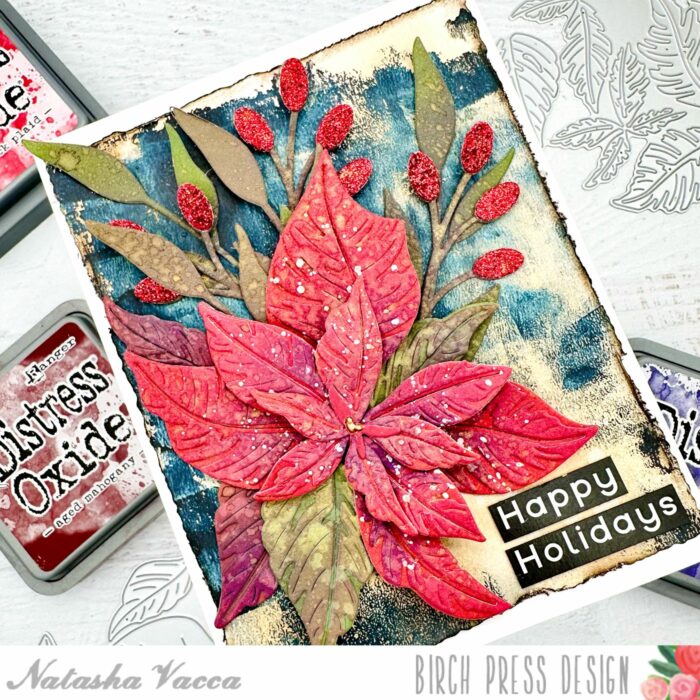
I started by die cutting the Splendid Poinsettia using paper from the Memory Box paper pad collection in Lush Green and Berry Red. I chose 2 shades of red and 2 shades of green. I then die cut some additional leaves using the Sylvan Berries and Leaves Contour Layers die set using the Earth Neutral paper pad from Memory Box. I cut the berries from this set using a red glitter paper from the Festive Glitter paper pad.
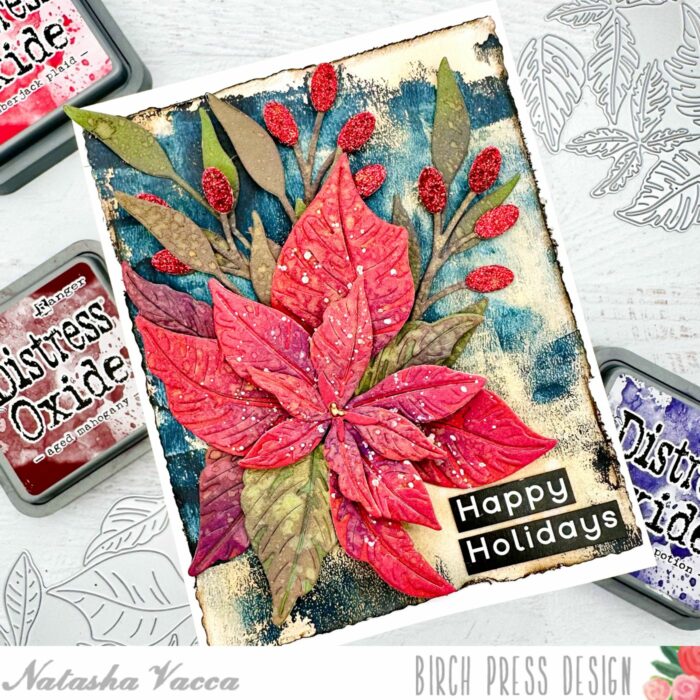
Once all the layers were die cut I added several shades of Distress Oxide to each layer for added color and texture. I applied water droplets to each layer as well and picked up color using a paper towel. I love the added texture this provides.
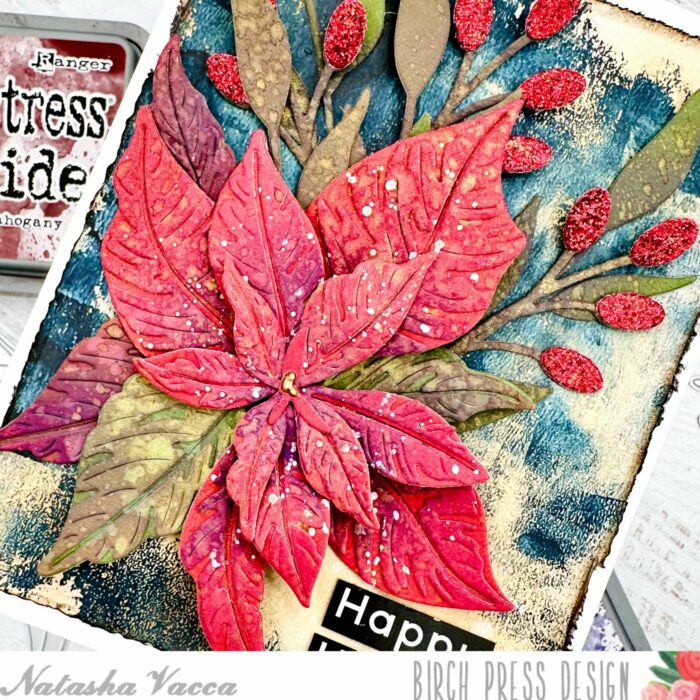
To add a bit more texture and dimension to all the layers I added a spray from Lindy’s Gang. I love the added shine this gives to all the floral and leaf layers. I allowed everything to completely dry, then adhered all the layers together using liquid glue. I used my fingers to shape the leaves on the Poinsettia for added dimension. I added a few white splatters to the leaves and flower and set it aside.

Next I used a gelli print from my stash. I trimmed the panel using my deckle trimmer and then added Distress Oxide to the panel to give it more of an aged look. I applied distress ink to the edges of the gelli print, then adhered this to an A2 card panel.
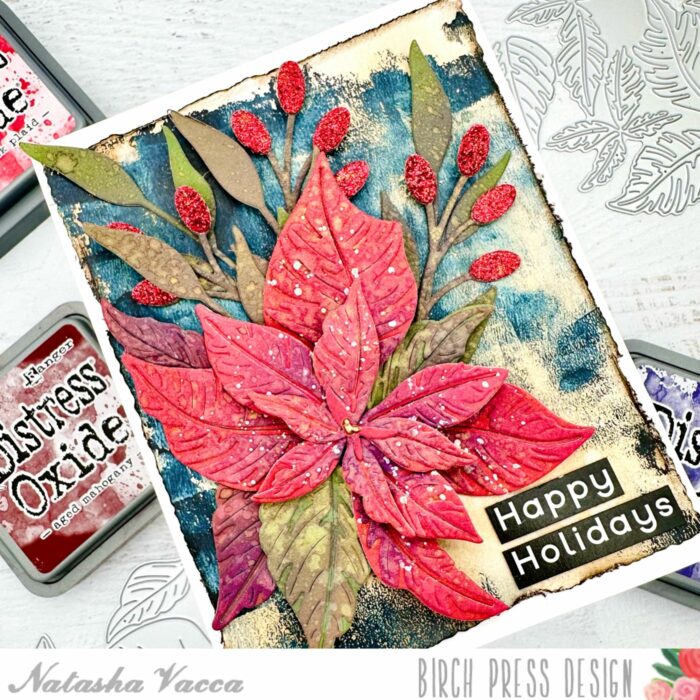
I adhered the poinsettia, leaves, and berries using liquid glue to the top of the card panel. I completed the card with a sentiment from my stash. I had a lot of fun creating today’s holiday card!
Have a great day! I will be back soon!

Supplies


Supplies


Comments
One response to “Holiday Poinsettia | By Natasha Vacca”
Beautiful