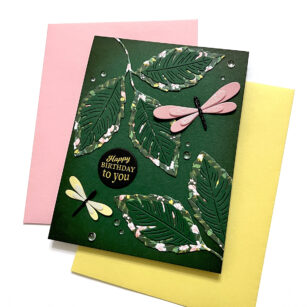
Hello, Birch Press friends! I am excited to be back on the blog today sharing the new Wiegela Leaf Contour Layers set. My card also features some new goodies from Memory Box!
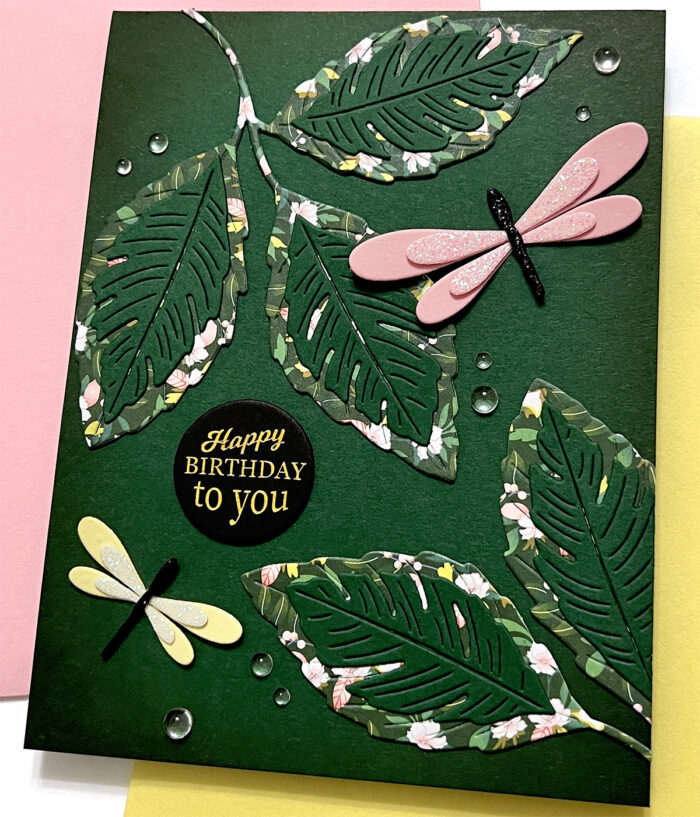
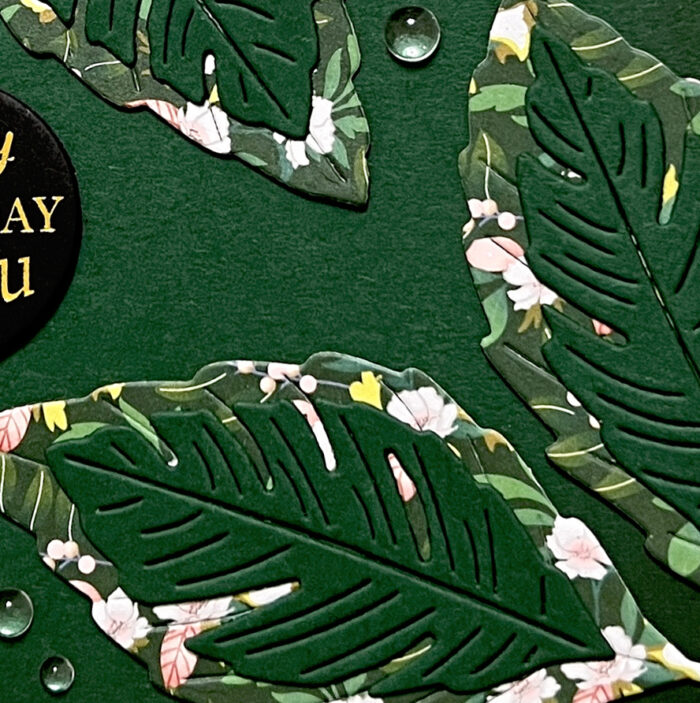
I started my card by choosing some dark green paper for my card panel. I blended some black ink around the edges and corners of the panel and glued it to an A2 card base. I used the same color paper for the top layer of the Wiegela leaves. For the bottom layer of the leaves, I used a patterned paper from the new Anemone Grove paper pack from Memory Box. I cut the leaves out twice, assembled them and adhered them to the card with liquid glue. I cut the excess off of the leaves on the right side of the card.
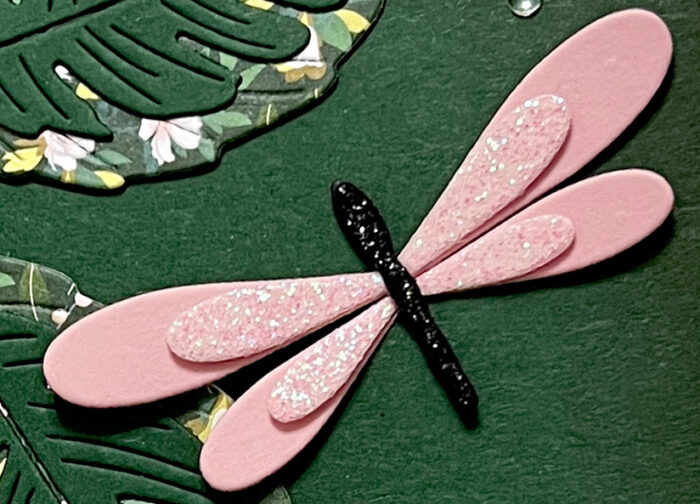
I pulled the Simple Dragonfly Contour Layers set from my stash and created two dragonflies, one in pink and one in yellow. I used glitter paper for the top layer of each dragonfly. I also used black glitter paper for the bodies.
For the sentiment I used one of the new greeting tabs from Memory Box. These are so fun, and you won’t find an easier and faster way to add a sentiment to your cards! These are gold foiled and they’re rather thick, kind of like chip board.
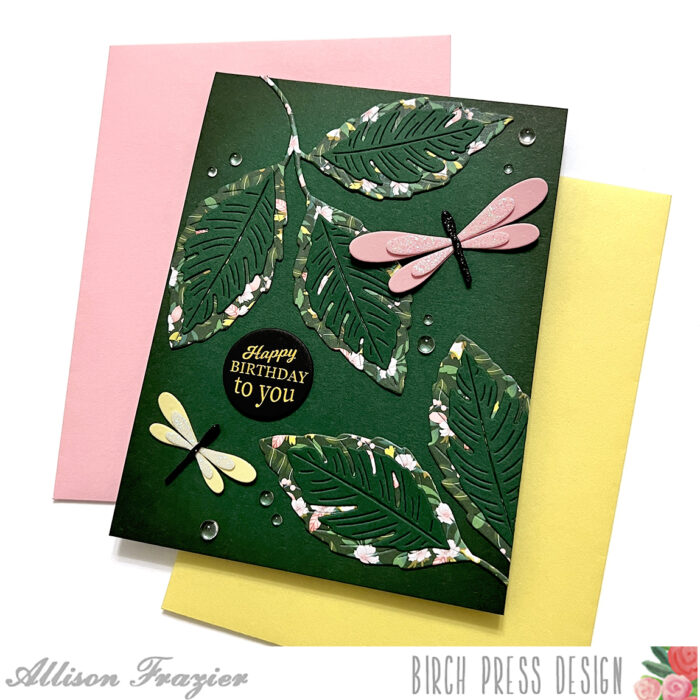
To finish the card, I added some fairy drops around the design. I hope this card brings a smile to your face! Thank you so much for joining us today.

Supplies


Supplies


