Hello Birch Press friends, it is Natasha here today on the blog! Today I am sharing a mixed media page in my journal! I love using dies in my journal! Today I am using 2 die sets from Birch Press Designs: Butterfly Basics and Rose Leaves Contour Layers die sets! Let’s get started!
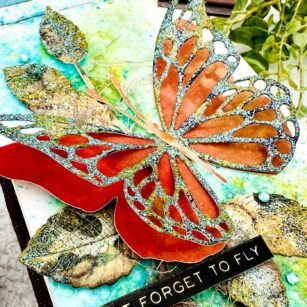
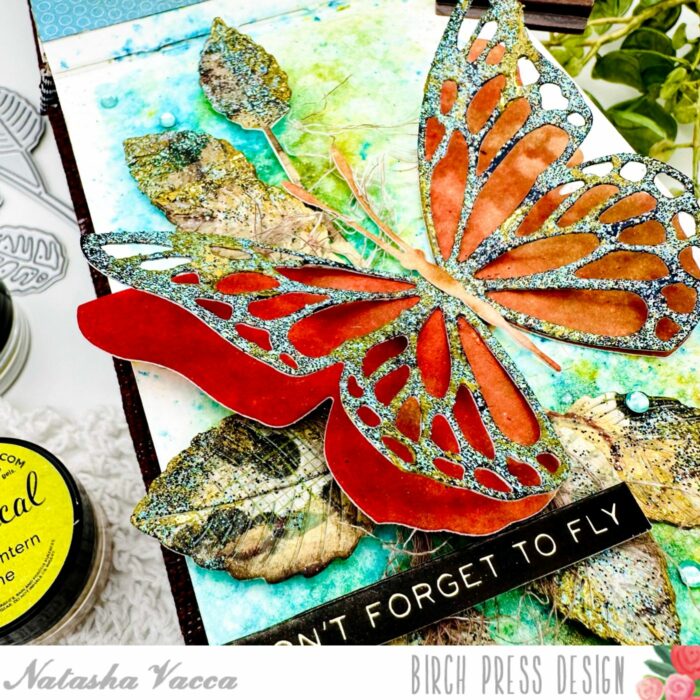
I started by die cutting the Butterfly using the Butterfly Basics die set. I die cut the background using a premade panel from my stash. Next I die cut the top layer using the Memory Box Rainbow Reflections paper pad. Once the top layer was die cut I added embossing ink to the top layer, then added embossing powder. Once the embossing powder was completely dry, I added a paper glaze to sections of the butterfly. I allowed this to dry a bit, then added foil to sections for added texture. I die cut the antennae for the butterfly using the same background panel. I then adhered the layers together using liquid glue.
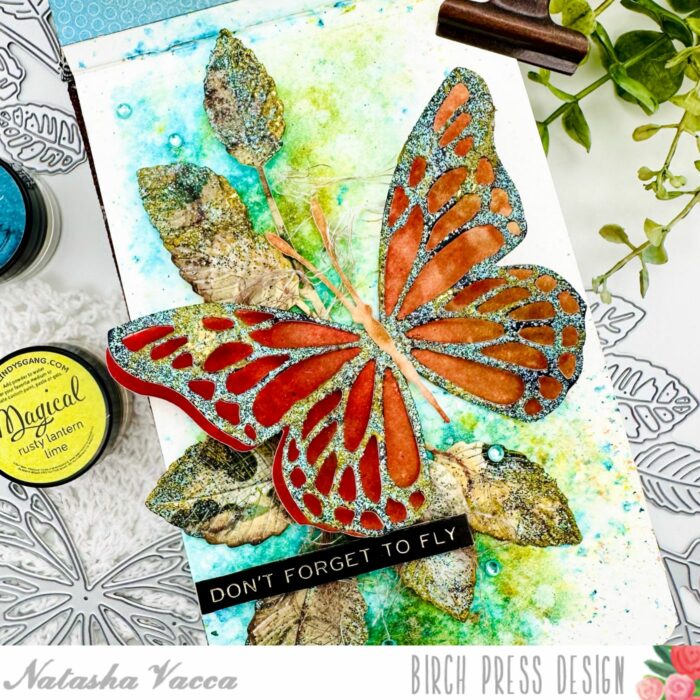
Next I created a background panel using a gelli print from my stash. On the gelli print I added a few pieces of handmade tissue in various sections. I applied this with glue. Once this was dry, I ran the gelli print background through my die cutting machine using the Memory Box Ringadings embossing folder. I then added dye ink to some sections of the dry embossed background. Next I die cut the panel using the Rose Leaves Contour Layers die set. Once the leaves were die cut, I distressed the edges using Distress Ink. I allowed this to dry, then added embossing powder to sections of the leaves. I then added additional texture using paper glaze and foil again.
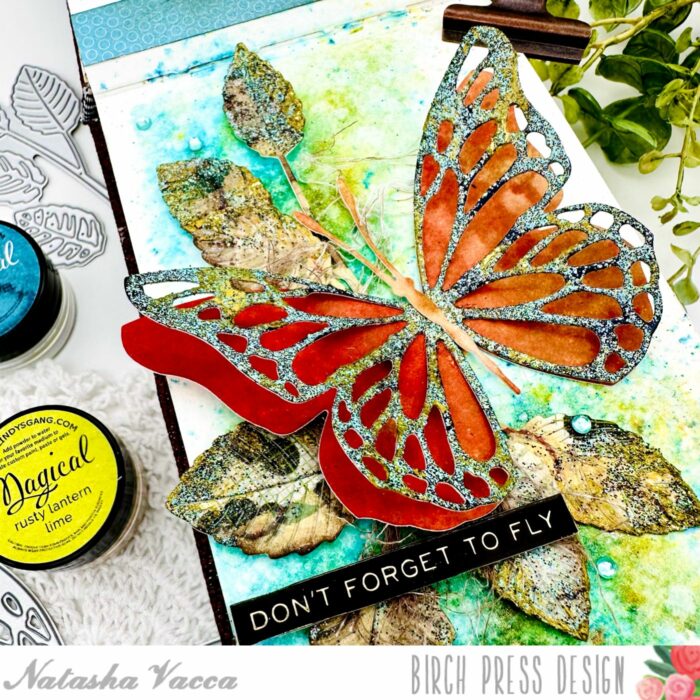
Next I started to work on my background in my journal. I used Lindy’s Magical Powders to create a colorful background. You can create a colorful background using inks, watercolors, distress inks, as well as pigment powders! I encourage you to look through your stash! I work in layers when creating a background. I allow each layer to dry (I also use my heat tool to speed up the process), spritz the panel with water, pick up color with a paper towel, then I repeat the process until I have the color and texture I am looking for.
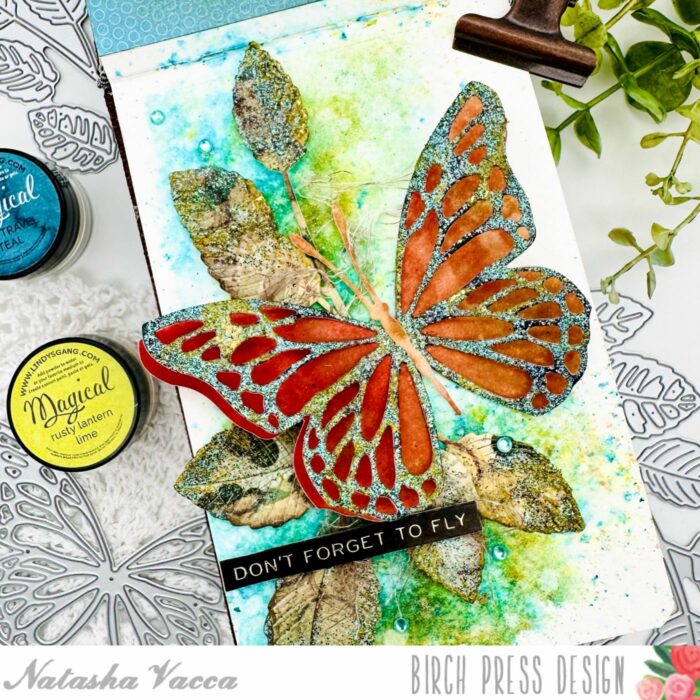
I completed my journal page by adhering the leaves with foam tape. I added a piece of cheesecloth, then adhered the butterfly with liquid glue. I added a sentiment from my stash, as well as gems from the Pastel Jewels collection.
I had a lot of fun creating today’s project! I will be back soon with more inspiration!


Supplies


Supplies


