Hello Birch Press Friends, it is Natasha here and I am excited to be back on the blog today! Today’s card was inspired by a fellow design team member, Seeka! She shared a creative way to use embossing folders on a gelli plate and I had so much fun giving this a try! So let’s get started!
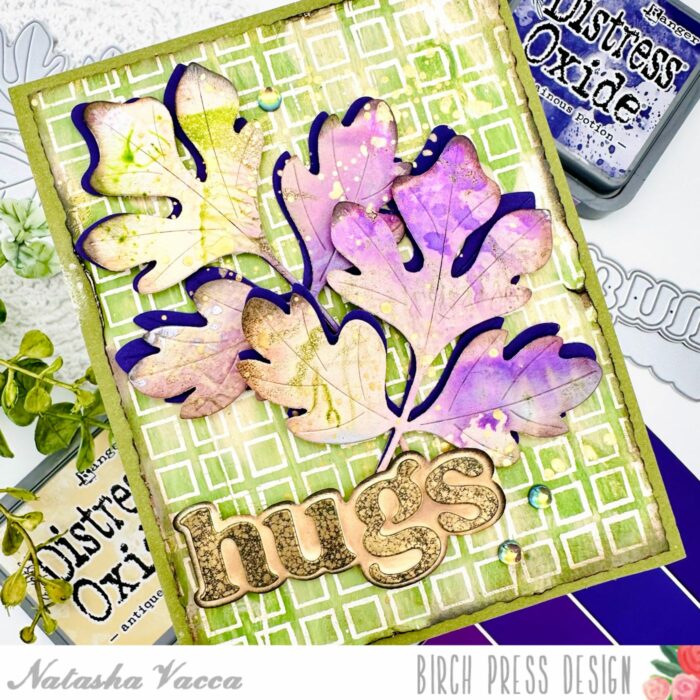
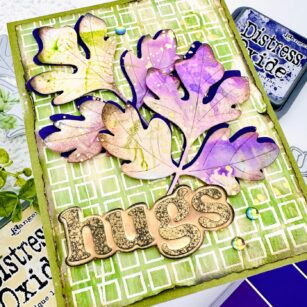
For today’s card I started with the beautiful Lush Leaves Contour Layers die set! I die cut 2 leaves using an alcohol ink background from my stash. Once the leaves were die cut, I added Distress Ink to the edges and then adhered foam tape on the back of each leaf and set them aside. Next I die cut 2 more leaves using the Twilight Purple paper pack from Memory Box.
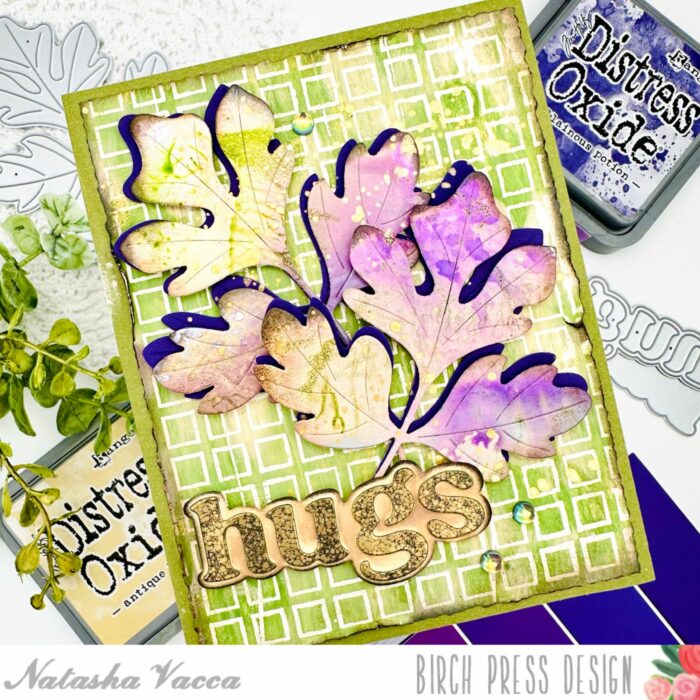
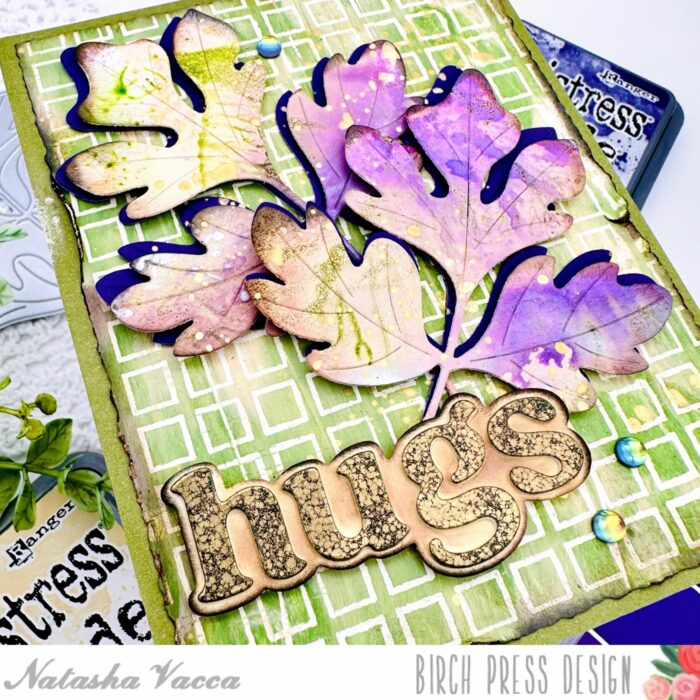
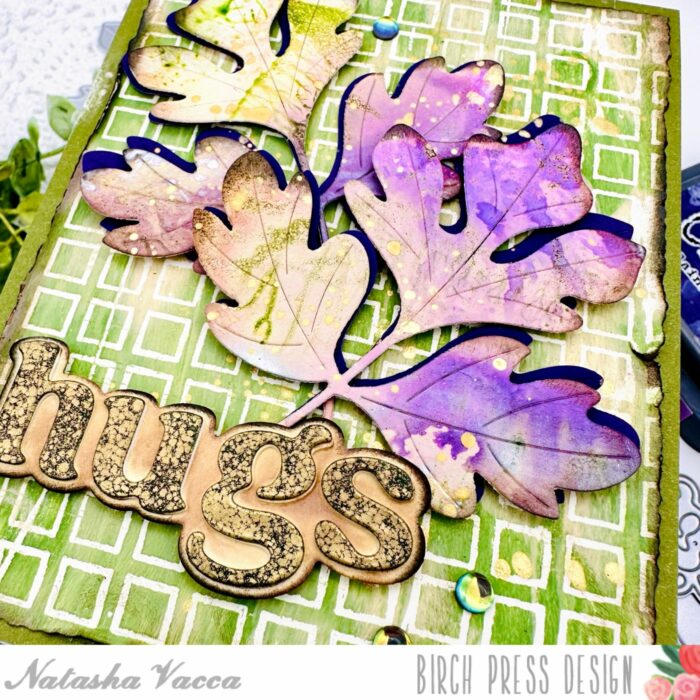
Next I created a gelli print background using the Geometric Crystals embossing folder. I added paint to my gelli plate and then added a piece of paper with a dry embossed background using the embossing folder. I pressed the paper lightly onto my gelli plate, then I removed the background. My gelli plate now had small squares from the folder. I added a bit more paint, then pressed a new piece of paper onto my gelli plate. This was such a cool background and such a fun way to use my gelli plate!
Next I trimmed the gelli plate panel using my deckle trimmer. I distressed the edges, then applied Distress Ink to each of the sides. I then adhered this onto a green panel and then added this to an A2 card base. Next I adhered the purple leaves, as well as my alcohol ink printed leaves to the card front. I used both liquid glue and foam tape.
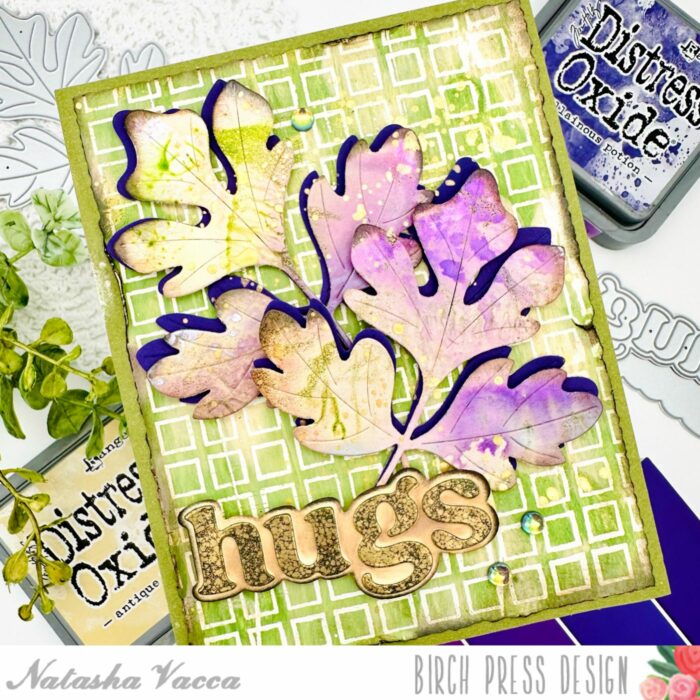
Next I die cut the new Big Hugs Vintage Sentiment using white card stock. I die cut this 2 times, then adhered each letter together with liquid glue. I then heat embossed a piece of white cardstock with a green/gold embossing powder. Once this was dry I die cut the hugs sentiment one more time. I then adhered the embossed letters on the top with liquid glue. On the shadow layer I added distress oxides, as well as distress ink to the edges. I adhered my sentiment, as well as a few gems from the Treasure Chest Fairy Gemstones collection.
I had a lot of fun creating today’s card! I will be back soon with more inspiration!

Supplies


Supplies

