
Hello, friends! This is Design Team member, Sandhya Iyer, and today I am sharing a holiday card featuring the latest collection of holiday dies from Birch Press Design. I used the Classic Poinsettia Contour Layers, Holly Sprig Contour Layers and Warm Wishes Confection Script dies to make my holiday-themed card.
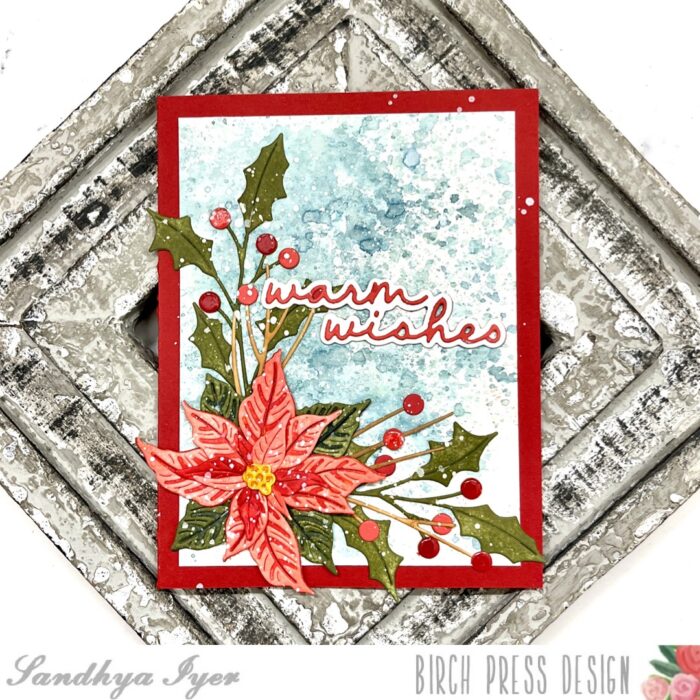
I started by die-cutting the layers for the poinsettia and holly sprig out of watercolor cardstock. Next, I pulled out dye inks in shades of peachy corals and red and inked up the layers. I used mossy green shades for the leafy foliage.

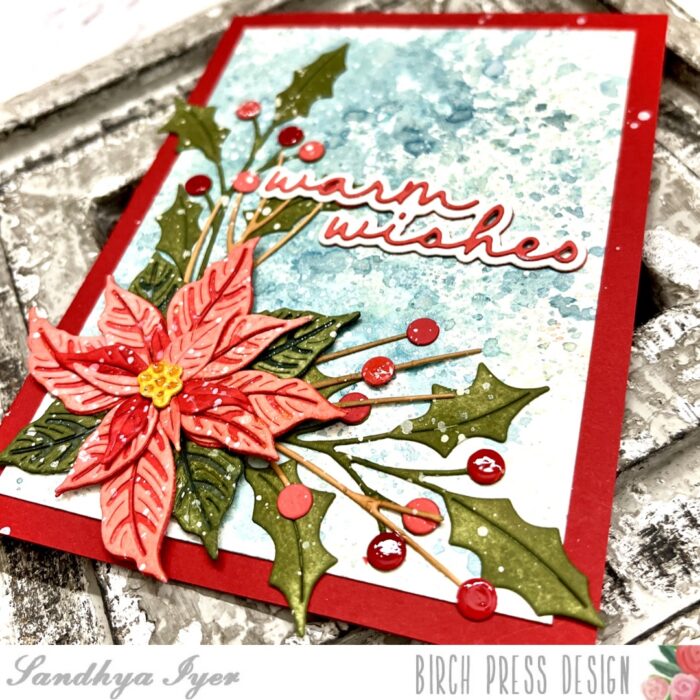
Next, I assembled the poinsettia flower and holly sprig and set them aside. Then, I trimmed a watercolor panel to be a bit smaller than an A2 card base and worked on my background. I used Tim Holtz mica sprays to create a shimmery blue effect. Then I arranged the die-cut foliage to the bottom left of the card panel. I also used glossy accents on a few berries and the poinsettia center for more drama.
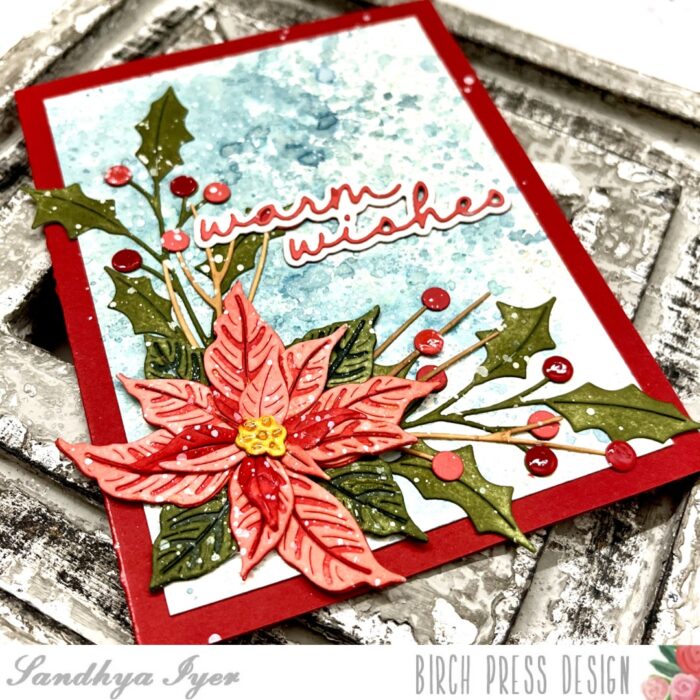
Finally, I used the ‘warm wishes’ confection sentiment die to create an elegant sentiment die-cut. I adhered the panel to a red A2 card base and finished with a generous white splatter.
This brings us to the end of today’s post. Thank you so much for stopping by and I hope you have fun crafting today!


