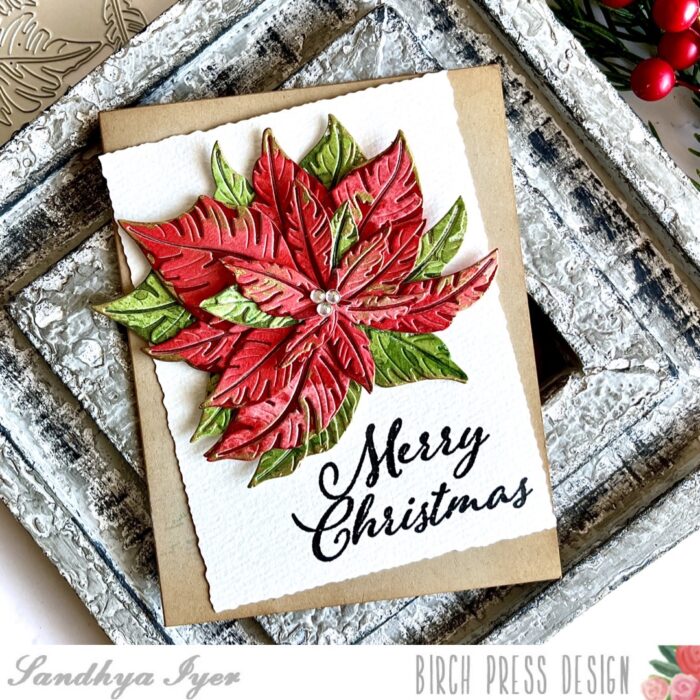
Hello everyone! Rosemary here on the blog today. With Christmas right around the corner I thought it would be fun to make a couple of simple ornaments using the Pinpoint Snowflake die set. Let’s take a look at what I created.
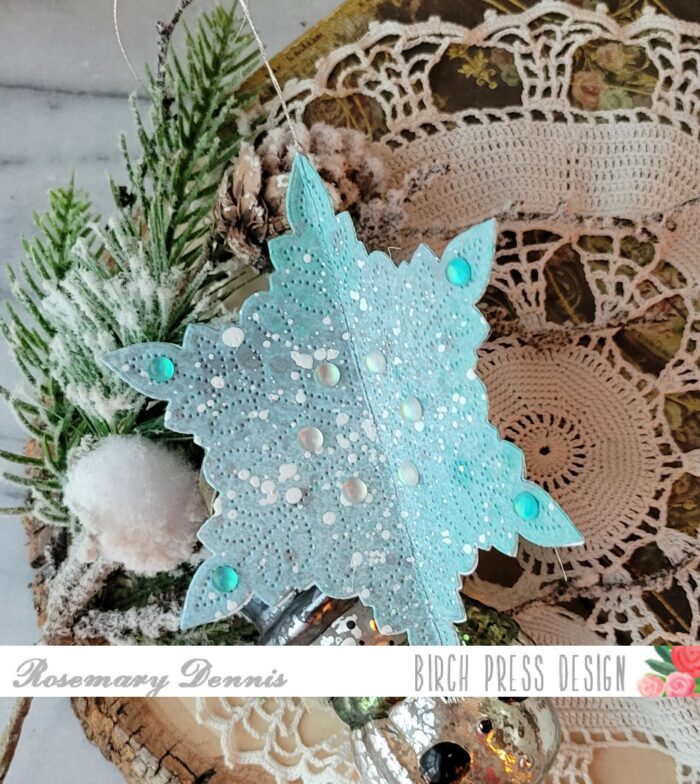
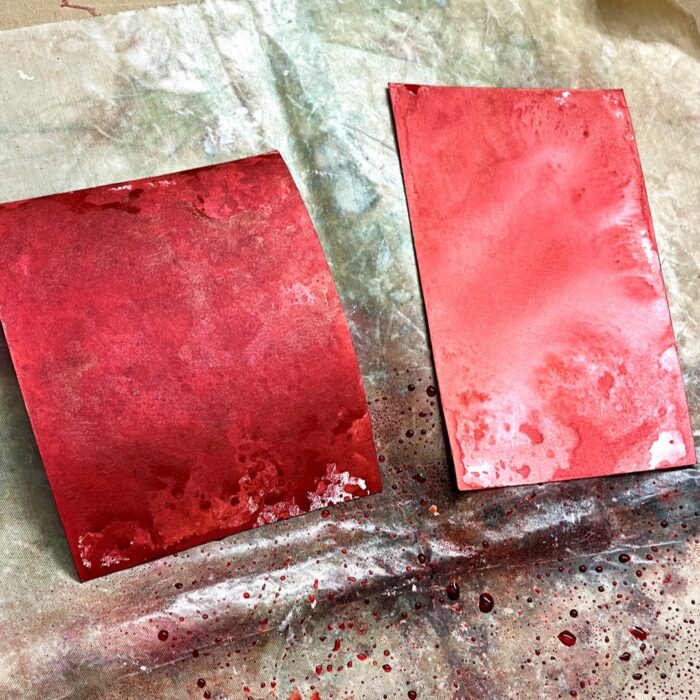
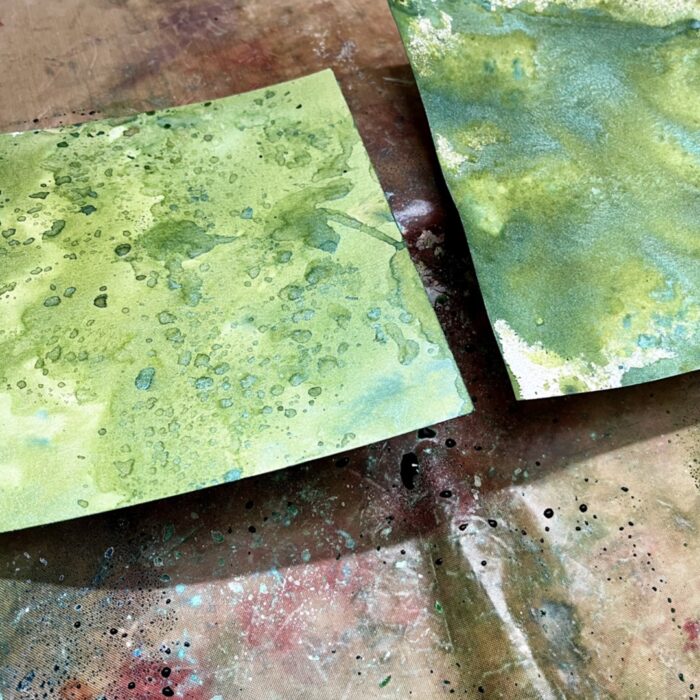
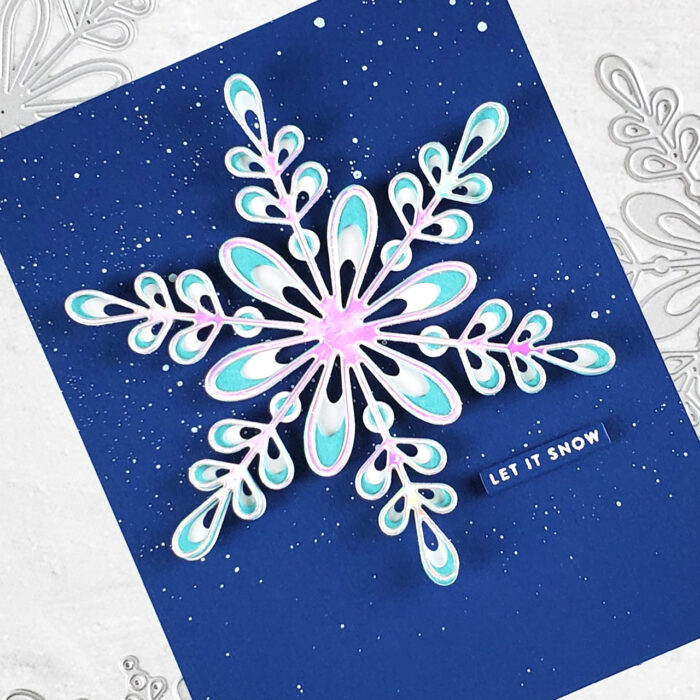
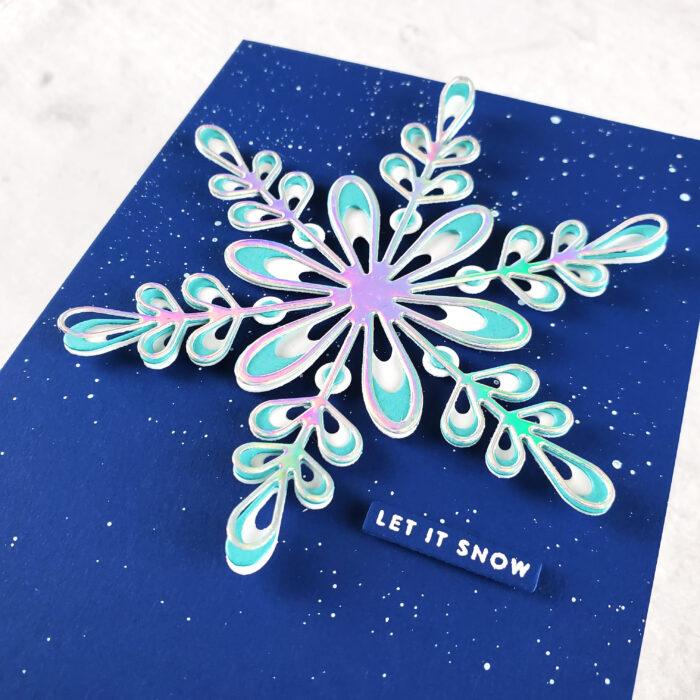
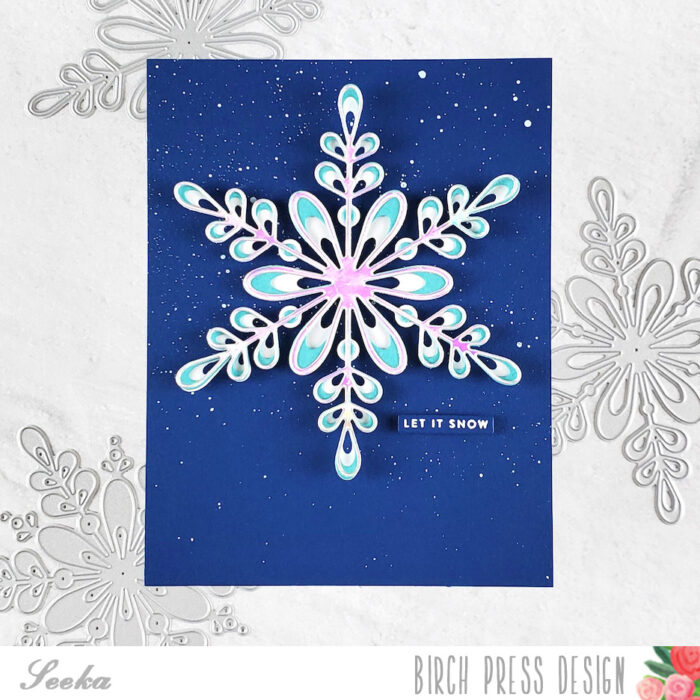
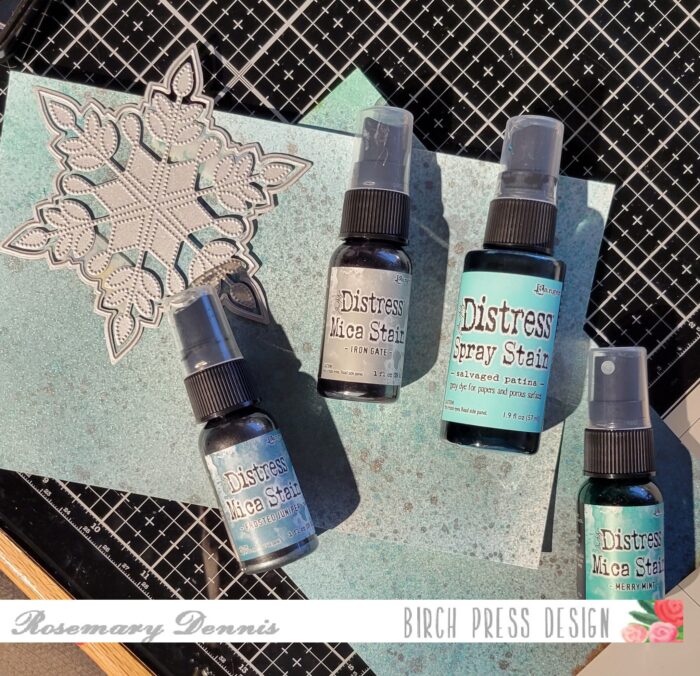
The first ornament I created is a 3d one. I started by covering some heavy weight white cardstock with a distress spray stain and several different distress mica sprays in icy blues and grays.
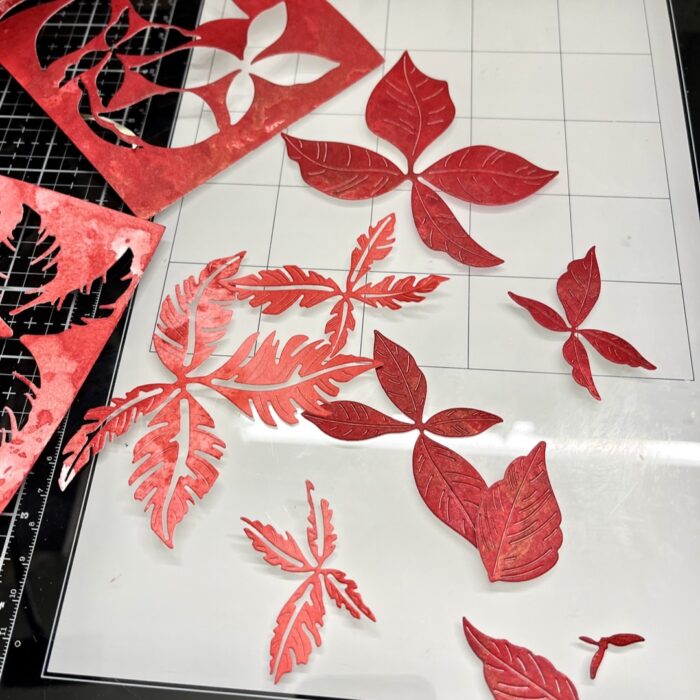
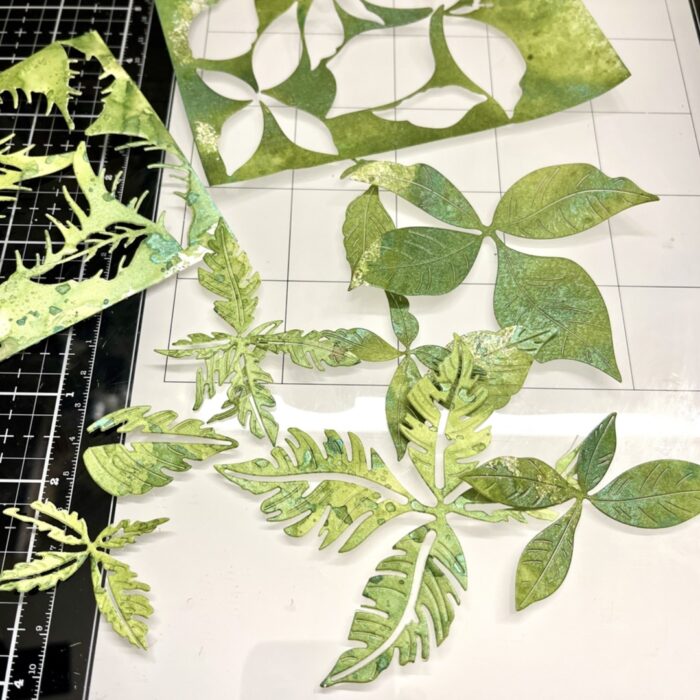
When the panels were dry I die cut them with the Pinpoint Snowflake die, scored them down the middle of each snowflake (which was really pretty easy) and then folded them in half.
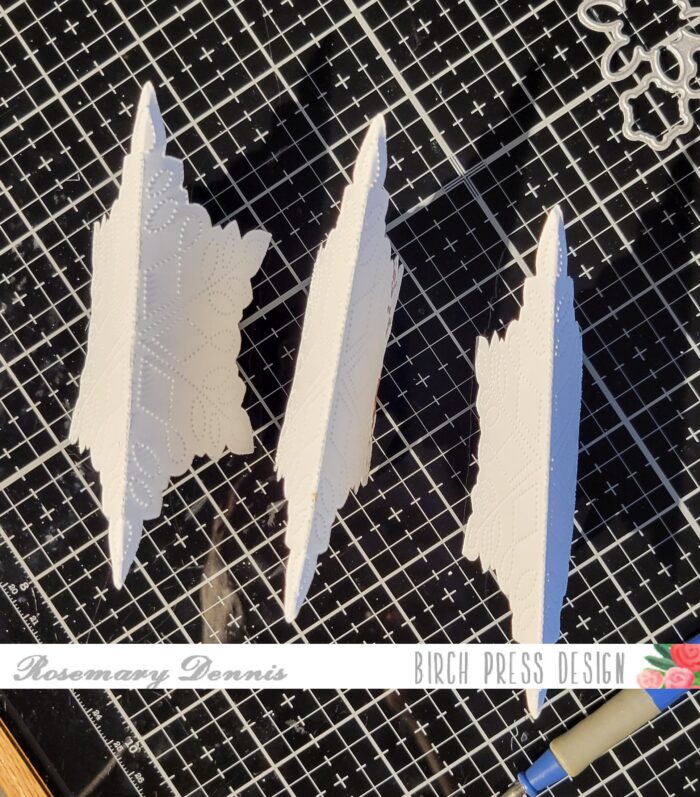
Then I glued them together using liquid adhesive. I did each side one at a time and after adhering each side together placed an acrylic block on the finished side to allow the glue to set. Before adhering the final snowflake I cut a length of silver thread, knotted it at one end and then laid it down the center of the snowflake. The final snowflake was adhered securing the hanger inside the snowflake.
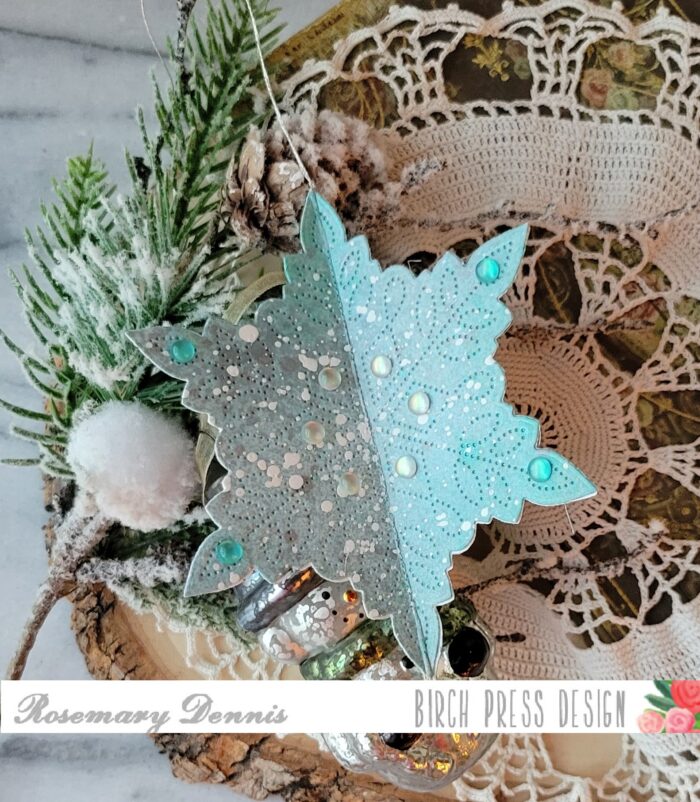
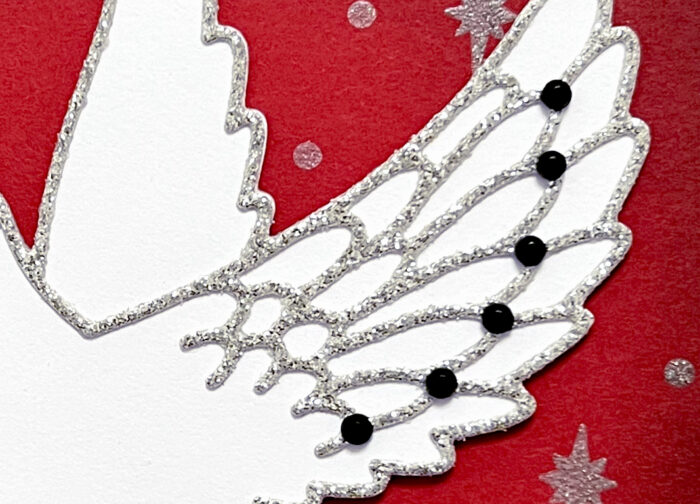
I finished off the ornament with lots of fairy jewels in an icy blue and milky white. There you have it a three-sided dimensional snowflake to hang on your tree! The second ornament was even easier to create and can be used as a tag for a gift before hanging it on the tree.
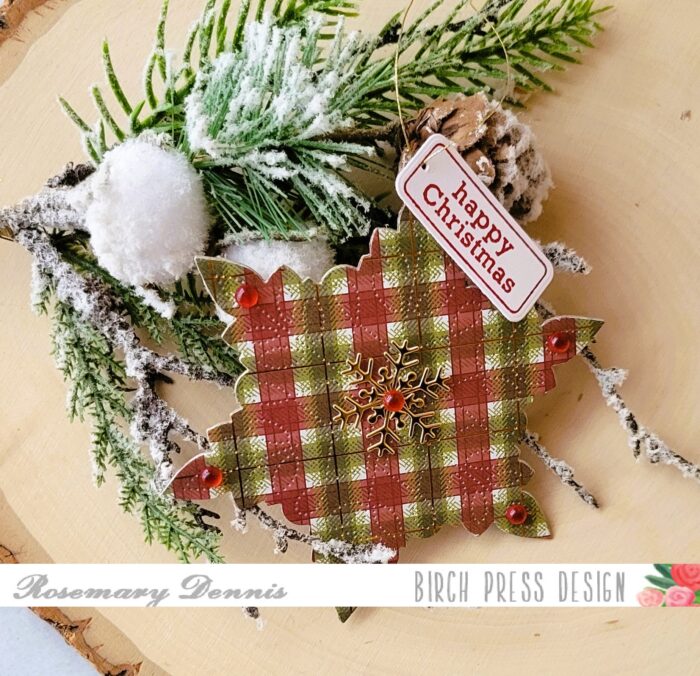
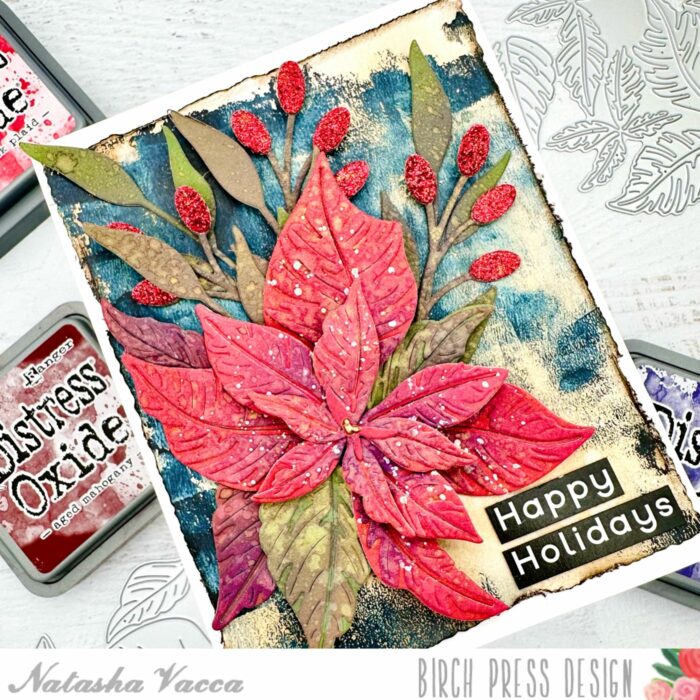
For this one I pulled out some plaid papers from the Memory Box Christmas Jolly 6×6 pad to die cut the snowflake. I had some thin chipboard that I used to die cut the snowflake from and that was sandwiched between the patterned paper snowflakes. When I die cut the patterned paper snowflakes I made sure to position the die in approximately the same spot on the paper to that the back and front would match fairly well.
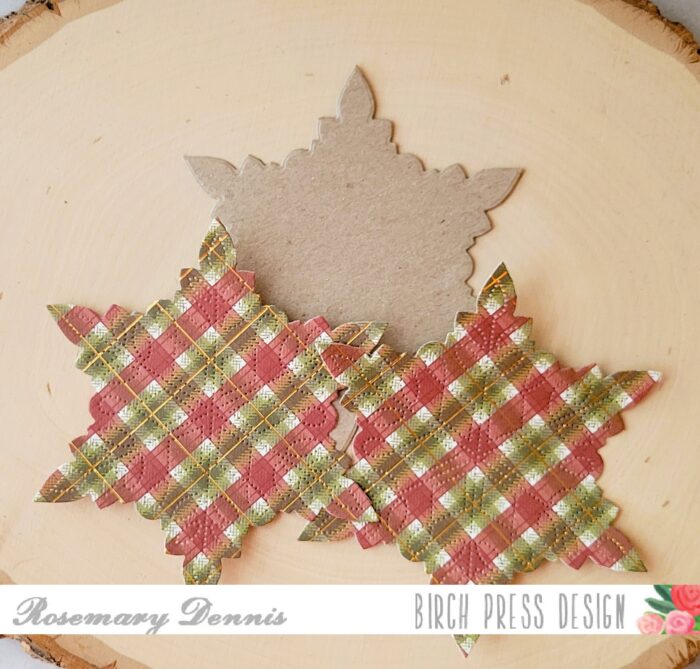
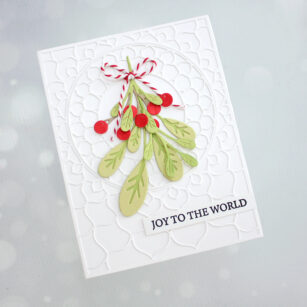
After adhering all the pieces together I used a pointed tool I have to help place gems, etc on my projects to pierce a hole through the top of the snowflake. Then I stamped a sentiment from the Contempo Christmas Greetings stamp and die set on white cardstock with dark red ink. I die cut with the matching die and pierced a whole through it. Gold thread was used as a hanger for this ornament and was threaded through the ornament and little tag, then tied in a knot.
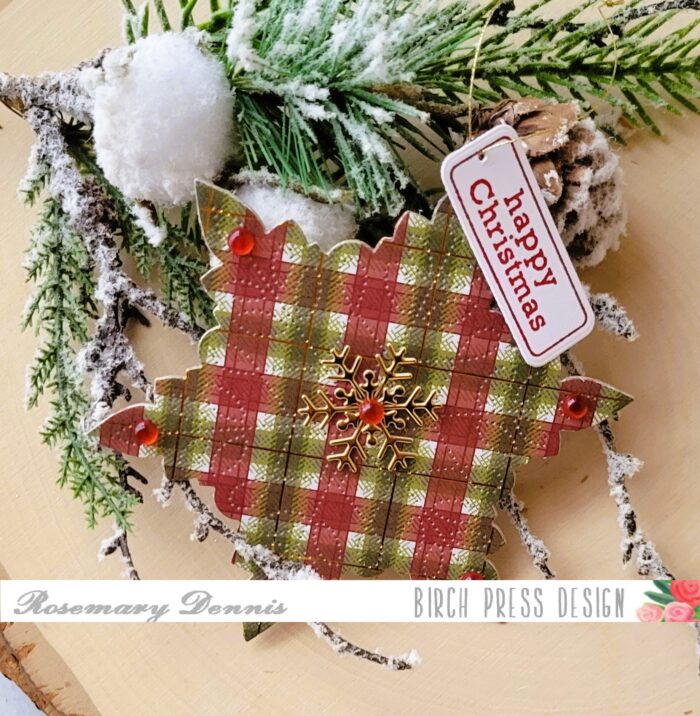
I finished off both the front and the back of the ornament with two little gold snowflakes in the center and red fairy gems on the points of the snowflake. The dies I used for the little snowflakes are the Felicity Snowflakes.
I hope I inspired you to think outside the box and create an ornament or two with your snowflake dies! Thanks for stopping by and have a wonderful day!
Supplies