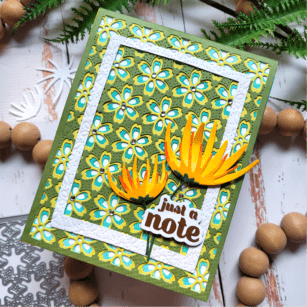
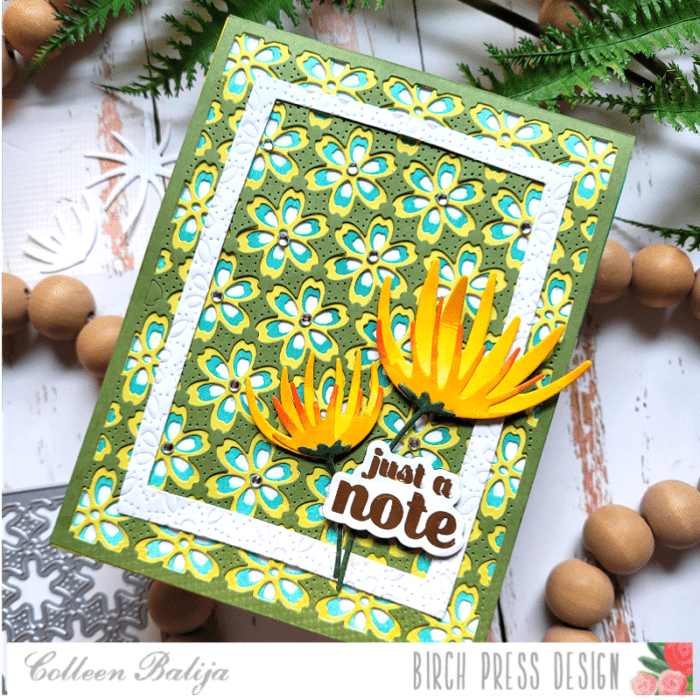
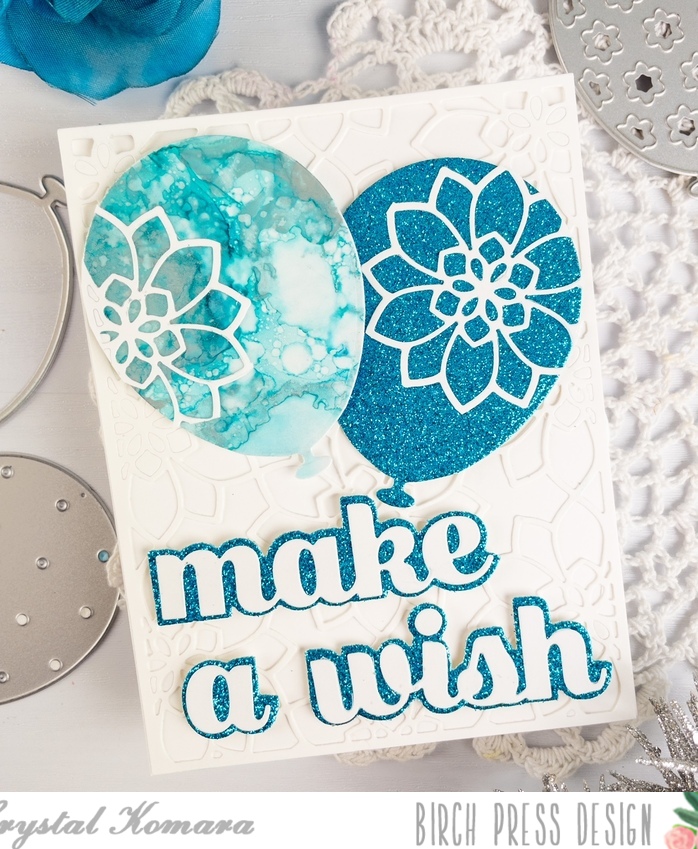
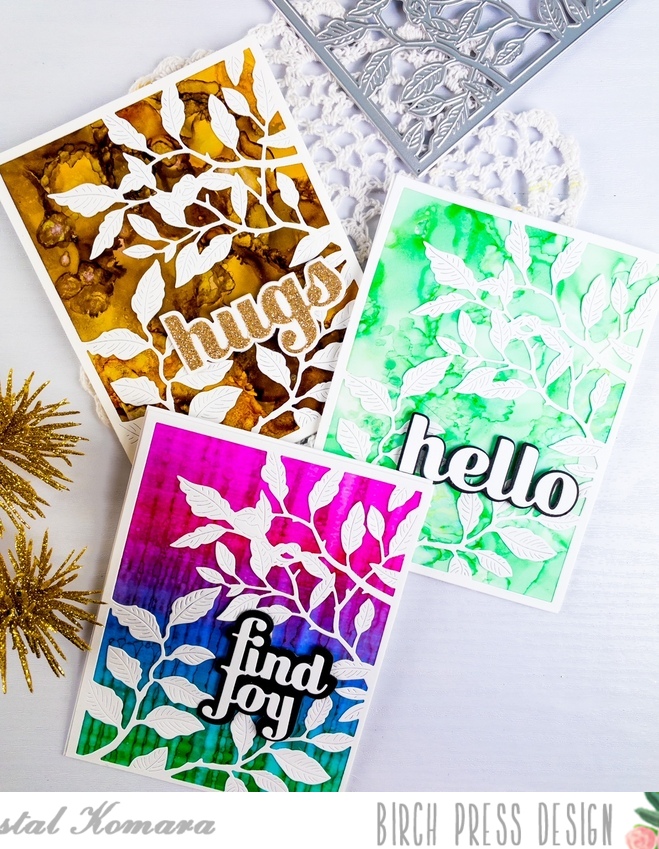
Hello Birch Press friends, it is Natasha here and I am back today sharing ideas on how to create a mixed media card using your dies! For today’s card I am using 2 new dies: Large Cosmos Contour Layers and Curved Leaf Branch Contour Layers. Let’s get started!

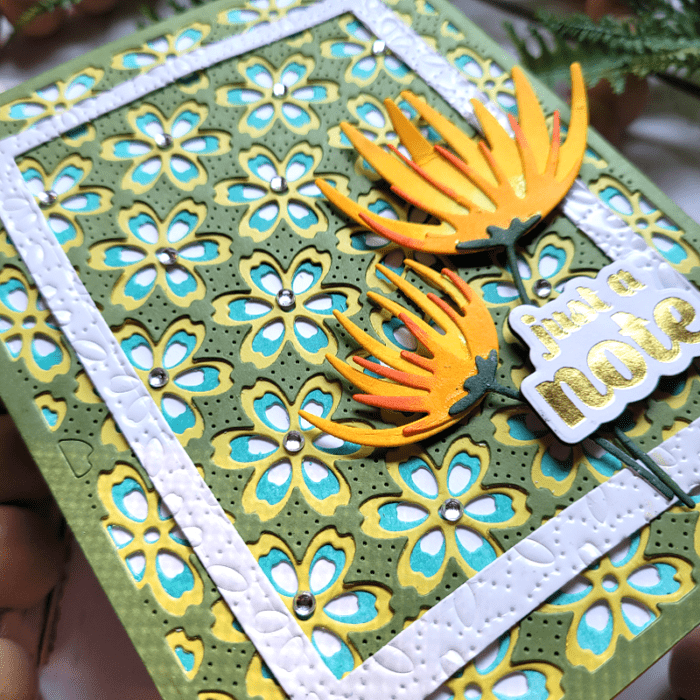
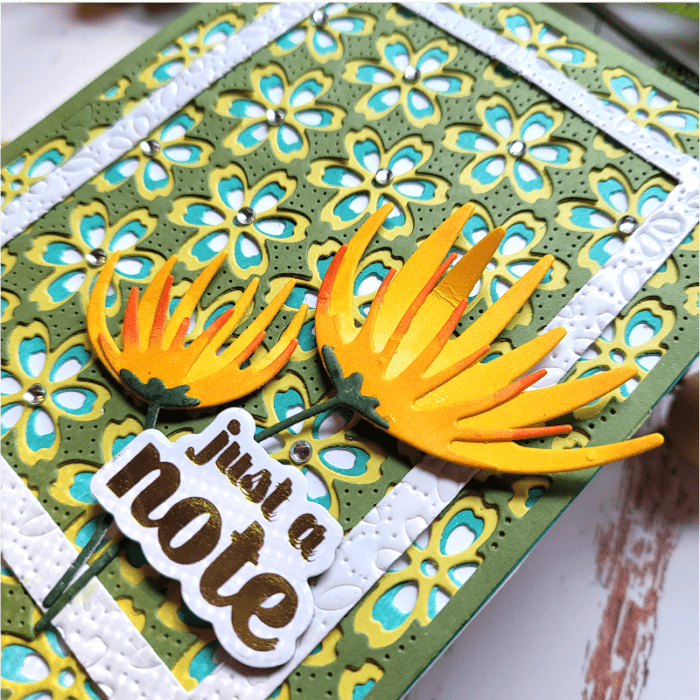
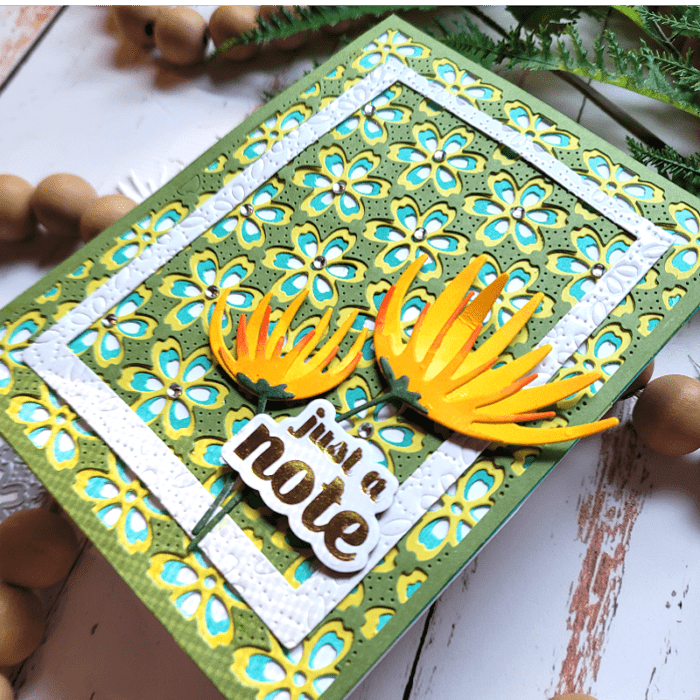
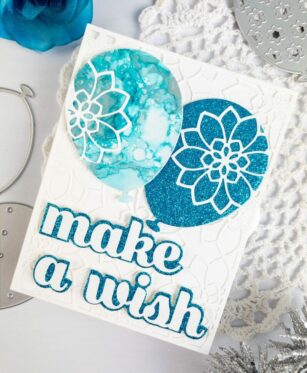
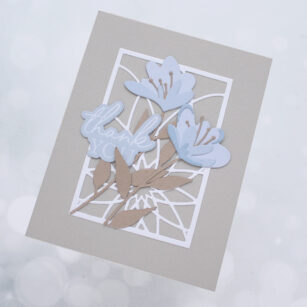
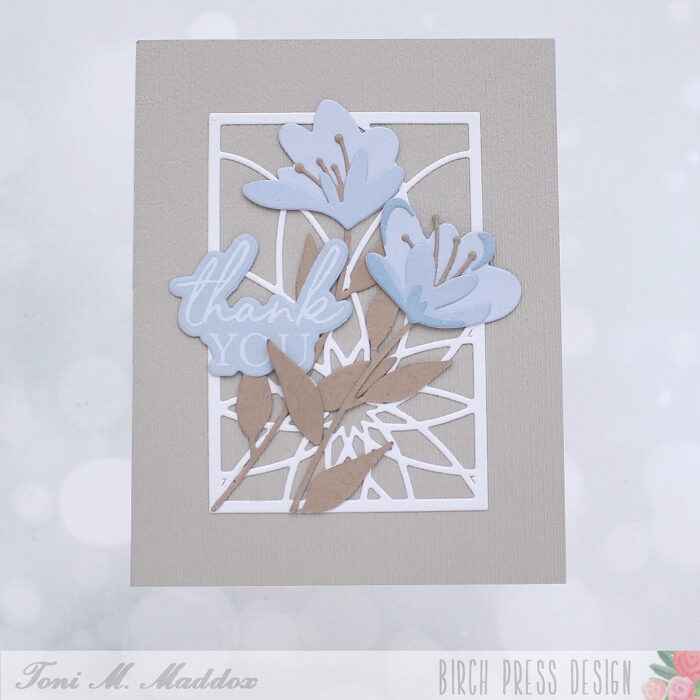
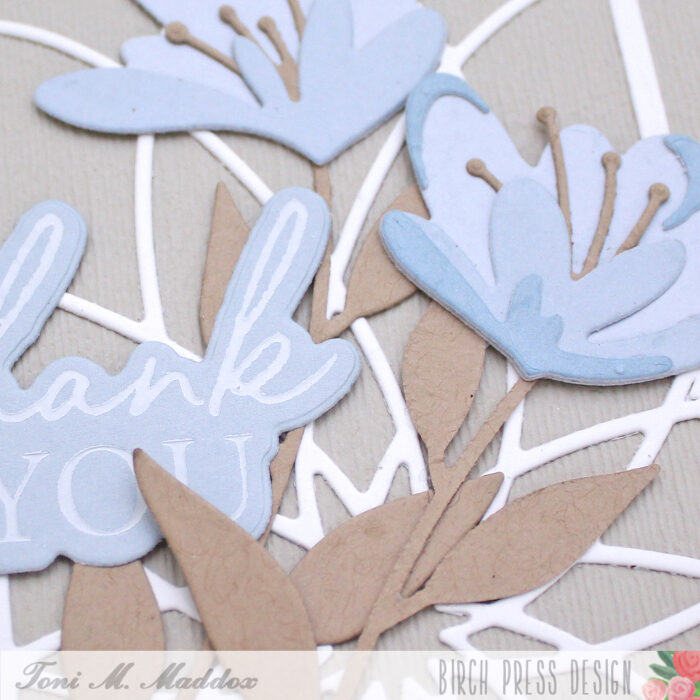
I started by die cutting the Large Cosmos Contour Layers die using the Vibrant Violet paper pad from Memory Box. I chose 2 shades of card stock from the paper pad. Once the floral was die cut, I added dye inks to the floral for added dimension. I then spritzed the floral layers with water droplets and picked up the color with a paper towel. I then adhered the floral together using liquid glue. For the center of the floral I chose a gold card stock from the Vintage Pastel Mirror Pad. I adhered this to the center of the floral and set this aside.

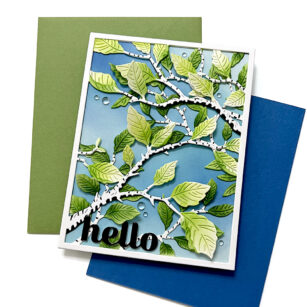
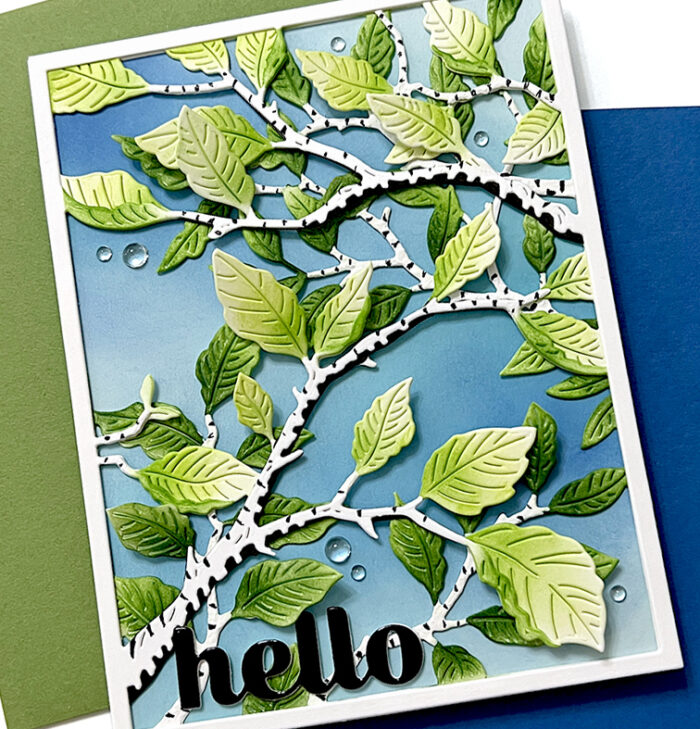
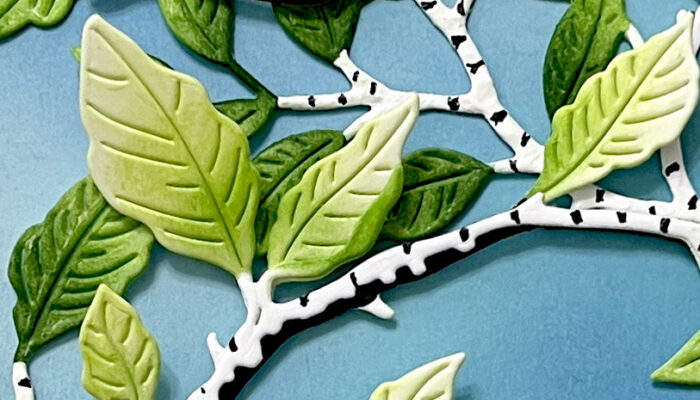
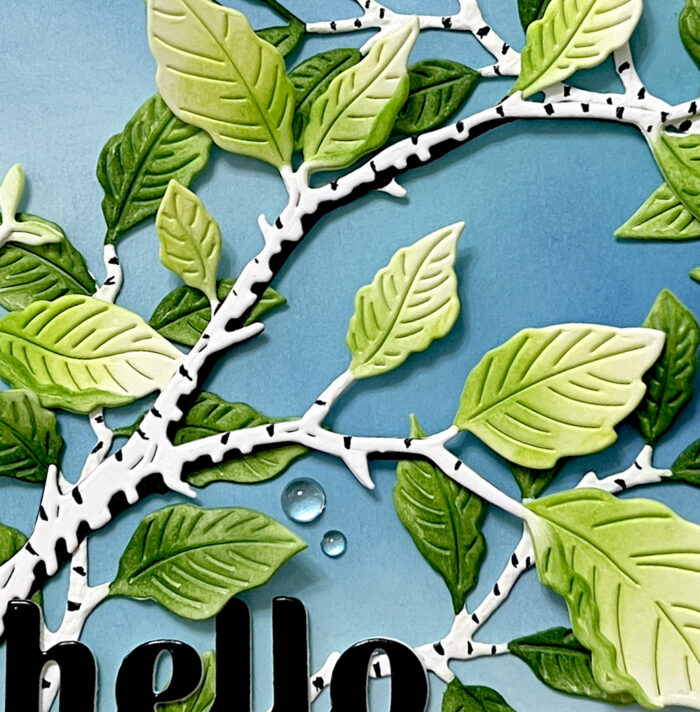
Next I started to die cut the Curved Leaf Branch Contour Layers die. I chose 2 shades of blue card stock from the Fresh Aqua paper pad from Memory Box. Once the leaf was die cut, I added 2 shades of dye ink to the leaf image. I added water droplets as well and picked up the color with paper towel. Once dry, I adhered the leaf layers together. I then added brown distress ink to the leaf edges for added texture.

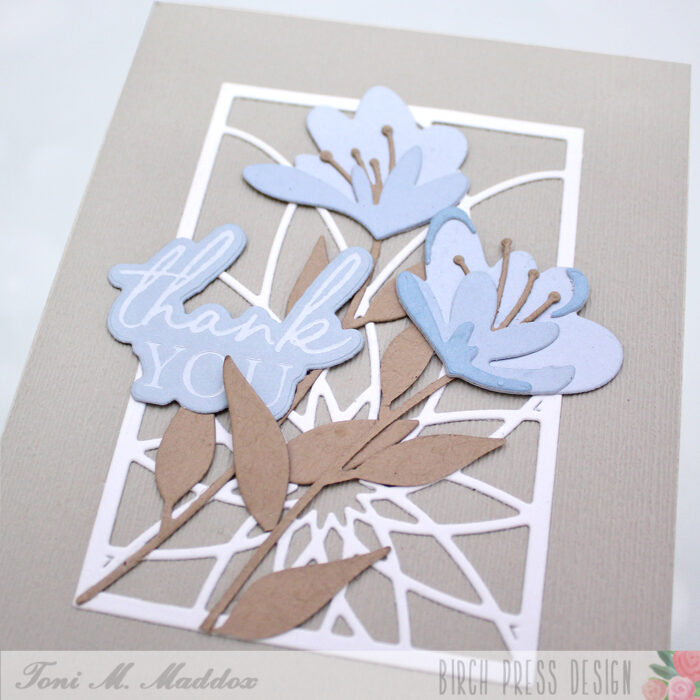
Once the flower and leaf image was complete, I started to work on my background. I chose a gelli print from my stash with similar colors. I then dry embossed the background using the Ringadings 3D embossing folder. I added a bit more texture to the folder using dye ink in a dark grey on some areas of of the raised circles, as well as a blue glaze, and foundry wax. I allowed everything to dry, once the background was dry I added a few splatters to the background.

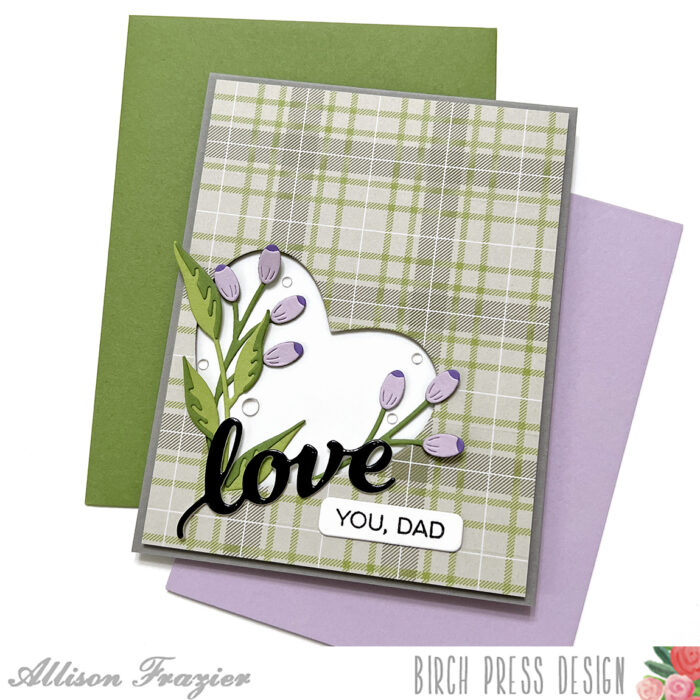
Next I added 2 pieces of pattern paper from the Magnolia Grove paper pack. I chose 2 colors to coordinate with my card design and tore the strips for a distressed look. I then adhered the card panel, strips of paper, leaf and floral to my A2 card base.

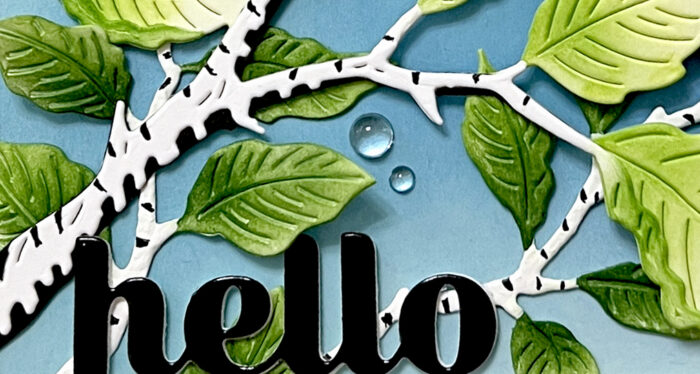
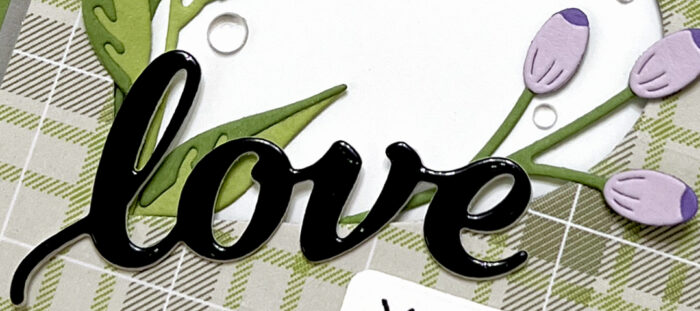
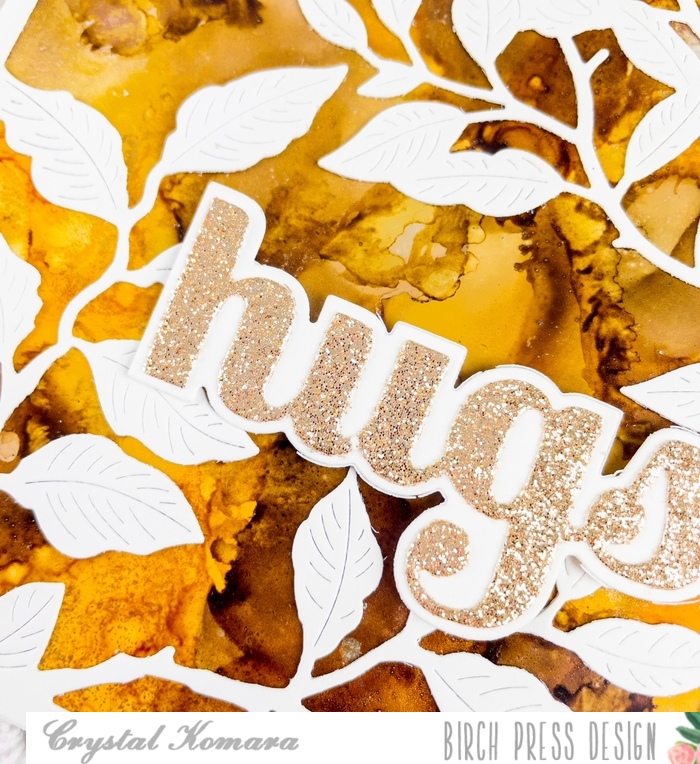
To complete my card I chose the Big Hugs Sugar Script die. I die cut the hugs sentimnent 3 times out of black card stock. I then adhered each layer together using liquid glue. I added a bit of foam tape behind the hugs sentiment for added dimension.
I hope today’s card inspires you to use your dies to create a mixed media style card!

I will be back soon with more crafty inspiration!

Supplies


Supplies