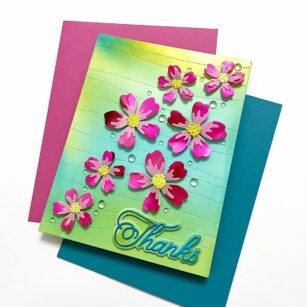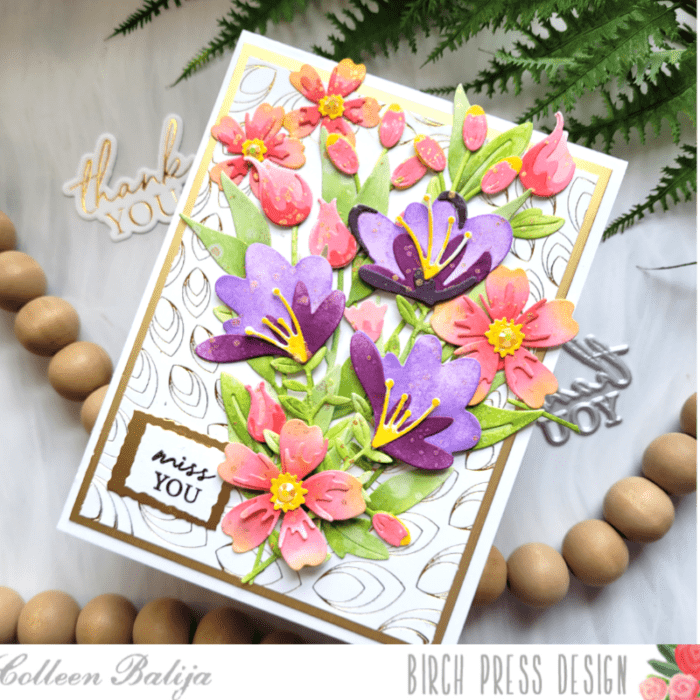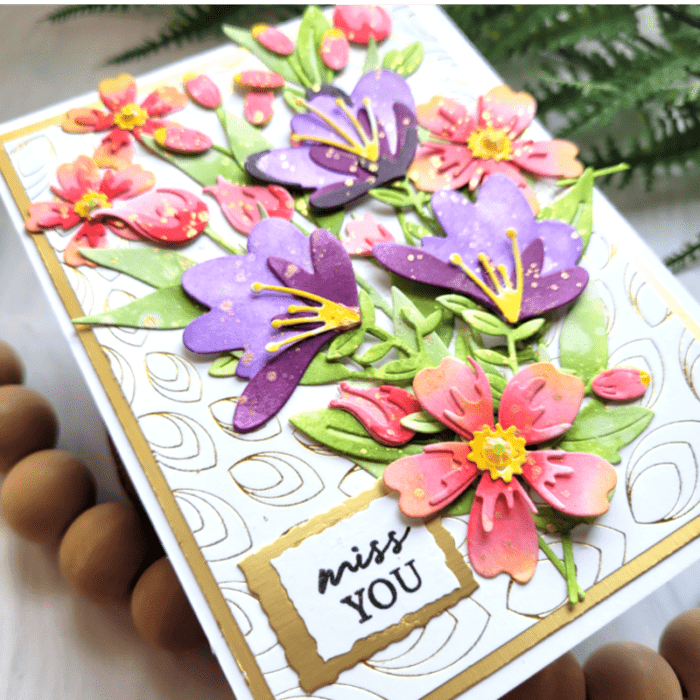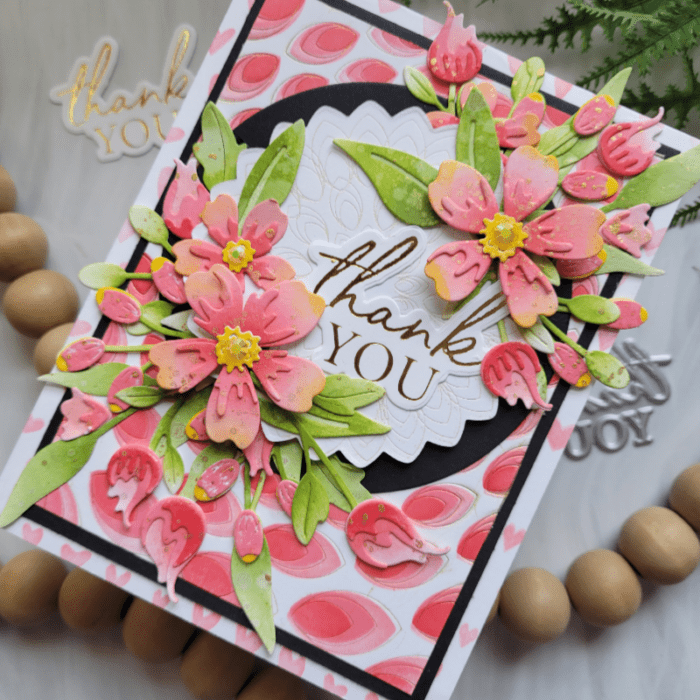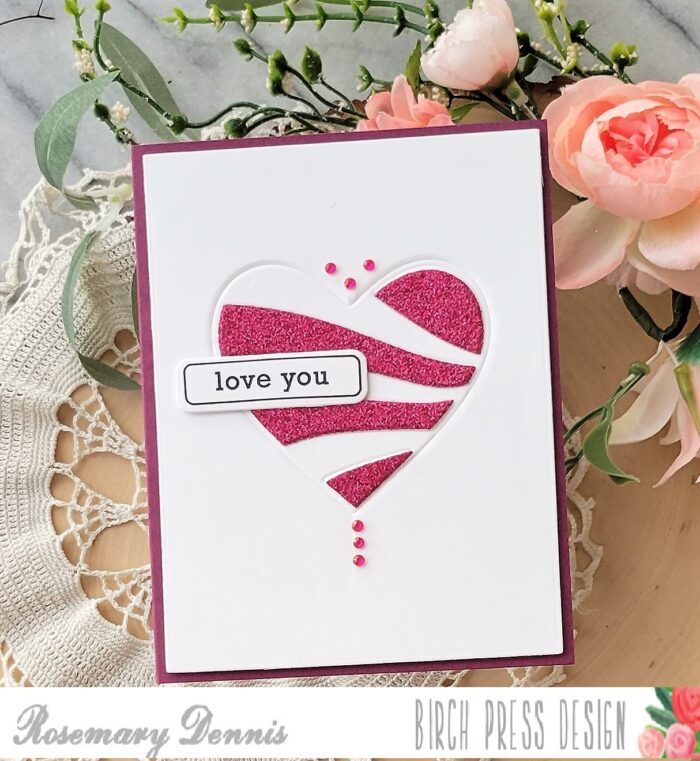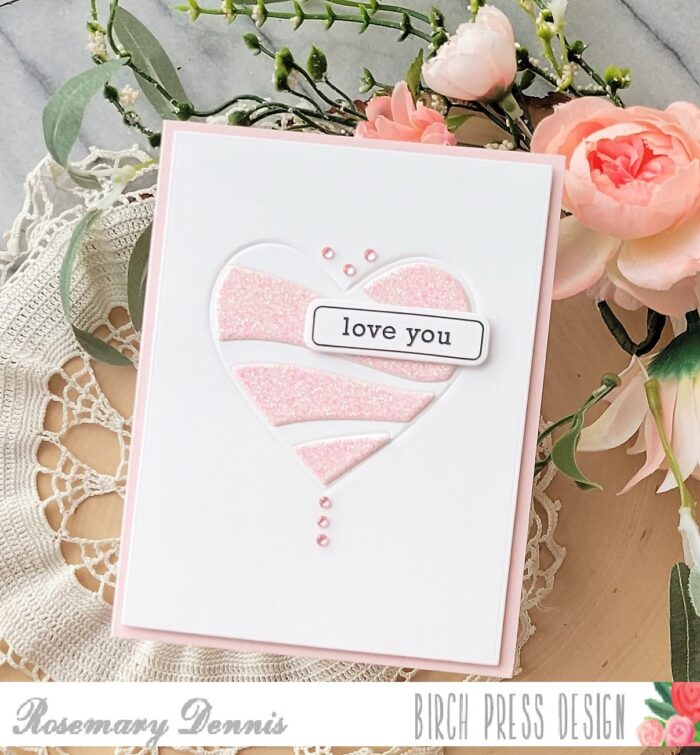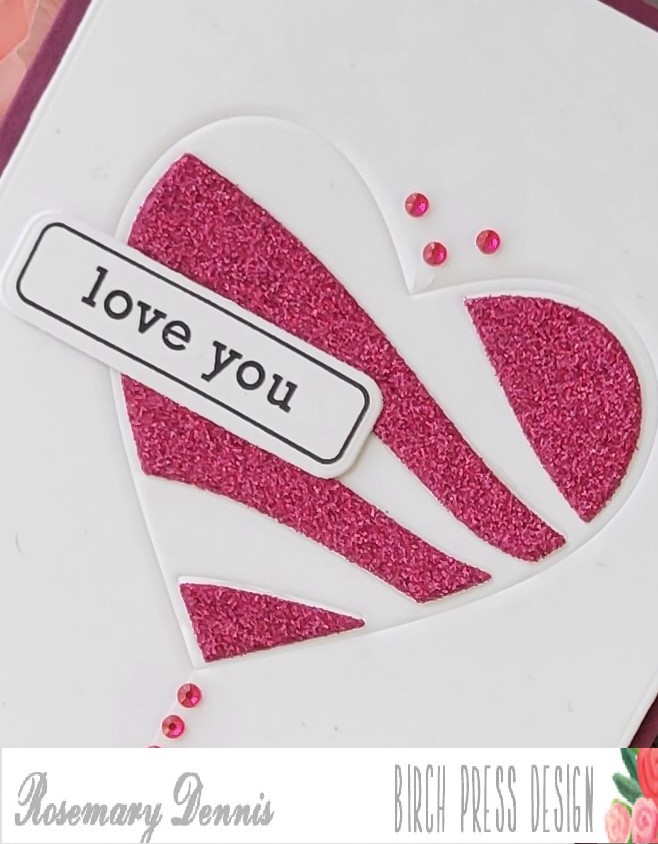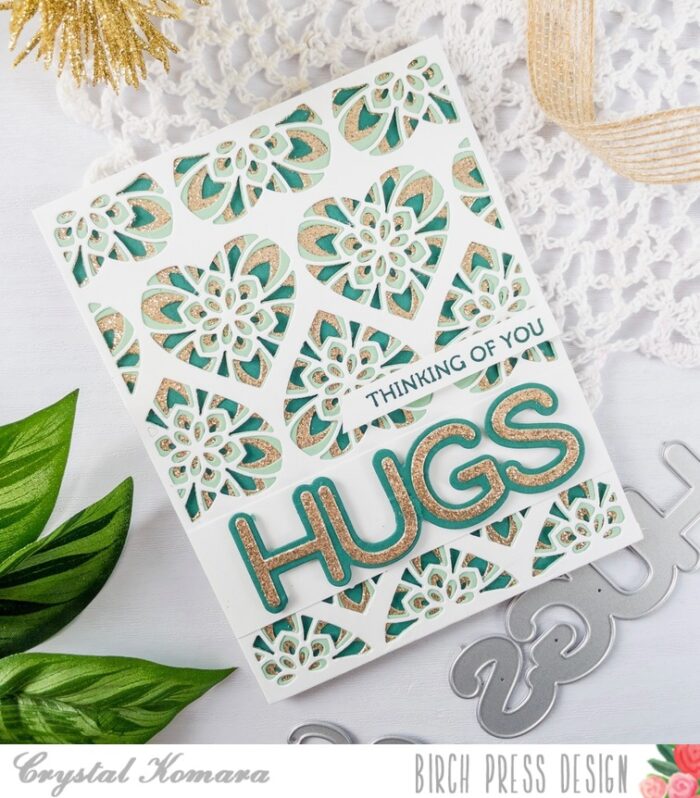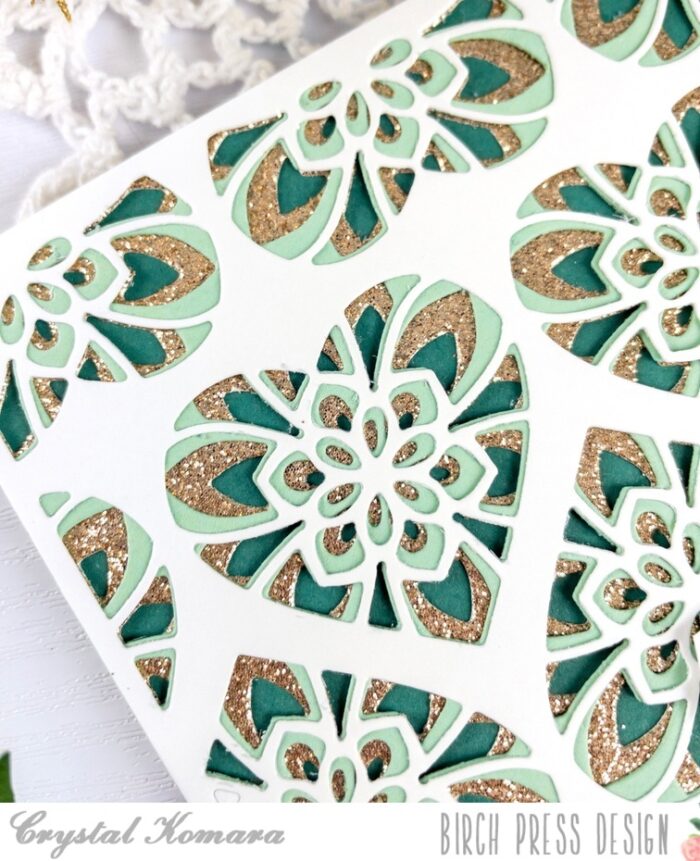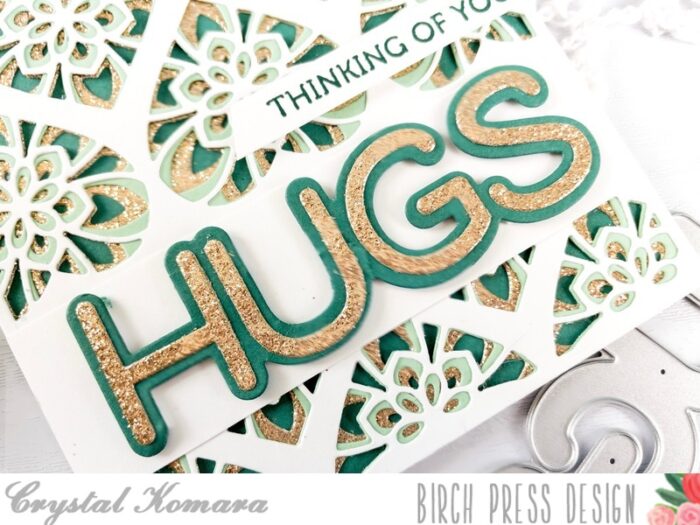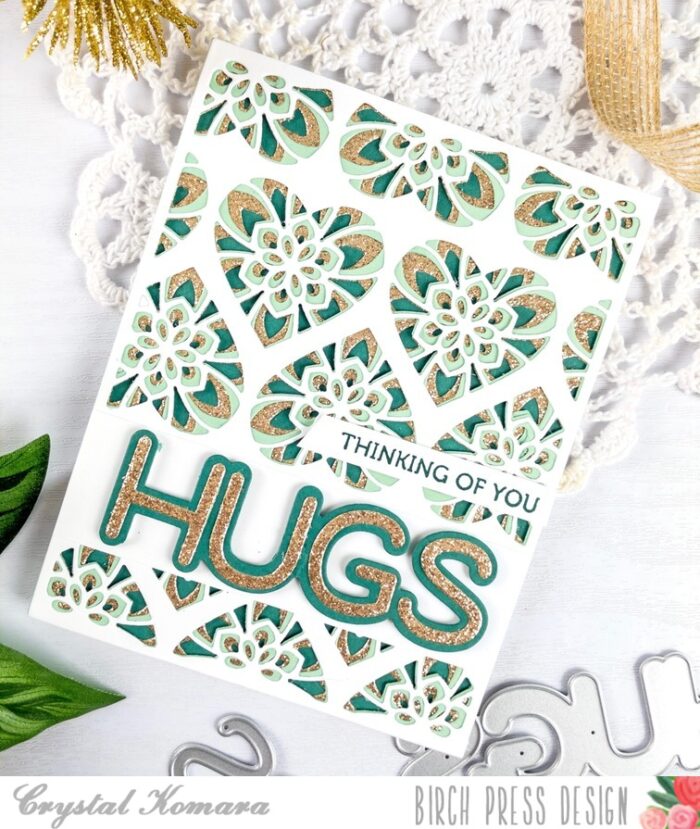
Hello everyone! Have you seen all the beautiful projects the design team has created with the February release? Absolutely amazing! With so many great products to pick from I had a hard time deciding what to create with, but knew for sure I was going to use the new Gilded Petalpoint hot foil plate. It is so beautiful and I can’t wait to try it with the matching stencils!
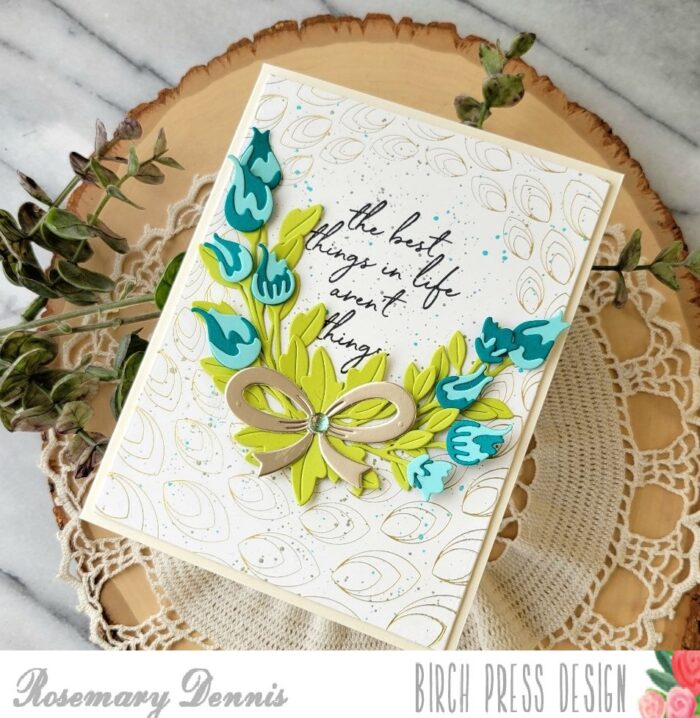
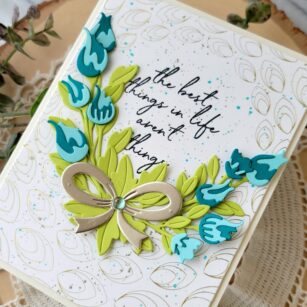
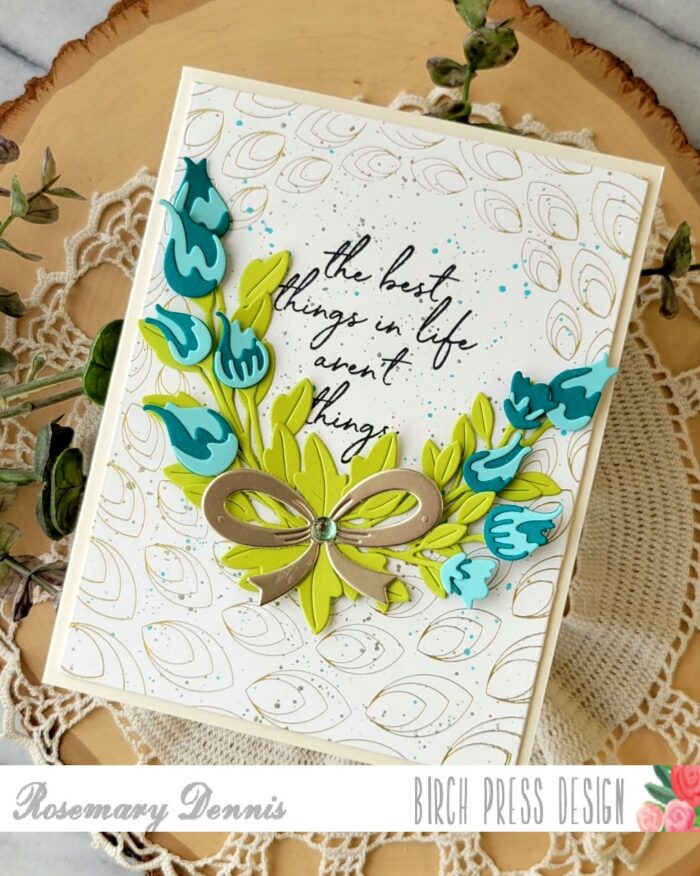
I started off my card by foiling white cardstock with matte gold foil and then die cutting the panel down to fit my card front. The Gilded Petalpoint hot foil plate comes with the main plate and then a center circle plate. I foiled the panel with just the main plate so that the center would be open.
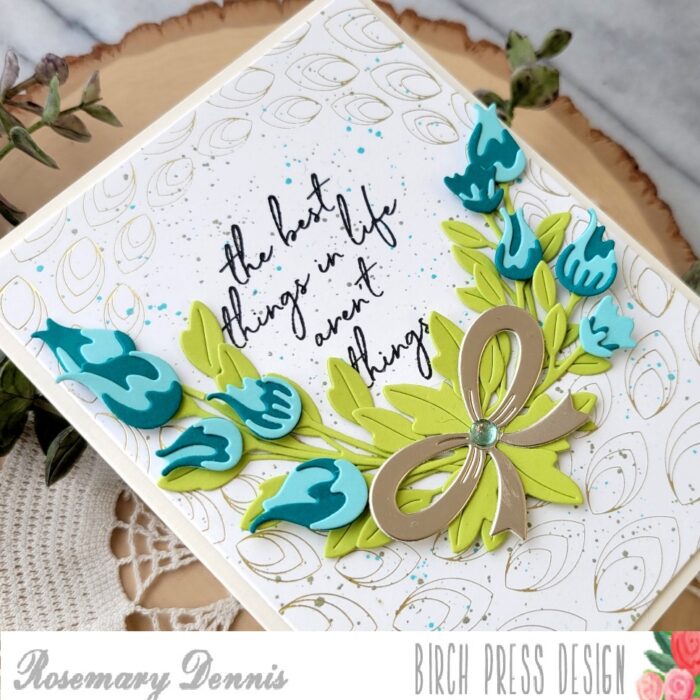
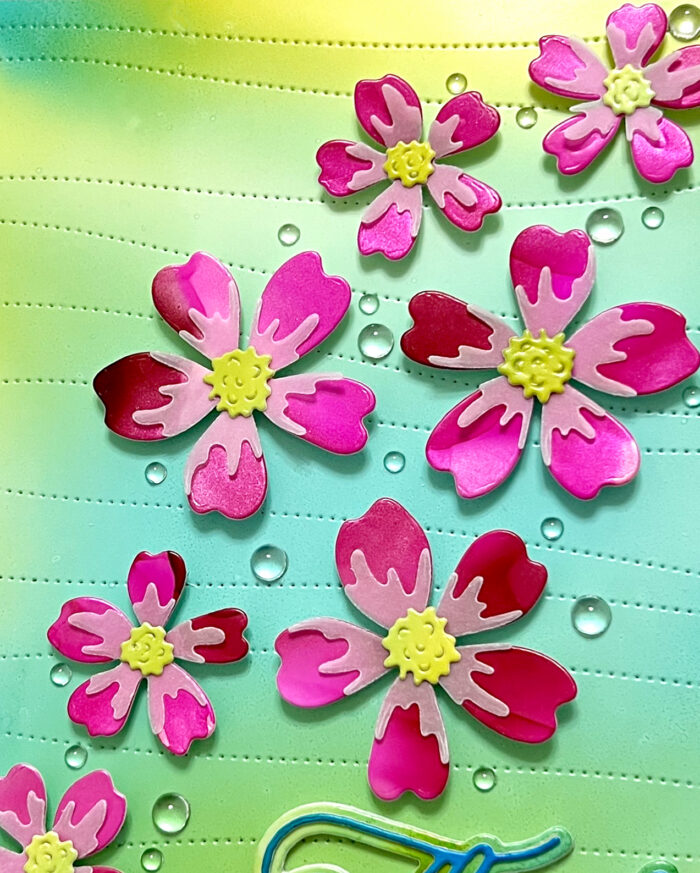
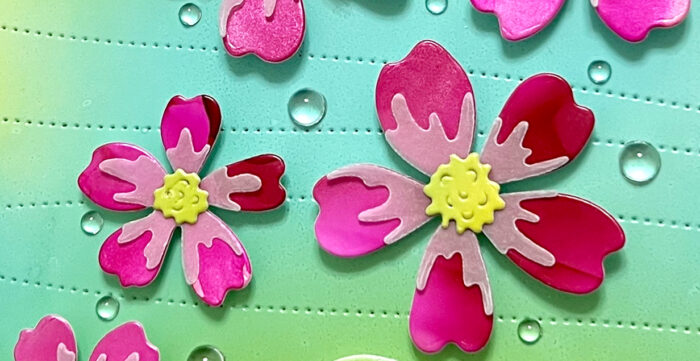
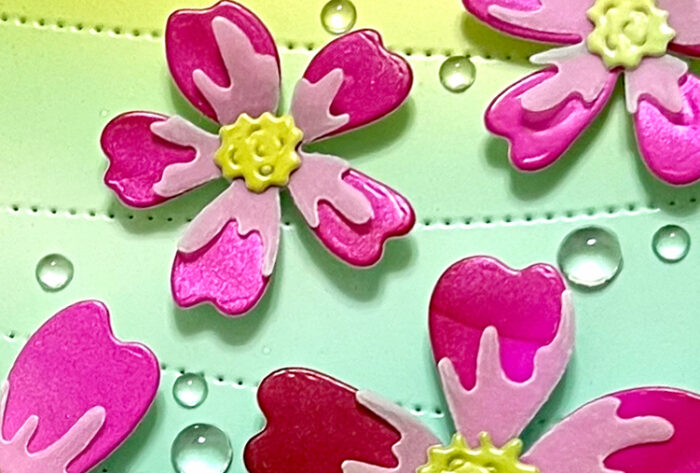
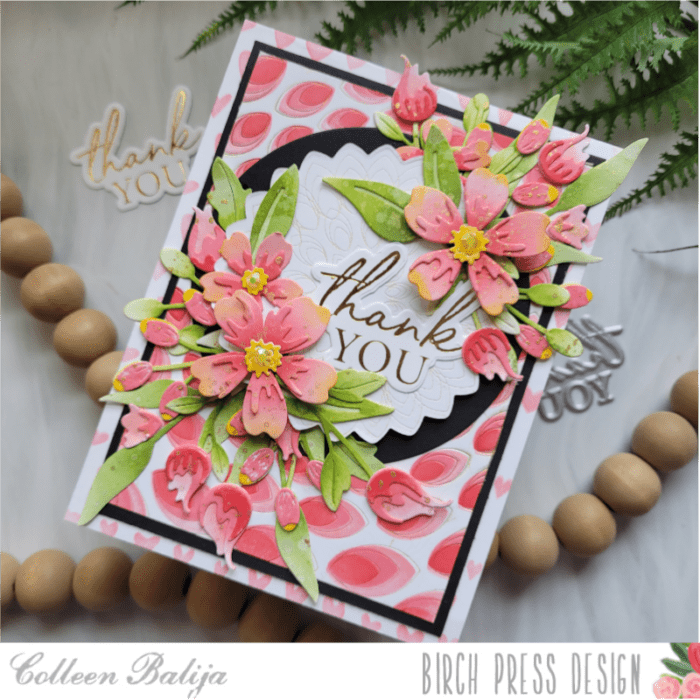
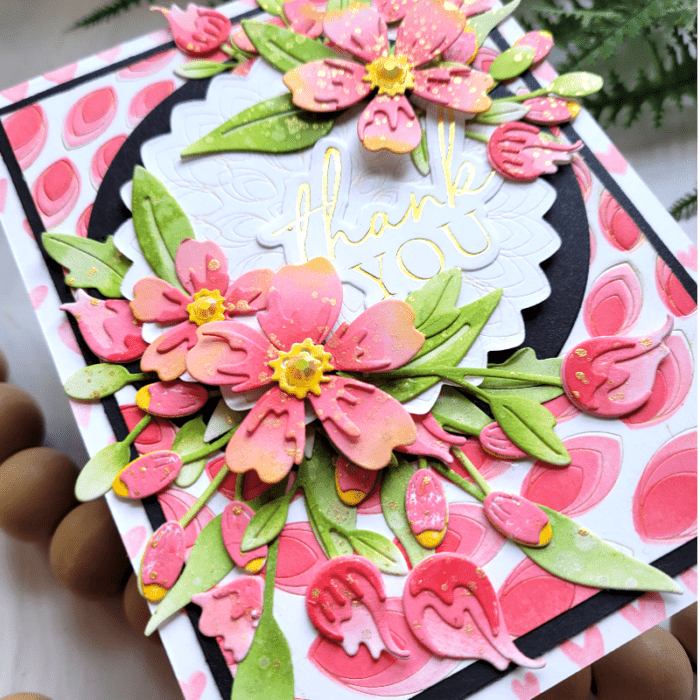
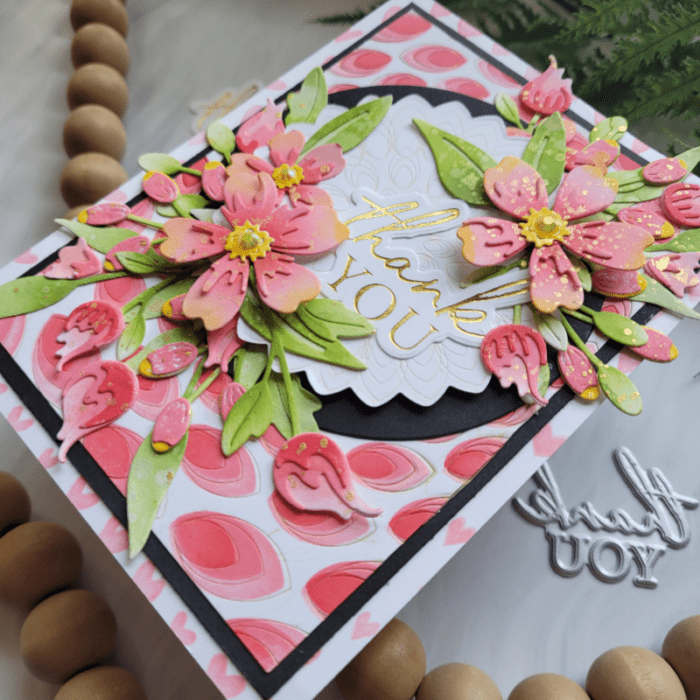
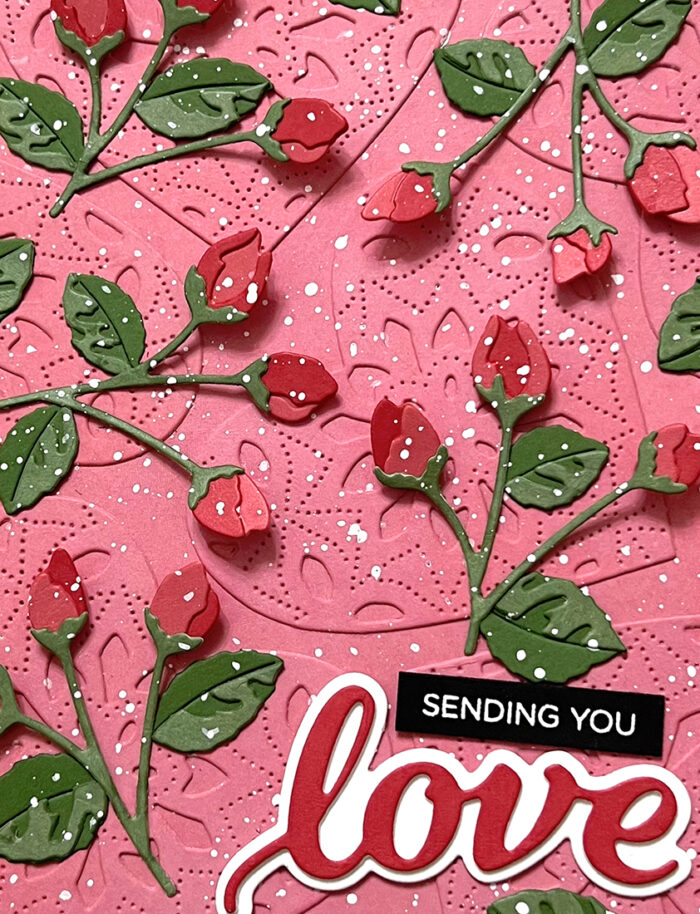
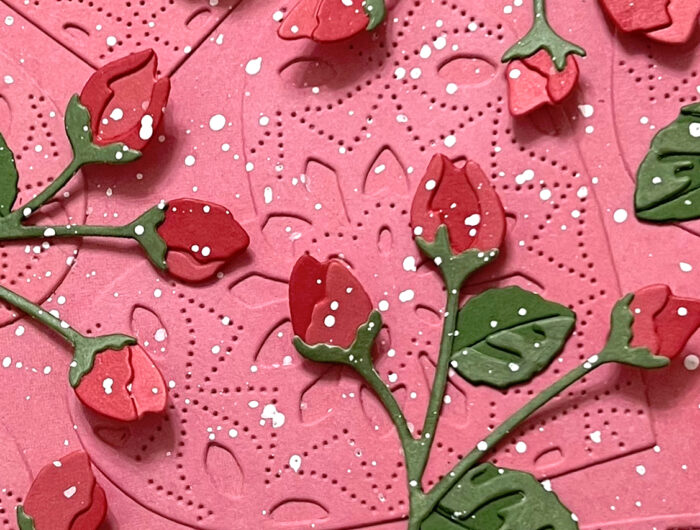
Once I had the foiling done I had to decide which die set I was going to use and I settled on the Delicate Floral Buds Contour Layers die set. I die cut all the flowers from two shades of aqua blue cardstock and the stems and leaves from a bright lime green. To provide some interest I alternated the colors on the buds and love how they turned out. I centered the sentiment from the Classic Sentimental Wreath stamp set inside the circle and stamped it in black ink.
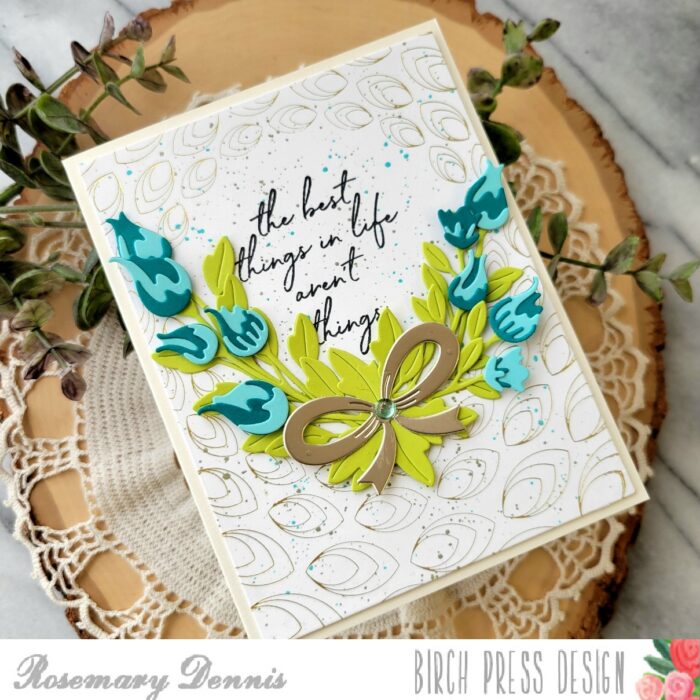
Before adhering all my floral buds I decided to add some additional interest to the background by adding splatters of distress mica sprays in Fresh Balsam and Shiny Bauble. To make sure that I didn’t cover the background with too much of the mica sprays I simply added a small amount of each spray to an acrylic block, picked up the liquid with a small paint brush and then tapped it on. It worked perfectly and I love the subtle shine that the mica sprays provide.
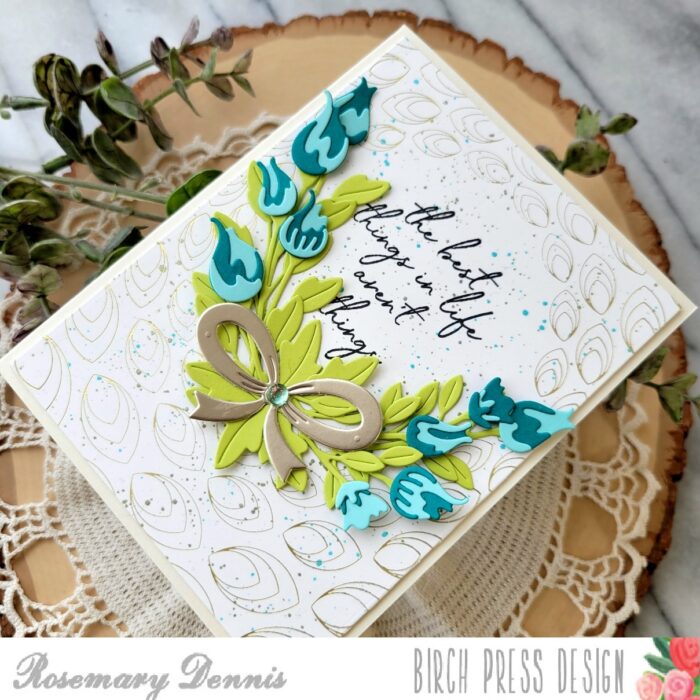
I arranged all the floral buds in a crescent shape around the sentiment and adhered them with liquid adhesive. To give the arrangement movement and lift I added the liquid adhesive only a portion of each stem. To finish off the arrangement I pulled out the Christmas Ornament Pop Up Easel die set and die cut the bow from matte gold cardstock from the Vintage Pastel Mirror Pad. I adhered that with liquid adhesive and then added an aqua colored fairy crystal from the Christmas Fairy Crystals pack to the center of the bow. Foam adhesive was used to adhere the panel to an off white cardstock base.
I hope you enjoyed my project today. Have a lovely day!
Supplies