Author: birch press

  • Arista Layers | By Seeka

    Arista Layers | By Seeka

    Hello and welcome! Seeka here and today I have a card featuring the Arista Layers die set. I consistently come back to this set, it’s one of my favorites from Birch Press Design!

    I started off by selecting four shades of teal cardstock (the colors in the Fresh Aqua 6×6 cardstock pad are a good option). I cut each of the three Arista layers from the three lightest shades of teal and then cut a solid circle from the darkest shade of teal. I layered and glued the three die cut pieces together and then glued the solid circle to the bottom.

    Next, I created the sentiment by cutting the detail layer of the Handwritten Hello and Outline die set from mirror cardstock (check out the Vintage Pastel Mirror 6×6 cardstock pad for good options). Then, I adhered it to the shadow layer which I cut from vellum. I glued the two layers together and then glued the sentiment to the Arista medallion.

    For the background, I dropped a few drops of several shades of teal acrylic paint onto a craft mat. I spritzed the paint with clean water and then dragged several 4.25″ x 5.5″ panels of white cardstock through the paint. By the third panel, only a few drops of paint remained on the craft mat and instead of dragging the panel through the paint, I used it to blot up the drops which created this splattered look. I used this panel for the card, saving the other two for future projects.

    To assemble the card, I trimmed a quarter inch off each end of the background and then used foam tape to adhere it to a cardbase. Last, I adhered the medallion and sentiment.

    Thank you so much for visiting!


    Supplies


  • Add New Life to Your Stamps! | By Desiree Kuemmerle

    Add New Life to Your Stamps! | By Desiree Kuemmerle

    Hello Everyone and Welcome Back!

    Today I am going to show everyone how you can add new life and create a new look to your stamp sets!  Simply we can add new lines and details easily…

    I will be using the Crystal Lingo Stamp Set…  This is a great geometric design and is the perfect size for a slimline card!

    Let’s start by stamping our image onto some watercolor paper.  I chose water color paper as I will be using watercolor paints to fill in my sections.  You can use ANY coloring medium you have in your stash!

    I grabbed an archival black ink pen and added curved  and rounded lines to each intersection of the stamp…  Take your time with this and enjoy this process!  It can be very meditative and relaxing…

    After these areas are dry I added watercolor into each of the sections, no rhyme or reason, just have fun adding the color to your image!

    Once it was dry I matted my panel onto a black card stock mat and a sentiment in the bottom right hand corner!

    Hope you enjoyed today’s project!

    Make sure you stay tuned for more wonderful projects coming soon!


    Supplies


  • Summer Roseby Jeanne Jachna

    Summer Rose
    by Jeanne Jachna

    I hope your summer is off to a good start! I’m loving all the color I see everywhere as bold blooms capture all my attention!

    Living in the Midwest, Summer is usually decked out in shades of red, white and blue – American Flags line Main Street, and are the inspiration for the color scheme of this card. I started with the Winsome Rose in shades of red.

    I cut the leaves from shades of blue and tucked in some Eucalyptus berries. To fill out the background some Tiny Tuft Flowers in red. The foliage is adhered flat to the card base and all the florals are lifted with adhesive foam tape.

    I didn’t want the background to compete with the florals so I added Tumbled Glass Distress Ink to a Pinpoint Radial Plate. I splattered it with water, and some watered down Salty Ocean and Blueprint Sketch.

    A simple Handwritten Hello sentiment cut from gold keeps the focus on the florals.
    I hope this inspires you to experiment with your color schemes. I wasn’t sure how well the blue foliage would work, but I’m really delighted with the unexpected color.

    Finished Size 4.25 x 5.5″

    Supplies


  • Simple Floral Wreath | by Toni M Maddox

    Simple Floral Wreath | by Toni M Maddox

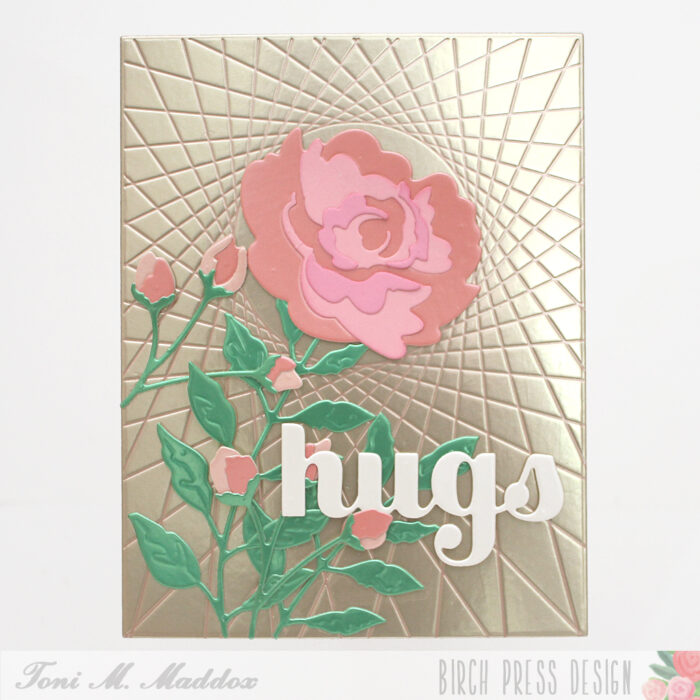
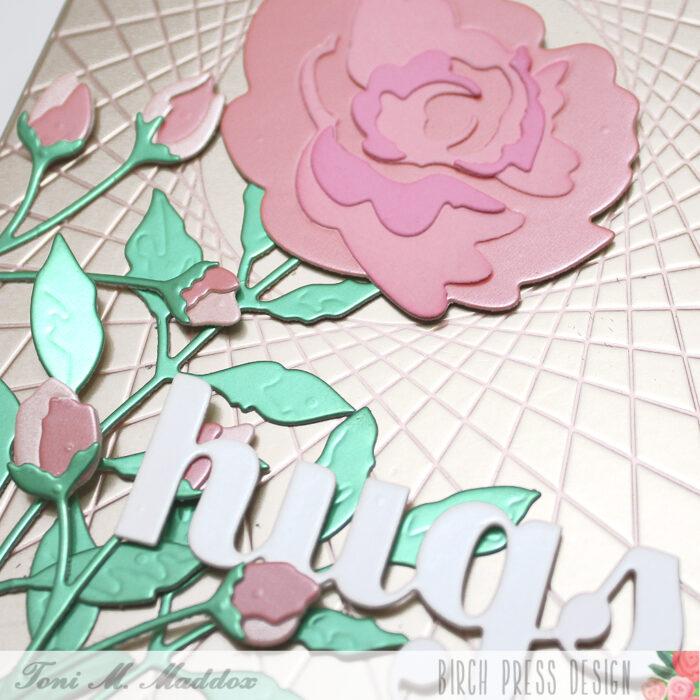
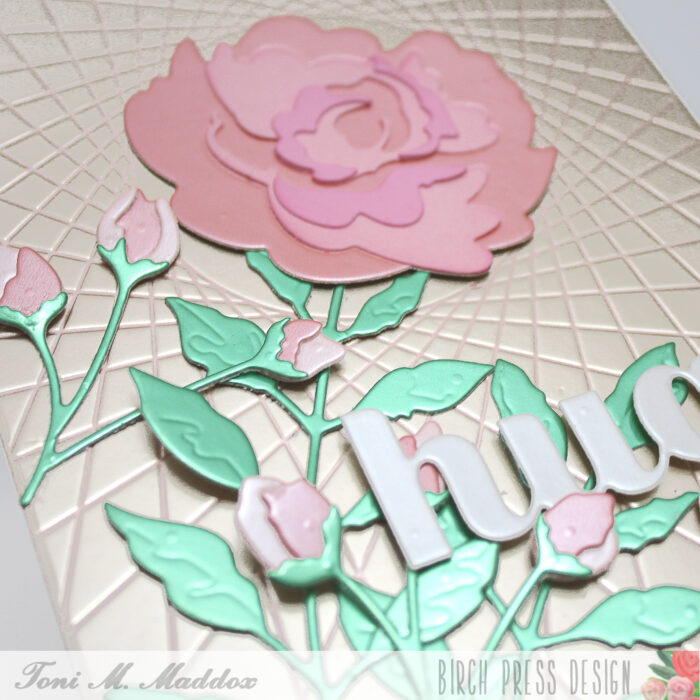
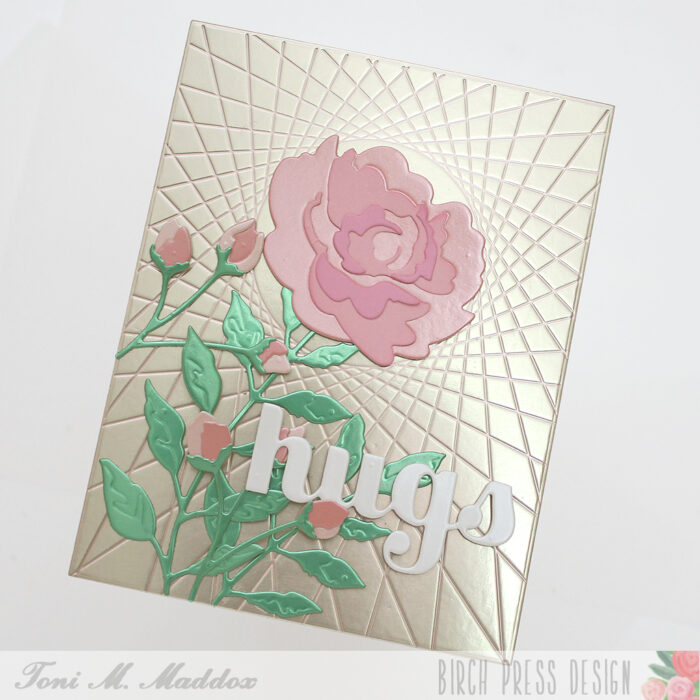
    Hello, Birch Press fans! Toni here with you today sharing a card that I would call any occasion. Honestly this is among my favorite type of card to make as I can use it for about anything: sympathy, friendship, encouragement, you name it.

    I started the card by using the Epiphany Plate Layer A with a rubber mat to emboss/impress the card front. The texture is amazing but really hard to capture in a photo.

    Next I cut out the Mandala Card Frame, using the circle as a wreath. I sponged it lightly with Distress Oxide Vintage Photo for a tiny bit of contrast against that white base. Notice now the circle fits perfectly in the Epiphany Plate center?!

    To decorate the wreath, I watercolored the Star Flowers Contour Layers blossoms with Zigs and adhered them along with a few Tiny Tuft Flowers and Leaves Contour Layers cut from Memory Box Lush Green 6×6 cardstock.

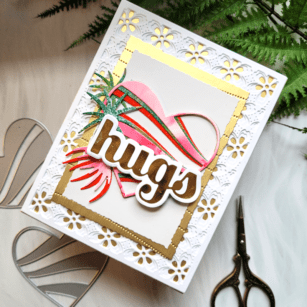
    I nestled the Big Hugs Sugar Script diecut amongst the foliage. So pretty!

    I hope you enjoyed today’s card and have a great rest of your week.

    Supplies

  • Tropical Hibiscus Friends

    Tropical Hibiscus Friends

    Hello, Birch Press Friends! Allison here, and today I’m sharing a card featuring the new Tropical Hibiscus Contour Layers die set.

    I started by cutting all of the pieces of the flowers from white card stock. I then blended Distress Ink onto the pieces, but in a very subtle way. The most intense color is on the edges of the bottom piece, the outside edges of the top detail layer, and the center. My initial inspiration for this came from images of white hibiscus that I found online.

    To add dimension, I created duplicate layers of the bottom piece and the top detail pieces, before adhering all of the layers together with liquid glue. In order to determine the layout of my design, I first selected my sentiment and, before stamping it, arranged the flowers around it. Once I was happy with the layout, I removed the flowers and stamped the sentiment with VersaMark Ink. I heat embossed it with a platinum embossing powder and then repeated the process, which really gives the sentiment more of a rounded, smooth finish.

    I adhered the flowers to the stamped card panel with liquid glue, adding foam tape to the back of the pink and blue flowers. I then mounted that onto a warm gray A2 card base. As a finishing touch, I added matching Fairy Jewels to the centers of each flower. Even though these flowers don’t have a lot of color, the texture of all the layers really packs a punch.

    Thank you so much for joining us today. I hope this card inspires you and brings a smile to your face!

    Wishing you a crafty day,
    Allison


    Supplies


  • Mixed Media Fun with Die Cutting | By Natasha Vacca

    Hello Crafty friends – it is Natasha here and I am excited to be back up on the Birch Press Blog today! Today I am sharing a fun and easy way to use your layering dies, as well as the Simple Dragonfly Contour dies to create a colorful mixed media card! So let’s get started!

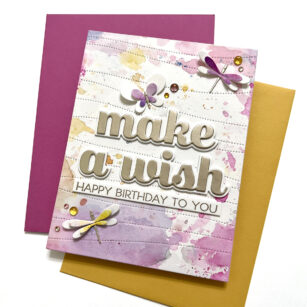
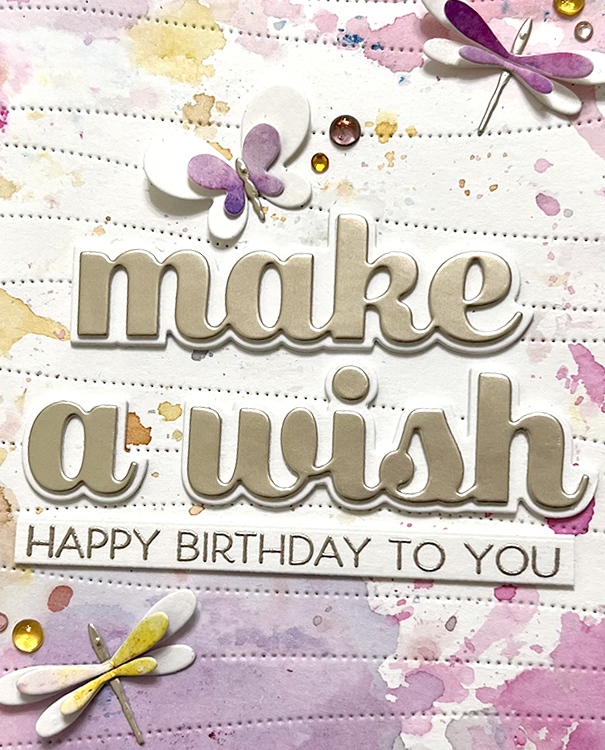
    For today’s card I started with the Grace Layering die set and a gelli print background from my stash. I chose layer A and followed the directions on my die cutting machine for creating an impression on paper using your dies. This was super easy to do and created a beautiful impression on my gel print background!

    Next I used several oxide inks from my stash and ink blended around the edges of the print. The Grace layering set created a beautiful impression on my print and I used the inks to add a bit more texture to the raised sections of the background panel.

    Once my ink blending was complete I added some distressed edges to my panel. I then added a bit more texture using embossing glaze and a crayon. Once my panel was complete, I set it aside.

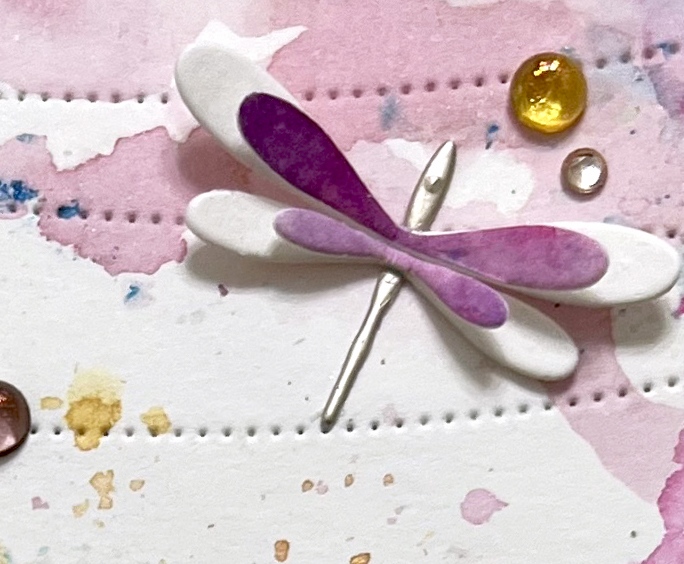
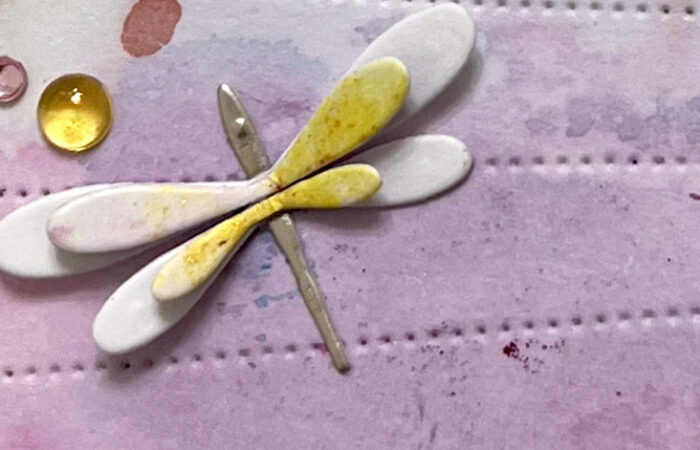
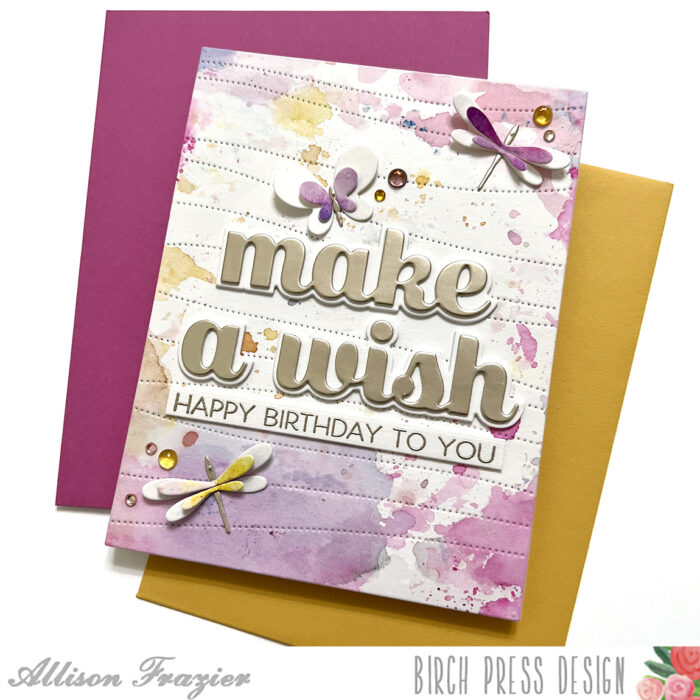
    I love using die cuts and embossing powder together and the Simple Dragonfly Contour Layering dies are perfect for a colorful mixed media vibe! I die cut 3 dragonflies on white cardstock. I then adhered the dragonfly wings together using liquid glue. Then I chose 3 colors of embossing powder and heat set each of the wings and antennae. I then adhered these together with liquid glue and added foam tape behind the wings. I then adhered the background panel to an A2 card base and adhered my dragonflies to the card panel. To complete my card I added a Handwritten Thanks and Outline sentiment die. I die cut the shadow layer in white and the inner script thanks using the Rainbow Reflections Mirror Pad. I adhered these together and added foam tape to the back for added dimension. I added a sub sentiment from my stash to complete my card.

    Thank you so much for stopping by today! I hope this card inspires you to use your layering dies to dry emboss a panel and to create a mixed media card using your dies! I will be back soon!

  • Hope You’re Feeling Better Eucalyptus | by Crystal Komara

    Hope You’re Feeling Better Eucalyptus | by Crystal Komara

    Hello Birch Press Design readers! This is Design Team member Crystal Komara sharing a CAS (Clean and Simple) card with you today featuring the new Eucalyptus Stem and Berries Contour Layering dies. Because I intended for this card to be very simple, I wanted to create a card without using the layering part of the dies, so here is what the dies look like quite simply on their own when cut from a rainbow array of cardstock. Add a gold heat embossed sentiment (any message will do!) and you have an elegant and easy card in no time flat!

    Card details:

    The base of this A2 sized card is made from 80 lb. Neenah Solar White smooth cardstock. I cut a 5 1/4 x 4″ piece of this same cardstock as the first layer. On that layer I stamped the sentiment “hope you’re feeling better” in Versamark ink and heat embossed it with gold embossing powder. This sentiment is from the Classic Sentimental Wreath stamp set.

    Using the Eucalyptus stems, I cut multiple stems from colored cardstock. I used the following 6″ paper packs:

    -Lush Green

    -Sunny Orange

    -Berry Red

    -Ocean Blue

    I adhered the stems directly to the center of the card and then I added a small white ribbon at the base of the stems for added texture.

    I hope you have enjoyed today’s CAS card. Thank you for visiting and have a wonderfully creative day!

    Supplies

  • Tropical Hibiscus Hello by Jeanne Jachna

    Tropical Hibiscus Hello
    by Jeanne Jachna

    Hi and thanks for stopping by! Today I’m sharing a colorful card that just screams SUMMER. Living in the Midwest the only time I see beautiful hibiscus in shades of red, pink and apricot is when they arrive at the garden center this time of year.

    These pretties were really easy to assemble. The flower base is just three layers and an embossed line shows you exactly where to place each die cut piece.

    To save time on future projects I cut all the flower layers from each of the shades of cardstock and alternated the layers when I assembled them. So some have the darkest color shade on the bottom, while others have the lightest color shade on bottom. No matter what order you arrange the colors the flowers look beautiful and I have lots of flowers for other projects.

    Did you notice the pretty foil background? It was made using the new String Art Foil die along with the Glimmer Hot Foil Machine and a Matt Gold Foil. Foil dies are also fantastic for embossing backgrounds.

    Making with these florals was a sweet escape to a tropical paradise! I hope you find some time to make too!

    Finished Size 4.25 x 5.5″

    Supplies


  • A Hidden Panel for your Sentiment! | By Desiree Kuemmerle

    A Hidden Panel for your Sentiment! | By Desiree Kuemmerle

    Hello Everyone and Welcome Back!

    It is simple to create a decorative panel to hide our sentiments inside of our cards for that little surprise!

    I got all my die cutting out of the way and layered my mini frame together to have ready.

    To create your panel on the front of your card you want to layout your rectangle dies to create your cut out. I went with nesting rectangle dies just a little larger than the size of the Dazzle Mini Frame Layering Die set to give me a border around using vellum. You could also use clear acetate if that is what you have in your stash!

    I then cut a piece of vellum slightly small that my border frame and layered it in between my card base and panel base for my card and placed my focal point in the center. I cut a piece of black card stock the same size and placed it on the inside of my card base to hide the underside of my focal point!

    I lined up my sentiment under the panel so when the card is open, the recipient can see the hidden message!

    Added a few pearl embellishments to give a little sparkle to the front of our card!

    Hope you enjoyed today’s project!

    Make sure you stay tuned for more wonderful projects coming soon!


    Supplies


  • Heart to Heart Thanks | by April Antonio

    Heart to Heart Thanks | by April Antonio

    Happy Friday! April here sharing an elegant, easy to pull together thank you card.

    To start this card I grabbed on of my favorites, the Kinsley Heart Plate Layering set. I cut out all three layers with Layer A and C cut from white cardstock, and Layer I glued all three layers together using liquid glue.

    I created an A2 card base from a piece of red cardstock, and glued the Kinsley Heart layer onto the card front. This is why the inside of the heart is red — the base is shining through.

    Next, I took the Pimpernel Contour layering set to cut the flowers from red, foil cardstock and the leaves from green, glitter cardstock. I adhered them to the lower right of the card front, ensuring I glued the center of the flowers only, to leave the petals free to bend up a little bit.

    For the sentiment, I used the Kind Hearts Clear Stamp set to heat emboss ‘thank you’ with black pigment ink and clear embossing powder. I cut this out and glued it to the center of the card front.

    Lastly, I added a couple of clear dots from the Christmas Fairy Crystals set to the center of the flowers

    That is it! The layering sets make it super easy and fun to pull together cards. I hope this inspires you to go create and have fun

    Supplies